I’ll guide you through 14 DIY kitchen island seating builds that don’t just look slick—they invite chatter and ease. From counter stools to cozy banquettes, I’ll cover size, layout, and budget so your island flows with your space. I’ll share durable materials, smart storage, and weekend-friendly steps that keep projects sane. You’ll get a practical roadmap to build seating that sparks conversation and stays gorgeous. Stick with me and you’ll uncover tips that elevate every kitchen moment.
Choose Your Kitchen Island Seating Style
Choosing your kitchen island seating style is where the island stops being a countertop and starts being a gathering spot.
I’m picturing you, choosing comfort, function, and vibe, all at once. I’ll guide you with quick, practical picks: counter stools for casual chats, upholstered seats for coziness, and adjustable heights for fluid conversations. Additionally, consider incorporating cozy kitchen island booth seating to enhance both comfort and style.
Let’s design seating that sparks, not just fills space.
Assess Your Kitchen: Island Size, Layout, and Seating
Let’s size up your space and map out how the island will fit with the flow you actually use every day.
I’ll walk you through choosing an island size that keeps traffic smooth and seating functional, while still leaving room for prep and plating.
We’ll balance layout and seating so you get a practical, stylish hub rather than a beautiful dust collector. Additionally, consider how single wall kitchen islands can enhance your layout by optimizing the use of space.
Island Size Considerations
An island should feel like a natural extension of your kitchen, not a forced afterthought, so start by sizing it to your space, traffic flow, and how you actually cook.
I weigh counter surface, clearance, and seating needs, then trim excess. Practical, not precious, I favor proportional dimensions, comfortable knee space, and a footprint that invites movement, not congestion. Additionally, consider incorporating creative solutions for maximizing your kitchen space with multi-functional features that enhance usability.
Layout and Flow Plan
If I’m honest, the right layout is the invisible backbone of a great island: it governs traffic, prep ease, and how seating actually feels like part of the kitchen, not a peripheral add-on. I map clear walkways, avoid crowding zones, and test sightlines from every seat. Efficient flow means effortless quick tasks and social moments that stay seamless, not mismatched. Additionally, incorporating U-shaped kitchen designs can create more counter space, enhancing both functionality and aesthetics in your kitchen.
Budgeting for Smart, Budget-Friendly Island Builds

I’ll show you smart budget tactics that stretch every dollar without skimping on style.
We’ll weigh cost-effective material picks against upfront vs hidden costs so nothing sneaks up on you later.
Let’s keep it clear, practical, and gentle on your wallet while you plan your best DIY island yet. Incorporating unique island designs can elevate your kitchen’s aesthetic while staying within budget.
Smart Budget Tactics
Smart budgeting for a DIY kitchen island starts with a clear plan and a realistic tally of what matters most.
I map out essentials, cut vanity costs, and reserve a buffer for tweaks. You’ll pace purchases, compare sources, and reuse what works. Consider pairing your island with stunning bar stools that enhance both style and functionality.
No hype—just practical choices, swift turns, and confident progress toward a stylish, functional island you’ll actually use.
Cost-Effective Material Picks
Choosing cost-effective materials doesn’t mean settling for less; it means getting smart about where you spend and where you save. I’ll guide you toward durable, affordable options without sacrificing style: plywood cores with veneer, butcher-block accents, melamine fronts, powder-coated steel, and reclaimed timber for character. Prioritize substrates, finishes, and hardware that resist wear, and you’ll love the look without blowing your budget. Consider incorporating versatile rolling kitchen islands for added functionality and ease of movement in your space.
Upfront vs Hidden Costs
Upfront costs set the bite-size budget, but hidden costs can creep in faster than you can say “done deal.” If you don’t plan for them, your smart, budget-friendly island soon becomes a series of small compromises that add up. I layer savings with smart choices, track receipts, and leave a cushion for surprises, because preparedness sharpens style without breaking the bank. Incorporating mini kitchen ideas can maximize functionality in smaller spaces, ensuring every dollar spent is worth it.
Kitchen-Grade Materials: Durability, Maintenance, and Style

When you’re picking kitchen-grade materials, durability isn’t just about withstanding daily use—it’s about surviving spills, heat, and the occasional kid-induced chaos without turning your island into a science project.
I’ll guide you through maintenance that’s simple, resilient, and affordable, while style stays polished: timeless textures, easy-clean surfaces, and cohesive finishes that complement seating. Incorporating high-quality countertop decor can further enhance your kitchen’s aesthetic while providing practical functionality.
Practical, witty choices elevate your space without drama.
Storage-Forward Island Designs With Seating
I’m thrilled to talk through storage-forward island designs with seating, where every inch earns its keep.
Think hidden tray options that snap into place and integrated storage racks that vanish from sight but never from use.
It’s all about clean lines, smart practicality, and seats that feel as thoughtful as the drawer pulls. Additionally, incorporating small kitchen remodels can enhance both functionality and aesthetics in your space.
Hidden Tray Options
Hidden trays are the secret sauce of storage-forward island design, and they’re surprisingly simple to pull off with seating in mind.
I slide a tray out, show a neat stash of napkins, apps, or charging cords, then snap it back before guests notice.
It feels clever, not gimmicky, keeping counters clear while inviting conversation and quick, practical organization.
Solve clutter, stylishly.
Integrated Storage Racks
Integrated storage racks take a seat-at-the-table approach to organization, weaving rails, cubbies, and racks into the island so every mug, bottle, and bookmark has a home without stealing counter space.
I pair form with function, proving storage can shine.
- sliding spice rails
- mug cubbies
- magazine slits
- bottle racks
- utensil drawers
Multifunctional Islands for Small Spaces
Multifunctional islands for small spaces prove you don’t need footprint big to be mighty: I tackle the usual kitchen workflow with a clever twist, packing storage, prep space, and seating into a single, scalable unit.
Think compact, not cramped: smart hinges, foldaway stools, and hidden shelves turn tight quarters into flexible space. You get efficiency without sacrificing style or charm.
Ready? Let’s redesign curiosity into craft.
Closed-Storage vs Open-Storage Island Options
Choosing between closed storage and open storage on a kitchen island is all about balance: I’ll weigh the pros and cons, from hidden gadgets to quick-access essentials.
I’ll call out design tradeoffs and what to expect in daily use, then tee up hybrid options that blend both worlds.
Let’s start the discussion with a clear view of what each style brings to your space and workflow.
Closed-Storage Pros and Cons
Closed-storage islands keep the clutter out of sight, and that simplicity can feel like a rejuvenating change in a busy kitchen.
I weigh pros and cons, keeping things practical, not precious.
- Keeps counters clean, important for prep flow
- Secrets behind doors, plus organized drawers
- Hidden appliances can complicate accessibility
- Cleaning hidden nooks requires extra effort
- Soundest choice for streamlined, polished visuals
Open-Storage Design Tradeoffs
Open-storage islands trade the illusion of breeze for the real deal: quick access and a cook’s eye on the action.
I love the openness, but I’ll admit the flip side: visible clutter, dust magnet tendencies, and less protection from spills.
You gain reach and sociability; you lose containment and tidy consistency.
Choose based on your workflow and this kitchen’s personality.
Hybrid Island Options Considerations
If you crave the best of both worlds, a hybrid island might be your sweet spot—and yes, you’ll get to pick and mix between closed storage and open shelves.
- Keeps essentials tucked away without sacrificing display
- Flexible zoning for small appliances and tools
- Visual balance with contrasting materials
- Easy access to frequently used items
- Clean lines that still feel inviting and practical
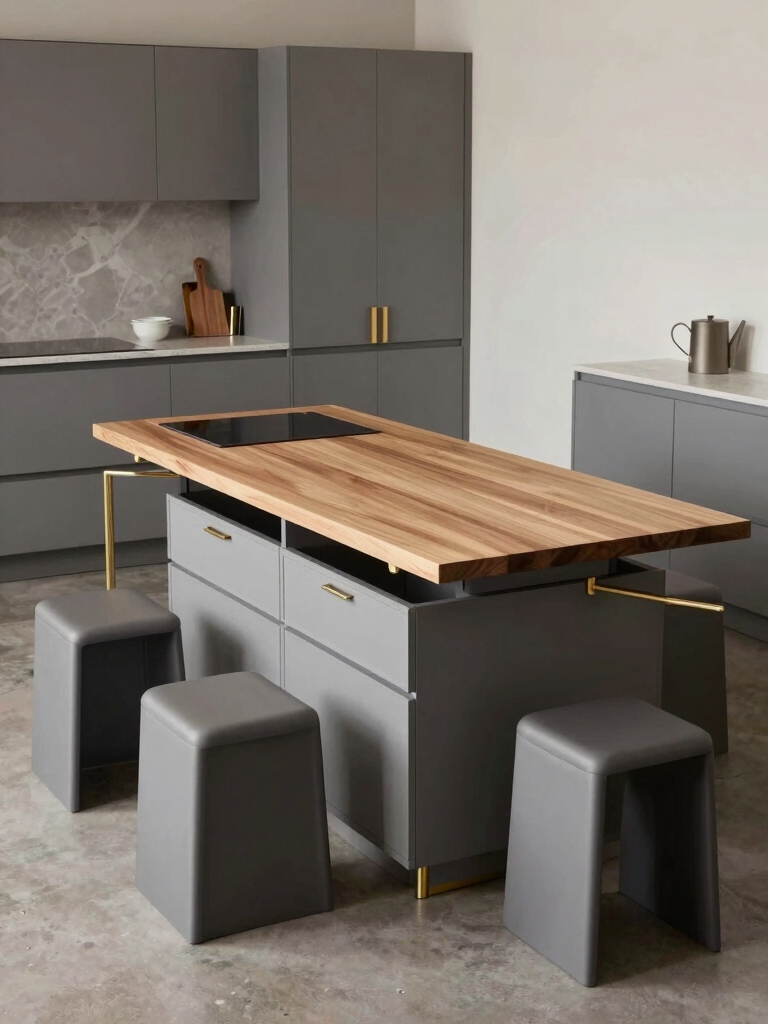
Seating Configurations: Stools, Benches, or Banquettes
Kitchens live and breathe around seating, and choosing between stools, benches, or banquettes shapes how you move, cook, and socialize.
I’ll help you select comfort, scale, and flow that match your space. Stools offer quick, casual chats; benches invite longer chats and extra room; banquettes maximize seating without crowding.
Balance legroom, upholstery, and height for a cohesive, stylish, functional island you’ll love.
Electrical Basics for Kitchen Islands
We’ve covered seating and how it shapes flow; now we’ll switch gears to electrical basics for kitchen islands.
I’ll keep it practical, safe, and snappy, so you can plan confidently.
- GFCI outlets where appliances could splash
- Dedicated circuits for power-hungry gadgets
- Concealed wire paths and clean spacing
- Proper island lighting choices
- Smoke and carbon monoxide detectors nearby
Ready to wire in style?
Prep Space and Workflow on Your Island
A well-planned prep zone on your island starts with smart zoning: allocate spaces that map to how you cook, slice, and clean up, not just how the countertop looks.
I design lanes for prep, assembly, and trash, so each task flows naturally. Keep the knife edge near prep, waste reachable, and a wipe-down nook handy for rapid, tidy changes.
Efficient, stylish, done.
Weekend-Friendly Tools and Tips for Quick Builds
Weekend-friendly tools and tips for quick builds start with a clean slate and a can-do attitude.
I’ll keep it tight: smart, portable tools, a sharp knife, quick clamps, a compact drill, and a trusty level come with me everywhere—no fluff.
- cordless drill that fits in a tote
- quick-release clamps for one-handed setup
- sharp utility knife with fresh blades
- compact multitool for tiny fixes
- magnetic bit holder and tape measure combo
Step-by-Step Build Roadmap for Each Island
Getting from concept to countertop isn’t a mystery: I’ll map a clean, step-by-step roadmap for each island so you know what to do, when to do it, and how to avoid backtracking.
I outline a clear sequence: finalize design, source materials, cut and assemble, fit hardware, seal surfaces, and schedule quick tests.
Short, practical milestones keep momentum and prevent guesswork.
Maintenance and Longevity: Keeping Your Island Fresh
Maintenance and longevity aren’t glamorous, but they’re what keep your DIY kitchen island looking sharp long after the finishing nails have cooled.
I’m sharing care tips that stick.
- wipe spills promptly to prevent stains
- seal wood surfaces every season
- use cutting boards; avoid glass prep
- clean hardware with a microfiber cloth
- check joist connections and reseat legs as needed
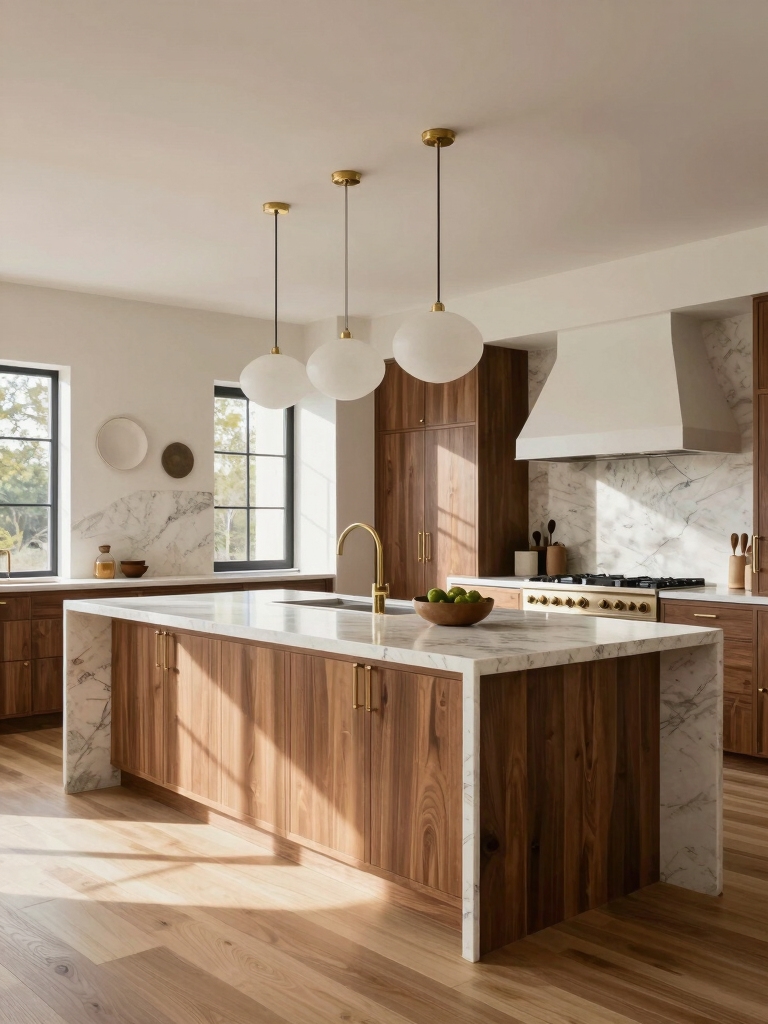
Real-World Examples: 14 Inspiring Islands That Work
From real kitchens and tiny-town studios alike, these 14 islands prove that style and function aren’t mutually exclusive—they play nice together when you design with purpose.
I’ve watched designers mix heights for conversation, integrate hidden storage, and choose durable finishes that forgive weeknight meals.
Learn from these builds: bold silhouettes, smart lighting, and seating that invites everyone to the heart of the home.
Conclusion
I get it—the dream of a showstopping island can feel pricey or risky. But envision this: a compact, seat-rich island with hidden storage, a butcher-block top, and quick assembly hooks that nudge your kitchen into celebrity-realistic vibes. You don’t need a megabudget or a pro crew—just smart layout, durable materials, and a dash of weekend warrior grit. See? stylish, practical, and totally doable, even if your space is snug. Your island—and your guests—will thank you.