Light wood cabinets brighten small kitchens by reflecting more light and making the space feel open. I’d pick lighter species—maple, birch, ash, or white oak—for subtle warmth and easy maintenance. Pair with soft white or pale gray stains and matte finishes to preserve brightness. Use glass-front uppers sparingly, add under-cabinet task lighting, and keep hardware minimal. For extra airiness, choose white or light countertops and simple backsplashes. If you keep exploring, you’ll uncover practical tips next.
Start-to-Finish: How Light Wood Cabinets Brighten Small Kitchens

Light wood cabinets instantly brighten a small kitchen by reflecting more light and creating an open, airy feel.
I start with clean lines and simple hardware, then pair pale tones with smart storage to maximize space.
I keep countertops clear, use open shelves sparingly, and let natural light do the work.
The result is practical, inviting, and easy to maintain.
Pick the Right Light-Wood Species for Warmth and Durability
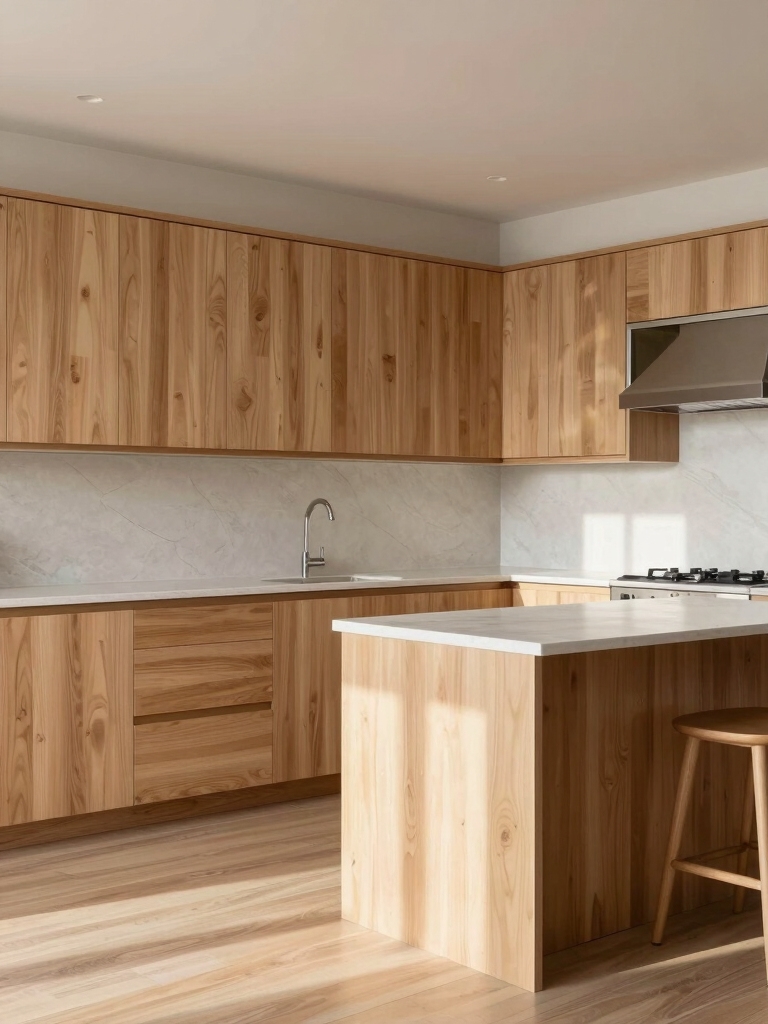
Choosing a light-wood species comes down to warmth and durability, and I’ll help you weigh how grain, color, and hardness affect both. I’ll share practical tips on balancing look with long-term wear, so your cabinets stay inviting and sturdy. Let’s compare options like maple, birch, and ash to find the right fit for your space. Additionally, consider how warm and timeless white oak can provide a classic aesthetic while ensuring longevity in your kitchen.
Wood Species Warmth
When you’re choosing light wood for warm, inviting kitchens, the species matters as much as the finish.
I’ll keep this practical and clear, focusing on warmth from the wood itself.
- Maple adds subtle warmth with clean grain
- Birch offers brightness with smooth texture
- Ash delivers airy contrast and light grain
- Pine shows cozy, rustic character, accepts finish well
Incorporating light wood can elevate your kitchen aesthetics, making it feel more spacious and inviting, especially when paired with timeless beige cabinets.
Durability Factors to Consider
Durability matters just as much as warmth, so I’ll break down how light woods hold up under daily kitchen life and what to look for when picking a species.
I prioritize harder plains like maple or birch for scratches, then consider finish hardness and grain tightness. Light oak, known for its brightening properties, is also a great choice for maintaining an open feel in your kitchen.
Choose pest- and moisture-resistant options, and seal edges well to maintain long-term beauty and function.
Finishes That Brighten Without Washing Out Color
If you want light wood cabinets to feel brighter without washing out their color, consider finishes that reflect more light and keep the grain visible.
I recommend these options:
- Satin or semi-gloss clear coats
- Water-based poly with low tint
- Soft white or pale gray stains
- UV-resistant topcoats for longevity.
In addition, using fresh and bright white cabinets can enhance the overall brightness of your kitchen space.
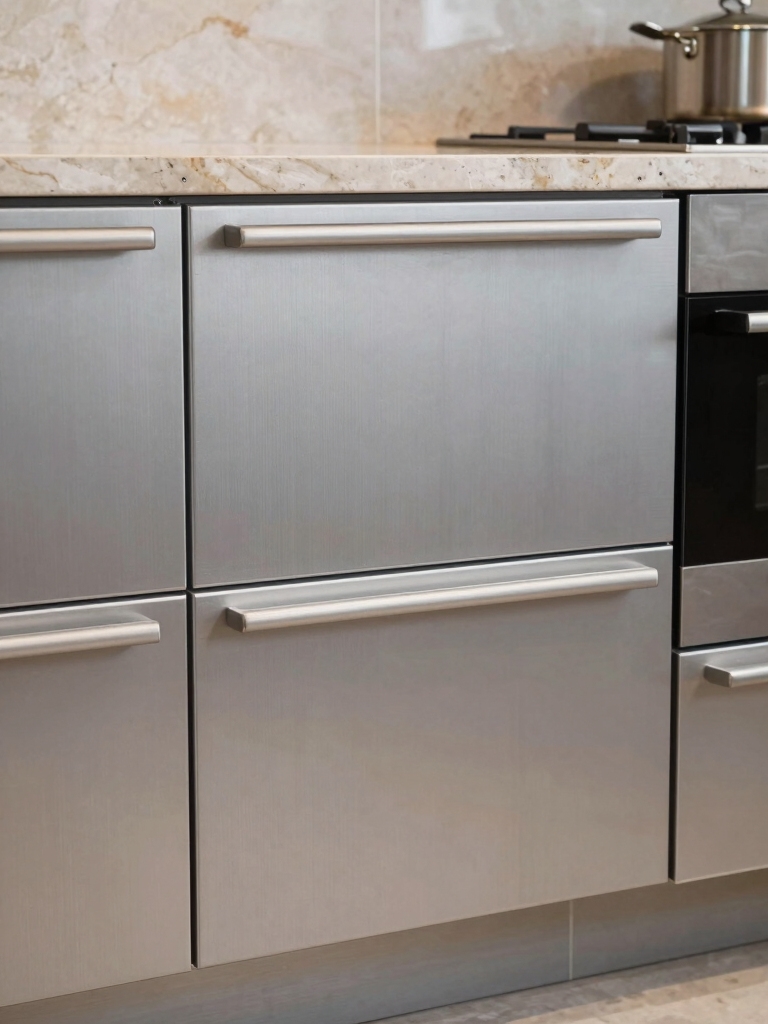
Hardware Choices That Make Cabinets Feel Lighter

Hardware choices can make light wood feel even brighter by keeping lines clean and reflections soft.
I favor slim, unobtrusive handles or hidden pulls to preserve open feel. Choose finishes in satin or matte to minimize glare, and align hardware length with cabinet style.
Keep gaps even, install centered on doors, and let simple details do the lifting. Additionally, selecting neutral decorating secrets can enhance the overall aesthetic and ensure a chic, timeless look in your kitchen.
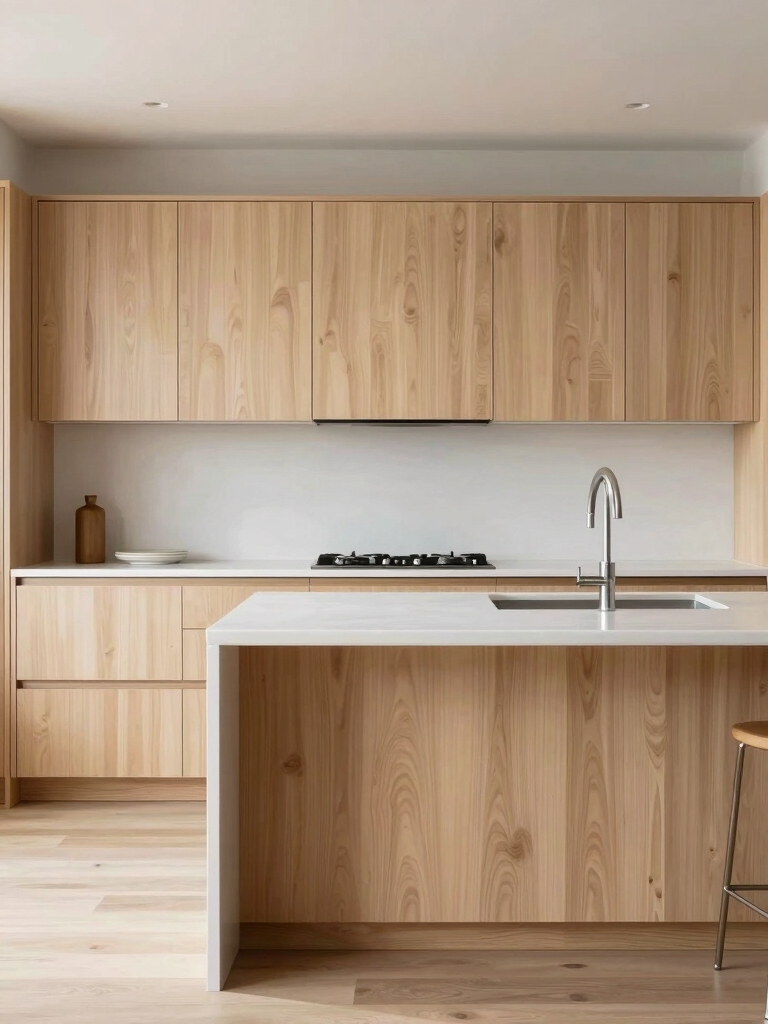
Countertop Brightness: Lifting the Look With Contrast

Countertop brightness can lift the whole kitchen, especially when you introduce contrast against light wood cabinets.
I’ll share practical ideas you can try today to keep the vibe airy and warm.
- Choose a light surface with subtle veining for depth without heaviness.
- Pair matte finishes to reduce glare and soften contrast.
- Use a cool-toned stone to brighten without overpowering.
- Balance with accessories that mirror wood’s warmth.
Incorporating modern kitchen design ideas can also enhance the overall aesthetic and functionality of your space.
Glass-Front Uppers to Bounce Light Around the Room
Glass-front uppers are a simple, smart way to bounce more light around the room without sacrificing storage or style.
I love how they reflect sun across walls, making doors and corners feel brighter.
Choose clear or lightly frosted panes, and keep contents tidy to maximize glow.
Pair with lighter backs and simple hardware for a cohesive, airy kitchen. Additionally, incorporating open shelf kitchen setups can enhance the overall aesthetic while providing practical storage solutions.
Open Shelving: When It Helps Openness (And When It Doesn’t)
Open shelving can brighten a space, but it’s not a one-size-fits-all move for openness.
I’ll share when it boosts airiness and when it might clutter sightlines or hard corners.
Let’s talk about how to balance display, storage, and the scale of your light wood kitchen. Additionally, incorporating open shelving kitchen ideas can create a dynamic focal point that encourages conversation among guests.
Open Shelving Pros
Open shelving can be a real asset in light wood kitchens, offering an airy feel and easy access to everyday essentials.
I’ll share practical pros that help you decide.
- Visual openness that brightens the space
- Quick access for daily dishes and glassware
- Budget-friendly updates without cabinets
- Personal display opportunities that reflect your style
When It Clashes Space
If you’re weighing open shelving in light wood kitchens, you’ll notice it can either widen the feel or crowd the space depending on how you use it.
I’ve seen cluttered shelves make a room feel cramped, especially with bulky items.
Balance height, limit items per shelf, and mix closed storage nearby to preserve airiness while still keeping essentials accessible.
Door Styles That Stay Light: Shaker, Flat-Panel, and Beyond
When you’re aiming for a light, airy kitchen, door styles matter as much as color does.
I favor options that keep the space open: minimal seams, clean lines, and soft profiles.
Here are four reliable looks:
- Shaker
- Flat-panel
- Slab
- Recessed-frame
Subtle Tonal Shifts: Whitewash and Liming Explained
Whitewash and liming are quick, budget-friendly ways to tweak the tone of light wood cabinets without changing the color entirely.
I explain how whitewash lightens grain without masking it, creating a soft, sandy look.
Liming adds tiny, crisp highlights for a coastal feel.
Both options preserve warmth, improve contrast, and keep your space airy yet refined.
Lighting Plans That Enhance Openness and Mood
I’ll show you how natural light layering, careful ambient beam techniques, and smart task lighting placement work together to make a light wood kitchen feel open and inviting.
We’ll balance daylight with controlled brightness to avoid glare while highlighting the grain.
Let’s explore simple setups you can try that keep mood and practicality in harmony.
Natural Light Layering
Natural light isn’t just about brightness; it’s about layering it so the kitchen feels open and welcoming at every time of day.
I mix sources thoughtfully, using daylight, task lamps, and soft ambient glow to avoid glare and shadows.
1) Layer windows and shades for flexible daylight
2) Use reflective surfaces to bounce light softly
3) Choose warm, dimmable fixtures
4) Position lighting to spotlight work zones
Ambient Beam Techniques
Ambient Beam Techniques help you shape mood and openness by how you cast light across the space.
I design soft, layered layers with recessed and ambient sources, avoiding harsh glare. You’ll notice even illumination that emphasizes the light wood grain, creating warmth without heavy shadows.
I keep controls simple, adjustable, and focused on balance between task-ready brightness and lounge-friendly ambience.
Task Lighting Placement
When planning task lighting for light wood kitchen cabinets, I place bright, focused fixtures where you prep, cook, and clean, ensuring the work zones stay clear and inviting.
- Position under-cabinet lights for gutters of glare-free task visibility.
- Use dimmable LEDs to adjust mood without sacrificing clarity.
- Align fixtures with the countertop edge for even coverage.
- Prioritize heat-resistant fixtures near the stove for safety.
Layout Ideas to Maximize Cabinet Footprint
To maximize your cabinet footprint, start with smart layout tweaks that make every inch count.
I favor tall uppers for vertical storage, run cabinets to the ceiling when possible, and use corner concepts to eliminate dead space.
Include a shallow island or peninsula for work zones without crowding.
Keep spacing consistent, and group seldom-used items higher up.
Drawers, Organizers, and Dividers for Smarter Storage
We’ve already talked about squeezing every inch of space with smart layouts, so now let’s focus on drawers, organizers, and dividers that actually make that space usable.
I’ll share practical ideas you can apply today.
- Deep utensil tray
- Adjustable dividers
- Pull-out spice rack
- Stacking bins for lids and wraps
Mixing Wood Tones Without Clashing
Mixing wood tones without clashing is easier than you might think, once you know a few simple rules.
Start with a dominant base shade, then pick two accents that share undertones. Keep contrast subtle, not dramatic, and test finishes in doorways or near windows.
I favor mixing warm honey with cool ash highlights for balanced, airy cabinets.
Budget-Friendly Upgrades That Feel Premium
When I’m upgrading on a budget, I start with simple, affordable materials that still look polished.
Small visual touches—like wipe-clean surfaces, brass hardware, or subtle trim—can elevate the whole room without breaking the bank.
I’ll share easy tricks that add premium feels without complicated remodels.
Budget-Friendly Materials
Budget-friendly materials can still feel premium if you choose the right options and finishes.
I’ll share practical picks you can trust, without breaking the bank or sacrificing style.
- Laminate countertops that mimic stone, with edge detail for depth
- Plywood cabinet boxes painted in warm white or ash tones
- Engineered wood flooring with subtle grain, sealed for longevity
- Back-painted glass backsplash for a sleek, budget-friendly sheen
Premium Visual Touches
Premium visuals don’t have to break the bank; you can elevate your space with small, thoughtful upgrades that read as luxe.
I swap hardware for matte black or brass accents, add a sleek under-cabinet light, and choose high-contrast backsplashes.
Texture matters too—think woven baskets and soft rugs.
Subtle ceramics and framed art finish the look without shouting for attention.
Easy Upgrade Tricks
Small upgrades can make a big impact without blowing your budget.
I’ll share simple tricks that feel premium without the price tag, so you can refresh your space today.
- Swap cabinet knobs for brushed nickel or matte black
- Add white under-cabinet LED lighting for brightness
- Refinish doors with a satin sealant for a fresh look
- Use open shelving to reduce clutter and highlight wood tones
Maintaining Light Finishes for Long-Term Beauty
Keeping light finishes looking fresh is mostly about habits and protection.
I keep them pristine by dusting weekly, wiping spills immediately, and using a microfiber cloth. I avoid harsh cleaners and heat, preferring a gentle soap solution.
I seal high-traffic areas periodically and reapply a finish as needed. Small steps daily preserve the airy, open feel long-term.
Real-World Transformations: Case Studies
Real-world transformations happen best when you see the process in action, so I’ll share concise case studies that spotlight what changed, why it mattered, and how you can apply the same steps.
1) Lighter countertops brightened the space; cabinets read as open, airy.
2) Simple hardware swaps added warmth without clutter.
3) Refinished fronts reduced gloss, boosting cohesion.
4) Strategic lighting enhanced texture and depth.
A Step-by-Step Checklist to Plan Your Install
Planning your install starts with a clear checklist you can actually follow.
I’ll guide you through essential steps, keep things practical, and skip fluff. Start by measuring gaps, confirming cabinet dimensions, and listing materials.
Next, set a realistic schedule, plan disposal, and note tools you already own.
Finally, double-check permits, delivery windows, and contingency time.
You’ll install confidently, with calm, steady progress.
Conclusion
I know what you’re thinking: light wood cabinets must skyrocket your electric bill and scream “we’re polished but fragile.” Spoiler: they don’t—not if you clean smart, pick durable species, and mix a little contrast. You’ll get airy, open kitchens that feel bigger, brighter, and somehow calmer. So go ahead, plan the upgrade, budget wisely, and enjoy the glow—just don’t blink; you might miss how easy it was to pull off. Irony: simplicity really is the showstopper.