I love how 3D textured tiles warm a white kitchen without stealing its brightness — they add handcrafted depth, soft shadows, and touchable charm. I’d pick a style first (farmhouse, coastal, minimalist), match material to use-case (porcelain for durability, ceramic for warmth, stone for organic depth), then choose matte or soft gloss to shape light.
Test samples under your light and plan splurges on focal areas, and I’ll show you how to pull it together.
Best 3D Textured Tile Styles for White Kitchens
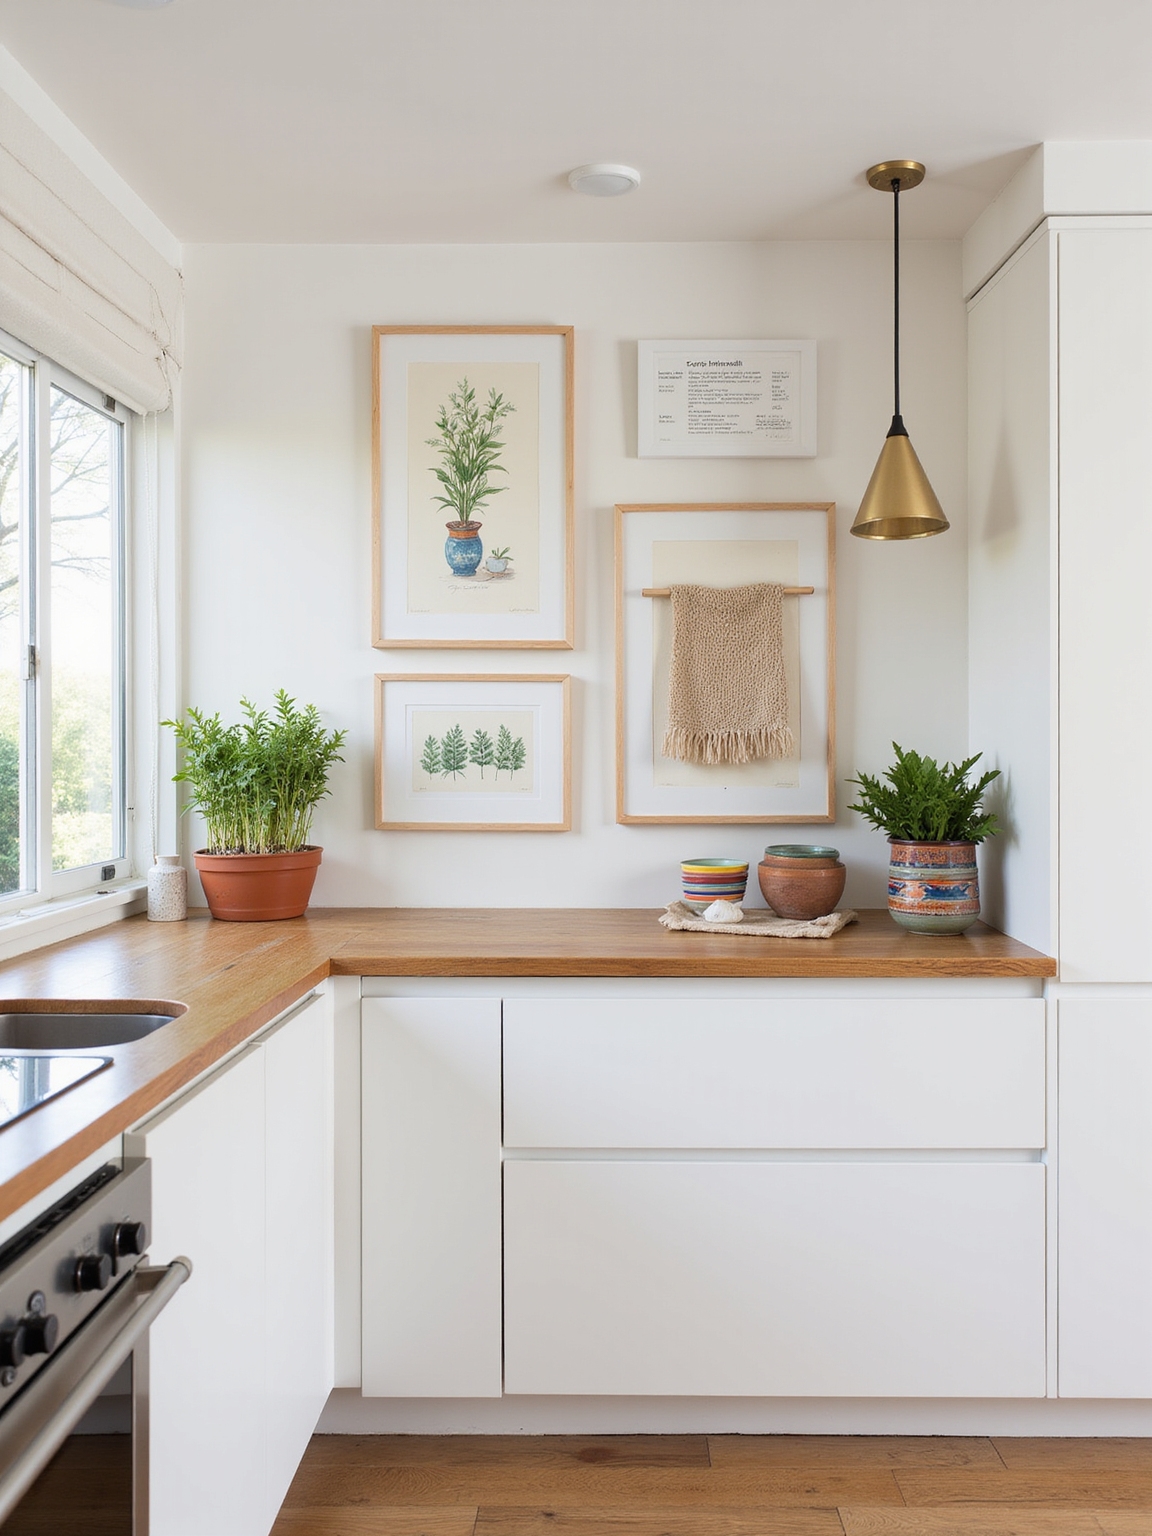
I often reach for textured tiles when I want a white kitchen to feel lived-in instead of clinical.
I favor subway reliefs for subtle rhythm, hexagonal waves for gentle movement, and hand-pressed ceramic for cozy charm.
Layering matte and soft gloss adds depth without shouting.
These styles bring warmth and tactility, letting white remain bright while feeling welcoming and distinctly lived-in.
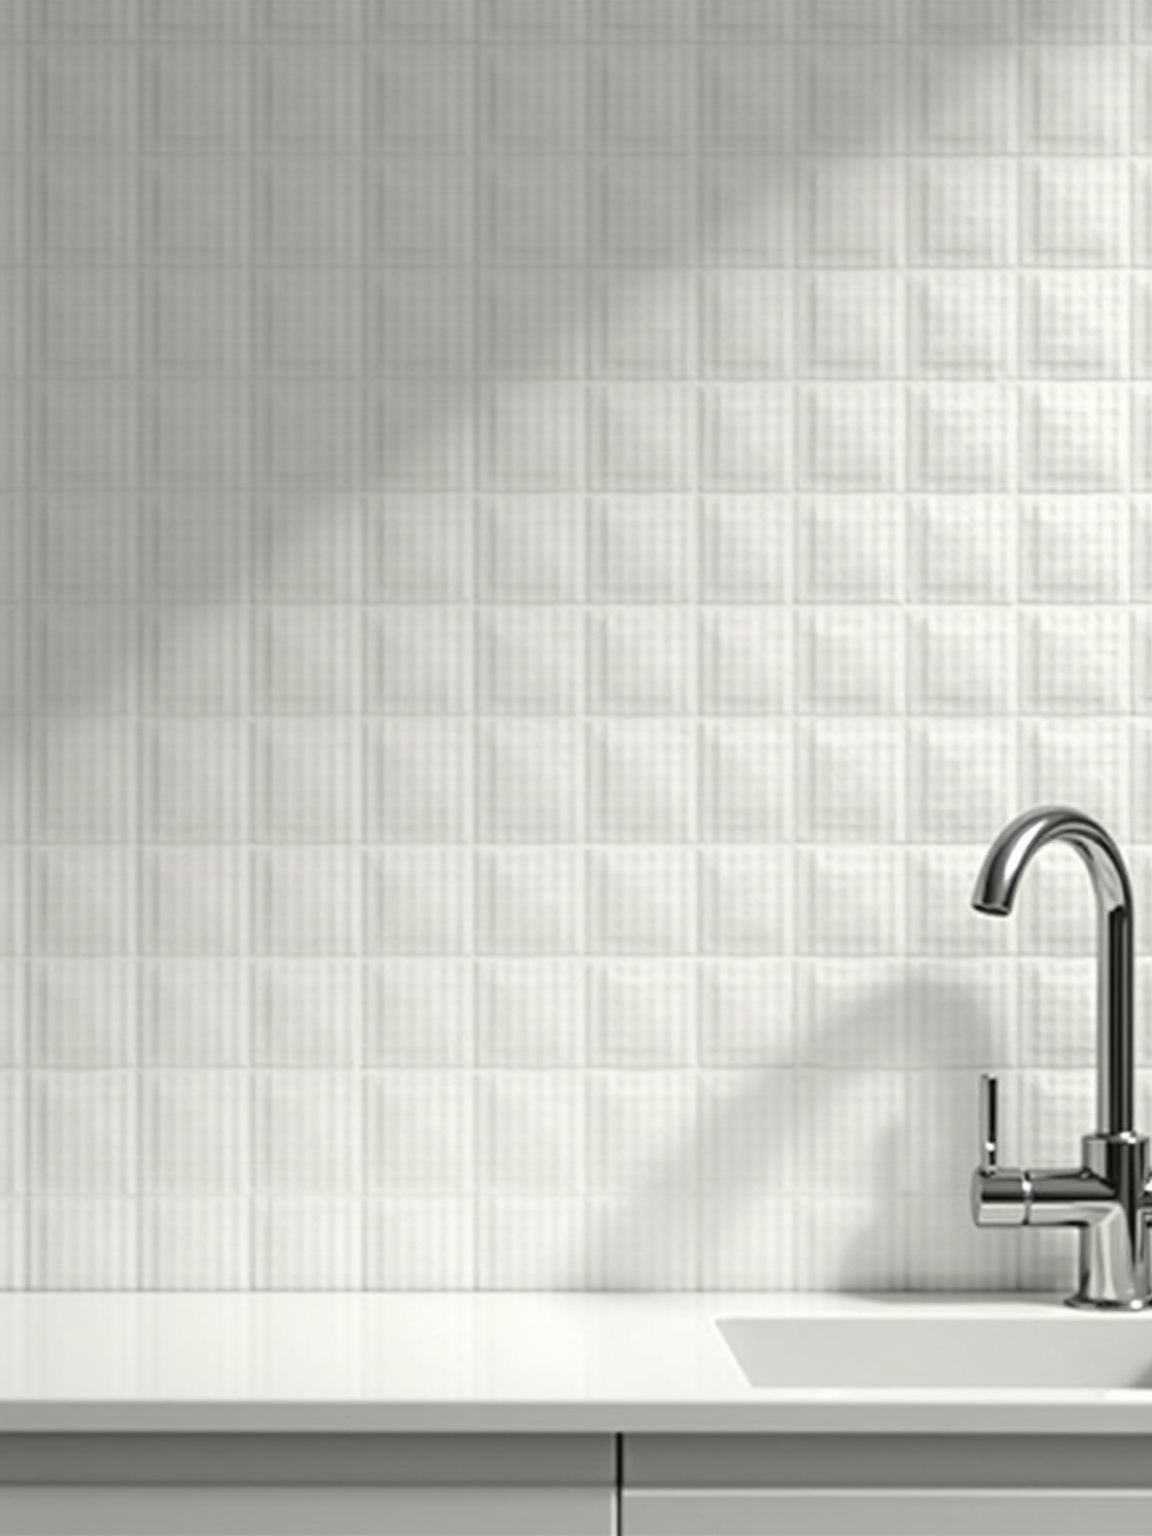
Textured backsplashes can add depth to your cooking area and create visual interest with simple materials like 3D tiles and patterned reliefs, especially when paired with subway reliefs.
Quick Decision Framework: Pick Style, Material, Finish, Budget

I usually start by choosing the style that feels right for the room, then match the material to that look so the tiles actually perform.
From there I focus on finish — matte, glossy, or textured makes a big difference to the feel — and only then tighten the budget to realistic options.
That order keeps decisions simple and the result charming, not chaotic. Elevated backsplashes often use premium alternatives to subway tile for a more distinctive look.
Style First, Then Material
When you’re ready to choose tiles, start with style and let everything else follow; I’ll walk you through a quick, practical order—style, material, finish, then budget—so decisions feel intentional, not overwhelming.
I pick a mood first—modern farmhouse, coastal, or minimalist—then match materials that suit that feeling. That way texture and pattern serve the vibe, and material choices fall into place naturally.
Exquisite tile patterns can transform both floors and walls, adding depth and character with 3D textured tiles that work especially well in a white kitchen.
Prioritize Finish And Budget
Because finish and budget determine how your chosen look actually gets built, I walk you through them next so decisions stay practical and pretty.
I’ll help you balance surface sheen, grout color, and maintenance with what you can spend. We pick finishes that hide wear yet reflect light, then trim choices to match your budget—so your textured tiles feel intentional, durable, and cozy.
Durable backsplashes increase home value when they combine lasting materials with thoughtful finishes.
How Texture Adds Depth Without Darkening White Kitchens

Often I reach for textured tiles when I want a white kitchen to feel lived-in, not lifeless—those subtle ridges and reliefs catch light and cast tiny shadows, giving the space dimension without shifting its overall brightness.
I choose gentle patterns and matte glazes so texture reads as warmth, not contrast, letting sunlight and layered lighting reveal character while keeping the room airy and crisp.
Using texture lets you achieve a timeless neutral look that complements classic materials like marble and wood.
Ceramic vs. Porcelain vs. Stone vs. Glass Relief Tiles
I like to compare ceramic, porcelain, stone, and glass relief tiles side-by-side so you can see how they stand up to wear and water.
Each material brings a different kind of visual texture—ceramic feels homey, porcelain is crisp and refined, stone has raw depth, and glass can add a glossy highlight.
Let’s look at durability and how those surface differences change the look of a white kitchen.
Luxury countertop materials are often rated for both performance and elegance, which is useful when coordinating tiles with counters.
Material Durability Comparison
While I love how textured tiles instantly add character to a white kitchen, I also know durability matters just as much as looks. I’ll walk you through practical strengths so you can pick what lasts.
- Porcelain: dense, water‑resistant, resists chips.
- Stone: sturdy but needs sealing; ages beautifully.
- Glass relief: stylish, brittle; best for low‑impact areas.
Porcelain is often the most resilient choice for busy family kitchens because of its high density and wear resistance.
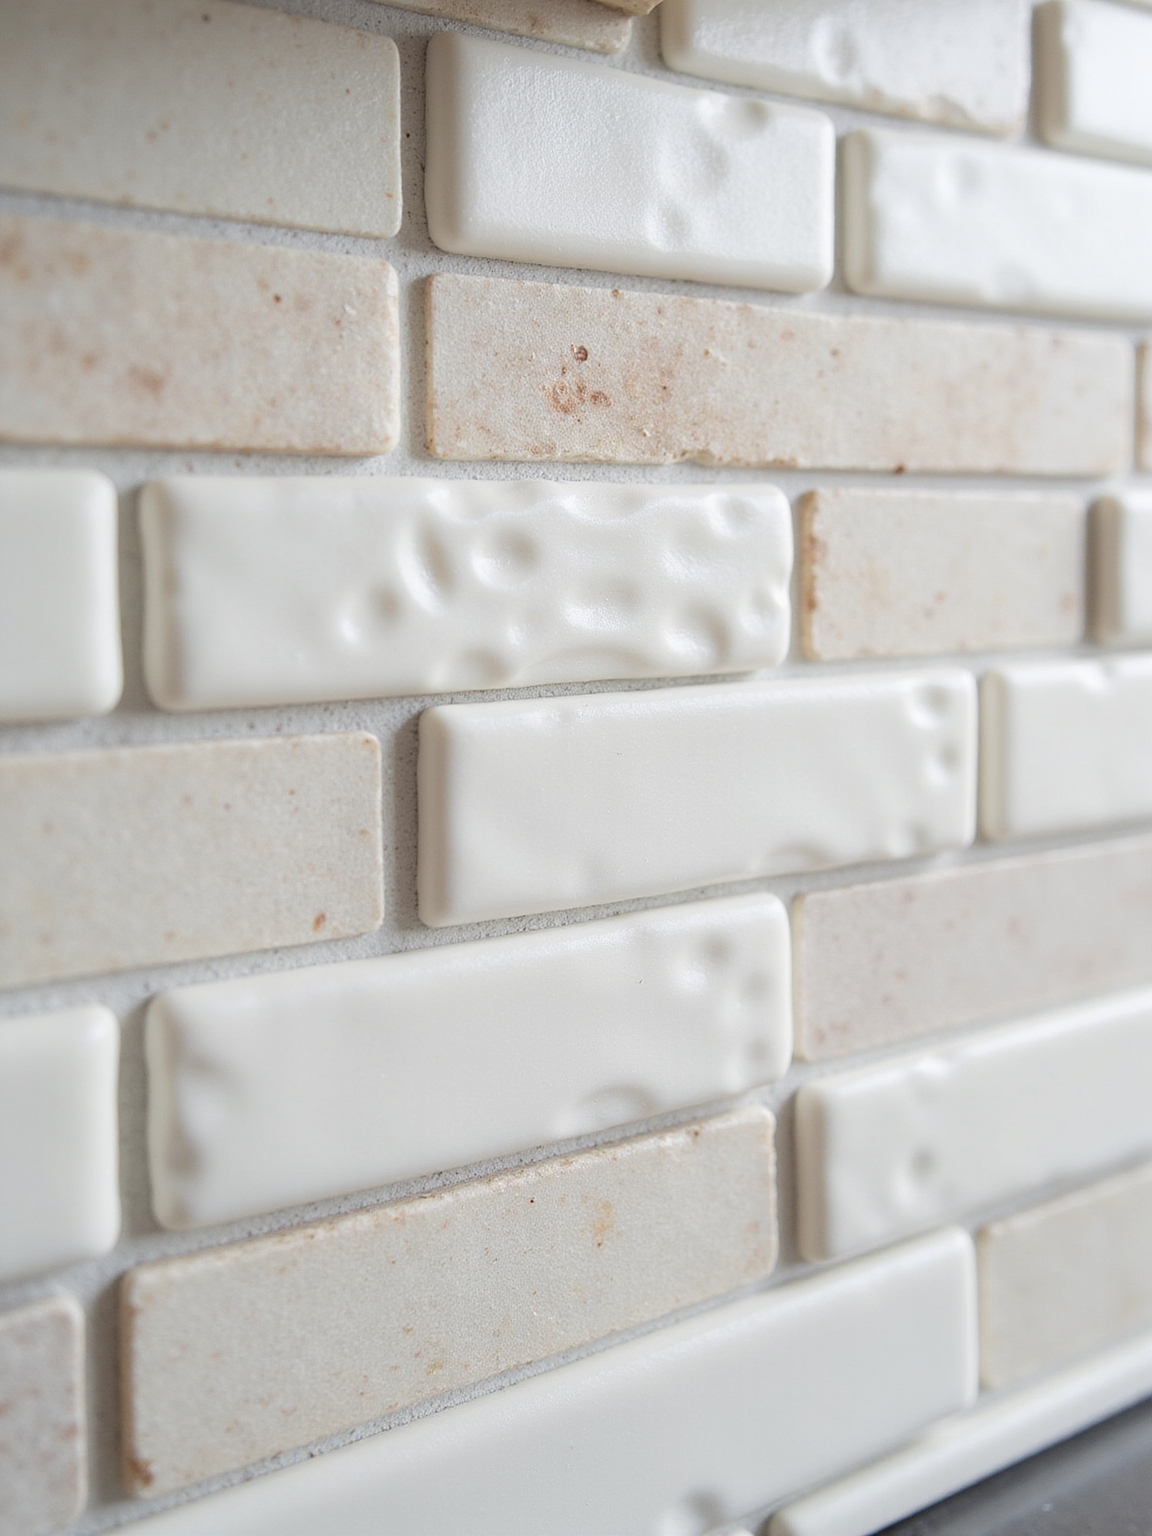
Visual Texture Differences
Durability gives you peace of mind, but I also want you to see how each material reads in a white kitchen — the way light, shadow, and surface catch the eye changes the whole mood.
I notice ceramic’s soft matte warmth, porcelain’s crisp, detailed reliefs, stone’s organic depth with subtle variations, and glass relief’s bright, reflective highlights that dance across a clean, cozy space.
Tough wall coverings that are easier to clean than paint bring both longevity and low-maintenance appeal to busy kitchens, making them a practical design choice with durable surfaces for everyday life.
Matte or Glossy: How Finishes Change Light and Shadow
Because light behaves differently on every surface, I like to think of matte and glossy finishes as two distinct storytellers in a kitchen — one softening edges and the other highlighting moments.
I choose finishes to shape mood, not just shine.
Consider how they play with shadows and warmth:
- Matte absorbs light, cozy and subtle.
- Gloss reflects, crisp and lively.
- Mix for contrast and balance.
Soft Texture vs. Strong Relief: Choosing Pattern Strength
After thinking about how finishes shape light, I start choosing how bold the tile pattern should be: do I want a whisper of texture that reads soft underfoot and lets light move across it, or a pronounced relief that casts strong, tactile shadows and demands attention?
I tend to pick gentle textures for a cozy, lived-in kitchen, saving bold reliefs for a single focal wall to keep balance and warmth.
Using Grout Color to Highlight or Hide 3D Detail
When I pick a grout color for 3D tiles, I think of it like choosing a frame for a painting — it can either make the relief sing or quietly tuck it away.
I usually aim for cohesion, then decide contrast or blend.
- High-contrast to emphasize shadows and depth.
- Matching tone to soften texture.
- Slightly darker to disguise dirt and wear.
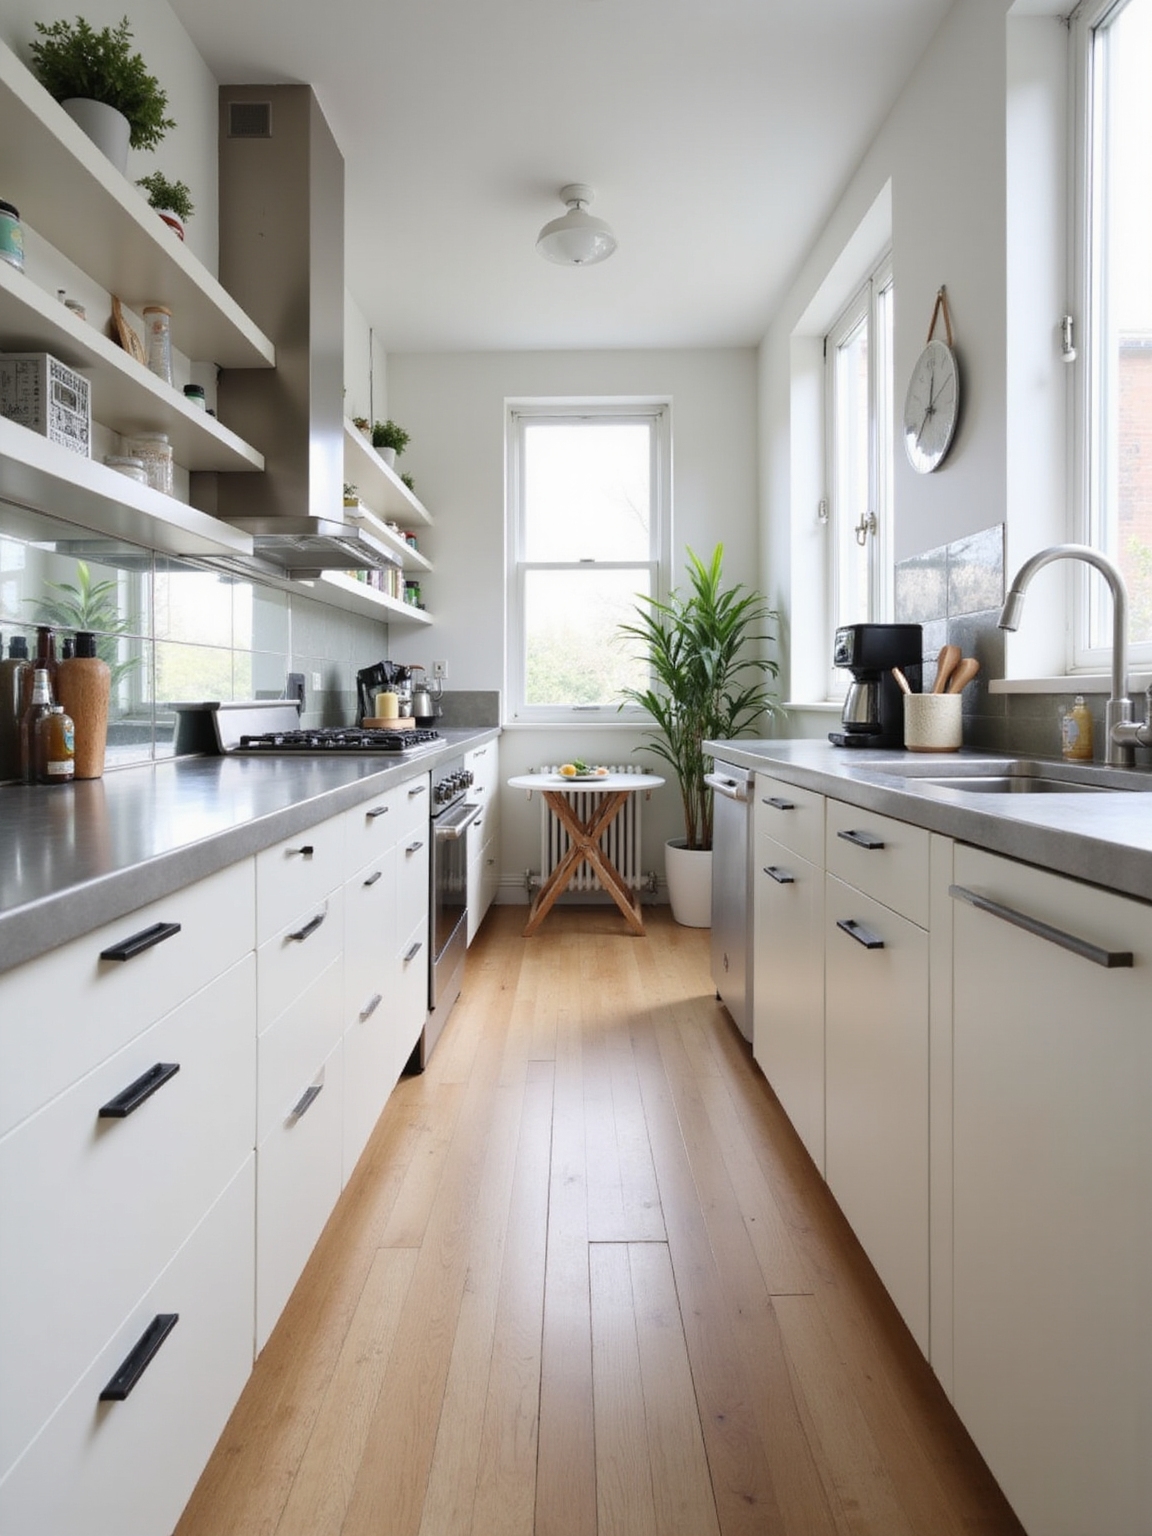
Best Places to Use Textured Tiles in a White Kitchen
I like to pick a single textured tile application and let it sing against white cabinetry. A backsplash accent wall brings character behind the range, an island base adds warmth at the room’s center, and an open-shelf backsplash gives small nooks a handcrafted feel.
Each spot changes the kitchen’s mood without overwhelming the clean white palette.
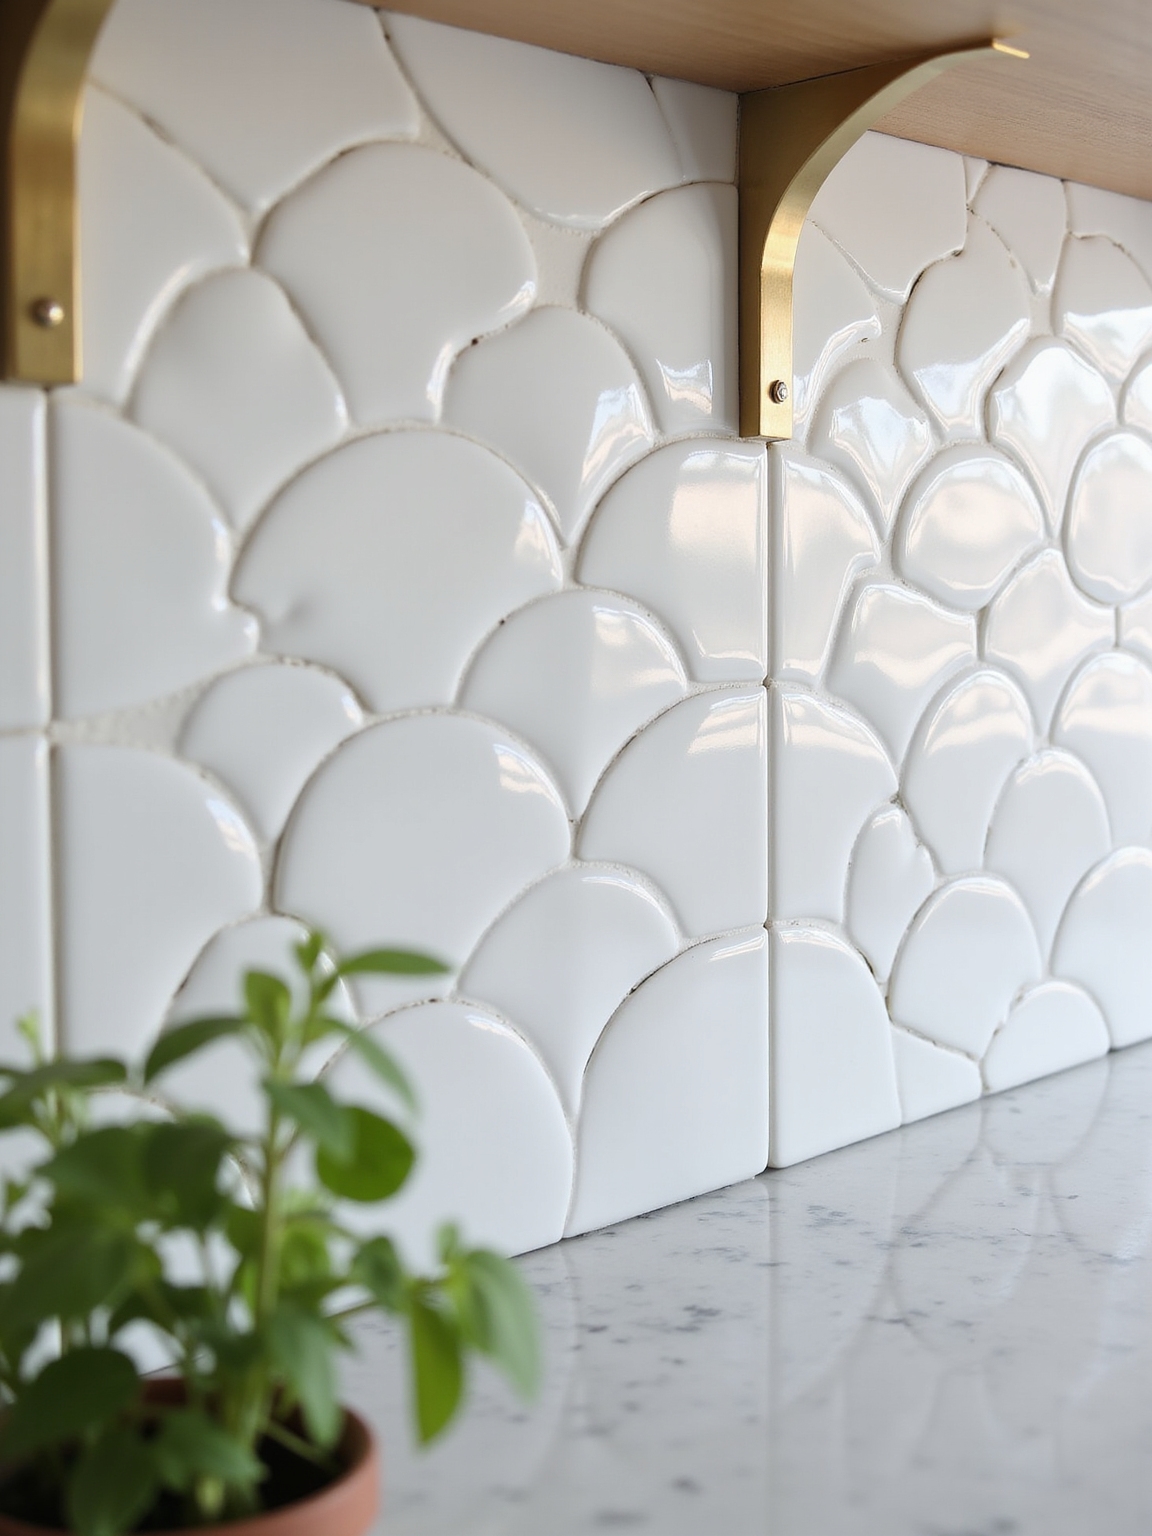
Backsplash Accent Wall
Think of the backsplash as the kitchen’s portrait — I love using textured tiles there to add warmth and character without taking away from a white palette.
They create depth, catch light, and feel lived-in. I often choose hand‑pressed looks for authenticity and easy maintenance.
- Subtle relief for light play
- Earthy tones to warm white
- Durable, wipeable finishes
Island Base Detail
Pulling a textured tile around the island base is one of my favorite ways to ground a white kitchen — it gives the room an instant sense of presence without shouting for attention.
I love how the tactile pattern adds warmth and visual weight, framing stools and creating a cozy focal point. It’s practical, hides scuffs, and invites touch—simple, rustic charm that feels deliberate.
Open Shelf Backsplash
While open shelves breathe light into a white kitchen, I like anchoring them with a run of textured tile so the display feels rooted and intentional.
It adds depth behind pottery, keeps spills easy to wipe, and creates a cozy, handcrafted backdrop I can’t resist.
- Layered ceramics
- Cookbooks display
- Hanging mugs
Tile Layout Ideas for Sink and Range Focal Points
Because the sink and range naturally draw the eye, I like to treat them as mini focal points and design tile layouts that highlight each one without overwhelming the room.
I often frame the sink with a simple stacked pattern and use a herringbone or vertical stack behind the range, keeping grout tones warm so the textured tiles feel intentional, cozy, and quietly rustic.
Mixing Plain and Textured Tiles for Balance and Rhythm
I like to break up expanses of textured tile with plain field tiles so the eye can rest and the textures read as deliberate accents rather than visual noise. I choose calm plains, then layer texture like a melody.
Here’s how I balance rhythm:
- Alternate bands of plain and textured tiles.
- Use plain tiles around busy areas.
- Repeat textured accents for cohesion.
Pairing Textured Tiles With White Cabinets, Counters, and Hardware
I like to keep textured tiles grounded with matte white cabinets and counters so the surface detail can sing without glare.
A soft, muted finish gives that cozy, lived-in feel while metallic hardware—warm brass or aged nickel—adds just the right gleam to highlight edges and pulls. Let’s talk about pairing those finishes so your kitchen reads cohesive, not fussy.
Balance With Matte Finishes
While I love the rich depth that textured tiles bring, I lean on matte finishes to keep a white kitchen feeling calm and lived-in rather than busy.
I pair matte cabinets, honed counters, and soft-touch hardware to mute reflections and let texture sing without shouting.
- Matte cabinets for warmth
- Honed stone counters for softness
- Soft-touch hardware for subtlety
Accentuate With Metallic Hardware
Bring in metallic hardware to lift the room—I like how a few well-chosen metals turn textured tiles and white surfaces from pretty to purposeful.
I pair aged brass knobs, matte black pulls, or warm copper faucets to echo tile relief and add contrast. Keep finishes limited to two tones, repeat metal accents, and let patina or brushed textures bring a lived-in, comforting kitchen vibe.
Lighting Strategies to Highlight Texture (Natural & Task)
How do you make those 3D textured tiles sing without overwhelming the calm of a white kitchen? I love using light to reveal depth—soft natural light by day, focused task lighting by night.
Here are three simple strategies I use:
- Low-angle natural light to cast gentle shadows.
- Adjustable under-cabinet task lights for contrast.
- Warm dimmable fixtures to keep a cozy, rustic glow.
Care and Cleaning for 3D Textured Tiles
I usually keep things simple when caring for 3D textured tiles—gentle, regular attention prevents grime from settling into the crevices and keeps the surface looking fresh without effort.
I wipe spills quickly with a soft cloth and mild detergent, brush grout lines gently with a soft brush, and avoid harsh abrasives.
A light sealant on grout helps, and occasional steam cleaning refreshes without damage.
Budget Guide: Cost Ranges and Where to Save or Splurge
If you’re watching your budget, start by knowing the typical price bands for 3D textured tiles so you can decide where to save and where to splurge.
I’ll walk you through realistic ranges and practical choices—pick focal pieces, economize elsewhere, and keep installation in mind.
- Low: basic ceramic, affordable and charming.
- Mid: glazed designs, better texture detail.
- High: artisan or stone, statement-makers.
Buying Checklist: Sample Testing and Questions for Suppliers and Installers
Want to know the quickest way to avoid buyer’s regret? I insist on testing samples at home—light changes everything—check texture, grout fit, and durability.
Ask suppliers about return policy, lead time, and batch consistency.
For installers, confirm experience with 3D tiles, waterproofing, and a clear warranty.
Bring measurements and agree on payment milestones before work begins.
I can already see it: sun slanting across those sculpted tiles, shadows tracing every ripple like a quiet story. Choose textures that feel like touchable poetry—stone for warmth, porcelain for calm—and let light do the rest.
Keep cleaning simple and budget smart, sample before you commit, and ask your installer the right questions. When your white kitchen hums with subtle relief, it won’t just look unique—it’ll feel like home.