I treat the space above cabinets like intentional architecture—measure the gap, note vents and wiring, then pick one clear goal: highlight a display, blend the trim, or quietly hide clutter. I favor durable, wipeable materials, layered lighting, and a few substantial pieces (reclaimed wood, baskets, or a vintage urn) grouped by height for rhythm.
Keep vents accessible and artwork away from heat. If you want practical placement tips and simple seasonal swaps, keep going.
Quick Guide: What to Do By Gap Height

If your gap above the cabinets is small, I’ll tell you right away: don’t overthink it—keep things low and simple so the space reads intentional.
I suggest narrow greenery, a row of small framed prints, or a single long tray with rustic jars.
For medium gaps, layer baskets and pottery; tall gaps can handle statement pieces or stacked wooden crates for warmth.
Expert-approved ideas can help you choose pieces that complement your kitchen’s style — see above cabinet decor for inspiration and guidance.
Measure Above-Cabinet Space and Note Constraints

Because good design starts with good measurements, I like to grab a tape measure and note the exact height, depth, and length of the gap above each cabinet before I pick anything out.
I also jot down obstacles—soffits, vents, outlet placement—and note lighting and sightlines.
Those constraints guide practical choices and keep the rustic charm functional, not fussy.
Designers often recommend considering the cabinet-top clearance to determine whether decorative items or ambient lighting will work best in the space.
Identify Your Goal: Feature, Blend, or Conceal the Gap

Decide what you want that space to do before you start shopping—I usually pick one clear goal so the result feels deliberate.
I ask myself: spotlight a charming display, blend it into the wall, or hide clutter. Choosing lets me select finishes, lighting, and baskets that match.
When I commit, the above-cabinet gap feels intentional, not an afterthought. Designer Top-of-Cabinet Decor for Tall Kitchens often inspires scale and proportion choices, especially for tall kitchens.
Plan for Vents, Ducts, Wiring, and Airflow

Before you start styling up there, I’ll plan where vents and ducts need to sit so nothing blocks airflow or cooking exhaust.
I’ll also map tidy paths for wiring so lights or decor look intentional, not like an afterthought.
A little planning now keeps everything safe, works properly, and still looks charming.
Sleek kitchen ventilation not only improves air quality but also serves as a design statement that elevates the room’s architecture.
Plan Vent Locations
When I plan where to place vents, ducts, and wiring above the cabinets, I think about airflow, accessibility, and how the lines will look against the wood and trim.
I aim for practical routes that feel intentional and rustic, keeping service access easy and sightlines calm.
- Map airflow paths.
- Prioritize accessibility.
- Match vent finishes to trim.
- Avoid obstructing shelving.
Consider installing vents with coordinated finishes to blend function with design.
Conceal Wiring Paths
Although I want the wiring to be invisible, I also plan routes that are logical and serviceable so future repairs won’t turn into a nightmare.
I tuck cables behind crown molding, run them inside hollow soffits, and label junctions discreetly. That way lights, under-cabinet plugs, and small fans look tidy and rustic, yet remain accessible when a fix or upgrade becomes necessary.
I also incorporate layered styling and top-of-cabinet accents to make the space feel intentionally finished while hiding practical elements.
Ensure Proper Airflow
Since cabinets can trap heat and moisture, I plan ventilation as carefully as I pick finishes so my above-cabinet displays don’t become a problem later;
I route vents and ducts where they’ll move air quietly, keep wiring clear of airflow paths, and leave access panels for service.
- Place soffit vents for steady circulation.
- Run ducts with gentle bends.
- Separate wiring from airflow channels.
- Keep panels accessible for maintenance.
I also choose durable finishes and raw materials that complement the look and stand up to kitchen conditions, such as stainless steel and sealed concrete.
Pick Dust- and Heat-Resistant Materials and Finishes

I always pick materials up there that won’t warp or scorch from kitchen heat, like metal, stone, or treated woods.
I also choose finishes that wipe clean easily—matte or semi-gloss paints and sealed woods that shrug off dust and grease.
That way your display stays charming without constant fuss. I often layer in lightweight decor and designer-approved accents to keep the look cohesive without overloading the space.
Heat-Resistant Materials
Choosing heat- and dust-resistant materials is one of the smartest moves you can make for above-cabinet decor, because those spaces get warm, dusty, and easy to neglect.
I favor hardy, rustic choices that age well and don’t demand constant fuss.
- Brick veneer
- Reclaimed metal panels
- Terracotta pots
- Heat-rated hardwood beams
Easy-Clean Finishes
While you’re working with heat- and dust-resistant materials, I also look for finishes that wipe clean without fuss—matte or low-sheen paints, sealed wood, and porcelain-friendly coatings handle grime and heat best.
I choose surfaces that resist staining, tolerate warm pans, and won’t show dust. A quick damp cloth restores the look, keeping rustic charm without endless scrubbing or fussy maintenance.
Add Layered Lighting to Lift the Ceiling Visually
If you want a ceiling that feels higher without a costly renovation, I’ll show you how layered lighting can trick the eye and warm the room.
I mix ambient, task, and accent lights to add depth and rustic charm.
- Recessed uplights for soft glow
- Pendant clusters over islands
- LED strips above cabinets
- Wall sconces for vertical emphasis
Choose Crown Molding and Trim That Complements Cabinets
Because crown molding frames the space above your cabinets, I pick trim that echoes their style and finish so the whole room reads as intentional and cozy.
I favor simple, tapered profiles for rustic shaker cabinets and chunkier, carved pieces for reclaimed or farmhouse styles.
Matching stain tones or a slightly lighter glaze ties things together without competing with your cabinetry’s character.
Pick a Color Strategy for the High Shelf
Now that you’ve picked trim that speaks to your cabinet style, it’s time to choose a color strategy for that high shelf so the whole arrangement feels intentional.
I like simple palettes that echo my kitchen tones and introduce warmth.
- Match to cabinet undertones.
- Use an accent hue sparingly.
- Add a muted neutral base.
- Repeat a small natural texture.
Use Large Architectural Pieces and Sculptures for Scale
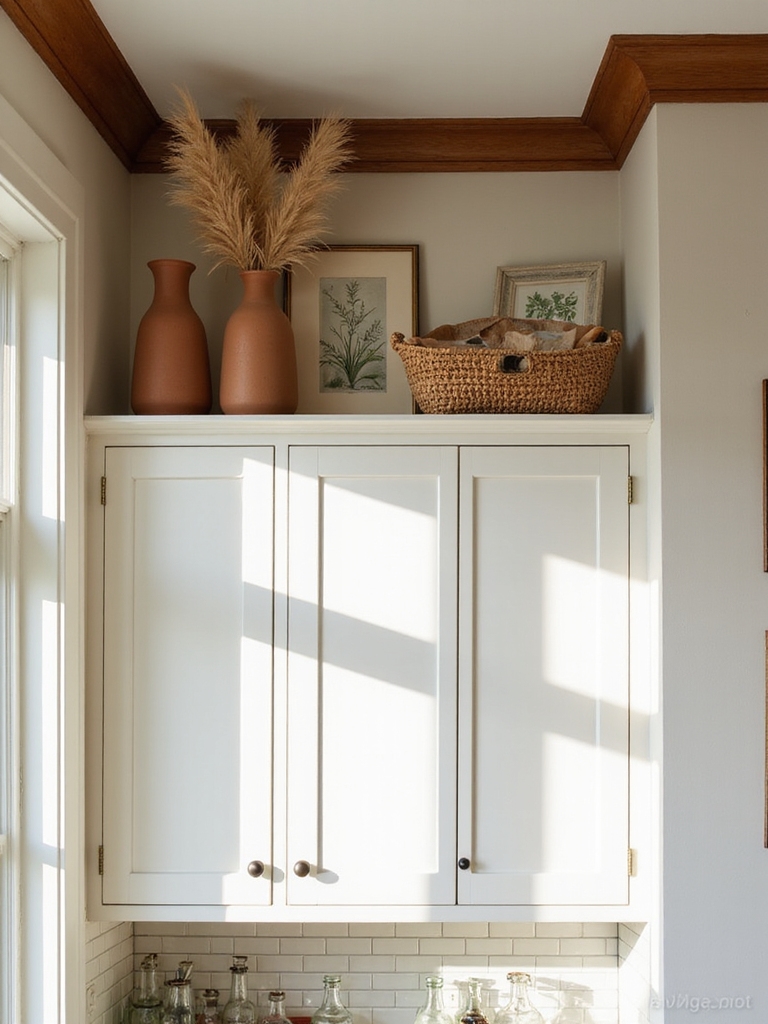
Bring in a few large architectural pieces or sculptures to give that high shelf real presence — I like using things with weight and history, like a reclaimed corbel, a vintage urn, or a simple plaster column fragment.
I place one or two substantial pieces to anchor the space, let them breathe, and keep surrounding objects minimal so the architecture reads like intentional, lived-in art rather than clutter.
Group Collections Above Cabinets for Rhythm and Balance
I like to group collections above cabinets to create a steady rhythm that feels collected, not cluttered. I arrange objects by height and material, letting repeats and gaps breathe.
I aim for balance, rustic charm, and a lived-in look that ties the kitchen together.
- Antique jars
- Wooden bowls
- Woven baskets
- Vintage plates
Add Low-Maintenance Faux or Live Greenery Above Cabinets
After arranging my jars, bowls, baskets, and plates to create that lived-in rhythm, I like to add low-maintenance greenery above the cabinets to soften the lines and warm the space.
I choose faux eucalyptus or hearty pothos in woven pots, tucking trailing stems so they feel natural. They require little care, hide dust, and bring a quiet, rustic cheer without fuss.
Hang Artwork Safely and Avoid Heat/Dust Damage
When I hang artwork above cabinets, I take care to keep pieces away from heat sources and dusty ledges so they last and look fresh.
I choose sealed frames, lightweight pieces, and simple hooks, and I dust gently.
- Use heat-resistant frames
- Mount with small anchors
- Keep clear of stove vents
- Dust weekly with a soft cloth
Install Floating Ledges and Secure Shelf Fastenings
I like using solid wood or metal ledges up above cabinets because they hold weight and age nicely.
I always anchor shelves into studs or use heavy-duty anchors so bowls and jars stay put.
Let me show you how to pick materials and fastenings that keep your display safe and charming.
Choose Sturdy Ledge Materials
Because those high spots are both visible and risky, I pick materials that are tough and forgiving so my ledges don’t sag or fail under weight or time.
I favor options that look lived‑in yet hold up.
- Reclaimed hardwood — dense, charming, stable.
- Solid pine — affordable, easy to finish.
- Steel box sections — slim, strong.
- Engineered wood — consistent, warp‑resistant.
Anchor Shelves Correctly
Start by treating anchoring as the job that decides whether your ledge lives or collapses—so I take it seriously.
I locate studs, use solid toggles in plaster, and pick heavy-duty concealed brackets for floating shelves.
I predrill, level carefully, and tighten fastenings without splitting wood.
Secure anchoring keeps rustic displays safe and gives that confident, lived-in kitchen vibe I love.
Budget-Friendly Looks: High-Impact, Low-Cost Swaps
I often find that small, inexpensive swaps make the biggest visual difference, so I like to hunt for budget-friendly pieces that feel purposeful rather than cluttered.
I swap art, greenery, baskets, and lighting to warm the space without breaking the bank.
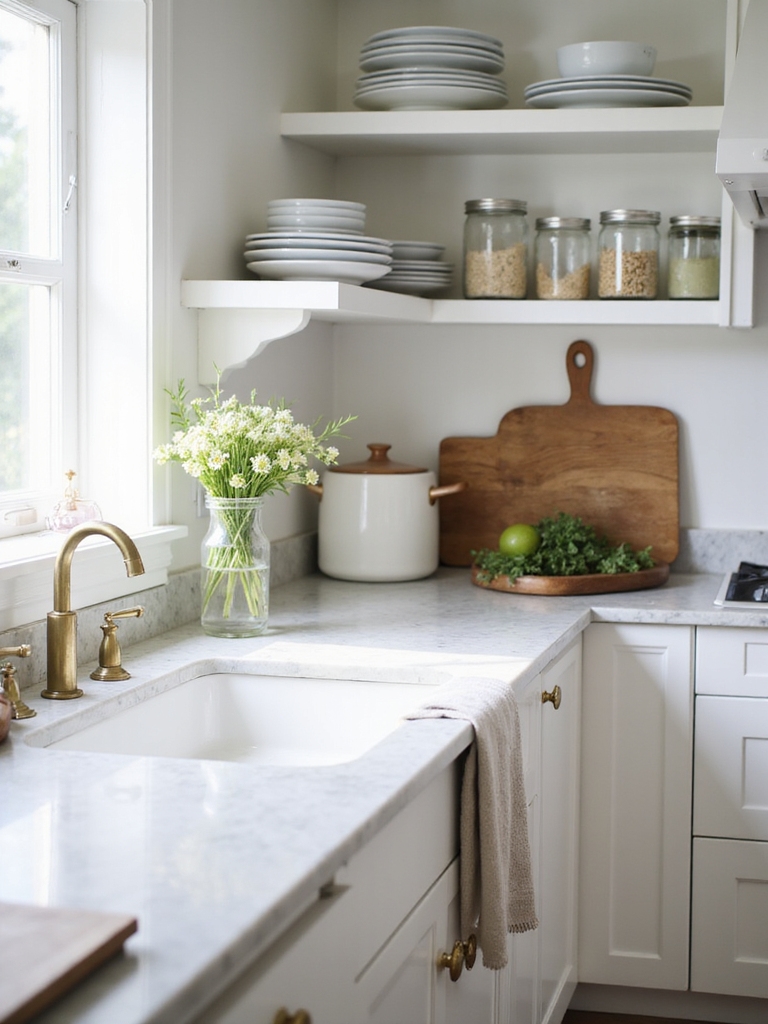
- Vintage cutting boards
- Dried herbs in jars
- Woven baskets
- String or puck lights
Seasonal Swaps and Common Decorating Mistakes
After swapping in a few vintage boards and soft string lights, I like to tweak the top of cabinets with small seasonal touches that feel curated, not cluttered.
I rotate simple items—dried wreaths, sprigs, ceramic pumpkins—keeping palettes cohesive. I avoid overcrowding, mismatched scales, and permanent holes. Less is purposeful: one focal motif per season keeps the space warm and intentional.
You’ve got a narrow gap and big possibilities—practical meets pretty. I’ll plan for airflow and hidden vents, yet I’ll still tuck in a weathered cutting board or a row of enamel pitchers so the space feels lived-in.
I’ll favor heatproof, dust-resistant finishes and secure shelves, but I won’t be afraid of a seasonal vignette that brings color.
Small changes, thoughtful fixes: the gap becomes architecture, not an afterthought.