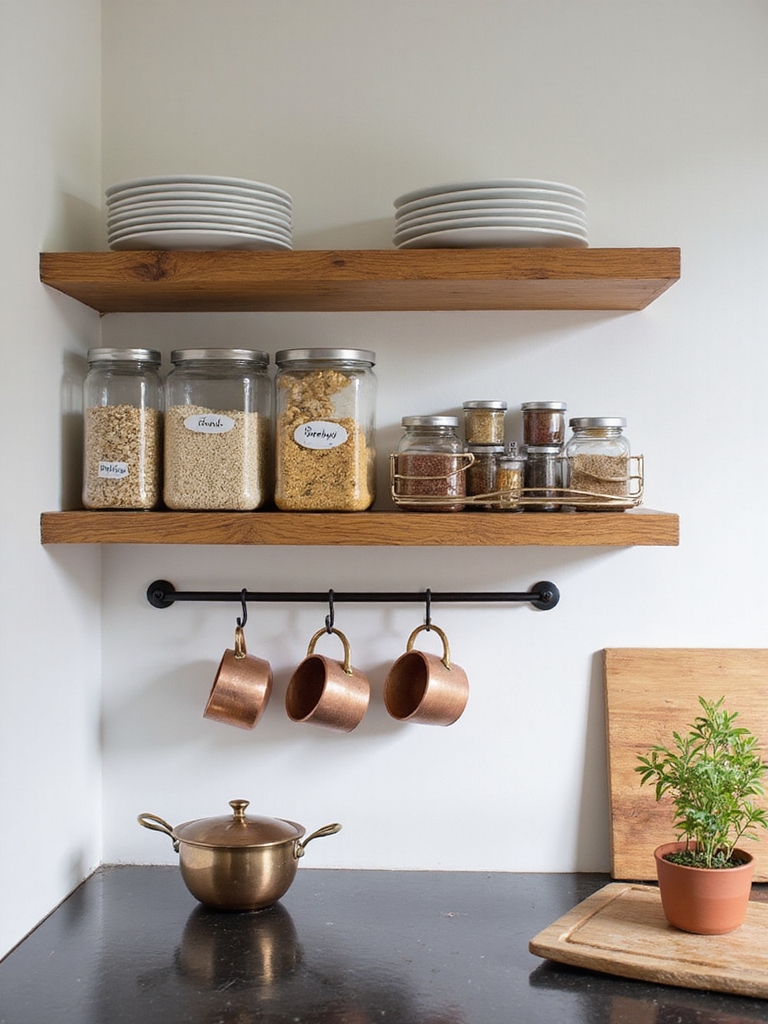
I’ll show you how to make kitchen shelves feel cozy and useful fast: swap mismatched jars for mason jars, group plates and glasses, lean wooden boards behind jars, and hang a couple of everyday mugs for charm.
Layer trays and vary heights, tuck herbs in small jars, and add a linen to finish the look. Keep oils and knives in your daily zone, use baskets for overflow, and add warm under-shelf lighting for mood — keep going and I’ll share planning, placement, and upkeep tips.
Quick Styling Wins: 8 Fixes in 10 Minutes
I’ll show you eight simple tweaks you can make in about ten minutes to lift your kitchen shelves from tired to charming; these are the quick wins I reach for when I want a rustic, put-together look without a major overhaul.
I swap mismatched jars, group like items, add a small cutting board, tuck herbs in mason jars, layer trays, hang a single rustic mug, and finish with a linen.
Custom Kitchen Shelf Decor offers easy ways to create a cohesive, organized display with minimal effort.
Choose Your Shelf Type: Open, Floating, or Cabinet-Top
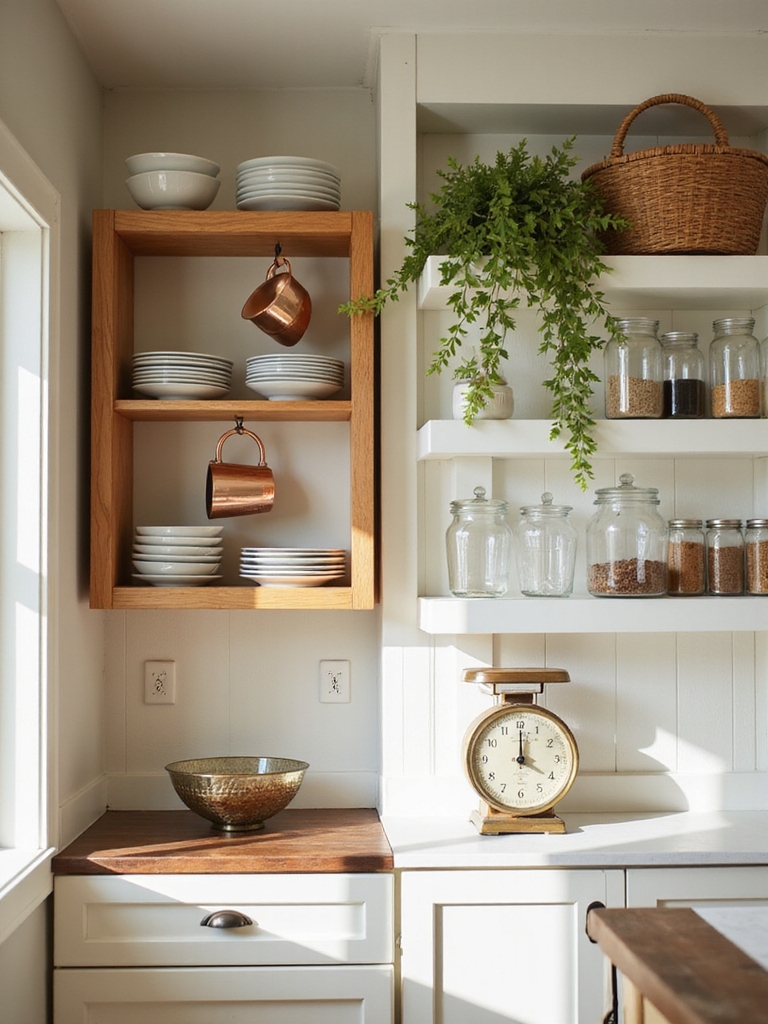
I’ll help you weigh open shelving‘s charm and the mess it can show, share simple tips for styling floating shelves so they feel lived-in not cluttered, and offer practical cabinet-top ideas for extra storage.
I’ll point out when each option works best for busy kitchens or quiet country ones.
Together we’ll pick the shelf type that fits your routine and rustic vibe.
Designer touches elevate shelf styling with layered textures and curated objects for a polished look; consider incorporating shelf styling to achieve a cohesive finish.
Open Shelving Pros And Cons
While I love the airy look of open shelving, I also know it’s not for every kitchen or every person.
I’ll share honest pros and cons so you can decide. Open shelves show charm but demand upkeep and careful styling.
- Visible beauty — quick access
- Dust and clutter risk
- Limits heavy storage, needs staging
Floating shelves can add a sleek, modern touch and are ideal for stylish floating shelf decor to enhance open-plan kitchens.
Floating Shelf Styling Tips
Because I want your kitchen to feel both lived-in and intentional, I’ll walk you through how to style floating shelves so they look effortless—not cluttered.
I balance wood bowls, a few cookbooks, and herbs in terracotta pots.
I layer heights, leave breathing room, and repeat materials for cohesion.
Keep everyday dishes handy, art small, and avoid overloading a single shelf.
Designers also recommend styling the top of cabinets with a mix of practical and decorative pieces to maintain visual flow and consistent height.
Cabinet-Top Storage Ideas
If you want to make the most of the space above your cabinets, pick the shelf type that fits your kitchen’s rhythm—open for display, floating for a modern touch, or cabinet-top for streamlined storage. I tuck baskets and antique jars up there, keeping things tidy but charming.
- Baskets for overflow
- Labeled jars
- Seasonal decor
Expert-approved ideas often include mixing textures and heights to create visual interest, such as combining woven baskets with metal accents and vintage pieces to balance form and function, which is why many designers recommend styling with layers for cohesive displays.
Set Your Styling Goal: Function, Display, or Hybrid
Deciding what you want your kitchen shelves to do makes the rest of the styling so much easier, so I like to start by choosing a clear goal: purely functional, mainly decorative, or a hybrid of both.
I decide whether everyday items stay handy, heirloom pieces get gentle spotlighting, or a mix balances utility and charm.
You can also use above-cabinet space to maximize storage or display with clever above-cabinet decor.
Measure & Plan: Reach, Weight, and Spacing
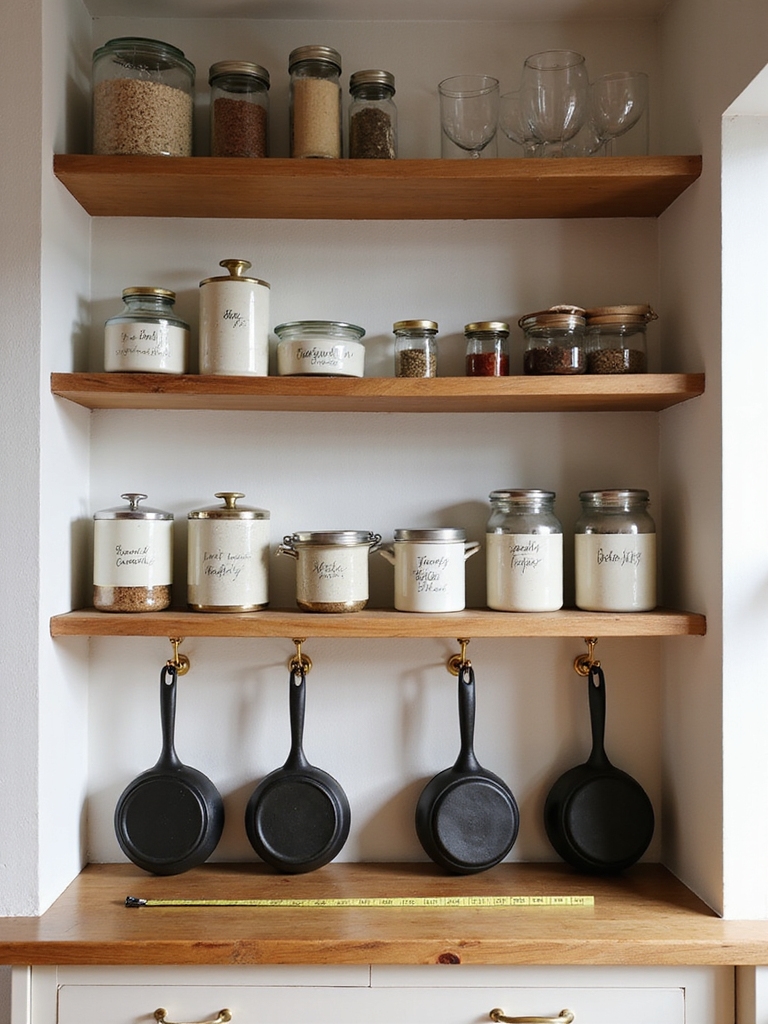
When I measure and plan my shelves, I start by thinking about reach, weight, and spacing together so nothing feels awkward once it’s up there.
I note clear heights and sturdy brackets, imagining hands grabbing mugs or jars.
I use a simple checklist:
- Reachable zones
- Weight limits
- Vertical spacing
This keeps styling cozy, safe, and useful.
I also make sure to incorporate sturdy brackets to support heavier items and maintain a tidy, reliable setup.
Plan Placement: What Goes Where for Easy Access
I like to map my shelves by use: a daily use zone for mugs and oils sits closest at hand, while prep-and-cook items live within easy reach of the stove.
I keep pretty dishes and cookbooks on higher or more visible shelves for display, and reserve sturdier, heavier containers lower down for storage.
Let’s walk through how to arrange each zone so your kitchen feels both charming and efficient.
For a polished look, consider stylish counter decor to keep surfaces attractive while minimizing clutter.
Daily Use Zone
Because I cook most days, I place the items I reach for constantly within easy arm’s reach: oils and salt by the stove, my favorite knives on a magnetic strip, and frequently used bowls and measuring cups on the lower open shelf.
I keep a tidy, lived-in feel and label baskets for clarity.
- Everyday plates
- Tea jars
- Dish towels
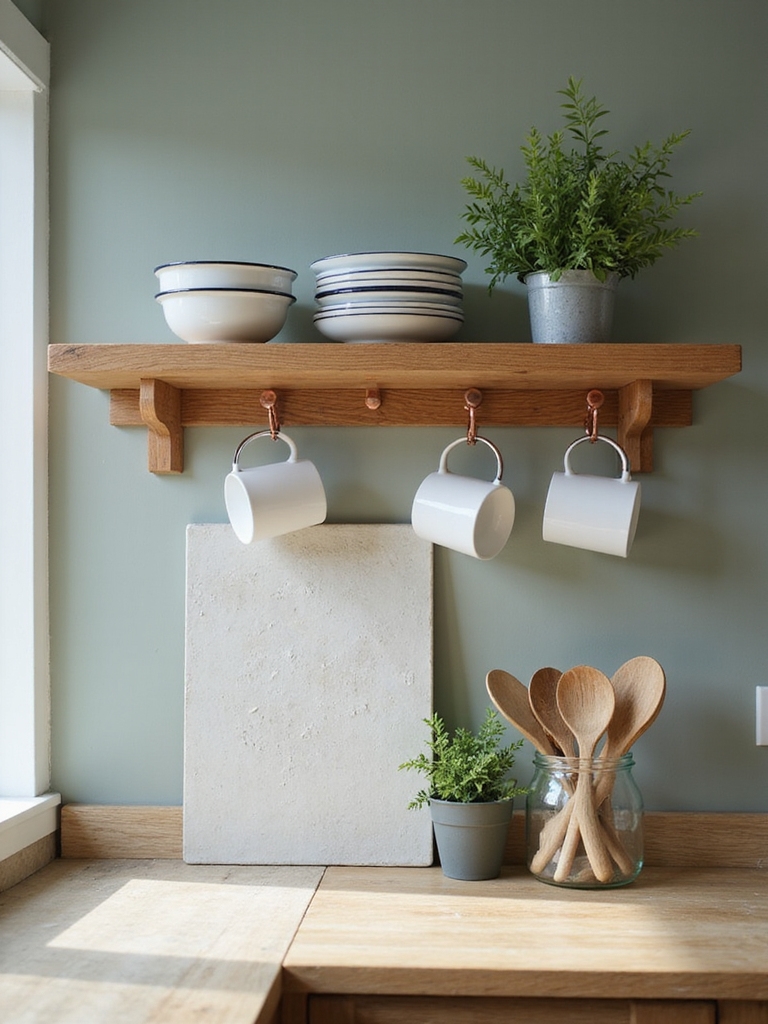
Prep And Cook Reach
Think through how you move while prepping and cooking, and place tools where your hands naturally go so nothing interrupts the flow.
I keep knives near the cutting board, oils and salt within arm’s reach of the stove, and frequently used bowls and spoons on a low shelf.
That way I work smoothly, keep counters clear, and enjoy a cozy, efficient kitchen rhythm.
Display Versus Storage
Good placement goes beyond reach — it’s about deciding what you want to show and what you want tucked away. I arrange open shelves with useful beauty: bowls, herbs, and a few vintage mugs. Hidden bins hold extras and clutter.
I follow simple rules:
- Daily use up front
- Decorative items mixed in
- Bulk and tools concealed
This keeps my kitchen cozy and practical.
Group Like With Like: Dishes, Glassware, Cookware
I like to group like with like on my kitchen shelves because it makes the space feel calmer and easier to use: plates with plates, glasses with glasses, and pots with pots.
I arrange by size and frequency of use, keeping everyday items within reach and special pieces slightly higher.
It’s practical, visually pleasing, and gives the rustic kitchen a tidy, lived-in rhythm.
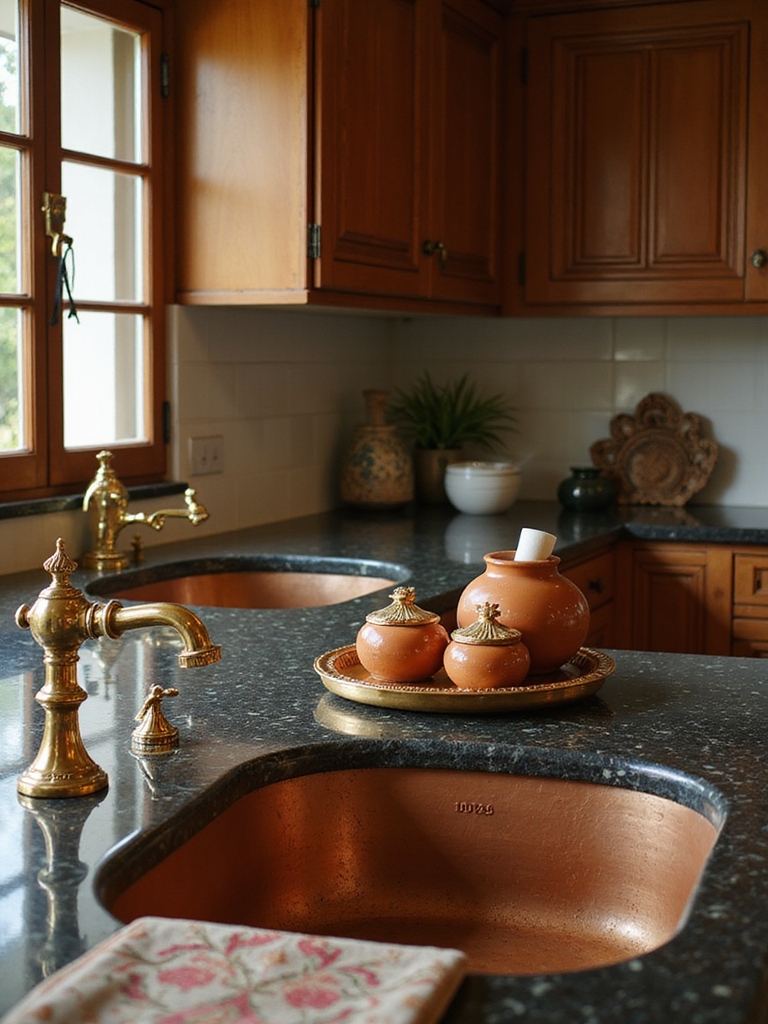
Use Jars, Canisters, and Baskets for Texture + Storage
Layer jars, canisters, and woven baskets on your shelves to add texture and keep things within reach.
I use glass jars for dry goods, ceramic canisters for tea and sugar, and woven baskets for linens.
They look cozy and stay useful.
Try this simple combo:
- Glass jars
- Ceramic canisters
- Woven baskets
It’s rustic, tidy, and practical.
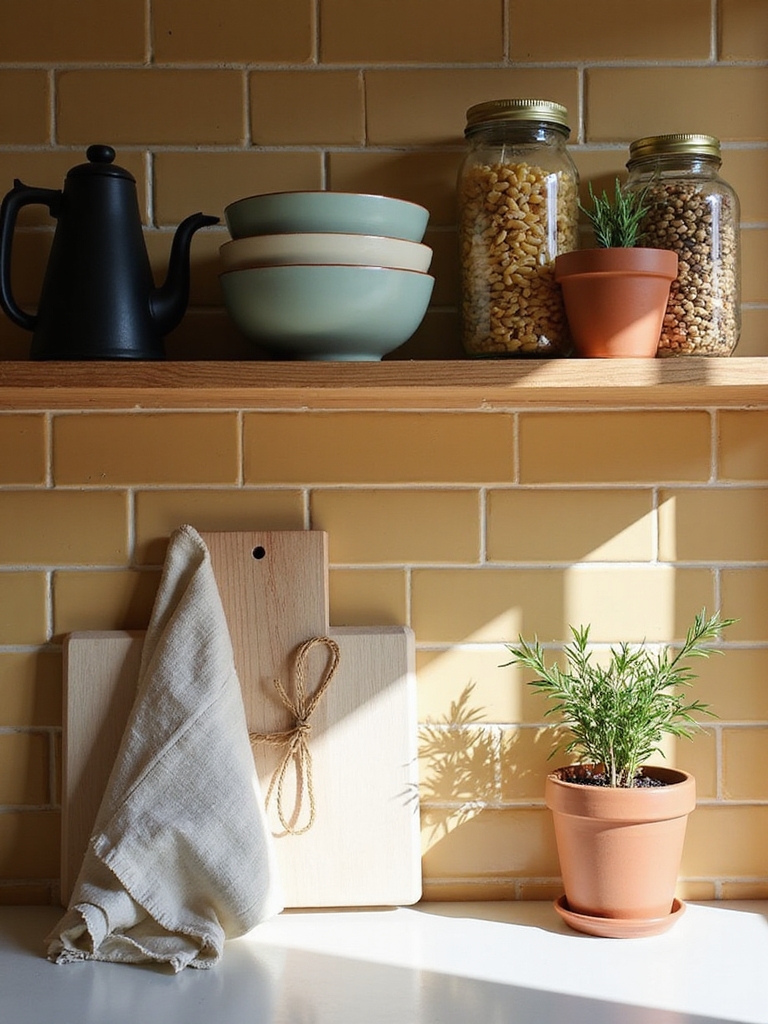
Showcase Everyday Essentials: Mugs, Boards, Bowls
Pull out the mugs you reach for most and place them where you can grab them without hunting — I like to hang a few on hooks and nest the rest on a low shelf so they feel lived-in, not staged.
Add a couple of wooden boards upright for character and stacked bowls for everyday use.
Keep things accessible, honest, and slightly imperfect for that cozy kitchen rhythm.
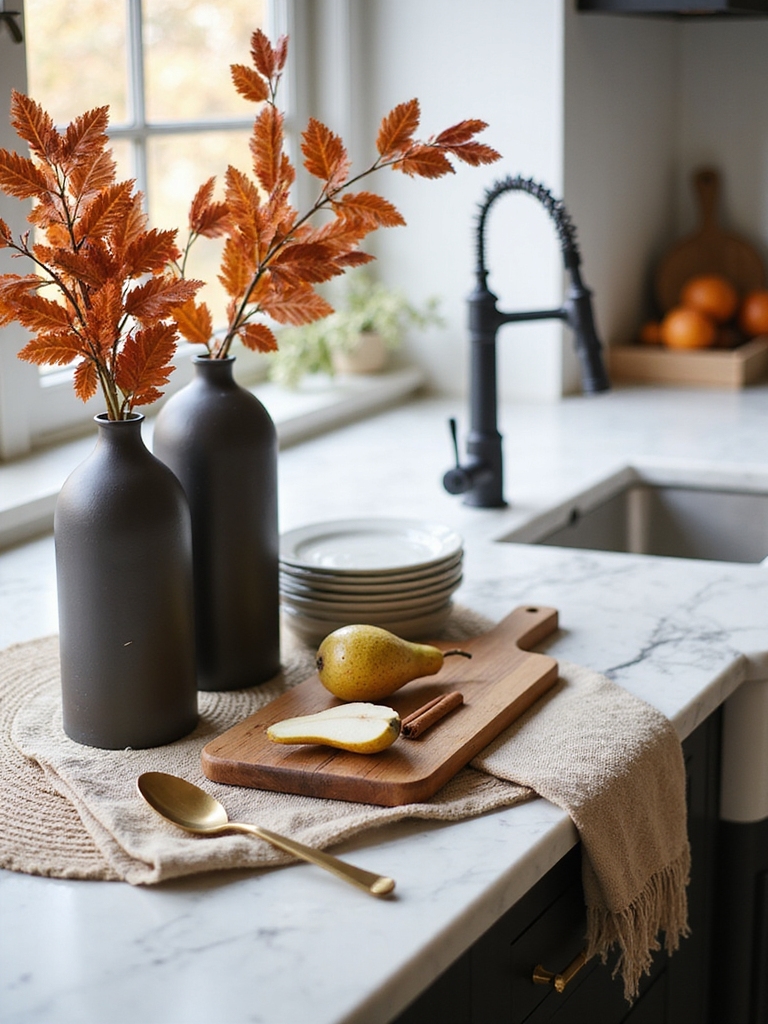
Layer for Depth: Stack, Lean, and Stagger
Think of your shelves like a small landscape: I stack a few plates, lean a cutting board behind a jar, and stagger items so the eye can travel.
I keep layers varied in height and texture to create cozy rhythm. Try simple groupings:
- Stack plates
- Lean boards
- Stagger jars
This keeps shelves functional, rustic, and inviting.
Add Low‑Maintenance Plants for Warmth
I like adding a few low-maintenance plants to kitchen shelves to bring warmth and life without extra fuss.
Hardy succulents handle sunny spots, low-light ferns thrive where light is scarce, and air plants give a rustic, hanging touch with almost no soil.
Pick a mix that suits your light and you’ll have a cozy, lived-in shelf in no time.
Choose Hardy Succulents
I love tucking hardy succulents onto kitchen shelves because they bring a little green life without much fuss.
I pick small terracotta pots, group odd numbers, and rotate them for light. They tolerate brief neglect and cheer wooden jars. I suggest:
- Echeveria for rosettes
- Haworthia for texture
- Sedum for trailing charm
Use Low‑Light Ferns
Tucking a low‑light fern onto a shelf is one of my favorite easy ways to warm up a kitchen—its lacy fronds soften jars and wood without demanding bright sun.
I place them in simple clay pots or mossy baskets, misting occasionally and letting soil dry a bit between waterings.
They thrive in corners, add gentle movement, and feel like a quiet, lived-in touch.
Opt For Air Plants
Often I pop a few air plants onto open shelves because they’re nearly foolproof and add instant green without taking up counter space. I love their sculptural shapes and how they soften wood and tin.
I recommend:
- Rotate for even light.
- Mist weekly or soak monthly.
- Tuck in a shell or small pot for charm.
Kitchen Shelf Lighting: Under‑Shelf and Accent Options
When I add lighting beneath a kitchen shelf, it instantly turns a practical space into something cozy and purposeful; the right under‑shelf or accent light brings out wood grain, highlights ceramics, and makes late‑night snack runs easier.
I favor slim LED strips for subtle warmth, small puck lights for focused glow, and dimmers to set mood — all simple, rustic touches that feel lived‑in and inviting.
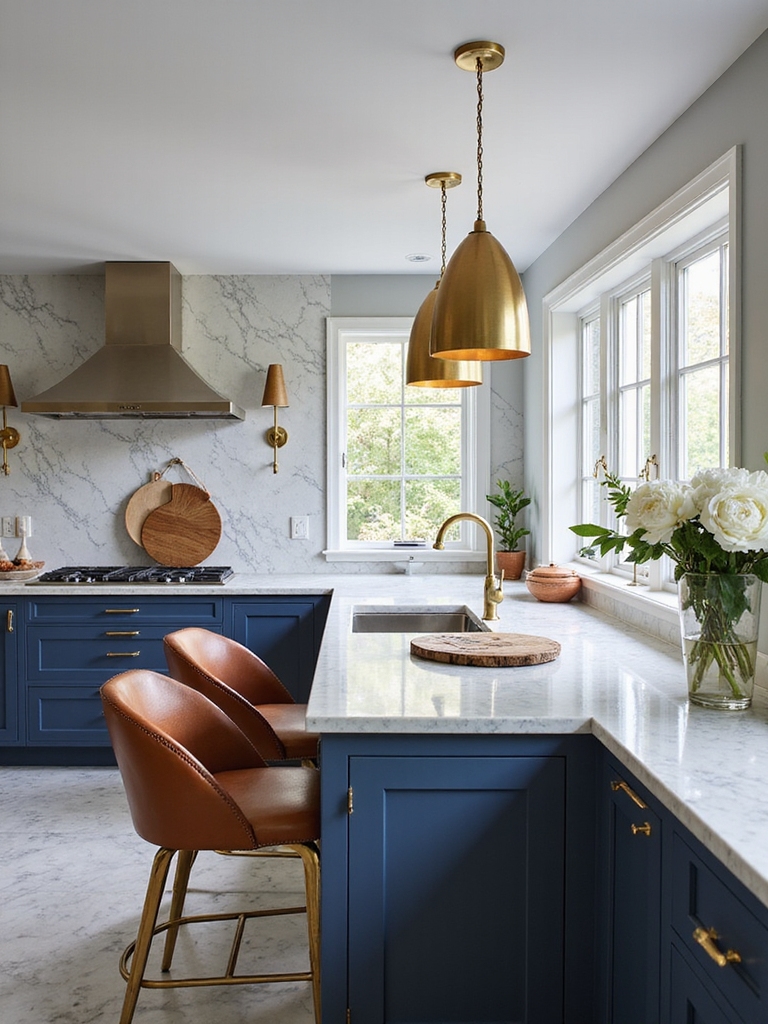
Mix Materials and Finishes for Visual Interest
I like to mix textures on my kitchen shelves—think woven baskets next to smooth ceramic pitchers—to give the space a lived‑in, cozy feel.
Contrasting warm woods with cooler metal finishes, like matte black or aged brass, keeps the look balanced and interesting.
Small, intentional pairings make the whole arrangement feel pulled together without being fussy.
Layer Textures Thoughtfully
Because texture makes a shelf feel lived-in, I layer materials and finishes to create warmth and depth without cluttering the space.
I mix woven baskets, ceramic pitchers, and linen towels, arranging pieces to balance weight and softness.
Simple rules guide me:
- Vary scale.
- Repeat a color or fiber.
- Leave breathing room.
The result feels rustic, cozy, and intentional.
Contrast Metals And Woods
Harmony in contrast guides me as I pair brass knobs, matte black brackets, and warm oak shelves to give a kitchen shelf real character.
I mix metals and woods to balance shine with texture: copper mugs beside reclaimed pine, steel hooks with walnut accents.
The result feels lived-in and intentional, a cozy, rustic display that’s both practical and beautifully layered.
Declutter + Rotate: Quick Maintenance Routine
When I take a few minutes each week to declutter and rotate what sits on my kitchen shelves, the space instantly feels fresher and more useful.
I keep things simple and seasonal, swapping a few pottery pieces and pantry jars. My routine:
- Remove and assess.
- Wipe and group.
- Replace thoughtfully.
This keeps a cozy, lived-in look without clutter.
Small Kitchens: Maximize Limited Shelf Space
Keeping up with a quick weekly sweep makes it easier to keep small kitchens feeling open, so I use those same habits to squeeze more out of limited shelf space.
I group like items, favor narrow baskets, and stack vintage tins to add charm while saving room. Open hooks beneath shelves hold mugs, and a single herb pot livens the space without clutter.
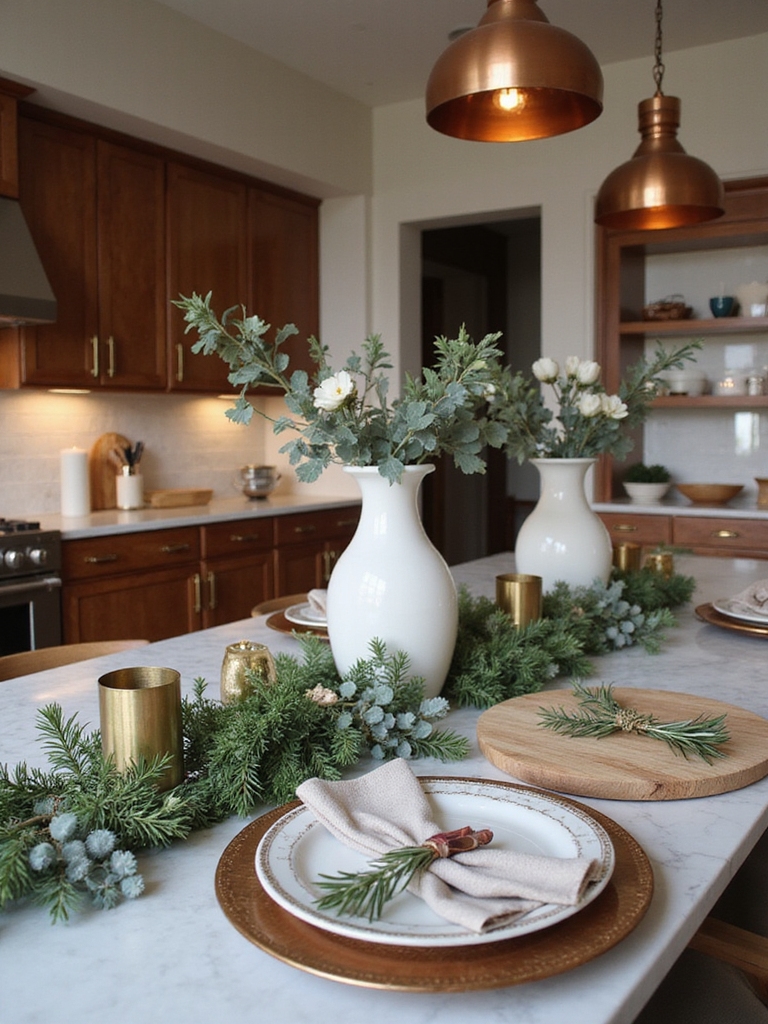
Budget Swaps and Seasonal Refresh Ideas
Although I watch for sales and thrift finds, I also love simple swaps that lift a shelf without breaking the bank: swap plastic trays for woven placemats, trade mismatched jars for uniform mason jars, and replace a heavy centerpiece with a seasonal bundle of dried herbs or branches.
I refresh with small changes:
- Rotate textiles
- Swap greenery
- Re-label jars for cohesion
I hope these ideas spark a little kitchen joy—you don’t need a remodel to make shelves sing. Pick a shelf type, set a clear goal, and mix materials for charm and usefulness.
Swap items seasonally and keep a quick declutter routine so things stay lovely and accessible.
Ready to turn everyday storage into warm, functional decor that tells your story? Small changes make a big, rustic-hearted difference.