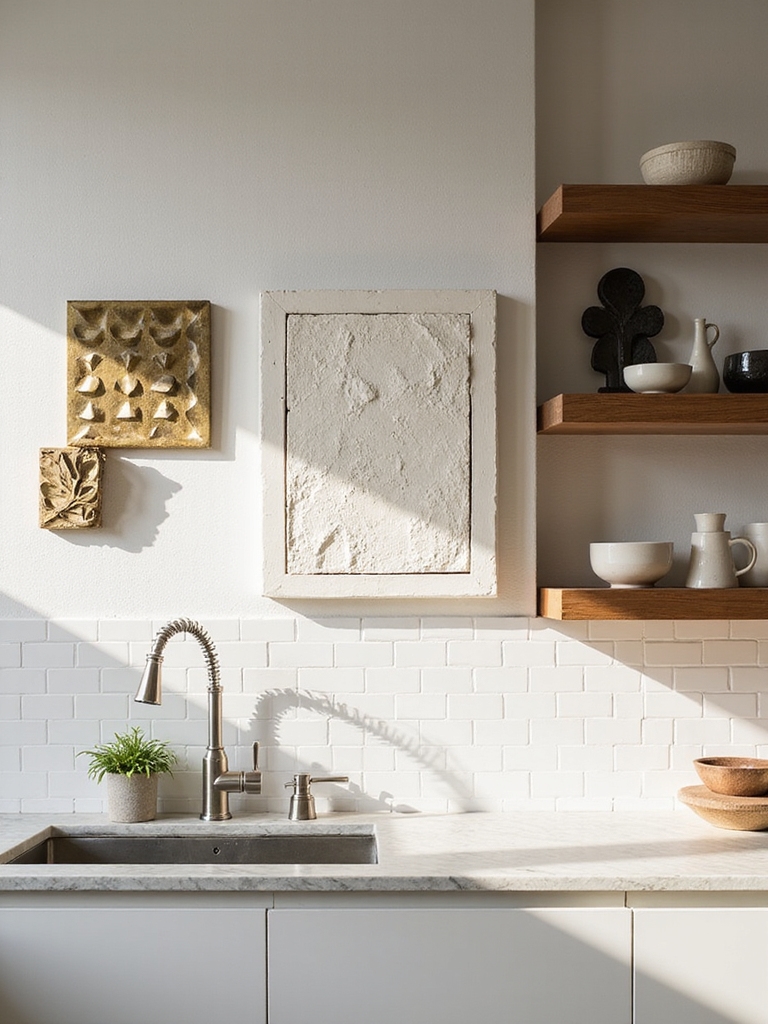
I pick durable, textured pieces that age well: reclaimed wood panels, handglazed tiles, modest sculptural metal hooks, and open shelves styled with a tight palette. I favor non‑porous backsplashes near heat, peel‑and‑stick textured panels for easy installs, and a single mid‑sized artwork or a staggered shelf cluster to steady the room.
I keep greenery sparing and repeat materials to unify the wall. Keep going and I’ll share placement, lighting, and upkeep tips.
Who This Guide Is For and How to Use It

If you’re looking to give your kitchen personality without a full remodel, this guide is for you—I’ll walk you through practical, budget-friendly ways to create a statement wall that feels lived-in and welcoming.
I’m speaking to home cooks, renters, and DIY lovers who want easy swaps: hooks, reclaimed wood, open shelves, vintage plates.
Use tips step-by-step, mix textures, and personalize slowly.
Elegant Kitchen Wall Art for Luxury Gallery Spaces can elevate a compact kitchen into a curated, high-end vignette.
Why Architects Choose Statement Kitchen Wall Decor

When I talk with architects about statement kitchen walls, they often point to how a single surface can anchor a room’s story—balancing form, function, and feel—so we use texture, scale, and purposeful flaws to give a kitchen instant character.
I choose pieces that spark memory, guide movement, and layer warmth — handcrafted tiles, reclaimed wood, bold color — keeping the space honest and lived-in.
Premium alternatives like artisanal tiles and mixed materials offer elevated backsplash options that go beyond basic subway tile.
Durability, Cleanability, and Code Considerations

When I pick materials for a statement kitchen wall, I think about standards that prove they’ll stand up to heat, moisture, and the occasional splash.
I’ll also choose finishes that are easy to wipe clean without damaging the surface, and I’ll tell you what maintenance those materials actually need.
Finally, I make sure everything meets local building and health codes so your beautiful focal wall is also safe and practical.
I often favor durable wall coverings that are easier to clean than paint and require less maintenance.
Material Selection Standards
I pick materials for a kitchen wall knowing they’ll take daily wear, splashes, and the occasional sauce explosion, so durability and cleanability aren’t optional.
I favor ceramic, sealed wood, and metal with protective finishes, choosing non-porous surfaces near cooking zones.
I also weigh fire ratings and local codes quietly—practical, honest choices that keep your statement pieces beautiful and safe for years.
Durability is a key consideration because long-lasting backsplash materials can add long-term value to your home.
Maintenance And Compliance
Because a kitchen’s walls live through spills, steam, and the occasional pan-flip, I pick finishes that stand up to daily knocks and clean easily without fuss.
I choose durable, nonporous surfaces—tiles, sealed plaster, metal backsplashes—so stains wipe away.
I also check local fire and ventilation codes, keeping decorative elements away from direct heat and ensuring materials meet safety ratings for humid, greasy environments.
I favor streamlined arrangements and practical accents that create a clutter-free kitchen while still looking intentional.
How to Pick a Focal Wall by Kitchen Layout

Though your kitchen’s layout may feel like it’s already decided the focal wall, I like to remind people that the right choice enhances flow and personality without fighting the room.
I look at traffic, sightlines, and natural light, then pick the wall that greets you—often opposite the sink or beside the range.
Rustic pieces soften hard surfaces and anchor daily movement.
Modern kitchens benefit from stylish wall decor that complements clean lines and materials.
Choosing Size and Placement for Kitchen Wall Art

When it comes to size and placement, think of your wall art as furniture for the vertical plane—I usually measure the expanse and imagine how a piece will “sit” among cabinets, windows, and hooks.
I balance proportions, leave breathing room, and align centers with eye level or appliance lines. Small clusters over counters feel cozy; a single mid-sized piece steadies a busy wall without overwhelming.
A thoughtfully arranged gallery can turn the kitchen into an inspiring workspace with creative gallery accents.
Large-Scale Framed Art to Anchor Open-Plan Kitchens
I like to pick a large-scale framed piece that respects the room’s scale and proportion so it feels anchored, not overwhelmed.
I’ll choose durable framing materials—think solid wood or metal with protective glazing—so the art stands up to kitchen humidity and daily life.
And I always consider placement and lighting, angling or spotlighting the work so it reads clearly from the living and cooking zones.
Gallery-style arrangements can help create a cohesive kitchen wall art focal point that personalizes the space.
Scale And Proportion
Because open-plan kitchens thrive on sightlines, I reach for large-scale framed art to firmly anchor the space and give it a cozy, grounded feel.
I balance scale with surrounding cabinetry and ceiling height, choosing pieces that relate to counters and islands.
Proportion prevents overwhelm: one bold work or a thoughtful triptych keeps the room intimate, intentional, and inviting without crowding sightlines.
Durable Framing Materials
Think about frames that can take the daily life of a busy kitchen and still look intentional—I favor sturdy woods like oak or walnut and slim metal profiles with a durable finish because they keep large-scale art feeling grounded without fuss.
I choose finishes that resist fingerprints and moisture, simple joinery that won’t loosen, and neutral tones that age gracefully beside cookware and open shelves.
Placement And Lighting
When I place a large-scale framed piece in an open-plan kitchen, I treat it like the room’s hearth—something that gathers sightlines and sets the mood without shouting.
I center it where traffic and views converge, float it above a console or bench, and add adjustable warm lighting to enhance texture. It should read calmly from every angle, drawing people together.
Bold Murals and Wallpaper Ideas for Appliance Walls
Although appliance walls tend to get overlooked, I love using bold murals or wallpaper there to give the kitchen instant personality and warmth.
I pick patterns that complement wood tones and simple cabinetry, then layer rustic accents for coziness.
- A hand-painted mural behind the fridge for charm
- Botanical wallpaper peeking beside ovens
- Geometric tile-print for a modern farmhouse touch
Textured Panels: Materials, Benefits, and Installation
I’m excited to talk about textured panels because they come in so many materials—wood, cork, reclaimed tin, and molded PVC—each with its own look and care needs.
They don’t just add charm; they can help soften sound and improve thermal comfort in a busy kitchen.
I’ll also show you a few simple, mostly DIY-friendly installation techniques so you can get that cozy, statement wall up without hiring a crew.
Material Options Explained
Curious about textured panels and whether they’ll suit your kitchen’s personality? I love recommending options that feel lived-in yet refined. Here’s a quick guide I keep handy:
- Wood: warm, carvable, easy to stain.
- PVC: budget-friendly, moisture-resistant, lightweight.
- Plaster or gypsum: sculptural, paint-ready, durable.
I’ll walk you through finishes and simple install tips so you can choose confidently.
Acoustic And Thermal Benefits
You can get more from textured panels than looks—they help tame sound and hold heat, too. I’ve found reclaimed-wood or cork textures soften kitchen clatter, soaking up echoes while adding earthy warmth.
Dense panels add thermal mass, smoothing temperature swings so mornings feel cozier.
Choose materials that balance insulation and absorption, and you’ll have a quieter, more comfortable cooking space.
Simple Installation Techniques
When I tackle textured-panel installs, I start by picturing the end look and picking the simplest method that gets me there without fancy tools. I favor lightweight panels, adhesive, and a level.
It’s honest work—measure, dry-fit, stick, and finish with trim for a cozy, rustic feel.
- peel-and-stick panels
- construction adhesive and brads
- simple trim to hide edges
Kitchen-Safe Sculptural Metal & Wood Installations
Balance matters in a kitchen, and I love how sculptural metal and wood pieces bring the right mix of warmth and edge to a cooking space.
I choose finishes that tolerate humidity and heat, secure mounts, and rounded edges for safety.
Rustic metals patina nicely beside reclaimed wood, and I keep scales modest so pieces feel intentional, not cluttered.
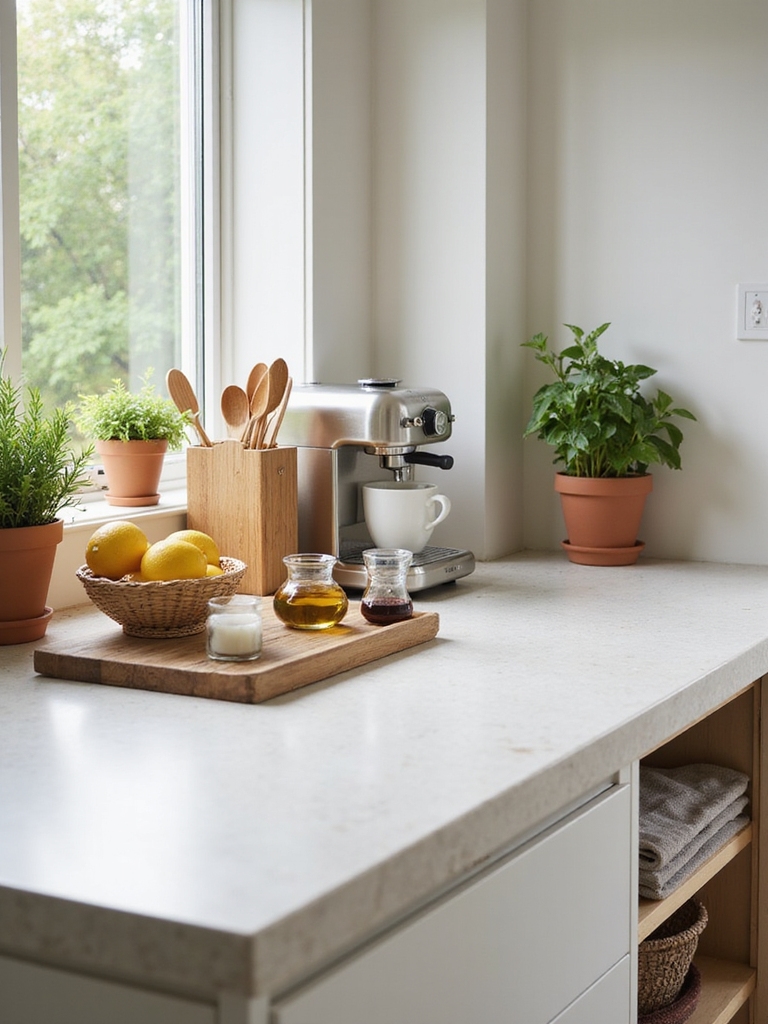
Open Shelving as Kitchen Wall Decor: Staging Tips
I love using open shelves to turn everyday dishes into rustic wall art, so I keep items cohesive by sticking to a tight palette and a few meaningful pieces.
I layer heights thoughtfully—stack plates, lean a cutting board, and leave breathing room so the eye can rest.
And I add greenery sparingly, a single herb pot or trailing stem is usually all you need to warm the scene.
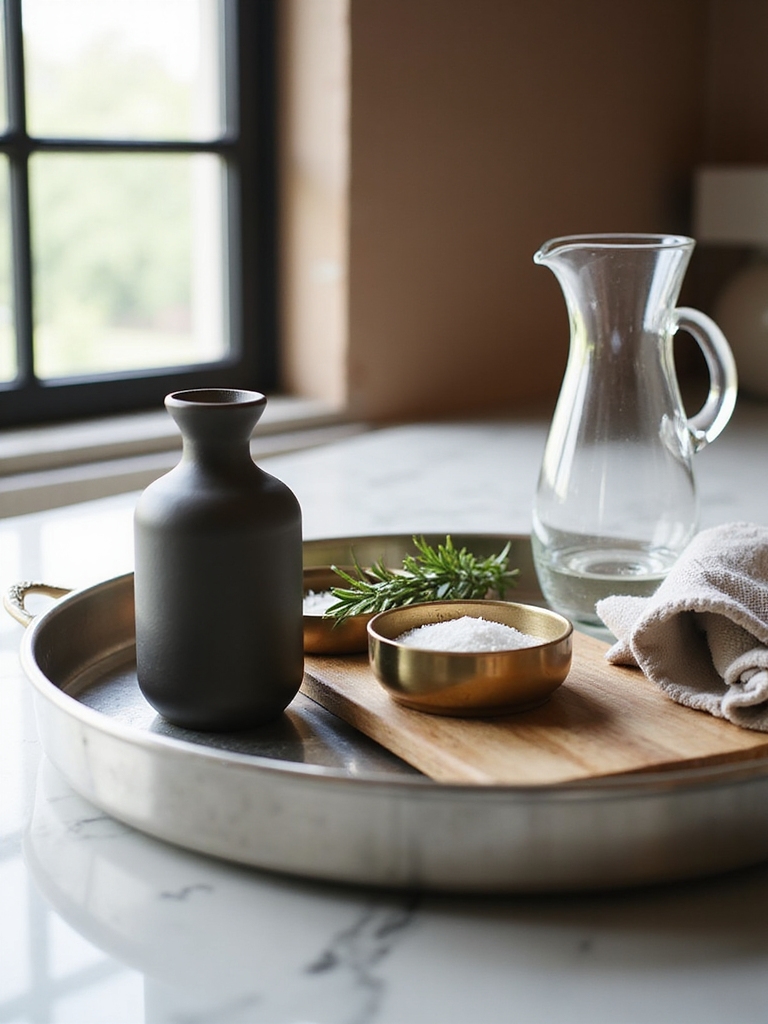
Keep Items Cohesive
Although open shelves invite you to display favorite pieces, I always start by grouping items so the whole look reads as intentional rather than cluttered.
I pick a palette and repeat textures for quiet harmony.
Then I arrange practical pieces with a dash of artful mess to feel lived-in:
- ceramic bowls and matte mugs
- woven basket and jarred herbs
- wooden board and vintage pitcher
Layer Heights Thoughtfully
Now that items are grouped and textures repeated, I focus on layering heights so each piece can breathe and be seen.
I stagger bowls, jars, and framed prints at varied levels, mixing tall pitchers with low plates.
That vertical rhythm guides the eye, prevents clutter, and feels lived-in — like a well-loved farmhouse shelf where every object earns its moment.
Add Greenery Sparingly
Often I reach for a little greenery to finish a shelf, but I use it sparingly so the plants highlight rather than hide the pieces around them.
I pick small pots and tuck them in gaps, keeping the look airy and intentional.
- Choose low, sculptural plants
- Limit to one or two per run
- Use warm, textured pots
Statement Backsplashes: Tile Patterns and Materials
When I pick a backsplash, I think of it as the kitchen’s signature — the place where tile pattern and material do the talking while the rest of the room listens.
I favor handglazed subway, aged terracotta, or textured stone for warmth.
Laid in herringbone, chevron, or irregular mosaics, they anchor rustic kitchens, add personality, and handle spills without fuss.
Lighting Strategies to Showcase Wall Decor
I think the right lighting will make your backsplash sing, bringing out glaze, grain, and grout in ways a bare bulb never will.
I favor layered, adjustable light that feels cozy and practical.
Try these simple approaches to highlight texture and color:
- Warm under-cabinet strips for even wash
- Small adjustable spotlights for focal tiles
- Dimmable pendants to set mood and depth
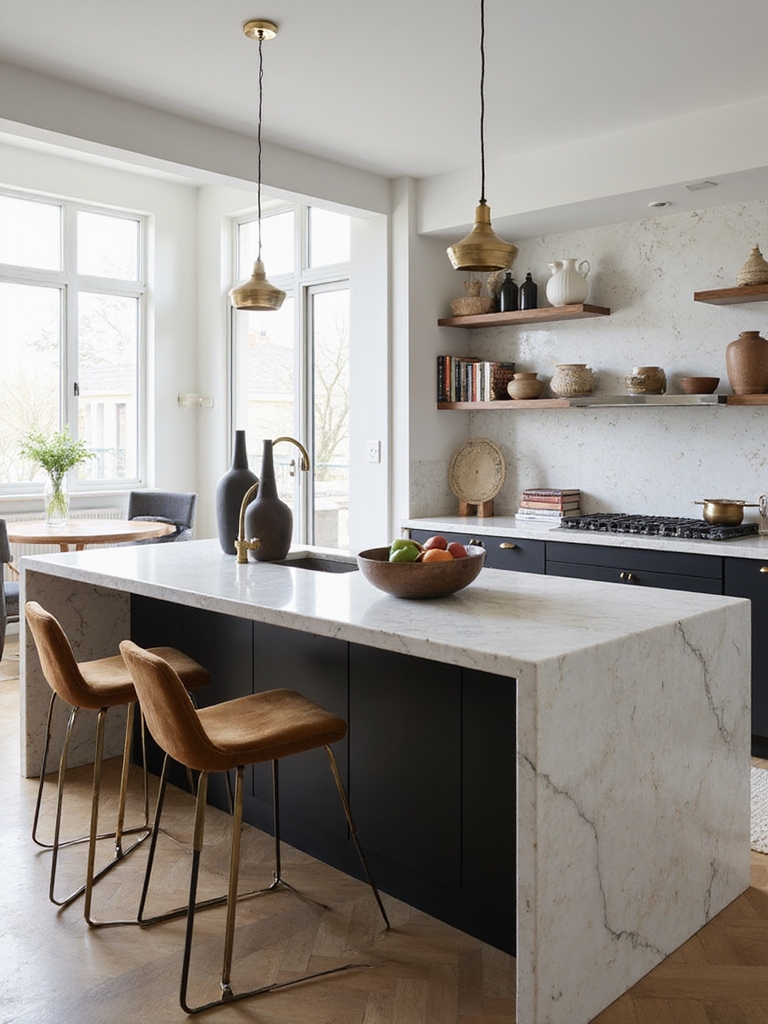
How to Balance Wood, Stone, Glass, and Metal on Walls
With a few thoughtful choices, I’ll help you mix wood, stone, glass, and metal so your kitchen walls feel layered rather than cluttered.
I favor a dominant material—often warm wood—then introduce stone as an accent, small glass pieces for lightness, and metal for structure.
Keep finishes complementary, limit scale contrasts, and repeat elements to unify the composition without overwhelming the space.
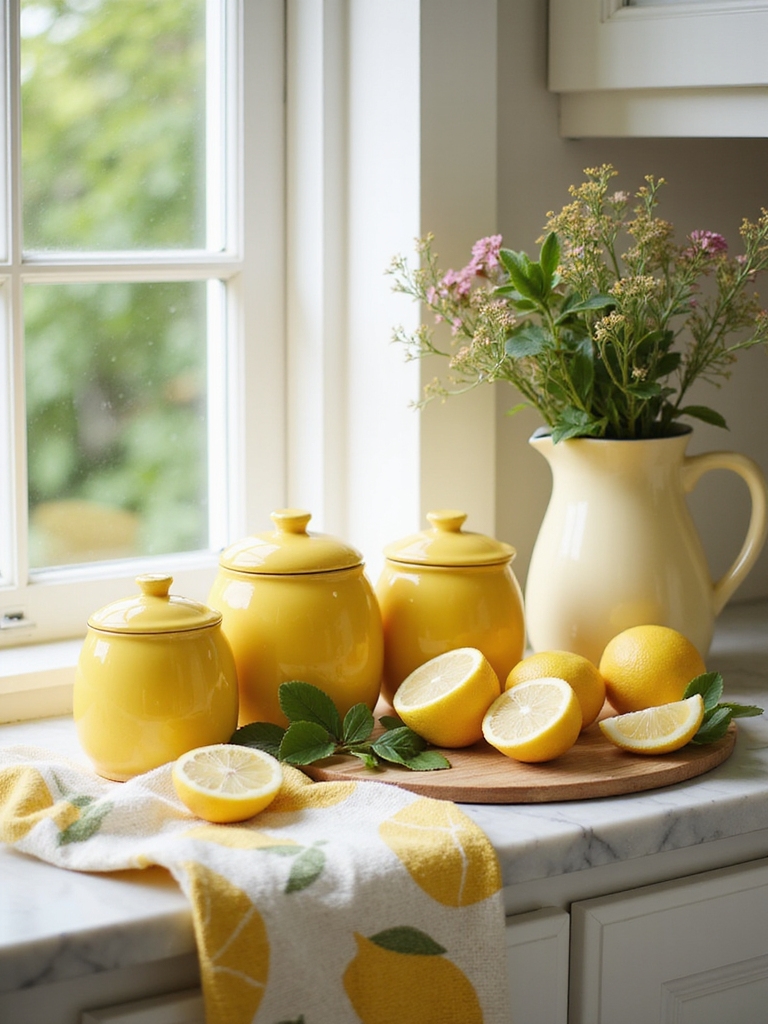
Styling, Rotating Collections, and Seasonal Displays
Often I rotate a small, curated mix of plates, framed prints, and found objects on a single kitchen wall so the space feels fresh without losing its rhythm.
I swap pieces by season, mood, and harvest finds, keeping arrangements simple and tactile.
- Harvest ceramics in autumn
- Light prints and herbs for spring
- Vintage glass and citrus in summer
Budget Tiers and Long-Term Maintenance Tips
Because not every statement wall needs a high price tag to look curated, I’ll walk you through sensible budget tiers and simple upkeep so your collection lasts—and keeps feeling intentional.
I recommend thrifted ceramics and prints for entry, modest artisan pieces mid-tier, and a single investment item for impact.
Dust weekly, tighten hangers seasonally, and rehung pieces after humidity shifts to prevent sagging and wear.
Think of your kitchen as a well-loved storybook: each wall piece is a page that turns with seasons and meals.
I’ve shared how architects pick durable, cleanable, well-lit chapters that balance wood, stone, glass, and metal.
Now it’s your turn to tuck a meaningful focal into the layout, rotate treasures like bookmarks, and tend them gently. Do this, and your kitchen will read like home—timeless, lived-in, and lovingly told.