I’ll show you how brick backsplashes transform kitchens with instant texture, whether you crave real warmth or easy-to-maintain faux panels. Real brick brings authentic charm, while faux options deliver quick texture on a budget with durable, easy-to-clean surfaces. I’ll cover color ideas, patterns, and layouts, plus lighting tricks that make bricks glow. We’ll break down pros, cons, and a smart cost guide so you can choose what fits your space—and there’s more you can explore as you continue.
How to Pick Your Brick Backsplash: Real vs Faux, and What Fits Your Kitchen
So you’re choosing a brick backsplash, and you’re wondering whether to go real brick or faux—and what fits your kitchen best.
I’ll guide you honestly: real brick brings warmth and authenticity, but faux options offer consistency, easier maintenance, and quicker installation.
Consider lighting, grout tone, and budget. Your kitchen vibe and daily routines should steer the decision, not trends.
Faux Brick Panels: Quick Texture on a Budget
Faux brick panels give you instant texture without a hefty price tag, and they install in a fraction of the time real brick would take.
I love the drama they add without the mess. You’ll get durable, easy-clean walls, plus endless color options.
Here are quick picks:
- Peel-and-stick panels for zero mess
- Mortarless panels with realistic grout
- Lightweight interlocking sheets for fast coverage
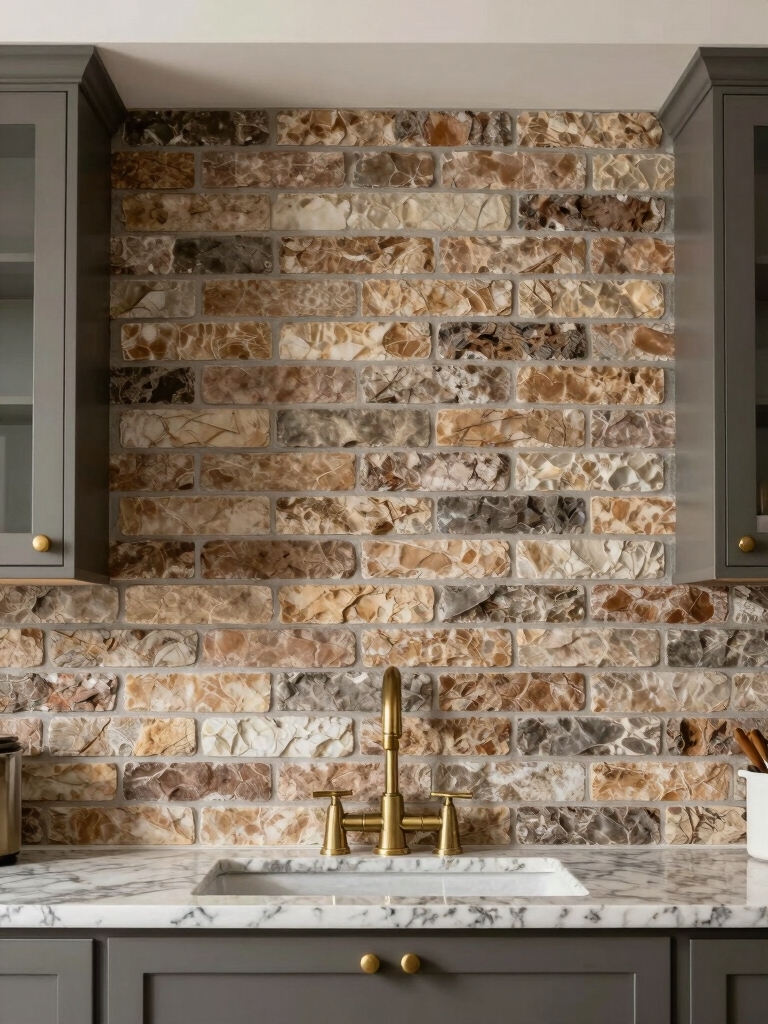
Real Brick Accent Walls: Bold, Timeless Texture
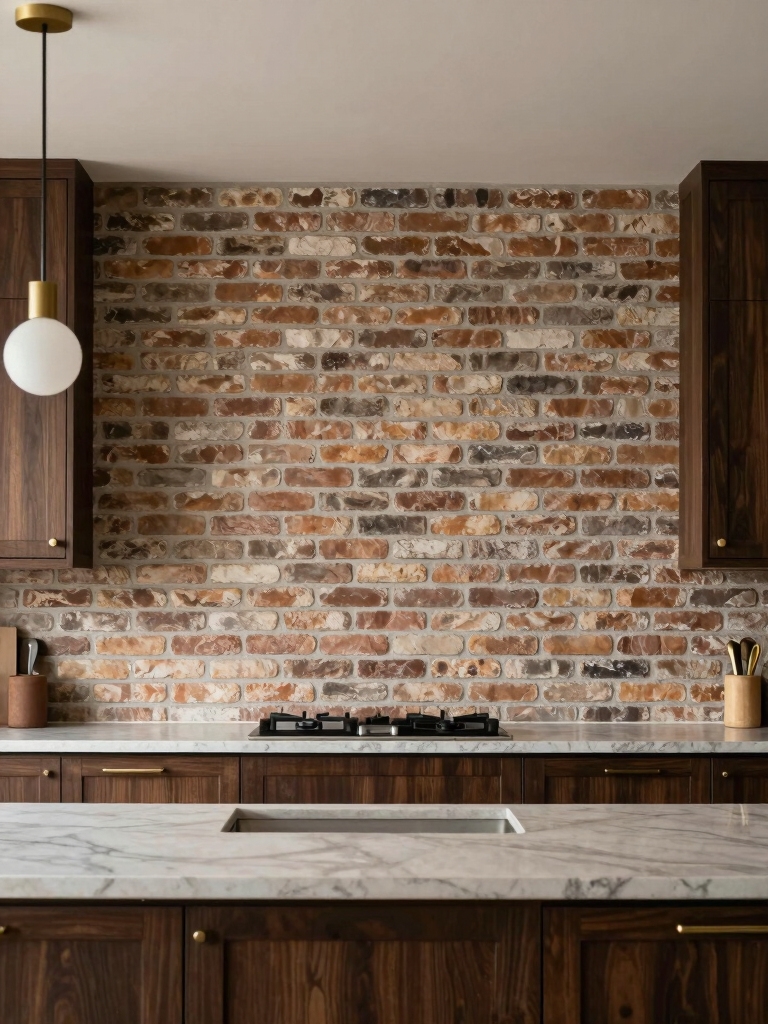
Real brick accent walls bring bold, timeless texture to your kitchen with natural warmth and character you can feel.
I’m drawn to the rugged charm, the way uneven mortar tells a story, while modern fixtures stay clean and bright.
I’ll pair a clear sealant with soft lighting, letting the bricks shine without shouting.
Your kitchen gains depth, authenticity, and unforgettable vibe.
Brick Backsplash Ideas for Small Kitchens: Maximize Surface and Light
Small kitchens benefit most from brick backsplash ideas that maximize surface and light, so I’ll share strategies that keep the space feeling open without sacrificing texture.
I speak plainly, guiding you toward practical choices.
1) Choose thin, neutral-toned brick for a reflective surface.
2) Use grout that blends with walls to minimize visual weight.
3) Opt for vertical layouts to boost perceived height and airiness.
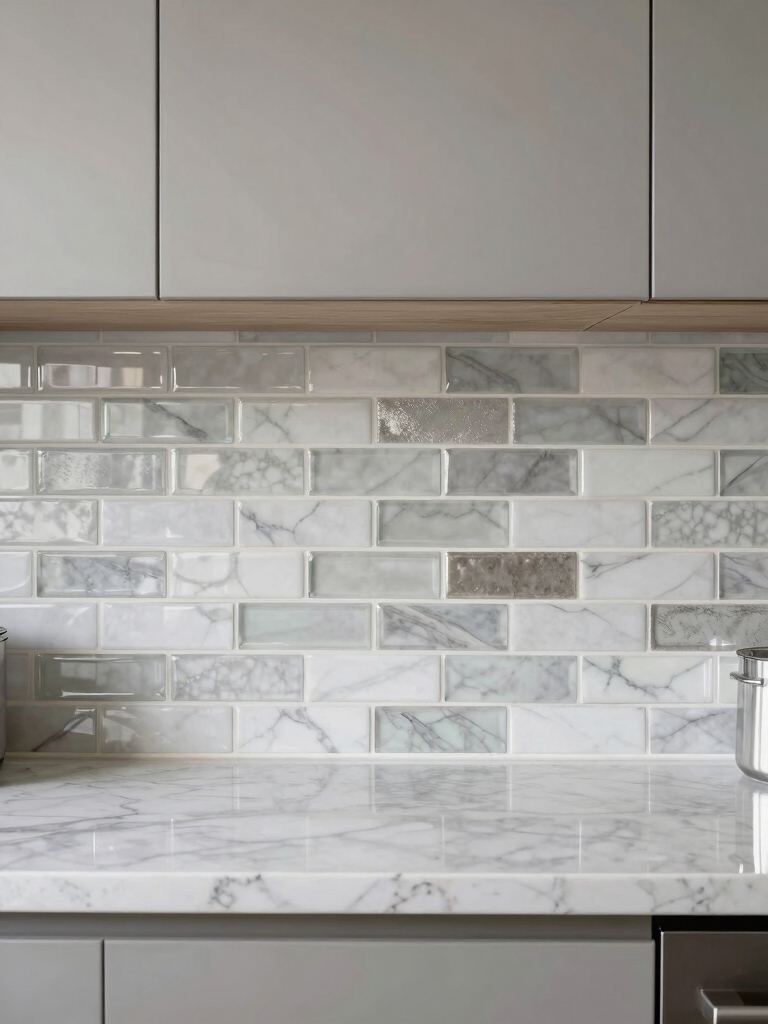
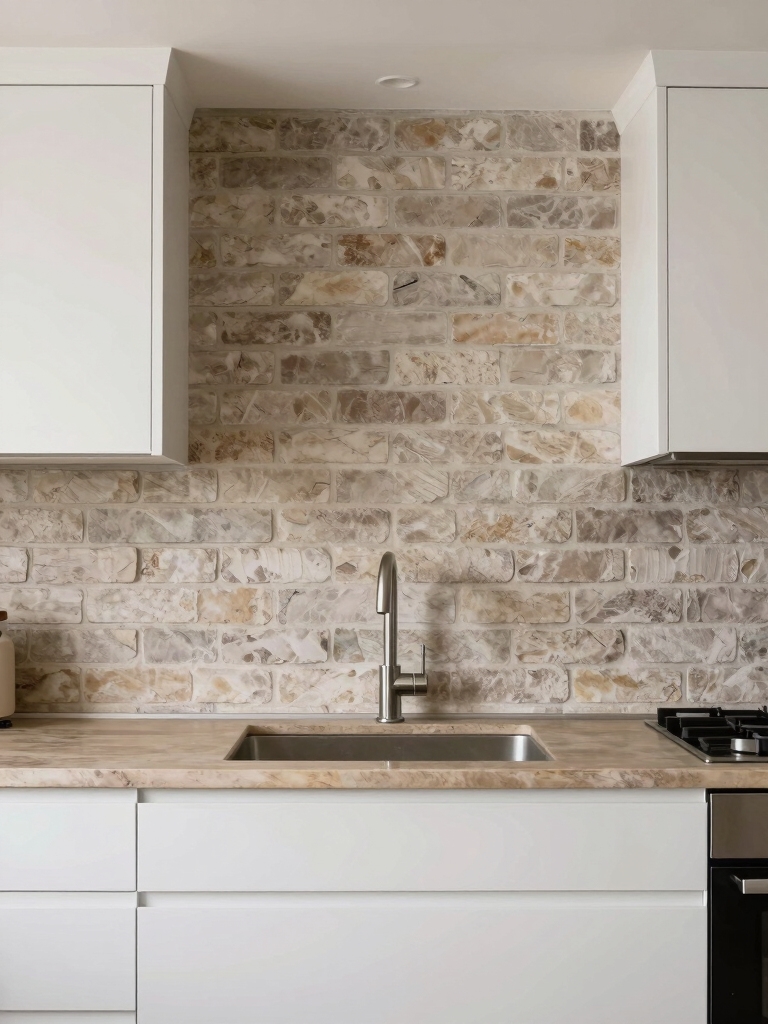
White and Light Bricks for a Bright, Modern Look
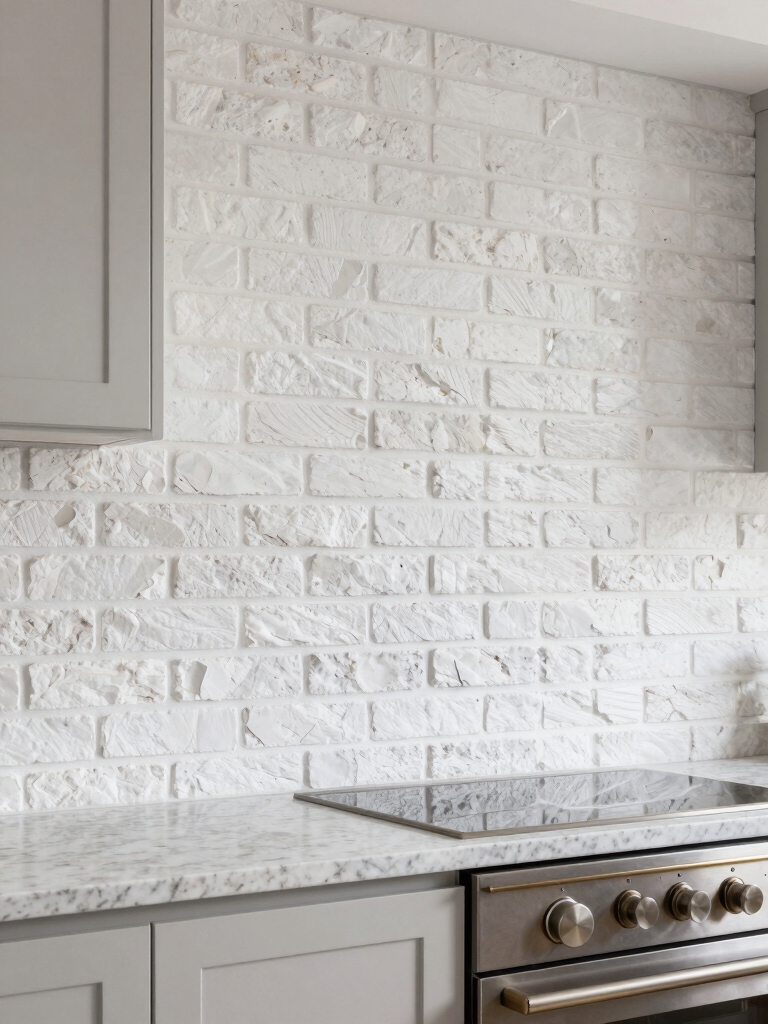
White and light bricks brighten any kitchen, giving a modern, clean backdrop that makes colors pop and spaces feel larger. I love how the airy tones reflect natural light, creating an inviting, open vibe. Pair them with sleek hardware and minimal grout for a seamless look. They’re versatile, pairing with stainless steel, glass, or matte finishes without overwhelming the room. Additionally, stunning white kitchen backsplashes can enhance the overall aesthetic and provide a timeless appeal.
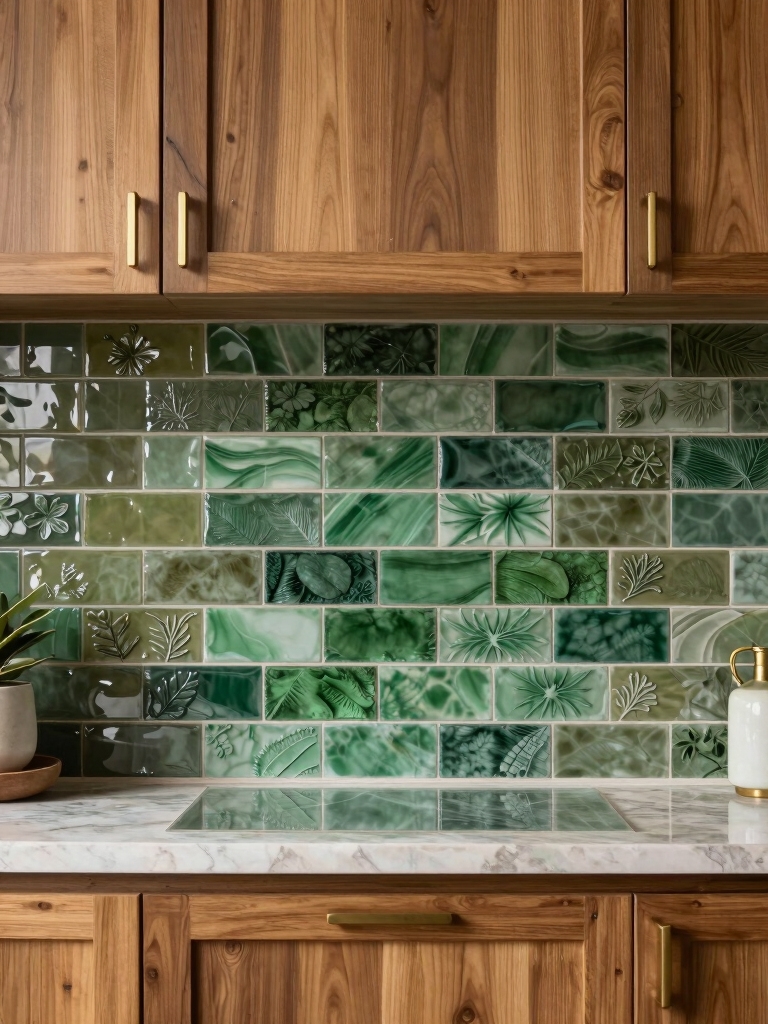
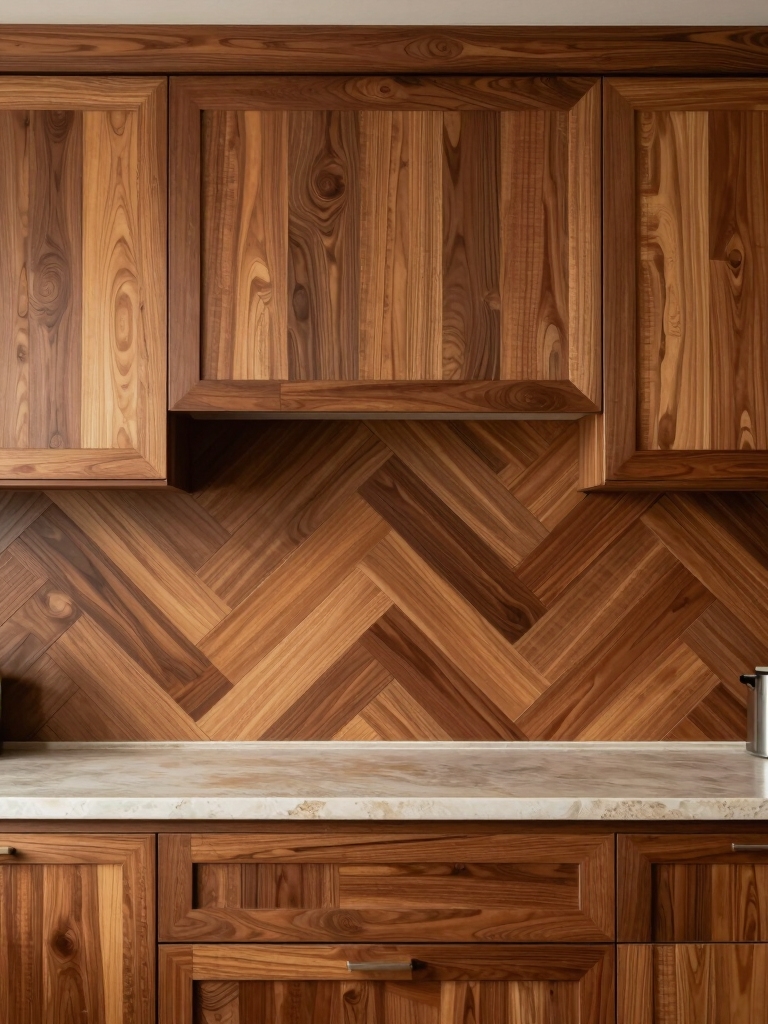
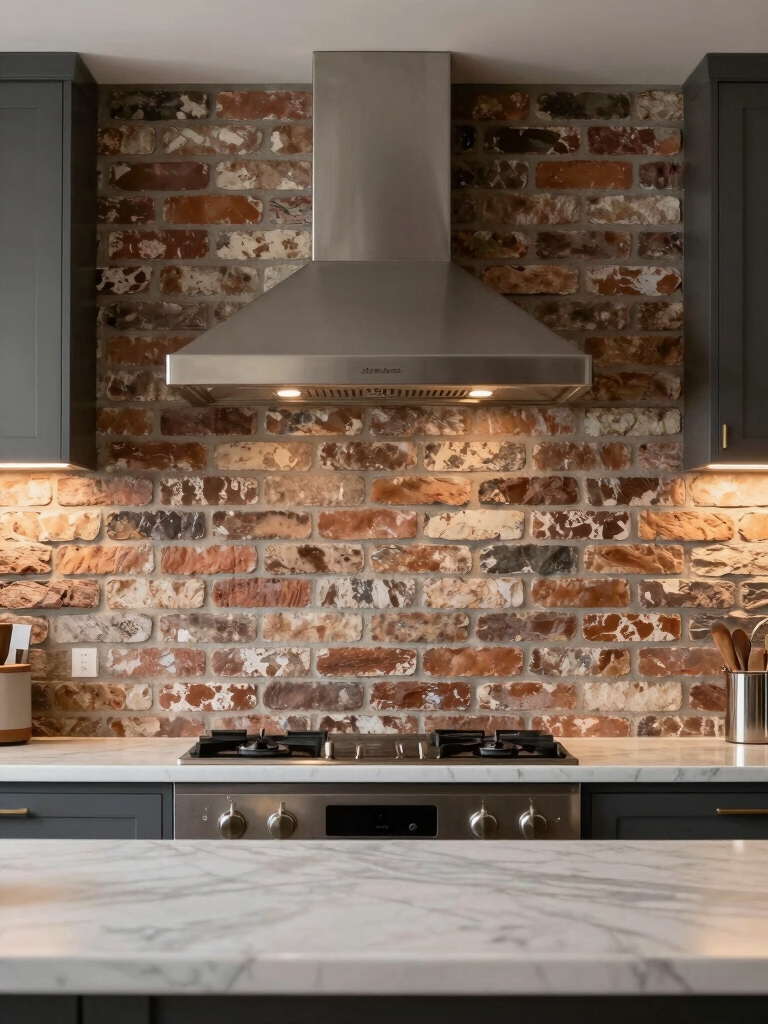
Warm Reds and Browns: Cozy, Rustic Charm
Warm reds and browns bring a cozy, rustic charm to any brick kitchen backsplash.
I love how these tones invite warmth and texture, making daily cooking feel like country comfort.
Here are ideas to lean into that vibe:
- Choose flushed, brick-reddish tiles.
- Pair with warm oak accents.
- Add matte metallic fixtures for contrast.
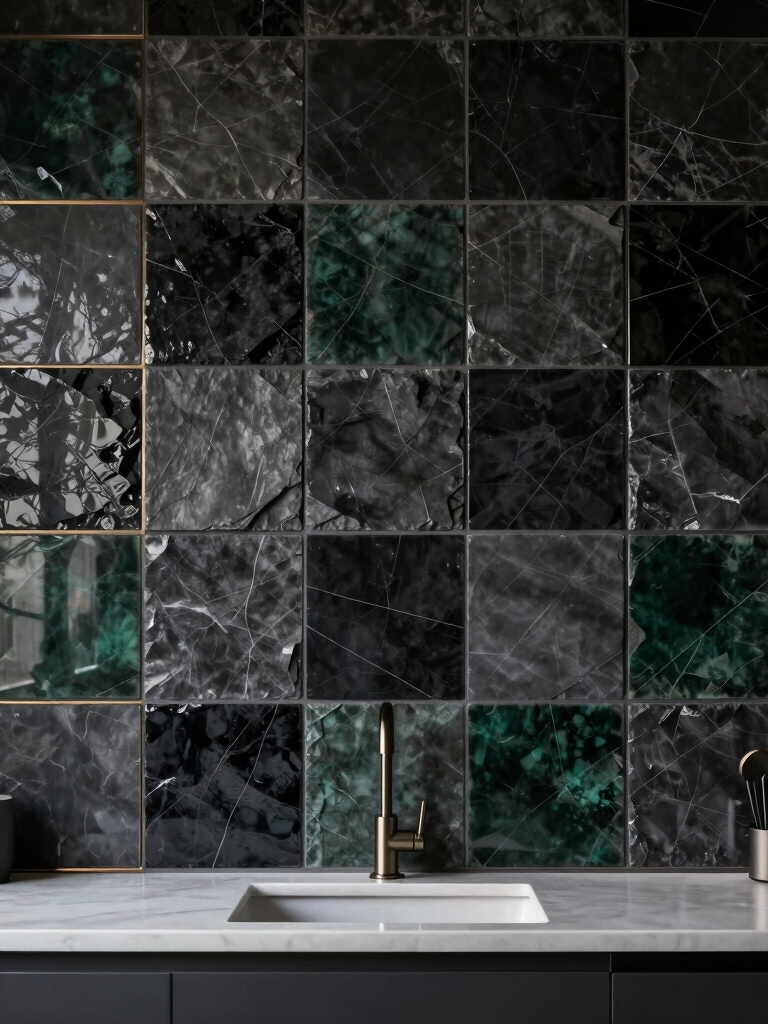
Dark Brick for Drama and Modern Edge
Dark Brick for Drama and Modern Edge****
Dark brick brings instant drama and a modern edge to any kitchen backsplash. I love how its deep tones anchor bright accents and stainless finishes without shouting. It’s durable, easy to wipe, and timeless, giving your space a sleek, sophisticated vibe. If you crave contrast, pair it with light grout and warm woods for balanced, contemporary charm. Additionally, incorporating stunning backsplash ideas can further elevate the overall aesthetic of your kitchen.
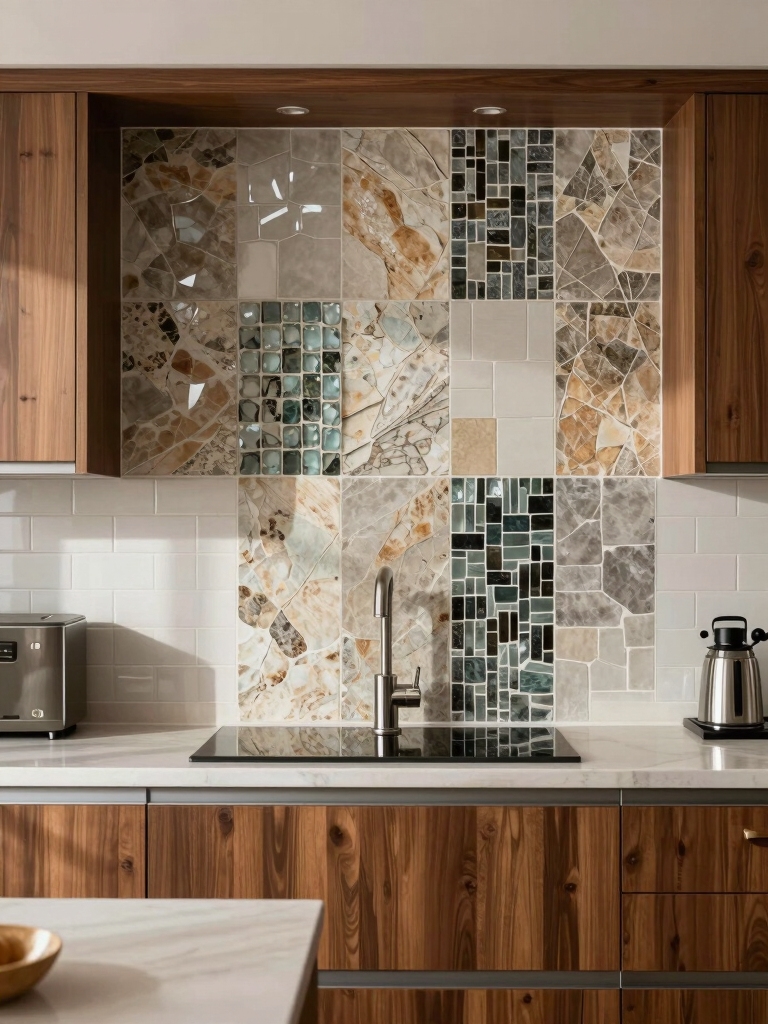
Patterned Brick Layouts: Herringbone, Stack Bond, and More
If you’re considering a textured focal point, herringbone offers dynamic movement and shows off the brick’s character with bold, angled lines.
I’ll explore how small shifts in orientation affect rhythm and light, from classic herringbone to modern variations.
We’ll also look at stack bond textures, where clean, grid-like joints create a calm, contemporary vibe.
Herringbone Layout Variations
Herringbone and its cousins—like stack bond and other patterned brick layouts—bring movement and texture to a brick kitchen backsplash. I enjoy exploring these variations to tailor mood, rhythm, and scale for your space. Let’s consider options that balance grout lines, tile size, and wall height. One popular choice is elegant herringbone designs, which can elevate the overall aesthetic of your kitchen.
1) Compact herringbone
2) Wide-staggered herringbone
3) Mixed brick blends
Stack Bond Texture Effects
Stack Bond brings a clean, orderly texture to brick kitchen backsplashes, and I love how its uniform grid emphasizes tile edges and grout lines.
I share that this pattern delivers quiet sophistication, pairing well with modern and traditional palettes. Its predictable rhythm makes layout planning simpler, while subtle depth keeps surfaces engaging.
Incorporating a stylish backsplash trend can elevate the overall aesthetic, making Stack Bond an excellent choice for refined, timeless texture.
Try Stack Bond for refined, timeless texture.
Grout Colors That Transform Brick Texture
Choosing the right grout color can truly transform brick texture on a kitchen backsplash.
I’ll guide you toward options that unify or highlight brick, elevating depth without clutter.
- Light grout brightens and modernizes.
- Dark grout emphasizes mortar lines for a bold frame.
- Contrasting grout adds vintage charm while keeping balance with cabinet tones.
Easy Maintenance Tips for Brick Backsplashes
Maintaining brick backsplashes can be straightforward, especially after picking a grout color that ties the texture to your space.
I keep maintenance simple by quick-dusting weekly and wiping splashes with a damp microfiber cloth.
For deeper cleaning, I use a mild soap solution, rinse, and dry.
Seal periodically to preserve color and prevent moisture buildup.
Installing a Brick Backsplash: Materials, Tools, and Step-by-Step Guide
I’m breaking down the brick backsplash install into materials, tools, and a clear step-by-step process so you can plan with confidence.
I’ll walk you through what you’ll need, the gear that makes the job smoother, and a practical sequence to follow.
Let’s map this out together so you can tackle the project with precision and ease.
Materials Overview
Materials are the backbone of a brick backsplash project, so I’ll walk you through what you’ll actually need, from bricks and mortar to seams and spacers.
I keep it practical, brief, and clear as we plan.
- Bricks, adhesive, backsplash cement
- Grout, caulk, painter’s tape
- Spacers, trowel, level
Tools Required
Getting the right tools lined up makes brick backsplash installation smoother, so I’ll walk you through exactly what you’ll need—from bricks and adhesive to spacers and a level—so you can prep with confidence.
You’ll want a margin titer, notched trowel, finishing tools, wetsaw or snap cutter, pry bar, sponge, bucket, mixing drill, mixing paddle, and protective gear for a clean, precise, safe setup.
Step-By-Step Process
Ready to plunge in? I’ll guide you through the steps I take to install a brick backsplash, keeping things clear and doable.
Below, the essentials, then the process I follow:
- Gather materials and tools for accuracy
- Prepare surfaces and layout with care
- Install bricks, seal, and clean up efficiently
Brick Backsplash on a Budget: Cost Breakdown by Material
If you’re on a budget, choosing the right brick backsplash material can save you hundreds without sacrificing style.
I’ll break down costs by material, explain durability, installation effort, and maintenance.
Real-world numbers help you compare thin brick, brick veneer, and faux options.
You’ll see where to splurge and where to save, keeping your kitchen chic without overspending.
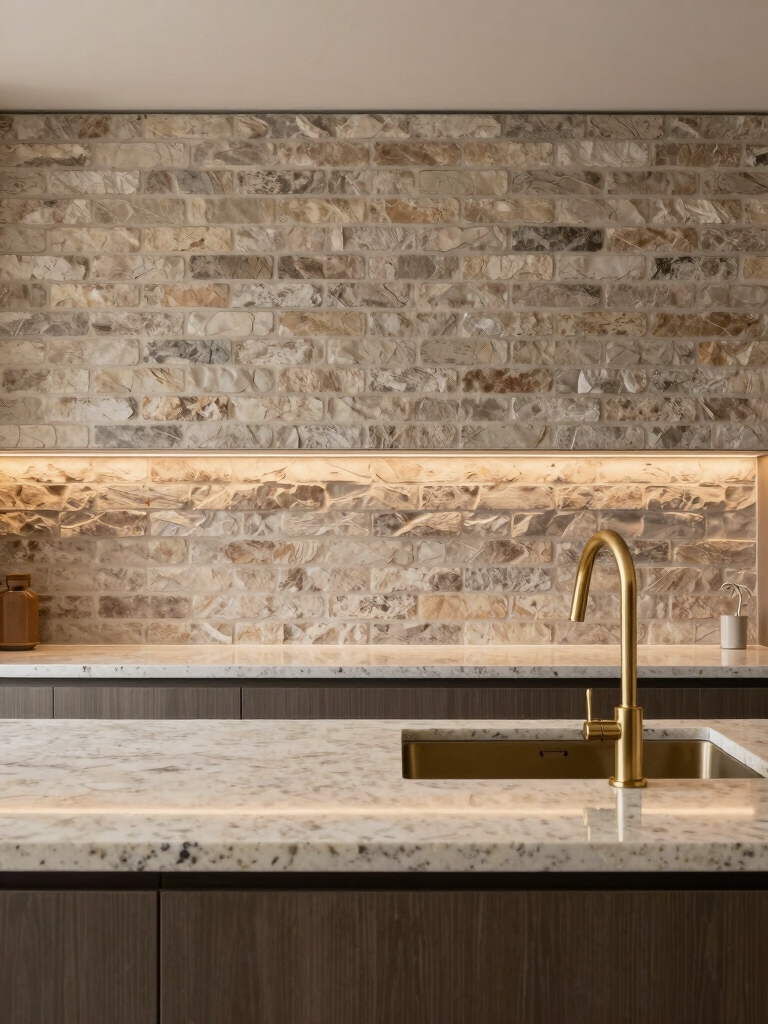
Lighting That Highlights Brick Texture and Color
I love how lighting can bring out bricks’ tone and texture, so I’ll show you how to make their color sing.
I’ll walk you through layered lighting effects that add depth while preserving warmth.
Highlight Brick Tone
To truly make brick tones pop, I lean on lighting that highlights texture and color without overpowering the room.
I’ll keep things balanced, so the brick shines instead of shouting.
- Use warm, dimmable LEDs to emphasize warmth and depth
- Opt for directional fixtures that skim brick surfaces
- Choose fixtures with brass or copper accents for subtle contrast
Layered Lighting Effects
Layered lighting brings brick texture to life by combining multiple light sources at different angles.
I mix soft ambient glow with targeted accents, highlighting grain, joints, and color variation without glare.
You’ll notice depth from wall-washing and a subtle matte finish on darker bricks.
This approach reveals character, enhances contrast, and keeps the kitchen feeling warm yet contemporary.
Warmth Through Shadows
Shadows can coax brick texture and color into warmth, so I use lighting that skims the surface rather than blasts it head-on. The result is inviting depth that feels cozy and real.
Here are three practical approaches:
1) grazing wall washers for subtle texture
2) warm LEDs at 2700–3000K
3) dimmers to modulate mood and color tones
Coordinating Brick With Cabinets and Countertops
Coordinating brick with cabinets and countertops can elevate your kitchen’s look by blending warmth with your existing finishes.
I find brick’s texture pairs best with neutral cabinet tones—warm whites, grays, or espresso.
Keep countertops simple and matte to avoid competing textures. If you want contrast, opt for darker hardware.
I suggest sampling swatches and visualizing equal texture distribution across surfaces. Additionally, consider how elegant backsplash ideas can enhance the overall aesthetic of your kitchen.
Pros, Cons, and Real-World Renovation Outcomes
Brick backsplashes bring warmth and character to a kitchen, but they aren’t a one-size-fits-all choice.
I’ll share real-world outcomes, weighing pros and cons from hands-on renovation. Expect practical tips, not hype, and a grounded look at maintenance, cost, and style fit.
- Pros: texture, warmth, value
- Cons: grout upkeep, heat limits, display risk
- Real-world verdict: balanced, durable, subjective
Conclusion
Choosing brick for your backsplash is like finding the right accent piece for a room you already love. Real or faux, texture changes everything, and brighter whites can open tight spaces while darker bricks add coziness. Budget and lighting guide the vibe, not the rulebook. Remember: practice makes progress, not perfection—you don’t have to conquer it all at once. So start small, test, and enjoy the journey—brick by brick, you’ll see the room transform.