I set up a cozy, photo-friendly kitchen with warm neutrals, matte wood or stone surfaces, textured linens, and a small library of signature props—worn boards, soft white plates, linen napkins, and clear jars.
I shoot mid-morning with sheer curtains, bounce light with reflectors, and keep a simple key+fill LED kit for consistency. I stage for close-ups, overheads, and wide shots, and keep a reset kit nearby so shoots stay efficient—keep going and I’ll share how.
Quick-Start Checklist for Kitchen Content Shoots
I like to kick off every kitchen shoot with a quick checklist so nothing feels chaotic—grab your camera, charge spare batteries, and clear surfaces of clutter.
I also set natural light windows, prep props (linen, wood board, ceramic bowls), tidy appliance cords, and plan one signature shot.
I keep cleaning wipes handy and a simple shot list to move efficiently and stay cozy, intentional, and calm.
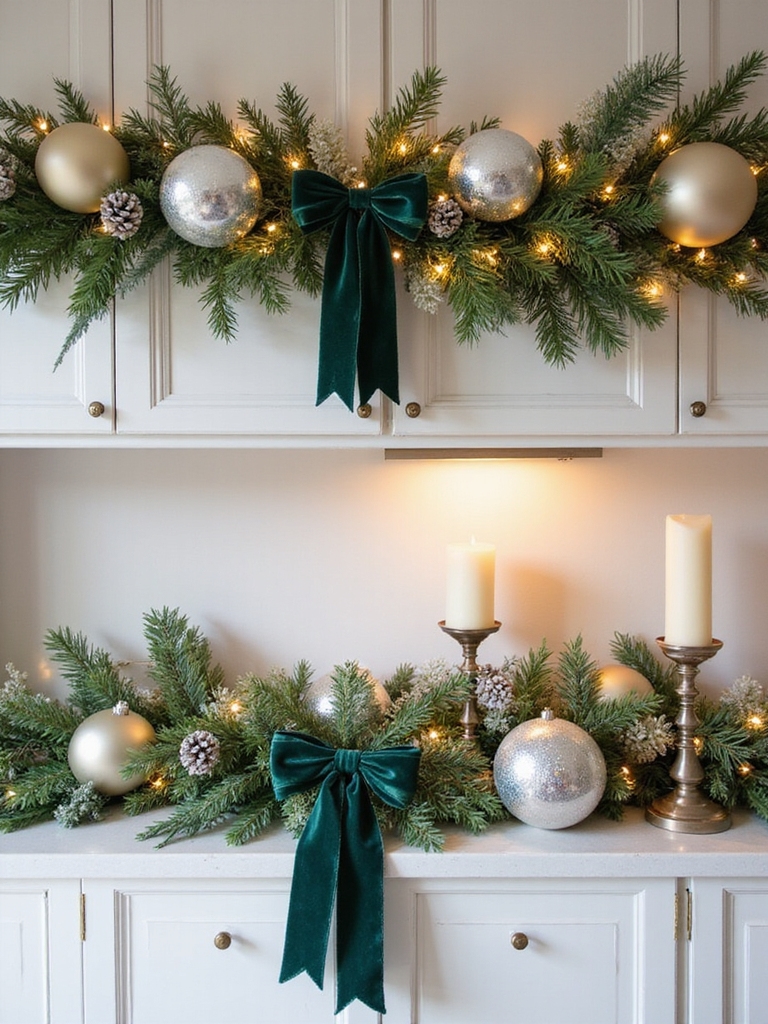
Stylish counter decor can help maintain a clutter-free kitchen while keeping the space visually appealing.
Choose a Photo-Friendly Kitchen Color Palette
Usually I start by picking a palette that feels like home—warm neutrals with one or two muted accents—because color sets the mood and makes photographing food and props so much easier.
I favor creams, soft greens, and dusty blues that complement wood tones and ceramics.
These colors keep focus on the food, create cozy cohesion, and make styling simple and consistent for every shoot.
I also lean on principles of chic neutral kitchen styling to ensure a timeless appeal that photographs well.
Lighting for Kitchen Videos (Natural & Artificial)
I’m a big fan of working with morning sun—position your prep area near a window and use sheer curtains to soften harsh rays for that cozy farmhouse glow.
For days when natural light’s scarce, I set up a simple artificial kit—softbox or LED panels with diffusers and a touch of warm gel—to keep colors true and skin tones flattering.
Let’s talk about easy tweaks you can make to balance both sources so your videos feel bright, natural, and inviting.
Consider installing large window styles to flood your cooking space with natural light and enhance that open, airy look.
Natural Light Strategies
Although natural light changes through the day, I’ll show you how to make the most of it so your kitchen videos feel warm and effortless.
I position shoots near large windows, use sheer curtains to diffuse, and tilt reflecting boards to bounce light.
Simple routine:
- Shoot mid-morning
- Use sheer curtains
- Bounce with white boards
- Watch shadows shift
Bright, stylish window treatments can enhance light control and visual appeal for filming, especially when you use sheer curtains.
Artificial Light Setup
When natural light fades or your schedule demands consistency, I turn to a simple artificial setup that keeps the kitchen looking warm and true-to-life.
I use soft, daylight-balanced LEDs, a key light with diffuser, and a fill light to tame shadows. Warm practicals—pendants or under-cabinet strips—add cozy highlights.
I position lights for even skin tones, minimal glare, and rustic charm. Layered lighting creates depth and sets the mood with functional and accent sources layered lighting.
Build a Versatile Background Zone for Fast Setups
With a few smart choices I can make one corner of my kitchen serve every kind of shoot, from quick recipe clips to polished product videos.
I keep it cozy, uncluttered, and ready. Key elements I rotate:
- Neutral backdrop
- Small prop shelf
- Adjustable lighting stand
- Clip-on reflector
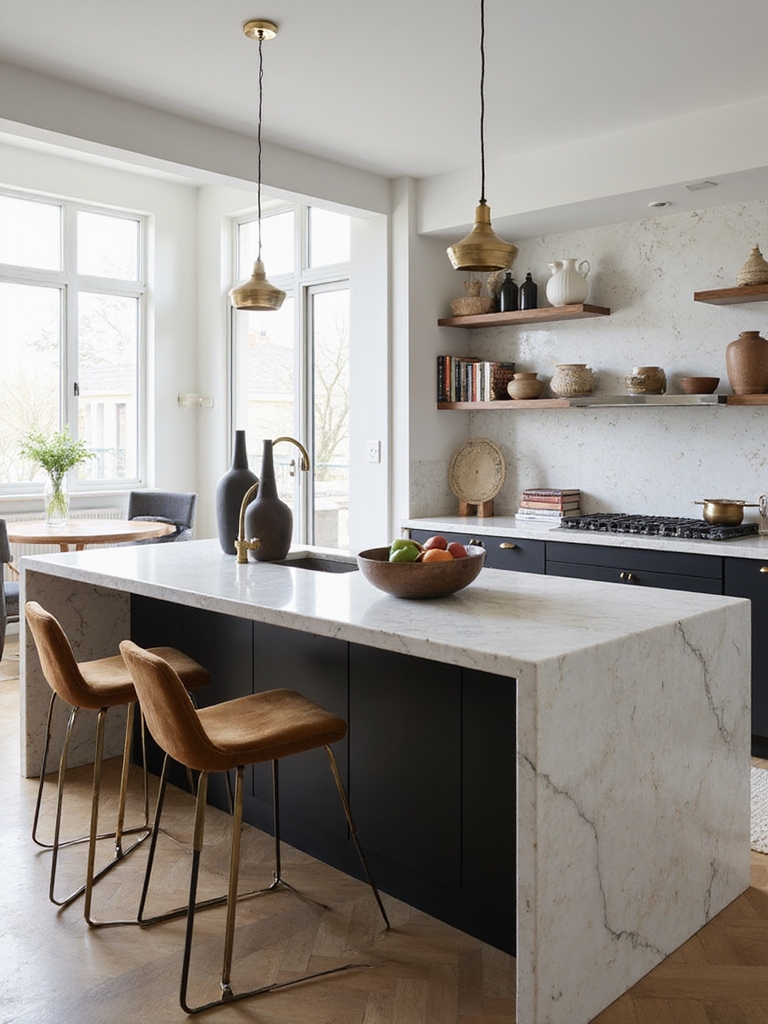
This setup saves time and keeps my footage consistent. I often style the island using simple neutral backdrop touches inspired by elegant kitchen island decor for designer interiors to maintain a high-end look.
Durable Surfaces & Fabrics for Photos and Video
I usually pick surfaces and fabrics that can take a spill, a scrub, and a lot of handling without looking tired—because I want my set to stay photogenic through dozens of shoots.
I favor matte butcher block, stone-look laminates, and textured linens that hide marks.
They clean easily, resist glare on camera, and feel lived-in—perfect for warm, farmhouse visuals that age gracefully.
Washable luxury rugs are especially useful for high-traffic shoots because they’re designed to survive kitchen spills and come out looking like new.
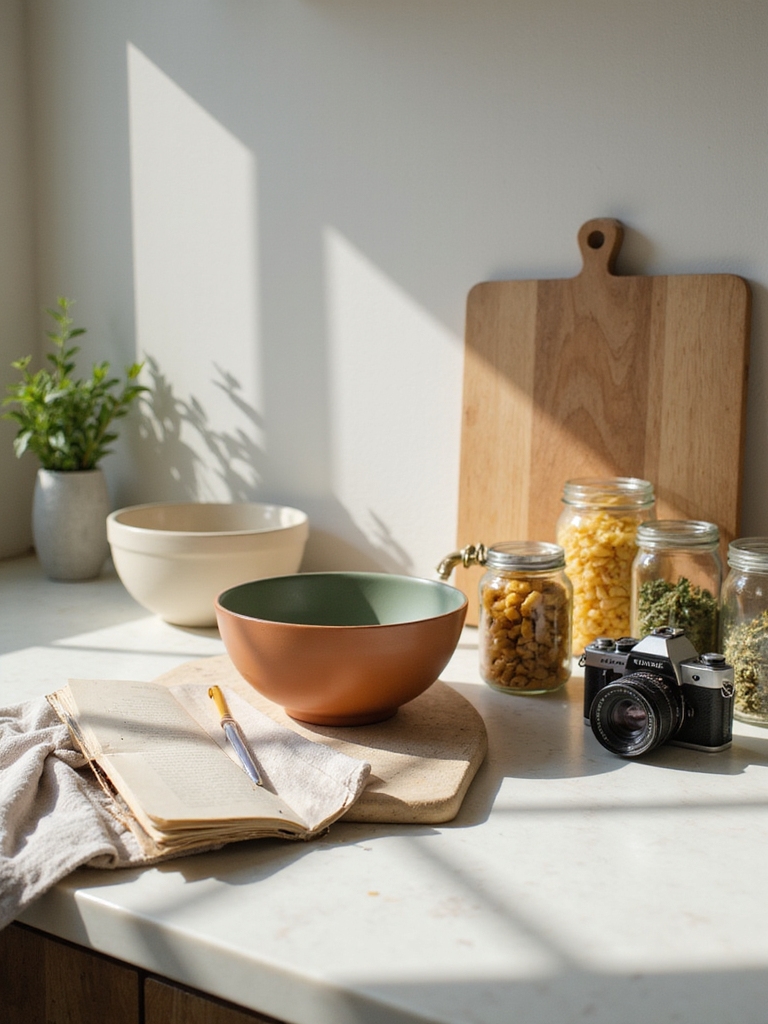
Curate Reusable Props for Consistent Branding
I’m intentional about building a small library of go-to props that reinforce my brand—think a couple of signature plates, a worn wooden spoon, matching linen napkins, and a few vintage jars—so every shoot feels familiar and on-brand.
I rotate pieces for cohesion:
- Signature plate
- Worn wooden spoon
- Linen napkins
- Vintage jars
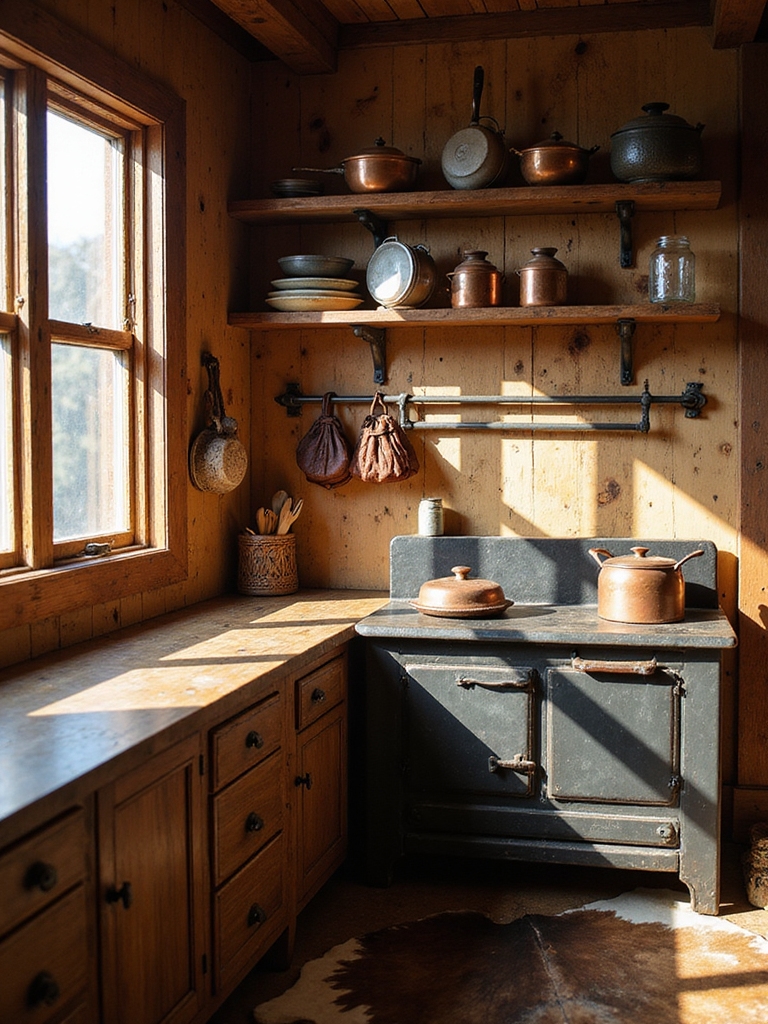
They simplify styling and tell my story. I also style open shelving with everyday functionality in mind, balancing pretty pieces with practical items for a lived-in look.
Pick Cookware & Serveware That Looks Good on Camera
I always pick cookware and serveware that photograph well, starting with a neutral color palette so pieces don’t fight the food or my backdrop.
I favor clean silhouettes for timeless shots and choose textures and finishes—matte, hammered, or glazed—that catch light in a cozy, farmhouse way.
Those simple choices make every frame feel intentional and inviting.
Choose Neutral Color Palettes
A neutral palette keeps your shots timeless, so I choose cookware and serveware in soft whites, warm beiges, and muted greys that let food and composition shine.
I stick to simple tones to create calm, cohesive frames and avoid distraction. Highlights I focus on:
- White enamel
- Matte beige
- Stoneware grey
- Natural wood accents
Opt For Clean Silhouettes
Since neutral tones set the calm backdrop, I pick cookware and serveware with clean silhouettes that read clearly on camera and keep the focus on the food.
I favor simple shapes—rounded bowls, straight-edged plates, unadorned pans—that photograph well and feel timeless.
They let rustic ingredients shine without visual clutter, make styling easier, and keep my feed cohesive and comfortably homey.
Prioritize Texture And Finish
When I pick pieces for the camera, I lean into texture and finish because they catch light and tell a story—dull matte surfaces read cozy and grounded, hammered or speckled glazes add depth, and a soft sheen on metal gives a subtle highlight without glare.
I choose items that photograph true to life:
- Matte stoneware
- Brushed copper pans
- Textured linens
- Hand-glazed bowls
Arrange Everyday Ingredients as Attractive Set Dressing
I like to pull everyday ingredients out of cupboards and let them do the styling for me—olive oil bottles, a bunch of thyme, lemons with a few leaves still attached—because they bring lived-in warmth and authenticity faster than any prop.
I arrange them casually on a wooden board, grouping by color and height, scattering herbs and citrus for texture, then tweak until the scene feels effortless and inviting.
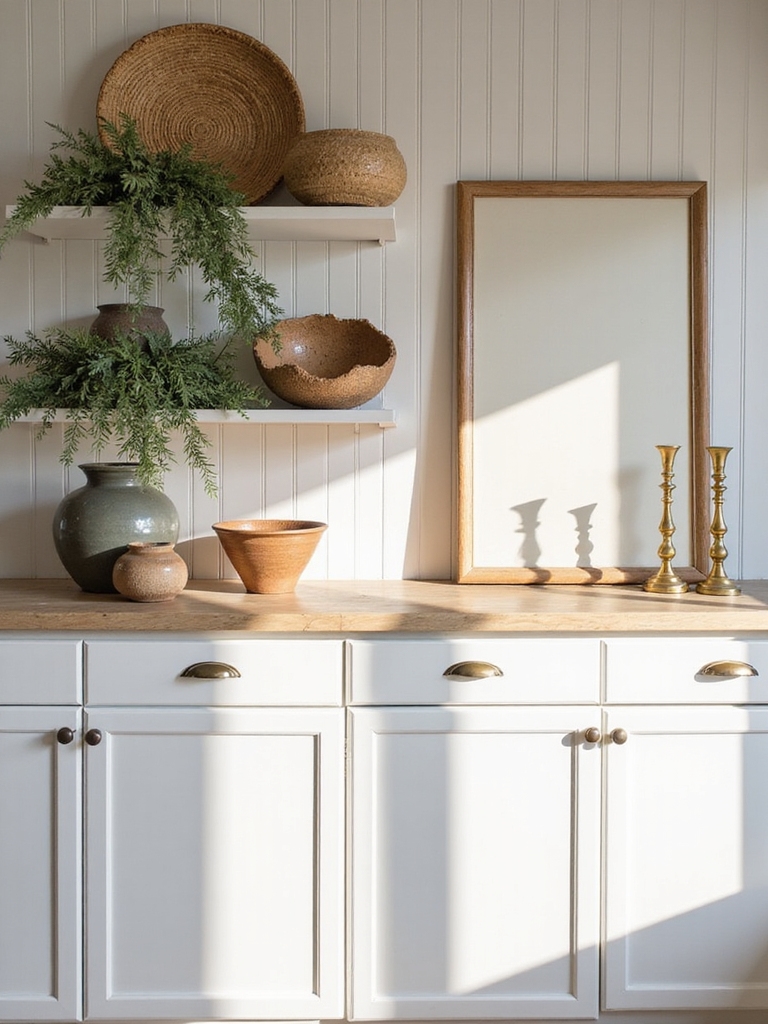
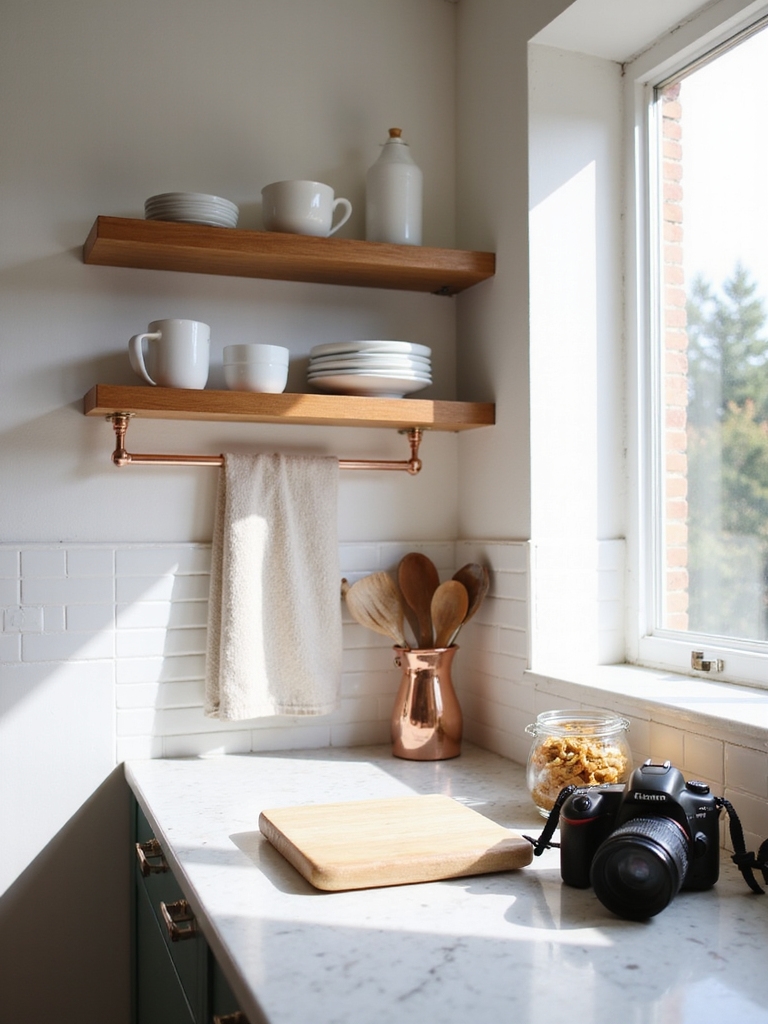
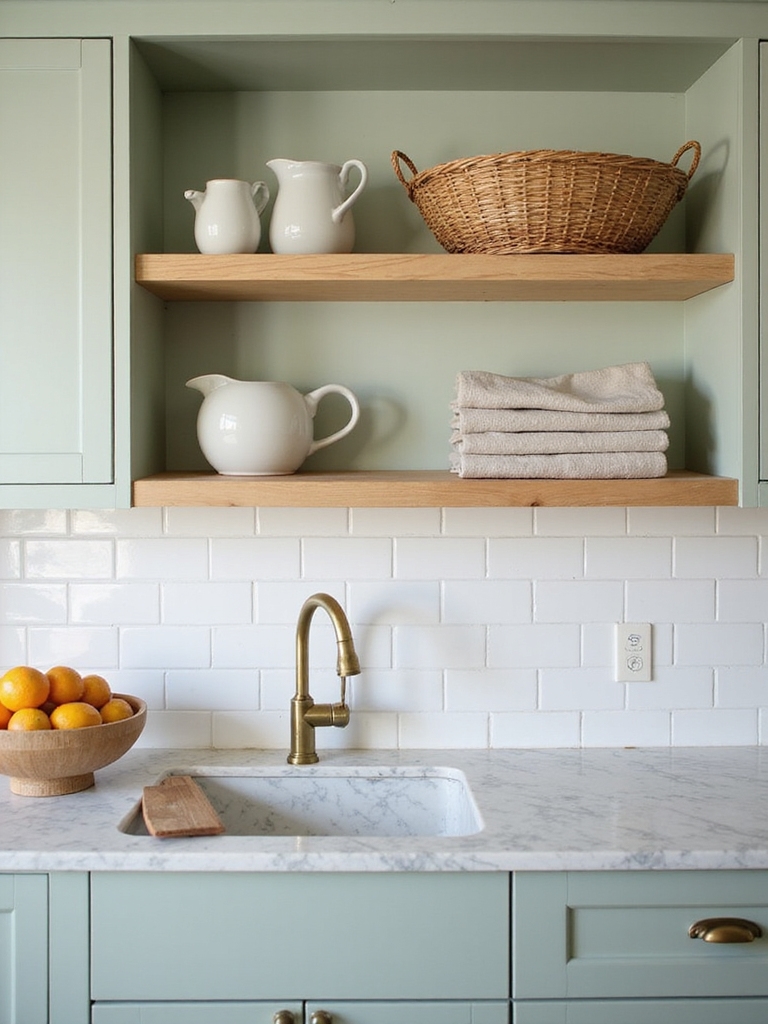
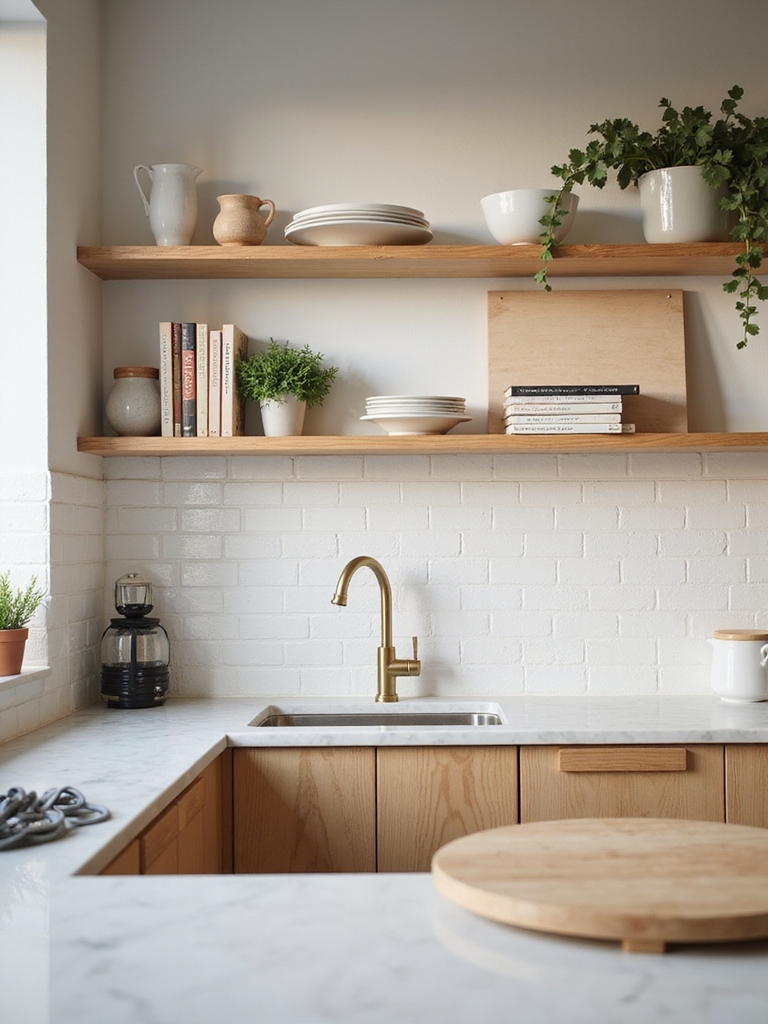
Use Open Shelving & Visible Storage as Decor
Open shelving lets you put your everyday pieces on display, turning plates, jars, and woven baskets into an instant farmhouse vignette that feels both useful and beautiful.
I keep things tidy and styled so each shelf reads well. Consider these essentials to balance function and charm:
- Frequently used plates
- Clear jars of staples
- A stack of bowls
- Decorative baskets
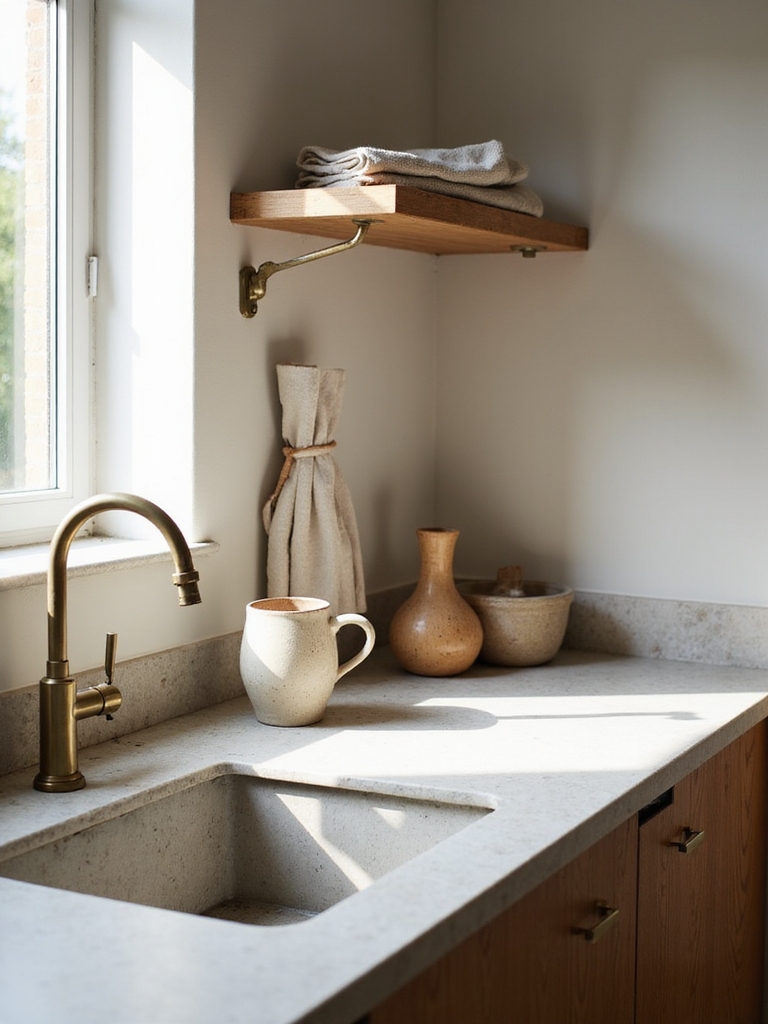
Add Texture With Textiles, Plants, and Wood Accents
Layering textiles, plants, and wood accents brings warmth and lived-in charm to a kitchen, and I like to mix these elements so each corner feels intentional.
I add linen tea towels, a braided rug, potted herbs on windowsills, and reclaimed cutting boards as artful props.
These simple textures photograph beautifully, soften hard surfaces, and make my space feel cozy without clutter.
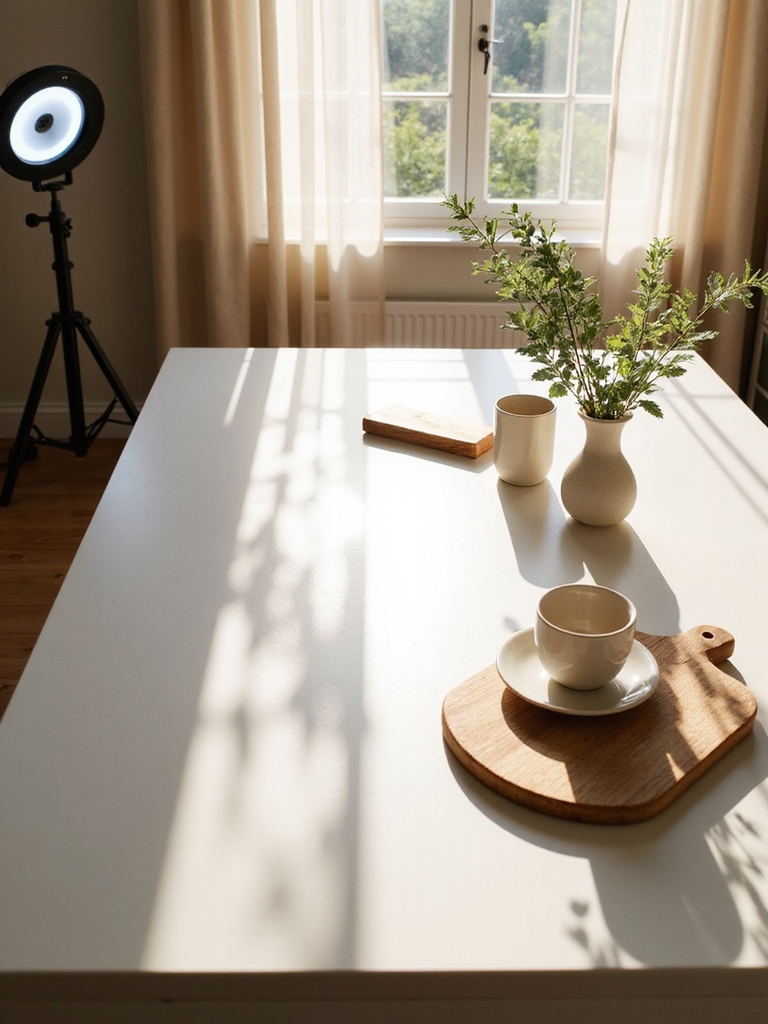
Create a Go-To Flat‑Lay Station
I keep a little flat‑lay station in my kitchen so I can grab consistent lighting and arrange props quickly.
I watch the light and shadows through the day and choose backgrounds—distressed wood, linen, or marble tiles—that add texture without stealing the show.
Let me show you how a steady setup saves time and makes every shot feel cozy and intentional.
Lighting And Shadows
When I’m setting up a go-to flat-lay station, lighting is the first thing I think about because it makes or breaks the mood of a shot.
I favor soft natural light, gentle reflectors, and simple lamps to shape shadows and highlight texture.
I follow a small checklist:
- Diffuse light source
- Reflector placement
- Accent lamp
- Shadow control
Background Textures
Because texture anchors a flat‑lay, I pick backgrounds that tell a quiet story without shouting for attention.
I keep a small stack of boards—weathered oak, whitewashed pine, slate—and a linen runner for soft contrast. They layer easily, swap with seasons, and frame ingredients.
My go‑to station lives on a tidy counter, ready for quick shoots that feel warm, simple, and true.
Stage Countertops for Close-Up, Overhead, and Wide Shots
If we want every shot to feel intentional, I stage countertops to suit the angle—close-ups need texture and tidiness, overheads call for pattern and negative space, and wide shots benefit from anchored, lived-in styling.
I keep it simple and practical:
- Grouped props
- Single focal herb
- Textured linens
- Weighted anchor piece
This keeps visuals clean, cozy, and camera-ready.
Fast Cleaning & Reset Hacks Between Takes
I keep a tidy little quick-wipe station by the stove so spills vanish between takes without fuss.
Hidden baskets and pull-out trays hide props and clutter fast, while a prepped reset kit with cloths, spray, and spare garnishes gets us back on camera in minutes.
Let me show you how these simple systems save time and keep the kitchen looking warm and lived-in.
Quick Wipe Stations
Around the corner of my prep counter I’ve got a little quick-wipe station that saves shoots: a shallow tray with damp microfiber cloths, a spray bottle of gentle multi-surface cleaner, a stack of paper towels, and a small bin for crumbs.
I reset scenes fast, keeping things tidy and cozy. My routine:
- Wipe
- Spray
- Dry
- Tidy
Hidden Storage Solutions
That quick-wipe station keeps scenes tidy, but I also rely on hidden storage to make resets even faster.
I tuck props, utensils, and mess-prone items into pull-out drawers, a bench with a lift seat, and discreet baskets behind cabinet doors.
It keeps the farmhouse vibe uncluttered, so I can flip from messy to camera-ready in seconds without breaking the flow.
Prepped Reset Kits
When things get hectic between takes, I keep a prepped reset kit within arm’s reach so I can wipe, swap, and move on without missing a beat.
I stash essentials in a woven basket: quick wipes, spare linens, small spray, and tweezers.
It keeps my cottage-style set tidy and cozy.
My go-to list:
- Wipes
- Linens
- Spray
- Tweezers
Budget-Friendly Swaps That Mimic High-End Styling
I’ll show you how small swaps can lift a kitchen from ordinary to curated without breaking the bank.
I swap bulky brand-new gadgets for polished thrifted finds, replace plastic soap dispensers with glass ones, use linen tea towels instead of printed cotton, and group mismatched ceramics for an intentional look.
You’ll get that warm, lived-in farmhouse vibe without splurging—just thoughtful choices and patience.
Store and Organize Props for Fast Access During Shoots
I keep my props corralled so I can grab exactly what I need and keep shoots flowing—no frantic digging through boxes.
I use labeled baskets and open shelving for easy sightlines, rotating seasonal items.
Here’s my quick system:
- Everyday essentials
- Seasonal swaps
- Textures and linens
- Statement pieces
This keeps my kitchen cozy, organized, and ready for filming.
Thanks for sticking with me through these kitchen styling tips — now you’re ready. Keep a calm color palette, catch light that flatters, and craft a go-to background that’s quick to swap.
Choose durable surfaces, arrange counters for every angle, and learn speedy cleanup and reset tricks.
Stash props where you can grab them, and swap budget finds for luxe looks. Shoot more, stress less, and make every frame feel like home.