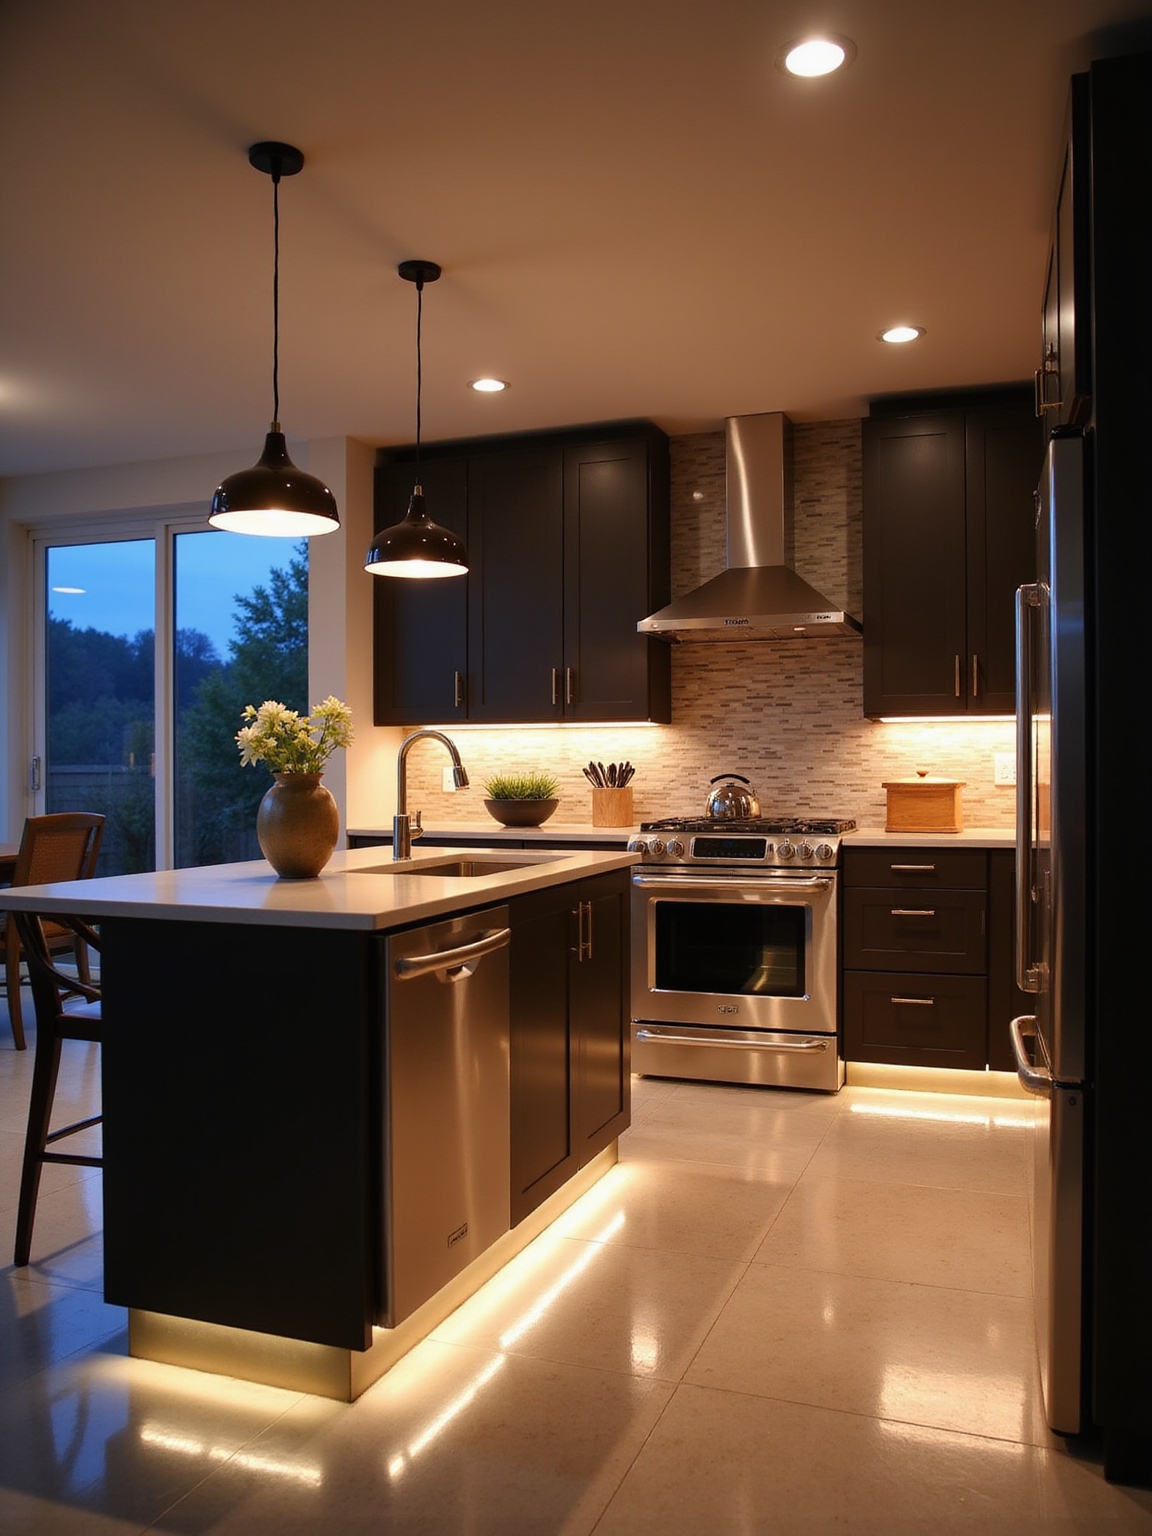
I’ll show you how to layer ambient, task, and accent lights so your kitchen feels both useful and inviting. I start with warm, dimmable ceiling or cove lighting for steady glow, add under‑cabinet strips and focused pendants for clear prep work, then tuck in shelf or backsplash spotlights for texture and drama.
I pick high‑CRI warm bulbs and smooth dimmers so colors sing. Keep going and you’ll find practical layouts, fixture sizes, and scene ideas to try.
How to Plan Layered Kitchen Lighting
When I plan layered kitchen lighting, I start by thinking about what each part of the room needs to do: task lights for chopping and reading recipes, ambient light for overall warmth, and accent lighting to show off tile, open shelving, or a favorite mixer.
I map zones, pick fixtures with complementary finishes, balance brightness, and add dimmers so mood and function shift easily from morning prep to evening cocktails.
I also consider elegant lighting schemes to tie the whole design together and elevate the space with cohesive fixture choices.
What Layered Lighting Is and Why It Matters in Kitchens
For me, layered lighting is the habit of combining three purposeful kinds of light—task, ambient, and accent—so a kitchen feels both useful and welcoming, not just bright.
I focus on balance: clarity for cooking, warmth for gatherings, and small highlights that reveal texture and charm.
- Task for work
- Ambient for mood
- Accent for detail
- Flexibility by zone
- Rhythm with dimmers
Task lighting should be placed where you prepare food and work most often, like over counters and islands, to ensure focused illumination for safe, efficient prep.
Ambient Lighting for Kitchens: Options and Placement
Having covered how task, ambient, and accent lights work together, I want to focus on ambient lighting—the invisible layer that makes a kitchen feel steady and welcoming.
I prefer soft, diffused ceiling fixtures, dimmable LEDs, and warm pendant clusters hung centrally or recessed around perimeter coves.
Place sources to erase harsh shadows, unify sightlines, and let other layers shine when you want mood or drama.
Consider adding ceiling treatments like exposed beams, beadboard, or a coffered design to give the room lasting character and depth, especially when paired with textured ceiling finishes.
Task Lighting for Prep Zones and Worktops
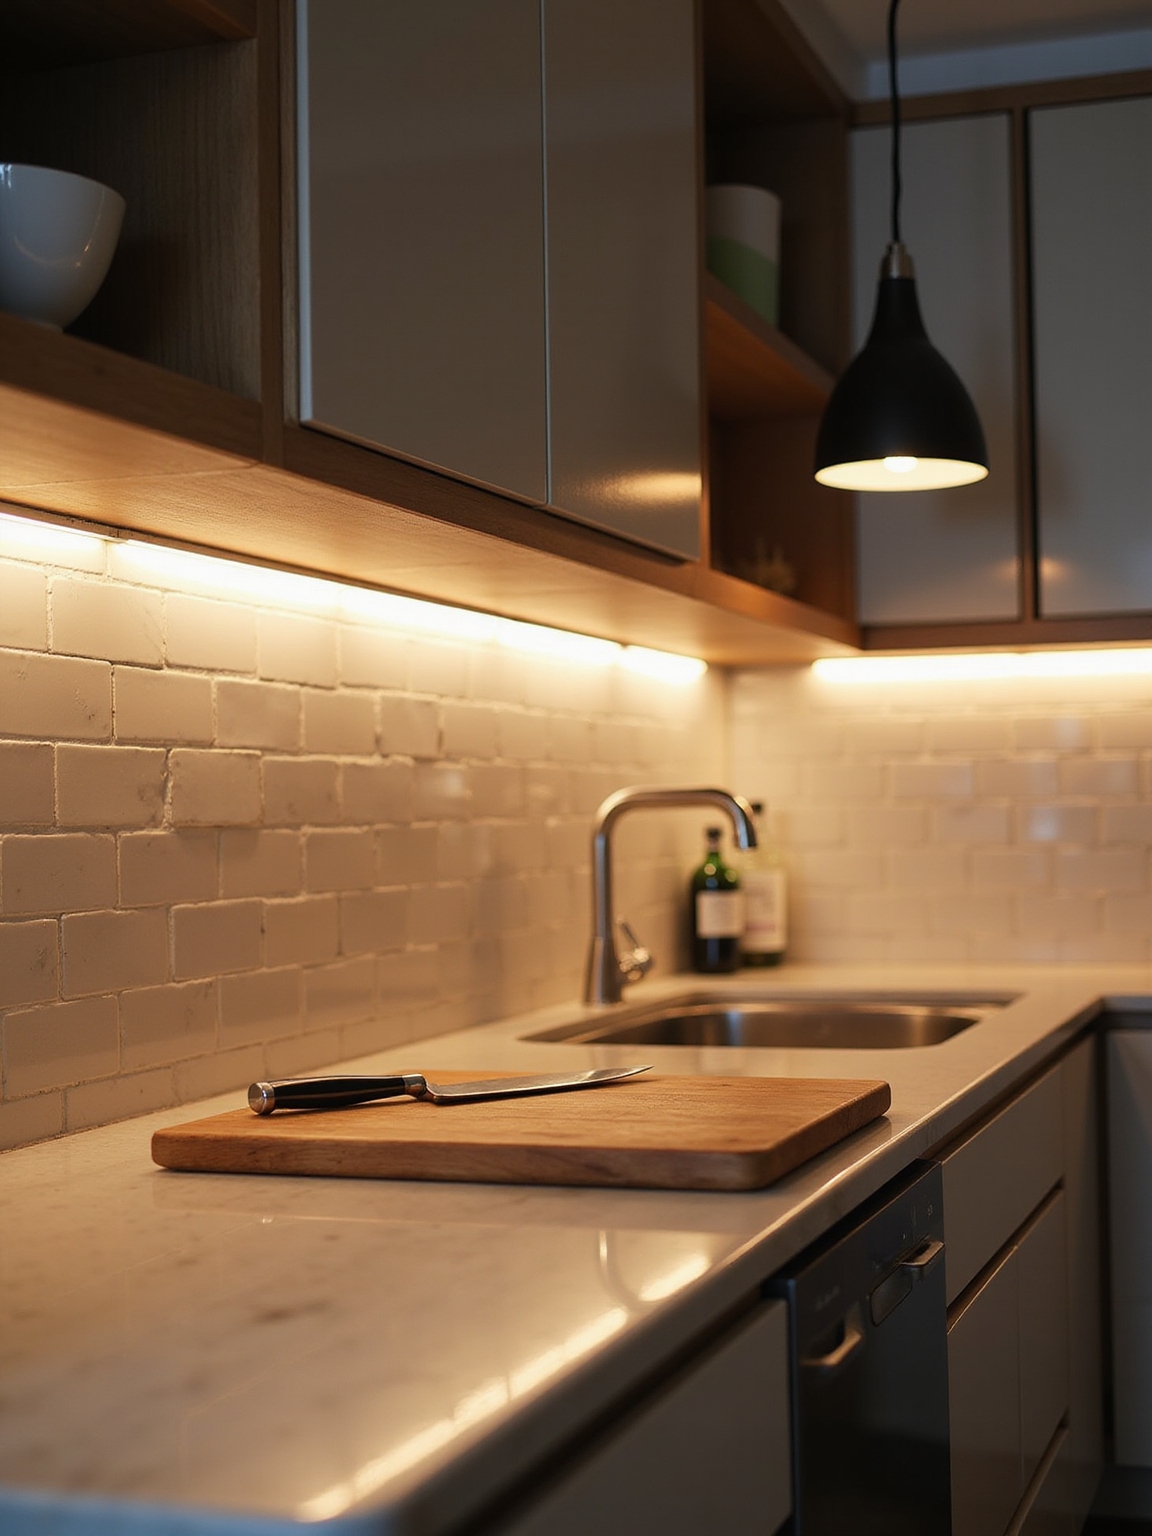
I usually recommend bright, focused task lighting over prep zones and worktops so you can see fine detail without glare or color distortion.
I pair warm-tone LEDs with directional fixtures and dimmers to balance clarity and cozy vintage-modern charm.
- Under-cabinet linear LEDs
- Adjustable pendant over islands
- Recessed downlights with narrow beams
- Strip lights beneath shelves (low profile)
- Plug-in puck lights
Good kitchen flow often depends on smart layout choices, like the work triangle between sink, stove, and fridge, so task lighting aligns with key prep and cooking zones.
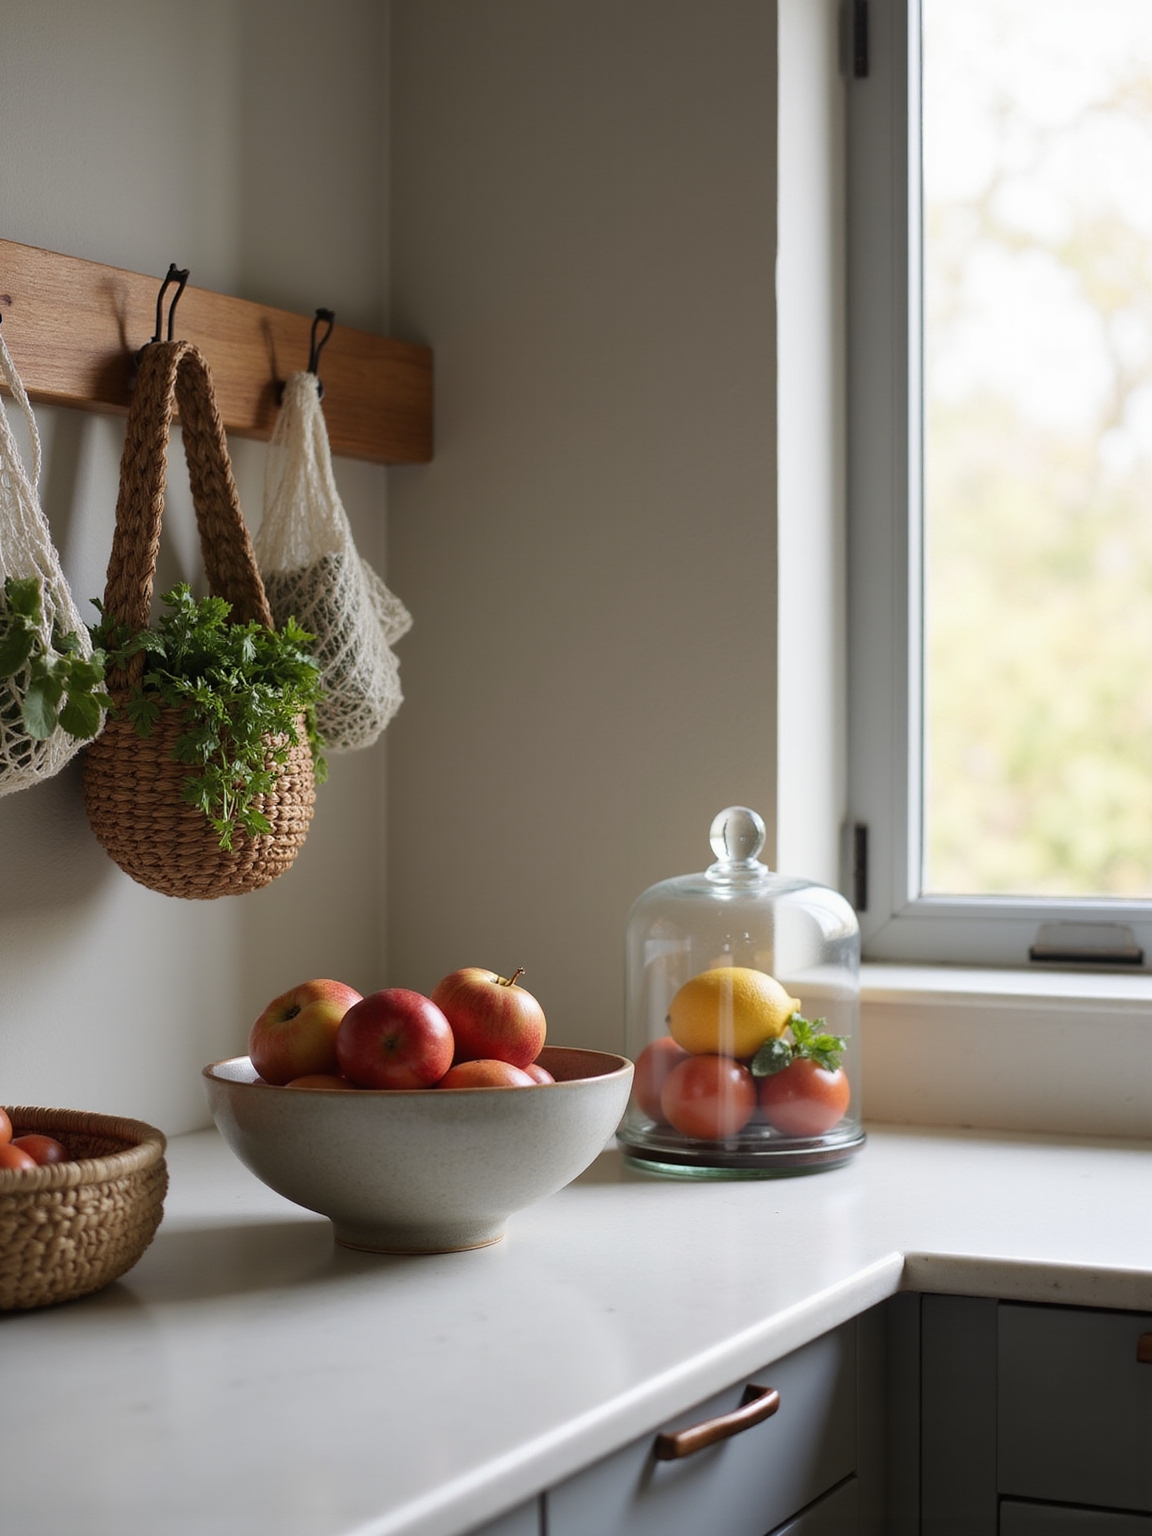
Accent Lighting to Highlight Backsplashes and Shelves
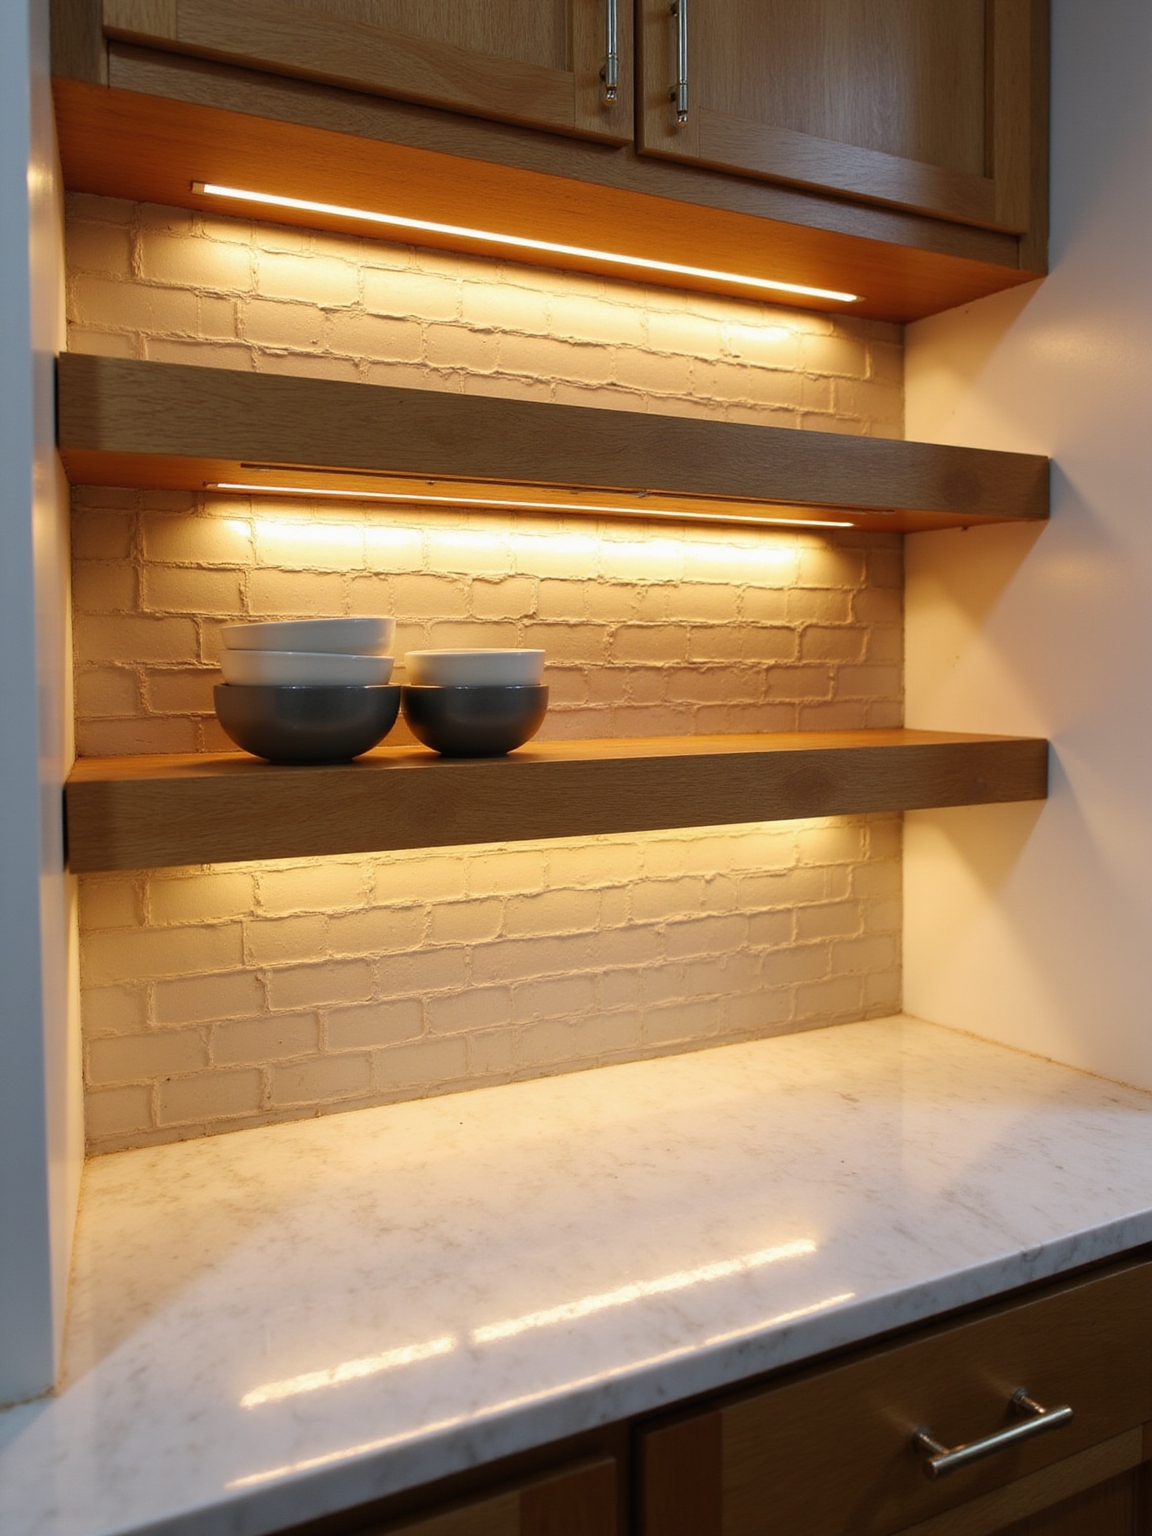
I like using slim under-cabinet LED strips to wash a backsplash with soft, even light that shows off tile texture without glare.
For open shelves and little display niches I’ll add small spotlights or puck lamps to create pools of warm, vintage-tinged brightness. With those two tools you can coax out color and shadow in ways that feel both lived-in and carefully styled.
You can also choose one of several premium backsplash options, like stone or patterned tile, to pair with layered lighting for maximum impact and tactile interest premium backsplash.
Under-Cabinet LED Strips
Under-cabinet LED strips are a simple upgrade I recommend when you want to make your backsplash and open shelving pop without overhauling the whole room.
I use them to add gentle, even glow that feels cozy and modern.
They’re low-profile, energy-smart, and instantly elevating.
- Warm dimmable LEDs
- Color temperature choice
- Hidden mounting
- Low glare diffuser
- Smart dimmer control
They also work especially well when paired with textured backsplashes like tile or stone to add depth and contrast, highlighting textured backsplash surfaces.
Shelf and Niche Spotlights
Think of shelf and niche spotlights as the finishing brushstroke that brings your backsplash and open shelves to life — I use them to carve out texture, color, and those little vignettes you slow down to notice.
I aim for small, warm beams that sculpt pottery, highlight tile patterns, and layer depth without glare. Adjustable fixtures let me tune mood and focus effortlessly.
Sleek kitchen ventilation also complements these focal points by keeping the space feeling clean and uninterrupted; consider coordinating finishes with stylish ventilation to unify the look.
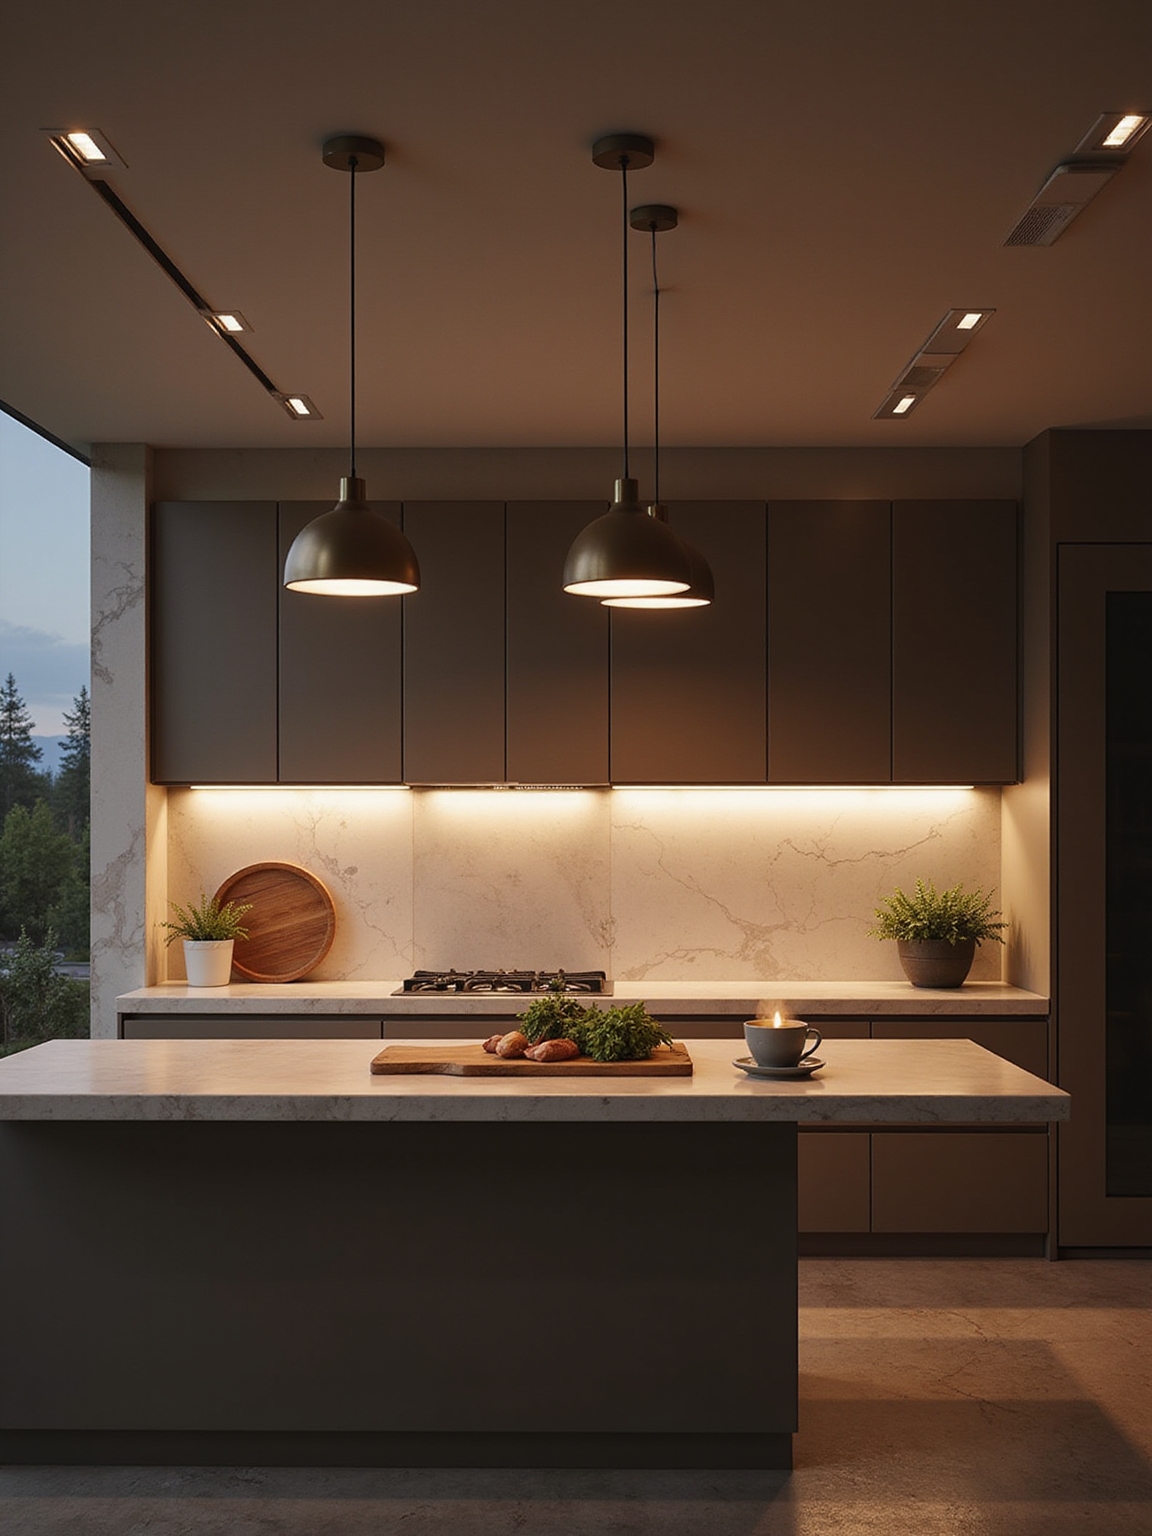
Recessed and Ceiling Fixtures for Even Illumination
I like to start with a balanced ceiling layout so every work zone gets even light.
I’ll choose dimmable recessed fixtures to tailor brightness for cooking or cozy nights, and I pay attention to trim and placement for glare-free distribution.
With a few simple choices you can have practical, gentle illumination that feels both retro and modern.
Consider adding a few splurge-worthy pendant fixtures over the island to create a focal point and layered light with statement pendants.
Balanced Ceiling Placement
When I plan ceiling lighting, I aim for a layout that spreads light evenly without glare or dark pockets. I balance recessed cans and a central fixture, considering scale, spacing, and sightlines so the kitchen feels cozy and practical.
- Place lights to eliminate shadows over work zones
- Stagger fixtures for visual interest
- Match fixture style to cabinetry
- Keep spacing consistent
- Consider ceiling height
Dimmable Recessed Options
Moving from balanced ceiling placement, I lean on dimmable recessed options to fine-tune both mood and task lighting without changing fixtures. I favor low-profile cans with warm LED bulbs and smooth dimmers that remember settings.
They give even, adaptable illumination — bright for prep, soft for supper — while keeping a clean, slightly retro-modern ceiling line that feels comforting and practical.
Glare-Free Light Distribution
Often I reach for fixtures and layouts that spread light gently so no one has to squint across the counter. I favor recessed cans with baffles and shallow pendants that wash surfaces evenly, keeping reflections soft and shadows minimal.
Practical, cozy, and timeless — a kitchen that feels calm and useful.
- Recessed baffle trims
- Shallow diffused pendants
- Matte ceiling fixtures
- Even spacing grid
- Warm LED color temperature
Under‑Cabinet Lighting: Strips, Pucks, Spacing
I’ll walk you through under‑cabinet lighting so you can pick between strips and pucks and get the spacing just right; these small choices make a big difference in how your counters look and feel.
I prefer low‑profile LED strips for even wash, pucks for focused tasks. Space strips every 12–18 inches or center pucks 12–15 inches apart, matching color temp to your overheads.
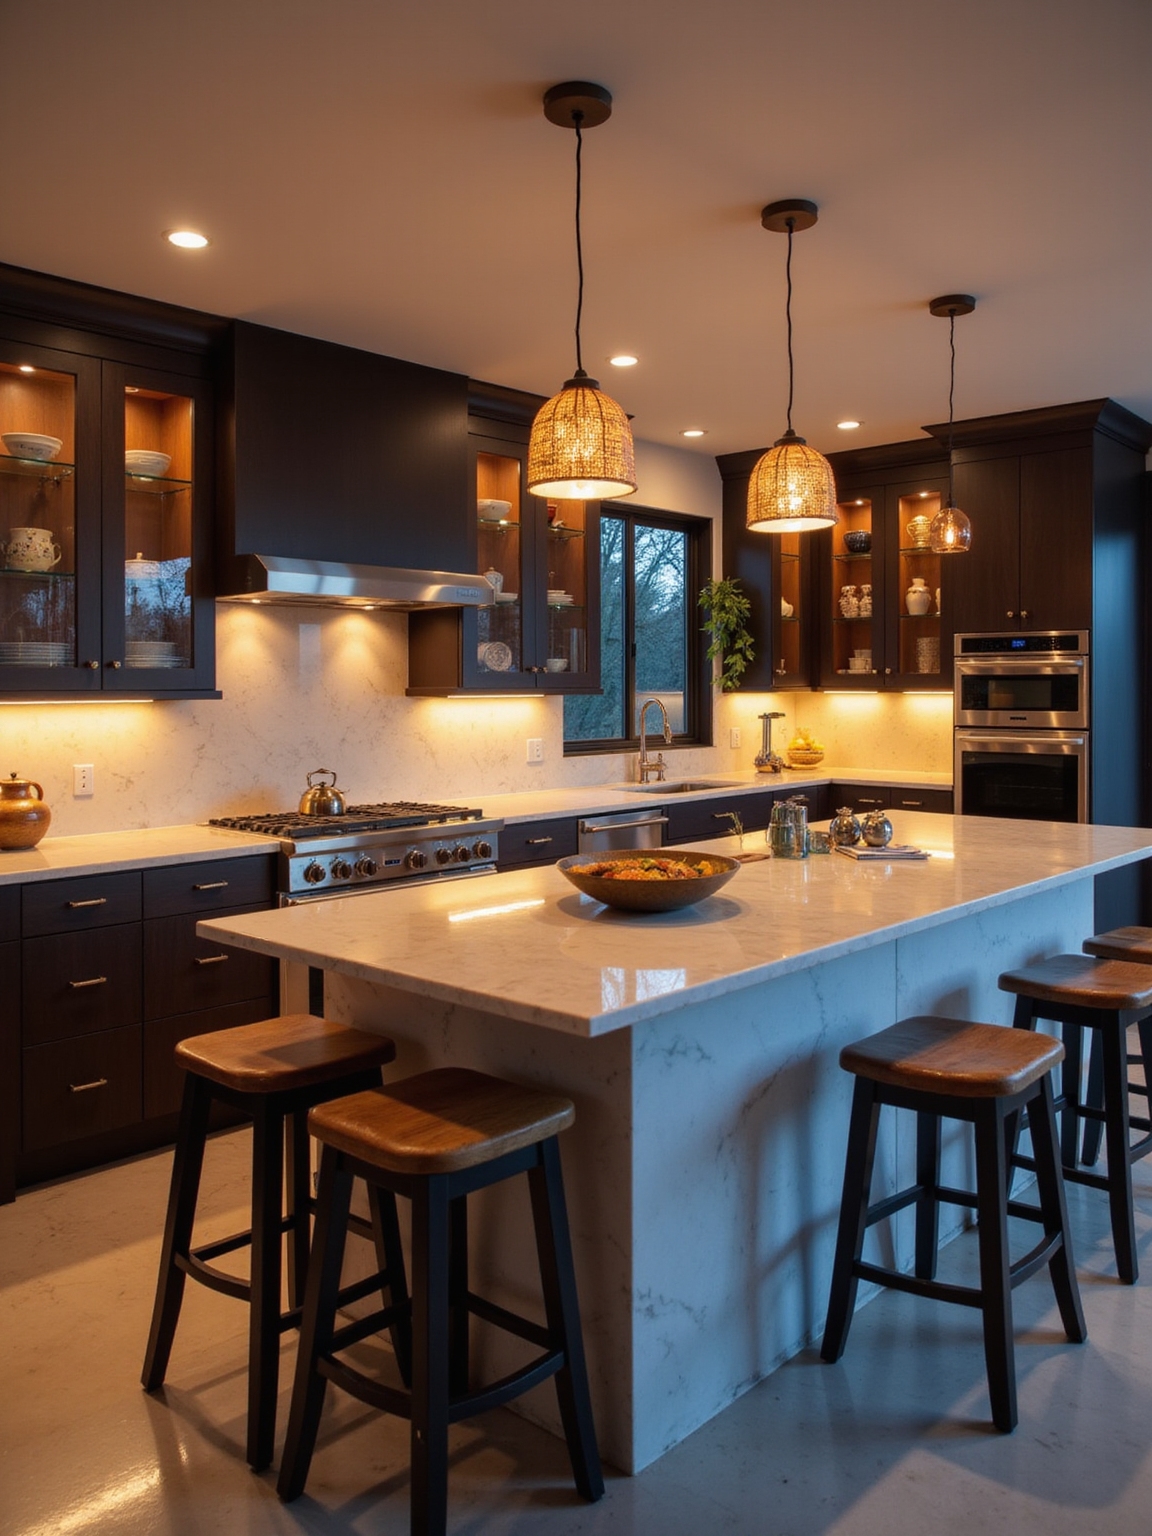
Pendant Sizing, Height, and Spacing for Islands
When I choose pendants for an island I think about diameter guidelines so each fixture feels proportional to the counter below.
I also set a proper hanging height to keep sightlines clear and task light focused where we need it.
Finally, I follow even spacing rules so the group reads as a calm, functional composition.
Pendant Diameter Guidelines
If you’re planning pendants over an island, think of each fixture as a visual and functional anchor: they should be large enough to give proper light and presence, yet not so big they crowd the space.
I suggest simple diameter rules to keep balance and charm.
- Match pendant diameter to island width proportions
- Use 10–12″ for small islands
- 14–18″ for medium islands
- 20–24″ for large islands
- Consider grouping smaller pendants for rhythm
Proper Hanging Height
Because pendant height affects both sightlines and task lighting, I hang fixtures where they feel right for the room and work surface—usually 30–36 inches above the island countertop for standard ceilings.
For taller ceilings I raise pendants proportionally, keeping balance with cabinets and sightlines.
I choose fixtures sized to avoid glare, provide focused illumination, and maintain a warm, vintage-modern rhythm across the island.
Even Spacing Rules
Although good lighting can feel intuitive, I follow a few simple spacing rules to make pendants sit right over an island.
I pick sizes that balance scale, hang them at eye-friendly heights, and keep even spacing for rhythm and function.
- Choose pendant diameter to match island width
- Leave 30–36 inches above countertop
- Space pendants 24–30 inches apart
- Center fixtures on workspace
- Use odd numbers for charm
Choosing Bulbs: Color Temperature and CRI for Kitchens
When I pick bulbs for a kitchen, I think about color temperature and CRI as the twin tools that shape how the space looks and feels.
I favor warm 2700–3000K for cozy meals, cooler 3500–4000K for prep clarity, and a high CRI (90+) so produce and finishes read true.
The right mix feels intentional, practical, and a little timeless.
Dimmers, Zones, and Energy‑Saving Control Strategies
You’ve picked the right color temperature and CRI, and now I want to talk about how you control that light—dimmers, lighting zones, and smart strategies that save energy without sacrificing mood or function.
I prefer layered zones and easy dimmers so evenings feel cozy and tasks stay bright.
Small changes cut power and boost comfort.
- Use multiple zones
- Install soft-start dimmers
- Match dimmers to LEDs
- Time-based reductions
- Motion for seldom-used areas
Smart Kitchen Lighting: Scenes, Automation, and Voice Control
I like setting up programmable scenes so the kitchen shifts from bright prep light to soft dinner glow with a single tap.
I’ll automate lights to follow activities—brighter when I’m chopping, gentler when I’m winding down—so the room just knows what to do.
And when my hands are full, voice control lets me tweak ambience without touching a switch.
Programmable Lighting Scenes
Set up a few programmable lighting scenes and you’ll see how effortless a kitchen can feel.
I program color and intensity for tasks, family meals, cozy evenings, parties, and cleaning, then recall them with a tap or word.
It makes routines gentler, the room friendlier, and moments sweeter.
- Task bright
- Dinner warm
- Relax soft
- Party vivid
- Clean bright
Automation Based On Activity
When I link lighting to what’s happening in the kitchen, the room stops feeling like a box of switches and starts responding like a helpful friend; lights come up for prep, dim for dinner, and snap to bright for cleanup without me thinking twice.
I set sensors and timers so zones adapt to tasks—counter, stove, dining—saving effort and keeping mood seamless, cozy, and utterly practical.
Voice-Controlled Ambience
Linking lights to activity makes asking them to follow your voice feel natural, like calling out to a helpful houseguest.
I use voice scenes to set mood—bright for chopping, soft for long dinners, warm for mornings. It’s intuitive, playful, and reliable.
- Create named scenes (Prep, Dinner, Morning)
- Assign levels and color tones
- Combine appliance cues
- Schedule fallback automations
- Test phrases for clarity
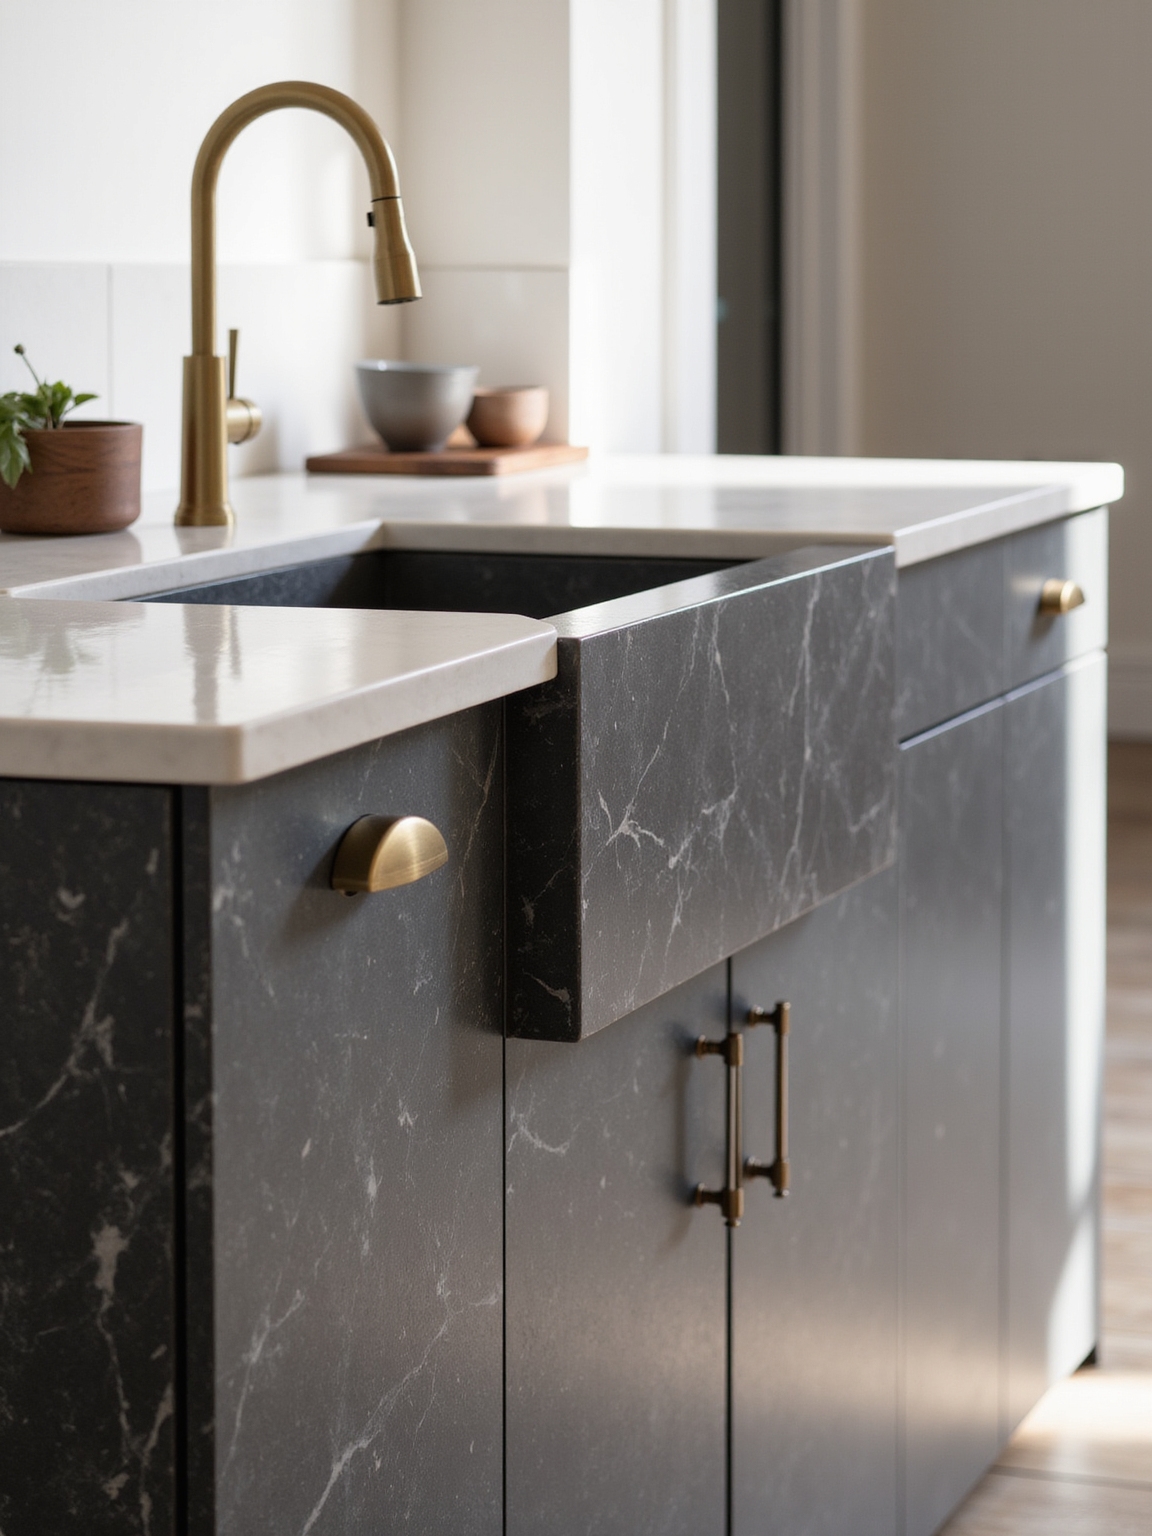
Finish Choices for Light Fixtures and Coordinating Materials
Because finishes are the jewelry of a kitchen, I want you to think about how metal tones, wood stains, and glass details will interact before you buy anything.
I favor mixing warm brass with aged nickel and smoked glass for a layered, vintage-modern feel. Match fixture finishes to cabinet hardware and island legs, and let wood tones echo lighting warmth for cohesive, lived-in charm.
Budget Layered Lighting Ideas for Renters and Small Kitchens
I’ll show you how to layer lighting affordably in a rental or small kitchen so the space feels intentional and lived-in without permanent changes.
I lean on plug-in solutions, clever placement, and warm bulbs to create depth and charm on a budget.
- LED plug-in puck lights
- Clamp lamps for shelves
- Under-cabinet adhesive strips
- Dimmer-compatible fixtures
- Vintage-style filament bulbs
Common Lighting Mistakes and How to Avoid Them
When I walk into kitchens that feel dull or awkward, it’s usually because the lighting was an afterthought—too harsh overhead light, shadowy work surfaces, or pretty bulbs that don’t actually let you cook.
I fix common mistakes by layering: add task lights, soften glare with dimmers, balance color temperature, and place fixtures to eliminate shadows.
Small changes make a cozy, functional room.
Room‑by‑Room Kitchen Lighting Checklist
Let’s walk through each zone of your kitchen so you can check off exactly what needs light and why—I’ll point out practical fixtures and placement that keep things lovely and useful.
I’ll guide you room‑by‑room with cozy, efficient choices that marry vintage charm and modern clarity.
- Prep/Counter: undercabinet task lights
- Island: pendant cluster
- Sink: focused sconce
- Dining: dimmable chandelier
- Pantry: motion LED strip
I hope this guide’s given you the confidence to layer light in your kitchen so it feels both functional and beautifully lived-in. Don’t you love how the right mix of ambient, task, and accent lighting can change a room’s whole personality?
I’ll always encourage starting small — try a dimmable overhead, focused undercabinet lights, and a little accent strip to test the mood. Let your kitchen grow warm, practical, and a touch nostalgic.