I’m excited to share 17 easy DIY kitchen island ideas that prove you don’t need a pro to get a stylish, functional center stage. From repurposing furniture to smart storage and budget-friendly finishes, you’ll find approachable tweaks that fit tight spaces and big ambitions alike. I’ll walk you through planning, safety, measuring, and multi-function concepts so you can DIY with confidence. Stick with me and you’ll pick up tips that help you jump in and transform your kitchen soon.
Start Here: Plan Your DIY Kitchen Island Budget and Goals

Starting with a plan is half the fun, so let’s map out your DIY kitchen island budget and goals before you ever swing a hammer.
I’ll help you estimate costs, set priorities, and pick achievable targets. We’ll balance function and style, allocate room for unexpected tweaks, and choose timelines that feel doable.
One way to enhance your kitchen island is by incorporating unique island designs that elevate both style and function in your space.
Ready to sketch a clear, friendly game plan together?
Safety and Stability First: Quick Assembly Tips

Safety and stability come first, plain and simple.
I’ll share quick assembly tips you can trust: tighten joints snugly, use corner braces, and predrill pilot holes to avoid splitting.
Level your island on a flat surface, then anchor it to the wall studs for sturdiness.
Use non-slip pads under feet and test wobble—adjust as needed.
Incorporating smart storage solutions will also enhance the functionality of your kitchen island.
You’ve got this.
How to Measure for Your Island: Space, Clearance, and Reach

So, how do you size up your kitchen island without turning your kitchen into a maze?
First, map available floor space, leaving at least 36 inches of clearance around every side.
Then consider reach: plan countertop depth and access from all angles.
Finally, measure doorways and appliances to avoid tight squeezes.
Keep flows open, and your island will feel effortless. Additionally, choosing bar stool pairings that complement your island can enhance the overall aesthetic of your kitchen.
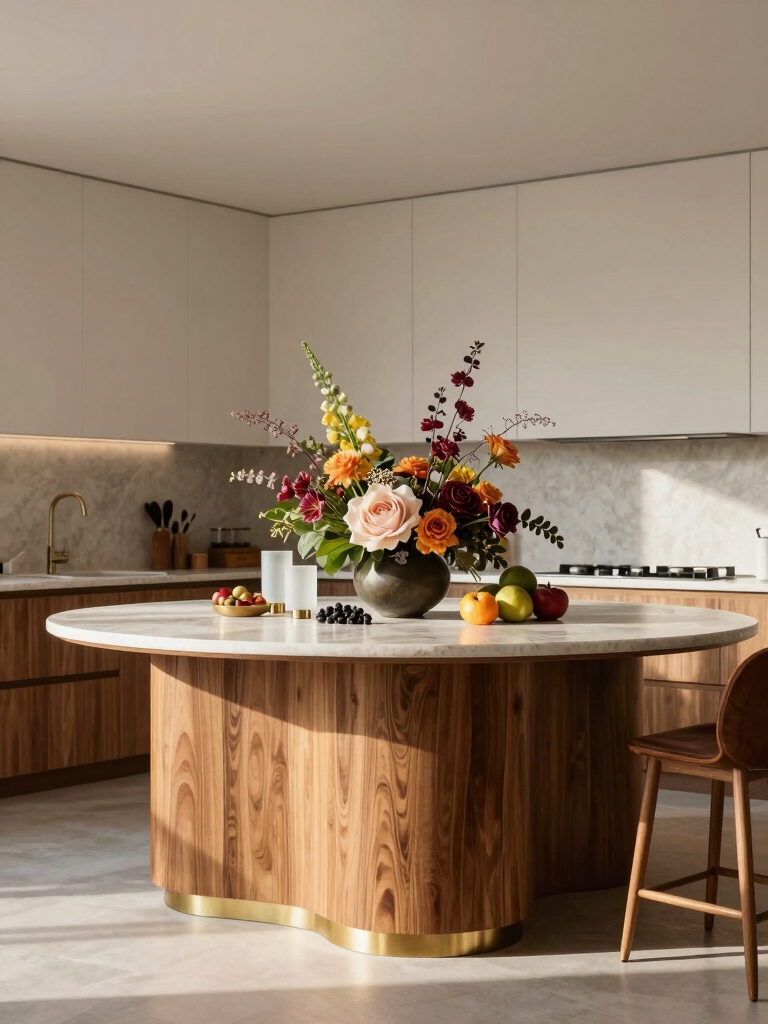
Reuse With Purpose: Repurposed Furniture as Islands

Reuse with purpose, because repurposing furniture as islands is a smart, stylish way to breathe new life into your space.
I show you how, then you decide what fits.
1) Pick a sturdy piece
2) Add wheels or casters
3) Seal and paint for durability
4) Accessorize with bar-height stools
Try a vintage dresser or a farmhouse hutch—playful, practical, and affordable.
Turn Old Console Tables Into Extra Prep Space

Turn old console tables into extra prep space, and you’ve got a mini kitchen makeover with minimal fuss. I grab a sturdy tabletop, add casters if you crave mobility, and clear drawers for quick access. A fresh coat, a cutting mat, and a scent-free seal leave clean lines. You’ll enjoy compact storage, playful charm, and stress-free meal prep. Plus, this project embodies the essence of creative small island kitchen designs, making the most out of your available space. Simple, stylish, done.
Open-Shelf Islands: Lightweight, Accessible, Bright
Open-shelf islands keep things light, airy, and right at your fingertips.
I love how open shelving makes cookware feel within reach and the room look brighter. You’ll keep clutter down and cleanup easy. Chic open shelving can also serve as a stylish way to display decorative items.
Here are quick tips:
- Use sturdy brackets
- Choose clear drawers
- Label containers
- Mix textures for depth
Floating Cart Islands for Flexible Layouts
Floating cart islands are my go-to when you want a kitchen that adapts on a whim: they roll where you need extra prep space, then tuck away when you don’t.
I love how you can reconfigure layouts on the fly, add a chopping surface, or pull in seating for guests.
Simple wheels, sturdy tops, and a breeze to maneuver.
Flexible, functional, fun. Plus, they can be designed as multifunctional island solutions that maximize your small kitchen space.
Pallet-Island Projects: From Wood to Pantry
I love turning plain pallets into practical centerpiece pieces for the kitchen, and this approach lets me mold storage and workspace exactly how I want it. Pallet-island builds are quick, customizable, and surprisingly sturdy for pantry needs. Adding a touch of color with fresh paint ideas can also enhance the overall aesthetic of your kitchen island.
- Gather pallets and caster wheels
- Sand, seal, and stain lightly
- Add shelves and a warming tray option
- Finish with easy-access doors and hooks
Vintage Cabinet Bases With Fresh Tops
I’m excited to chat about pairing fresh tops with vintage cabinet bases, a mix that instantly updates any island.
Let’s swap in bold or soft tops to see how color, texture, and edge details change the vibe, all while keeping the base charm intact. Adding a new countertop can significantly enhance the overall aesthetic of your kitchen, creating stunning kitchen cabinet makeovers that inspire your home.
I’ll share practical tips for choosing a top that complements the base and quick redesign ideas to refresh the look.
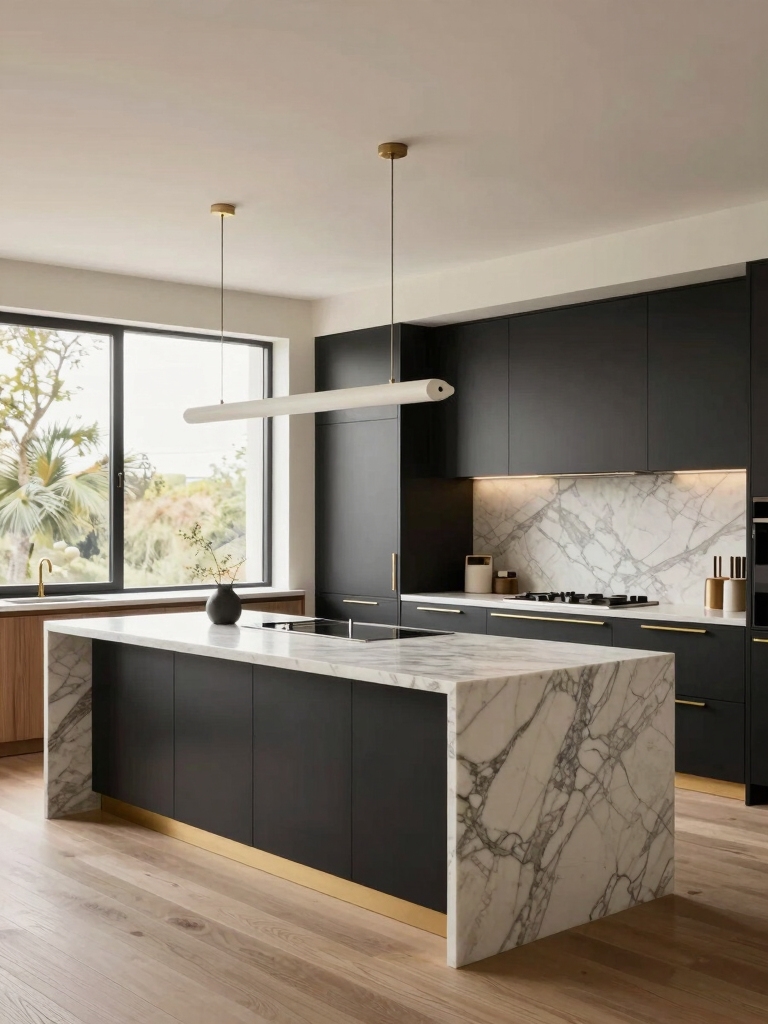
Fresh Top Pairing Ideas
When pairing fresh tops with vintage cabinet bases, the combo feels instantly timeless and a little playful.
I’ll share simple, tasty pairing ideas you can DIY this weekend:
- White marble with oak bases
- Butcher block on pale pine
- Concrete top over charcoal cabinets
- Glass for a breezy, bright vibe
Consider how these materials reflect current kitchen island design trends, as they can enhance the overall aesthetic of your space.
Enjoy experimenting, friend.
Vintage Base Redesign Tips
Vintage base redesign is all about mixing old character with fresh tops, so you can swap in pine, marble, or concrete and keep the vibe lively.
I’ll show you quick swaps: sanded cabinets, under-masket hardware, and a water-resistant finish.
Pair with a bold countertop, add hidden storage, and you’ve got a lively island that feels timeless yet current. Cabinet colors can significantly impact the overall aesthetic, making your space feel more luxurious.
Your space, refreshed.
Industrial Pipe-Frame Islands on a Budget
I’m getting excited about budget-friendly pipe frames that still pull off big industrial vibes.
I’ll share easy assembly ideas and simple tweaks to keep things sturdy without the price tag.
Stick with me, and we’ll turn DIY plumbing into a chic, practical kitchen island you can actually build.
Budget-Friendly Pipe Frames
If you’re on a tight budget, a DIY pipe-frame kitchen island is a smart, sturdy win that still looks sleek.
I love budget-friendly tweaks that keep style high and costs low. Here’s what you can do:
- Reuse salvaged fittings
- Choose powder-coated steel
- Add a reclaimed wood top
- DIY wheels for mobility
Easy, affordable, and still chic.
Easy Assembly Ideas
You can whip up an industrial pipe-frame island on a budget with simple, smart assembly moves.
I keep things straightforward: measure twice, pre-thread joints, and use locking collars for solid taps.
Skip fancy tools; a cordless drill, adjustable wrench, and level do the job.
Quick tweaks, sturdy bases, and a matte finish keep it stylish, affordable, and totally doable.
Enjoy the build.
Butcher Block Tops Without a Full Remodel
I can refresh butcher block tops without a full remodel, keeping costs low and chaos at bay.
Let’s explore quick, practical options you can tackle today:
- Sand and re-seal for a fresh glow.
- Add a temporary top layer with butcher paper underlayment.
- Use a removable edge trim for a polished edge.
- Replace only the center, not the whole surface.
Finish It Right: Paint, Stain, and Protective Finishes
Ready to pick the finish that matches your vibe? I’ll walk you through paints, stains, and protective coats without the drama.
Choose color and sheen that suit your space, then prep properly—clean, light sand, and prime when needed.
Apply in thin, even layers, cure fully, and seal with a durable topcoat. Easy touches, lasting results, confident Island vibes.
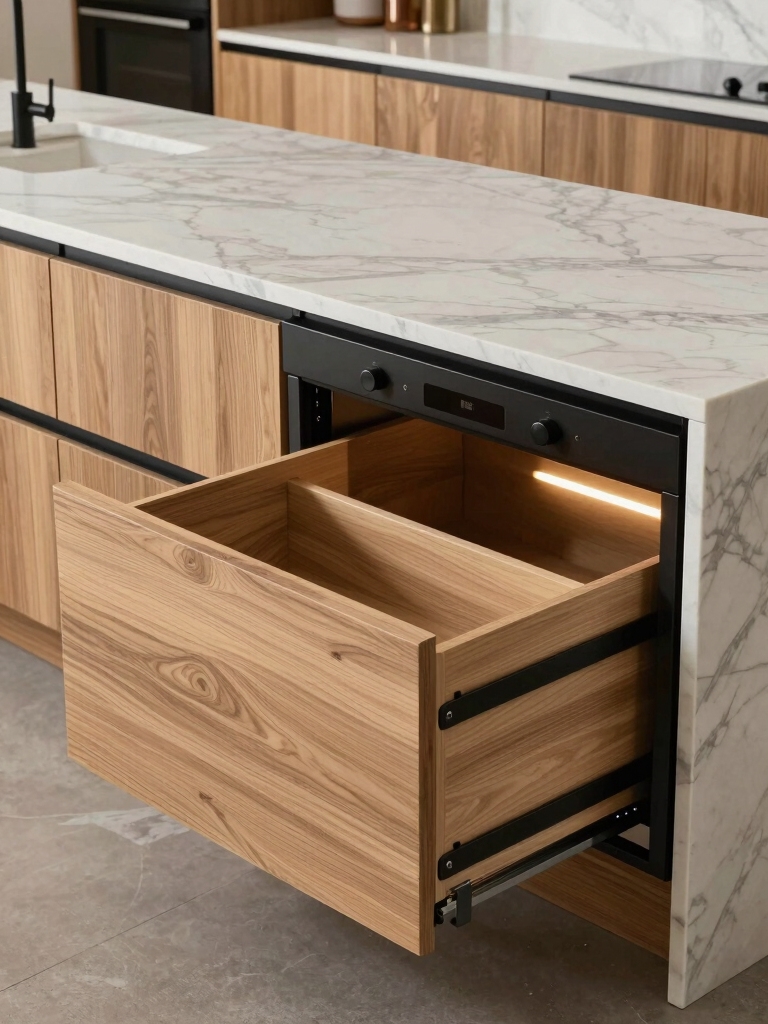
Storage-First Designs: Drawers, Bins, and Hooks
Let’s start with storage that actually makes sense for your kitchen island: drawers, bins, and hooks that keep every tool and towel within arm’s reach.
I’ll keep it simple and playful as we plan:
- Drawers for utensils
- Bins for snacks and tidy bins for waste
- Hooks for towels and gadgets
- Labels for quick finds
Storage-first wins.
Small-Space Solutions: Narrow and Corner Islands
If you’re tight on space, I’ll share simple Narrow Layout Tactics that make every inch count without crowding the room.
We’ll talk about Corner Unit Comfort—how a smartly angled or recessed corner can feel inviting rather than wasted.
I’ll also show Space-Saving Techniques that keep your island functional for prep, seating, and quick mornings, all in a compact footprint.
Narrow Layout Tactics
When space is tight, a narrow kitchen island can still make a big splash, because thoughtful layout tweaks and smart storage turn skinny gaps into practical counter and prep zones.
1) Pick a slim profile with clear apron doors
2) Use overhangs for seating without crowding
3) Install pull-out trays for quick access
4) Mount hooks and magnetic strips for tools and lids
Corner Unit Comfort
Corner units bring a cozy, crowd-pleasing feel to tight kitchens.
I love squeezing in tips that maximize surface without shouting for attention. My approach: smart seating, compact prep space, and hideaway storage that stays tidy.
When you cook, you’ll feel invited, not cramped. Let’s keep lines clean, edges soft, and the corner invited to everyday gatherings.
Simple, practical charm ahead.
Space-Saving Techniques
Small-space kitchens don’t have to feel cramped.
I’m sharing quick tricks that tighten every inch with style, using narrow and corner islands that still wow.
Here are four simple moves you can start today:
- Mount slim shelves on ends
- Use fold-down surfaces
- Install rolling stools
- Choose a compact, multi-use cart
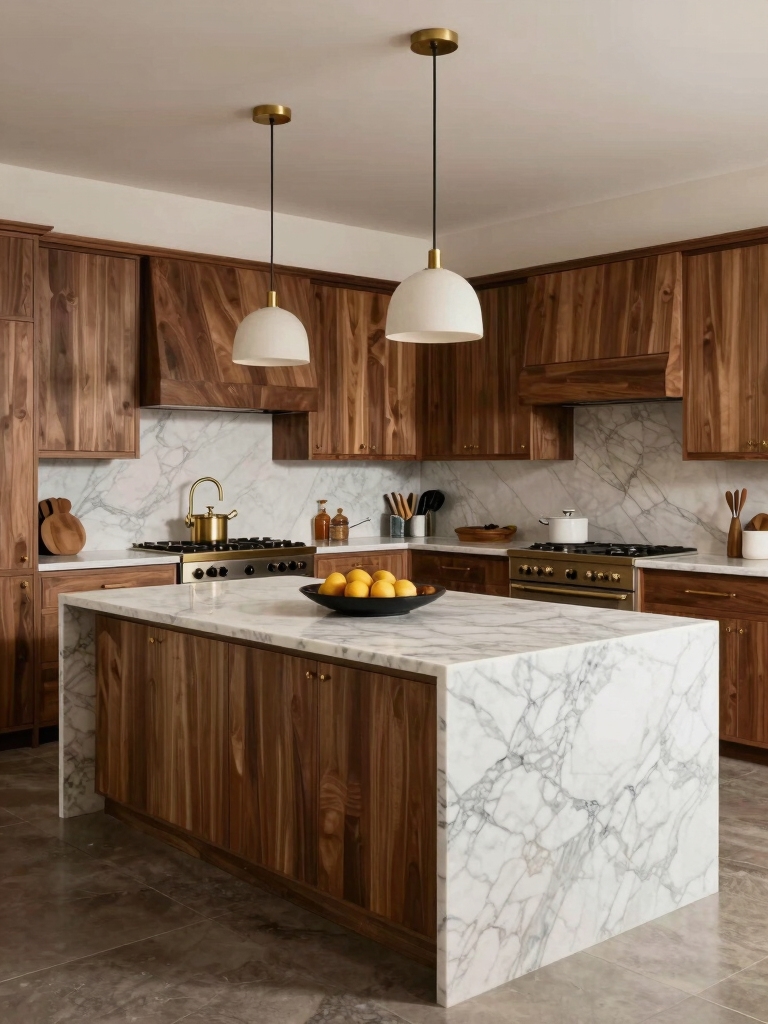
Multi-Function Islands: Prep, Dining, and Tasks
A multi-function kitchen island is the heart of a smarter space, blending prep, dining, and task surfaces into one flexible hub.
I design it to flow between chopping, plating, and quick work bursts, so you don’t chase clutter.
We’ll swap roles—prep station becomes dining nook, then slides back for projects—keeping energy high and meals rolling smoothly.
Enjoyable, efficient, scalable.
Troubleshooting Common DIY Island Hiccups
We’ve all hit a snag or two when building a DIY island, but keeping a cool head helps you flip setbacks into fixes—quickly and without drama.
Here’s how I handle hiccups:
- Measure twice, cut once, then recheck.
- Check hardware alignment before mounting.
- Dry-fit components to spot gaps.
- Tidy wiring, label for future tweaks.
Quick Recap: Choosing the Best DIY Island Path for Your Kitchen
Choosing the right DIY island path isn’t about chasing novelty; it’s about balancing layout, traffic flow, and how you actually cook in your space.
I’ll keep it practical: measure clearance, favor open doors, and pick a path that invites collaboration.
Think function-first, not fads. Your kitchen will feel effortless, friendly, and ready for everyday meals and weekend projects.
Conclusion
You and your kitchen are two travelers crossing a familiar map. Think of a DIY island as the sturdy bridge you build from old furniture and fresh ideas, crossing clutter to calm. Each plan is a compass, each nail a stepping-stone, guiding you toward a space that feels like home after a long day. So pick a path, trust the process, and watch the island steady your workflow while inviting everyone to gather and share. Bon voyage, home chef.