I’m taking you through 14 cabinet makeovers that prove a small change can flip your whole kitchen—from bold drama to cozy charm. I’ll cover paint, stain, and laminate paths, plus how navy creates swagger and soft whites brighten tiny spaces. We’ll explore two-tone magic, rustic cottage warmth, and quick wins like peel-and-stick panels. Expect smart lighting, clever hardware, and budget-smart tactics. Curious what’s possible next? Stick with me, and you’ll uncover the tips that spark your own glow-up.
Why a Cabinet Makeover Transforms Your Kitchen
A cabinet makeover isn’t just a cosmetic tweak—it’s the heart of what your kitchen becomes. I’ll show you how updating fronts changes flow, storage, and mood without overhauling the entire room. When you upgrade hardware, reveal tidy contours, and improve lighting, every task feels smoother. It’s practical magic: efficiency, style, and a space that actually invites you in. DIY Kitchen Cabinets Makeover can inspire you to think creatively about your own transformation. Ready? Let’s transform thoughtfully.
Paint, Stain, or Laminate: Choosing Your Transformation Path

I’ll walk you through whether paint, stain, or laminate fits your vibe, balancing color flexibility, natural grain, and budget once you weigh the clear-cut pros and cons.
I’ll tease apart paint vs. stain choices, weigh laminate’s durability against its look, and flag key surface durability questions you’ll actually need to answer.
Let’s map out which path checks your boxes before we roll up our sleeves and start swatching. Remember, using professional painting tips can elevate your cabinet transformation to a whole new level.
Paint Or Stain Choices
When you’re choosing between paint, stain, or laminate for your cabinets, the decision comes down to look, durability, and how much effort you’re willing to invest.
I lean toward paint for bold color and wipe-clean practicality, stain when you adore wood grain’s honesty, and laminate for budget-friendly, ultra-hardwearing resilience. Each path reshapes mood, but all promise a refreshed, brag-worthy kitchen. Additionally, painted cabinets can completely change the space and elevate the overall aesthetic of your kitchen.
Laminate Pros And Cons
Laminate isn’t just a budget-friendly option—it’s a tough cookie and a quick upgrade all in one.
I’ll lay out why it shines and where it stumbles, straight talk you can trust.
- Quick install, minimal disruption
- Budget-friendly without sacrificing style
- Surface durability varies by grade
- Easier to replace than you think with modern options
Additionally, opting for laminate can lead to an increase in your home’s value, especially when done thoughtfully in a kitchen remodel.
Surface Durability Questions
So, which durability path makes the most sense for you—paint, stain, or laminate—and how will each hold up under real kitchen-life stress?
I’ll break it down clearly: paint hides flaws and resists stains but can chip; stain preserves grain yet shows wear; laminate cleans easily but can peel at edges. Additionally, understanding surface durability options can help you make a more informed decision about your kitchen transformation. Your priorities—looks, maintenance, budget—guide the choice, with real-world tests as your final verdict.
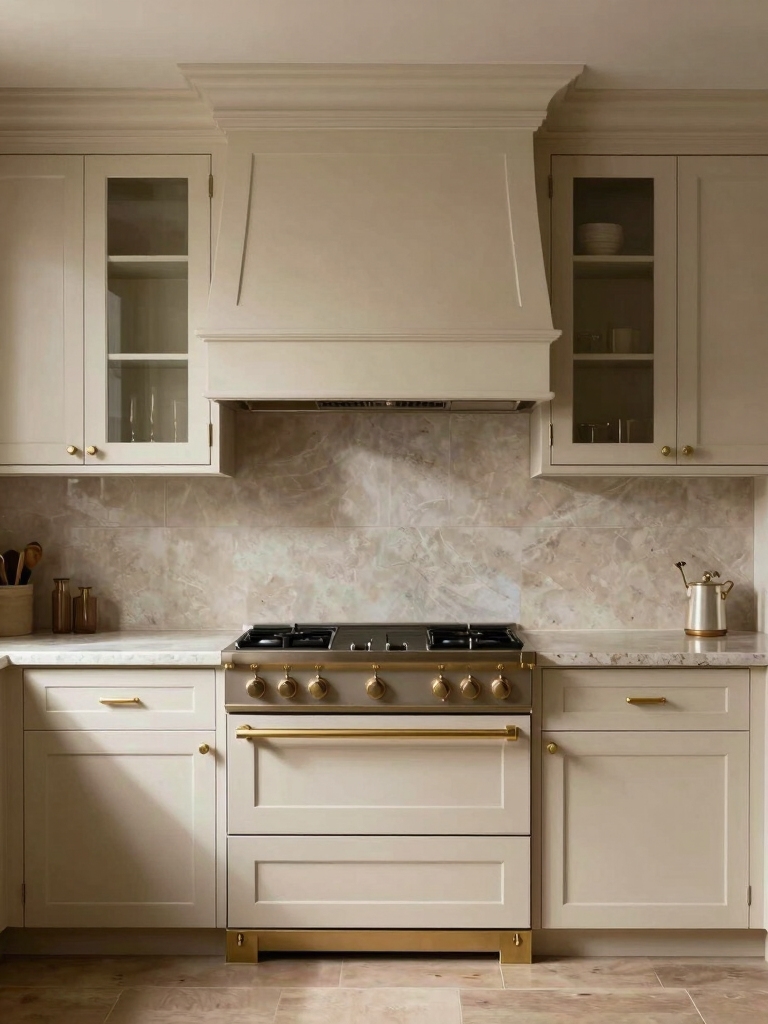
Create Modern Drama With Navy Cabinets
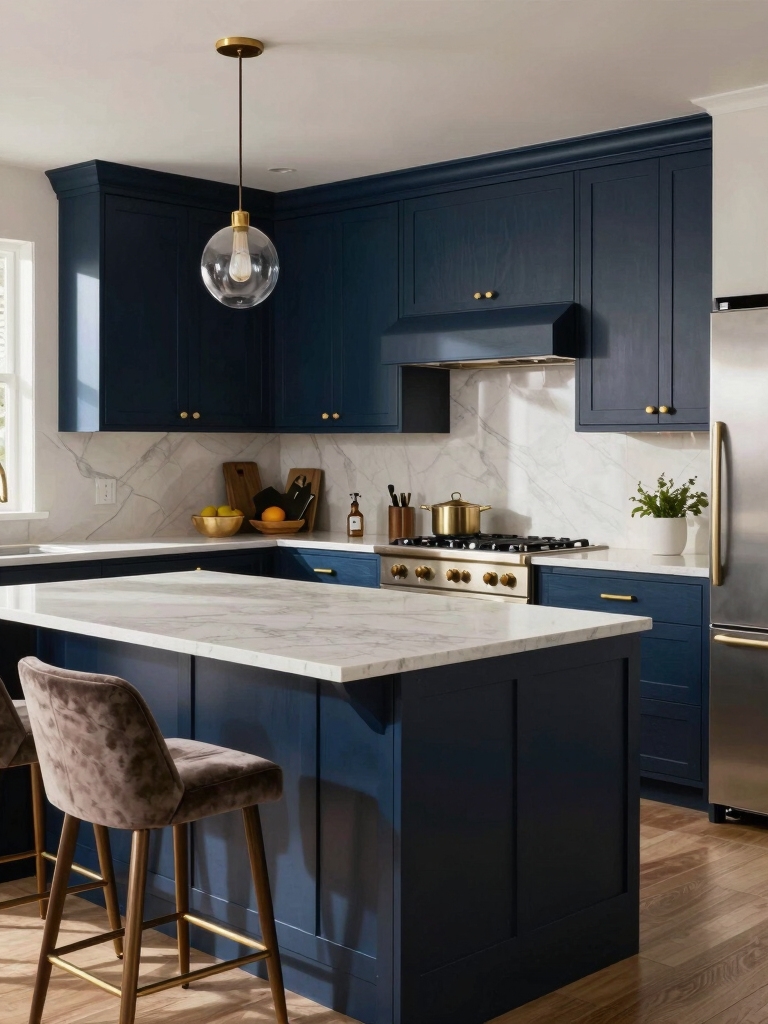
Navy cabinets make a bold statement, and I’m here for it—the room instantly feels modern, confident, and a little rebellious in the best way.
I’ll show you how to wield color like a pro without tipping into goth chic.
- Create contrast with light countertops.
- Pair with warm metals for balance.
- Geometric backsplashes punch.
- Keep walls soft to breathe space.
Incorporating sage kitchen cabinets can also enhance the overall aesthetic, adding a timeless charm that complements the boldness of navy.
Soft Neutral Whites to Brighten Small Kitchens
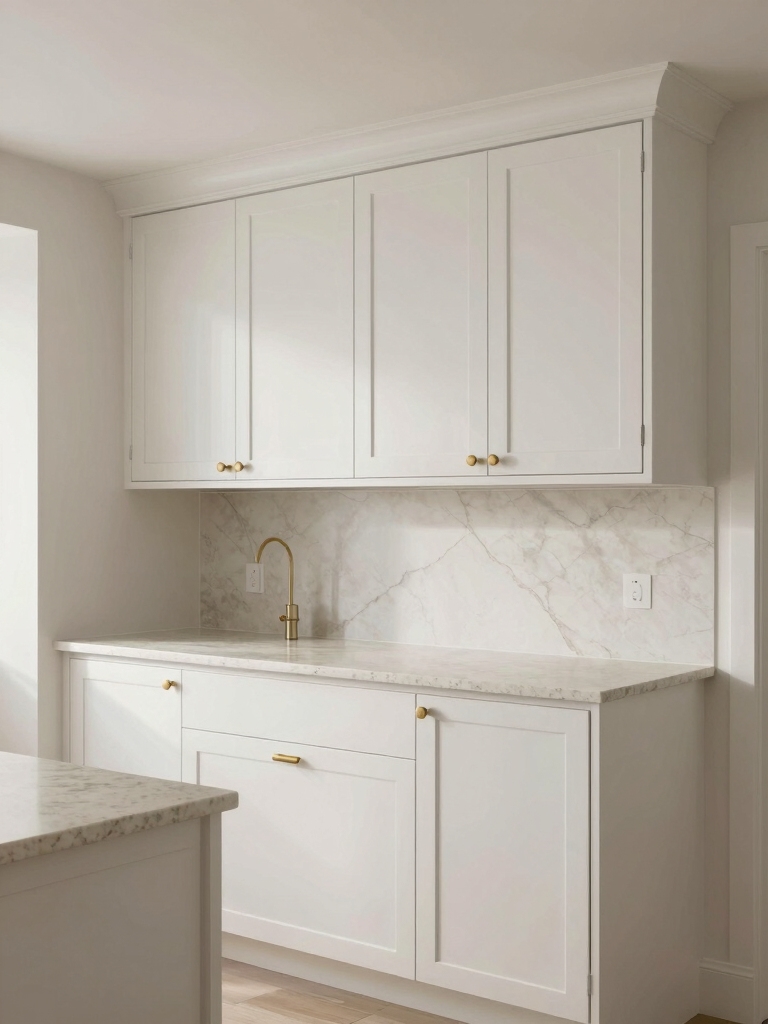
Soft neutral whites can brighten even the tiniest kitchens without washing out character.
I’m not implying blandness; I’m sharing a trick: choose warm whites, match with natural textures, and keep surfaces light-reflective.
I’ll pair glossy uppers with matte lowers, light countertops, and minimal hardware.
The effect feels spacious, clean, and inviting, yet quirks stay visible in your personal touches. Additionally, incorporating gray kitchen cabinets into your design can enhance the modern aesthetic while maintaining charm.
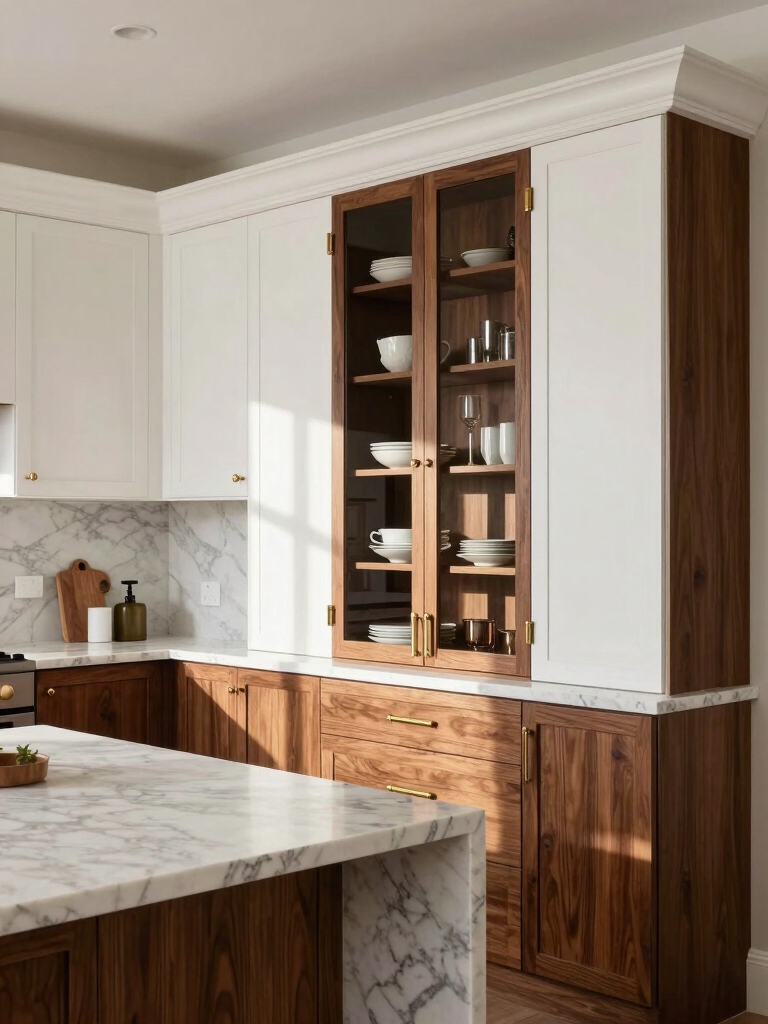
Two-Tone Cabinets: Upper vs. Lower With Contrast

I love playing with two-tone kitchens, where the upper cabinets can feel airy and the lower ones make a bolder statement.
When I highlight the uppers, they lift the room; when I let the lowers take the lead, they add drama and grounding.
I’ll share how to balance Upper Cabinet Impact, Lower Cabinet Drama, and Contrast Harmony Tips so your space reads cohesive, not chaotic.
Incorporating two-tone kitchen cabinets can elevate your design, creating a striking visual that everyone is obsessed with right now.
Upper Cabinet Impact
Two-tone cabinets instantly redefine the kitchen vibe, and the upper cabinets play the lead role in that drama.
I’ll show how their color, hardware, and height subtly steer mood, light, and perceived width, without overpowering the room.
- Draw eye upward for openness
- Create contrast without jarring tension
- Define architectural rhythm
- Mirror accents across the space
Lower Cabinet Drama
Lower cabinets carry the drama now, and a bold upper-lower contrast can punch up the kitchen without shouting.
I love pairing a dramatic, dark base with a lighter, airy top, so everything stays balanced yet bold. This setup guides attention, hides scratches, and feels modern without screaming.
You’ll notice the room opens, while personality stays proudly on display.
Contrast Harmony Tips
If you want contrast that actually reads as intentional rather than accidental, this two-tone approach nails it by balancing drama with daylight.
I’ll guide you through pairing upper and lower cabinets with purpose, so the space feels cohesive, not chaotic.
Here are quick tips:
- Choose bold uppers, soft lowers
- Align hardware for rhythm
- Mirror countertop tone
- Test lighting before committing
Swap Hardware to Refresh the Look
Swapping cabinet hardware is the quickest, most satisfying refresh you can do without picking up a paintbrush.
I pick pulls that match your vibe—sleek modern, or vintage with grooves—then swap, savoring the instant transformation.
It’s precise, not precious: measure, drill once, and admire the renewed lines.
A small detail, a big impact, and zero dust.
You’ll thank me later.
Open Shelving and Glass-Front Doors for Lightness
Open shelving and glass-front doors inject airiness without a full remodel, so let’s lean into lightness rather than heft.
I describe it honestly, with playful wit and precise tips.
- Use mixed heights to create rhythm
- Pair glass with open shelving for balance
- Control glare with subtle, tinted glazing
- Keep essentials accessible, not cluttered
Smart Storage Upgrades: Drawers, Dividers, and Better Access
We’ve all felt the drawer chaos: lids, spatulas, ceremony-sized whisks sprawling like a confetti blast.
I tackle it with smart storage: slim dividers, adjustable trays, labeled compartments, and a pull-out caddy for knives.
Clear front bins show contents at a glance, while deep drawers prevent stacking catastrophes.
Better access means mornings breeze by, not battles with cluttered chaos.
Budget-Smart Makeovers That Really Pay Off
Smart, budget-smart makeovers get the biggest bang for your buck when you start with a clear plan and a few clever swaps.
I’m sharing practical, cost-conscious tips that work, without the fluff. You’ll see how small changes add up fast.
- Refinish existing doors instead of replacing
- Swap hardware for high-impact, low-cost upgrades
- Paint cabinets for instant brightness
- Add organizers to maximize space efficiency
Minimalist Modern: Clean Lines, Hidden Handles
Minimalist Modern cabinets lean into clean lines and subtle hardware, so I keep the frame uncluttered and the eyes focused on form.
I skip bulky details and let hidden handles vanish into the door fronts, making every surface feel expansive.
I mix matte neutrals, crisp edges, and precise gaps, delivering calm practicality with unexpected, sly personality readers will notice—without shouting.
Rustic Cottage Charm: Distressed Finishes and Warm Wood
If you’re chasing that cozy, weathered charm, distressed wood texture is my first stop and your eye’s favorite tease.
I’ll reveal how warm rustic finishes soften edges and invite fingertips to linger on every pedigree scratch.
Let’s talk about how these tired-but-tidy details can make your kitchen feel lived-in, inviting, and deliciously timeless.
Distressed Wood Texture
Distressed wood texture brings instant charm to a kitchen, because history isn’t just baked into cabinets—it’s baked into the grain itself.
I write to you with a wink, sharing how this crave-worthy texture ages gracefully and hides minor flaws with character.
- Subtle grain relief
- Realistic wear patterns
- Warm, inviting patina
- Timeless cottage vibe
Warm Rustic Finishes
Warm rustic finishes bring a kitchen to life, and I’m not just talking about color—it’s the way the grain gathers light and tells a story.
I love warm wood’s quiet drama: knots peppering character, edges softened by time, sheen that ages well.
You’ll see cozy charm without shouting. Subtle distress, durable texture, and a welcoming, lived-in vibe you’ll actually maintain.
Quick Wins: Peel-and-Stick Panels and Easy DIY Kits
Quick wins are where beginners shine: peel-and-stick panels snap on in minutes, and easy DIY kits turn Thanksgiving-table projects into a weekend breeze.
- Peel-and-stick panels: no mess, big impact, reusable if you hate it
- Magnetic tool kits: tiny gears, major confidence boost
- Peel-and-stick backsplash sheets: seamless, wipe-clean shine
- DIY cabinet organizers: instant order, tiny effort, big payoff
Lighting and Accessories to Complete the Glow-Up
Now that the DIY panels are up and the organizers are humming, it’s time to light the scene and add the finishing touches.
I pick warm LEDs, dimmable for mood, and under-cabinet strips that banish shadows.
My favorite accessories—instead of clutter, glass jars, a statement faucet, and a styled tray—tie color, function, and a confident glow together.
Perfection, quietly practical.
Plan, Tackle, and Tweak Your Cabinet Makeover: A How-To Guide
If you’re ready to roll up your sleeves, here’s how I approach a cabinet makeover in three clear moves: plan, tackle, and tweak.
I’m practical, not precious, and I’ll guide you with quick wins, smart swaps, and real-world grit.
- Plan with measurements, mood, and materials
- Tackle prep, caulk, and paint like a pro
- Tweak hardware for instant impact
- Review, refine, celebrate your transformed space
Conclusion
If you’ve stuck to drab oak or tired white for years, you might wonder if a cabinet makeover truly changes everything. Here’s the punchline: it does—dramatically, with less drama than remodeling. I investigated the “better than new” theory by testing shades, finishes, and a few DIY kits, and the truth is revitalizing: small tweaks can reframe entire rooms and mood. Ready to prove it on your own kitchen? Let’s grab a brush and start the glow-up.