I prove that a dresser can become a stunning, functional kitchen island with smart planning, solid construction, and thoughtful finishing. I start by picking a sturdy piece, measuring clearance, and planning the footprint for doors, drawers, and seating. I’ll choose a durable top—butcher block or laminate—and add a level, castered base for mobility. I mix materials for a modern look and finish with durable coatings. Curious how real examples pull it off? I’ve got more to share.
Is a Dresser a Feasible Kitchen Island?

Yes—a dresser can be a feasible kitchen island with the right tweaks.
I say this as someone who’s tried it: the key is function meets flow. Measure clearance, plan counter space, and install sturdy hardware.
Add wheels or levelers for versatility, and protect surfaces with heat-resistant, easy-to-clean finishes. Incorporating a charming kitchen nook can enhance the overall aesthetic and make the space feel more inviting.
With thoughtful adjustments, you gain storage, style, and practicality.
How to Pick the Right Dresser for Upcycling

Choosing the right dresser for upcycling starts with its structure and condition. I look for solid frames, stable drawers, and minimal warping, since those traits save time and frustration.
Check drawers roll smoothly, drawers align evenly, and hardware remains secure. Avoid soft bottoms or sagging tops; these signal costly repairs.
Pick a piece that feels sturdy, balanced, and ready to transform.
Plan Your Island Footprint: Measurements and Clearance

As we move from selecting a sturdy dresser to planning the island itself, I start with the footprint and clearance that make or break the project.
I measure available wall space, aisle width, and appliance door swings, then map clearance for doors, drawers, and seating.
Precise planning prevents surprises, guarantees safe workflow, and guides future layout decisions confidently. Additionally, incorporating an L-shaped kitchen configuration can enhance efficiency, allowing for better workflow during meal preparation.
Top Surface Choices: Butcher Block or Laminate?

So, which top surface fits your dresser-turned-island best—butcher block or laminate?
I weigh practicality and vibe. Butcher block brings warmth, knife-friendly prep, and a touch of craftsmanship.
Laminate boosts durability, budget-friendliness, and easy cleaning with a sleek look. Additionally, durable flooring choices can enhance the overall functionality of your kitchen space.
I’d pick based on how you cook, entertain, and care for the space—balancing texture with maintenance.
Your island, your choice.
Build a Sturdy Base and Add Casters

I’ll start with a sturdy frame that can handle daily use, then add smooth casters for easy movement.
By reinforcing the base and choosing quality wheels, the island stays steady even when I’m chopping or reaching for pots. To maximize utility, consider incorporating island solutions that can double your workspace.
Let’s discuss the best materials and sizing to keep the balance right and the ride smooth.
Build Robust Frame
Starting with a solid frame is key, so I’m choosing a sturdy base and adding casters for mobility.
I’ll reinforce corners with brackets, guarantee parallel rails, and level surfaces for balance. Precision matters here, so I measure twice and secure every joint.
A robust frame supports longevity, resists wobble, and keeps up with daily kitchen tasks without distracting from the dresser’s character. Additionally, incorporating unique island designs can enhance the overall aesthetic and functionality of the kitchen space.
Add Smooth Casters
We’ll start by securing a solid base with smooth, lockable casters, ensuring the dresser island moves when needed and stays put when it should.
Here are my steps:
- Choose sturdy, quiet wheels
- Measure fit precisely
- Lock casters after placement
- Test mobility and stability
Additionally, incorporating expandable table solutions can maximize your kitchen space when hosting larger gatherings.
Ready to roll confidently, friend.
Maximize Storage: Drawer Redesign Ideas
If you’re looking to boost kitchen storage without expanding cabinet space, drawer redesigns can make a big difference.
I start by grouping similar tools and lids, then add slim, removable organizers for flexibility.
I swap shallow sections for deeper tiers, use labeled dividers, and keep a built-in catchall near the front.
The result is cleaner, faster access, and calmer mornings. Additionally, incorporating creative kitchen shelf solutions can further enhance your storage capabilities.
Prep Surfaces for Longevity: Sanding, Sealing, and Finishes
I’m sharing how careful sanding and smart sealing pair with durable finishes to extend your dresser island’s life.
We’ll cover essential sanding techniques and the best finishes for longevity, so you get a smooth, resilient surface you can rely on.
Let’s start with simple steps you can apply now to prep for lasting beauty and easier maintenance.
Sanding Techniques Essentials
When you’re prepping surfaces for longevity, sanding is the foundation you can’t skip.
I share techniques that save time and boost results, so you can trust every grain.
1) Choose grits progressively for smoothness
2) Maintain even pressure to avoid dips
3) Keep moves linear, not circular
4) Vacuum dust before sealing to prevent grit gaps
Additionally, consider how easy hardware swaps can enhance the overall aesthetic of your upcycled piece.
Finishes For Longevity
Finishes for longevity matter just as much as the prep.
I’ll share choices I trust after sanding and sealing, from durable polyurethane to water-based polycrylic. I prefer breathable, thin coats, sanding lightly between layers for smoothness. Choose a satin or matte finish to hide wear, then cure fully. With proper application, your repurposed dresser-kitchen island stays stunning longer. Additionally, painted kitchen cabinets can also enhance the overall aesthetic of your space while providing a protective layer.
Accessing Power and Plumbing Safely
To guarantee safety while repurposing a dresser into a kitchen island, I start with a clear plan for power and plumbing access, and I proceed with care.
- Assess outlets and shutoffs
- Locate plumbing lines and shut valves
- Use GFCI outlets and drip-free fittings
- Seal, label, and test before use
Counter-Height Seating: Heights and Comfort
I find that the ergonomic height range matters most when we’re talking counter-height seating, so you can move freely without hunching or reaching.
I’m curious about how your stance and balance feel at different heights, and what level of comfort you actually notice during longer chats or meals.
Let’s compare how small adjustments in height impact posture, reach, and overall ease for you. Additionally, the benefits of multifunctional island solutions can enhance your small kitchen experience by maximizing utility while ensuring comfort.
Ergonomic Height Range
When choosing counter-height seating, I focus on an ergonomic height range that keeps your kitchen or island comfortable for long chats and prep sessions—usually about 34 to 36 inches for the counter and 24 to 26 inches for stools, depending on your counter height and leg length.
1) Comfort
2) Posture
3) Flow
4) Longevity
Comfort and Stance Balance
Comfort and stance balance come into play once you set counter-height seating that fits your body.
I’ve learned that the right height supports neutral wrists, relaxed shoulders, and steady hips, making long chats easier and chores smoother.
When you test options, prioritize knee clearance and foot placement.
A balanced setup boosts posture, comfort, and confident, effortless movement during kitchen tasks.
Lighting for Ambiance and Task Work
Lighting isn’t just about visibility; it sets the mood and guides tasks in the kitchen island, so I’ll balance warmth with focused brightness.
- Layered fixtures for versatility
- Under-cabinet LEDs for task clarity
- Dimmer options to tailor ambiance
- Natural daylight integration where possible
I aim for inviting glow that helps cooking and conversation feel effortless and cozy.
Hardware and Details That Shine
Polished hardware can transform a humble island into a focal point, so I’m choosing knobs, pulls, and metal finishes that echo the room’s character while keeping craftsmanship front and center.
I select durable materials, simple silhouettes, and clean lines, pairing them with subtle brass accents.
Details like precise screw placement and aligned spacing elevate the overall polish without shouting for attention.
Bold Painted Finishes That Work in Kitchens
Bold painted finishes can inject personality into a kitchen without overpowering the space, and they pair beautifully with the refined hardware I just described.
I’ll share how to use color boldly yet thoughtfully.
- Pick a dominant hue that complements nearby cabinetry.
- Balance with neutral surfaces for calm.
- Seal with a durable topcoat.
- Preview before committing to full coverage.
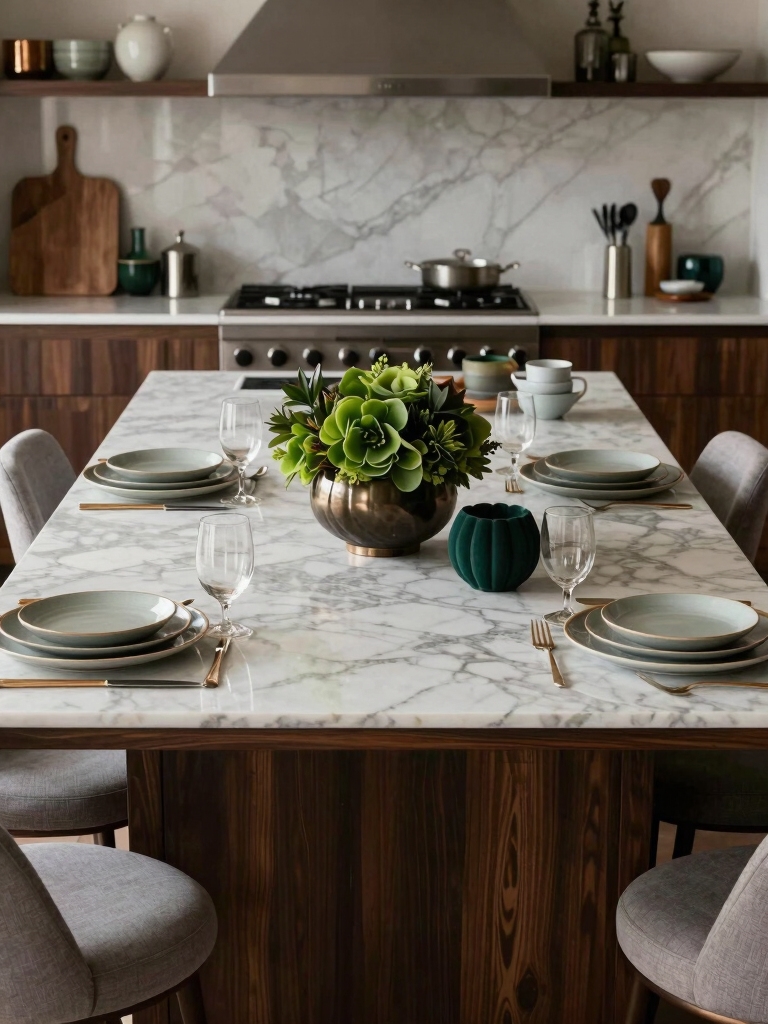
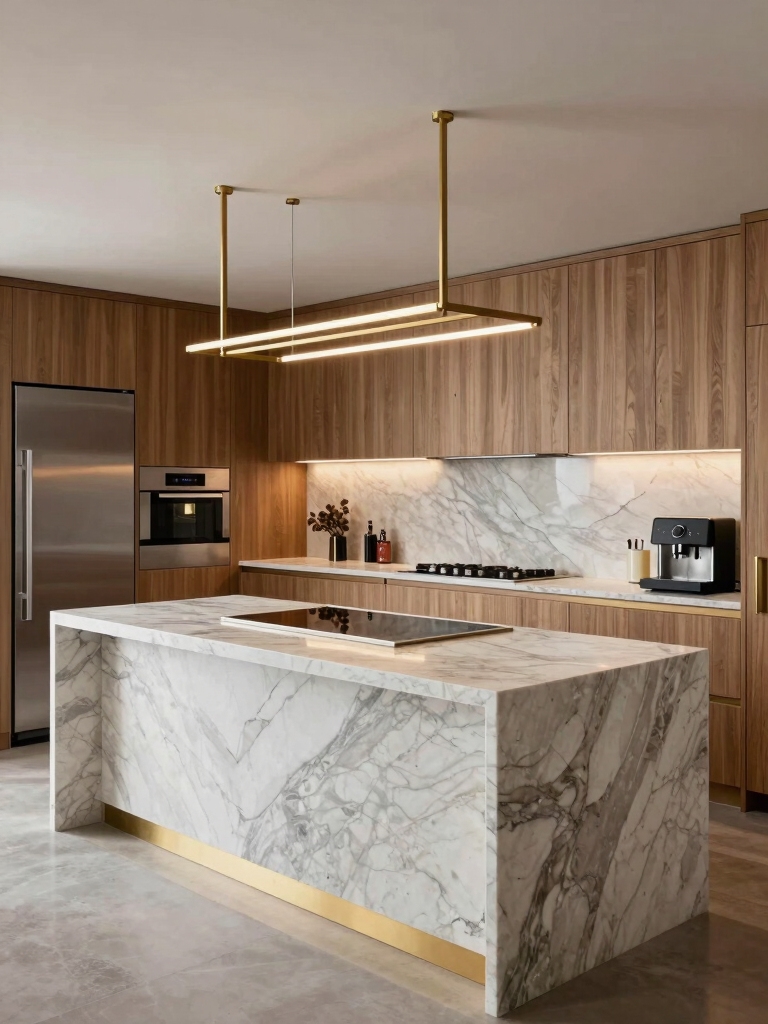
Mixing Materials for a Modern Look
Mixing materials creates a modern, inviting kitchen that still feels warm.
I love pairing a rugged wood top with sleek metal accents and soft-toned pottery—it adds texture without shouting.
You can balance industrial edges with creamy countertops and brass hardware for cohesion.
Use contrasting grains sparingly, letting each material shine, while keeping scale and utility at the center of every choice.
Style-Specific, Budget-Friendly Upcycle Ideas
If you’re chasing style on a budget, you’ll love how specific upcycle ideas can transform a dresser into a kitchen island without breaking the bank.
I share quick, practical tweaks that feel premium:
1) Swap hardware.
2) Paint with matte finish.
3) Add a butcher-block top.
4) Install simple open shelving.
You’ll enjoy a tailored, affordable centerpiece.
Maintenance Tips to Keep It Gleaming
I’ll keep our dresser island gleaming by sticking to simple clean-and-seal habits and a steady checkup routine.
I’ll share easy tips for cleaning, sealing, and year-round maintenance that fit into busy days.
If you weigh in with your experiences, we’ll fine-tune these steps to suit your space.
Clean and Seal Tips
To keep your dresser kitchen island gleaming, start with a simple dust-off and wipe-down routine that fits your finish.
I seal and condition thoughtfully, then wipe, buff, and protect.
- Wipe with a gentle cleaner
- Seal gaps and edges
- Buff to restore luster
- Reapply protection periodically
Regular Checkup Routine
Regular checkups keep your dresser kitchen island looking sharp.
I regularly inspect surfaces, hinges, and feet, catching nicks before they grow. I wipe with a damp cloth and a light cleaner, then dry thoroughly.
I reseal any worn areas on schedule and tighten hardware to prevent wobble. A simple routine keeps gleaming, resilient, and ready for daily use.
Real-World Showroom-Ready Transformations
Real-world showroom-ready transformations don’t just look polished—they feel practical, too.
I guide you through real results you can touch, not just dream about.
Here’s what to aim for:
- Precision cuts that seat perfectly
- Seamless finishes with durable coatings
- Thoughtful hardware that enhances function
- Clean, showroom-ready detailing every time
Conclusion
Here’s the takeaway: your old dresser isn’t a relic, it’s a canvas—waiting for a second, brighter life as a kitchen island. With a careful plan, sturdy base, and smart surface choice, you can craft something both practical and stylish. I’m cheering you on as you mix materials and textures, keeping maintenance simple so it gleams. Let’s turn “outdated” into “on-trend” together—because upcycling isn’t just clever, it’s wonderfully satisfying. Adventure awaits, neighbor.