I love swapping cabinet hardware because it’s fast, affordable, and instantly cozy — a warm brass knob or matte‑black bar can change the whole mood. Start by measuring center‑to‑center spacing, pick pulls sized for doors vs drawers, and mix one dominant finish with a secondary accent for a collected look.
Use a template, pilot holes, and the right screw length to avoid tears. Keep finishes durable and you’ll get pro polish with minimal fuss — keep going and I’ll show how.
Quick Swaps That Transform Your Kitchen

If you want to freshen your kitchen without tearing anything out, start with hardware swaps that pack a big punch for little effort.
I love swapping knobs and pulls — brass warms white cabinets, black adds contrast, and wood brings cozy charm.
Change hinges, add backplates, or mix finishes for interest. These small moves feel instant and make the whole room sing.
Brass and black finishes are classic choices that can make cabinets look more expensive, especially when paired with warm neutrals.
Tools and Supplies You’ll Need

A few basic tools will make swapping cabinet hardware feel like a cozy weekend project I can actually finish: I grab a screwdriver set (both Phillips and flathead), a power drill with a small drill bit in case a new hole’s needed, a tape measure and pencil for marking, and a level so rows look intentional.
I also keep a soft cloth, masking tape, and small container for screws.
Keeping cabinets clutter-free with smart organization is helpful for maintaining a pristine kitchen storage system.
Measure Cabinet Hardware: Knobs, Pulls, Handles

Before I swap out your knobs or pulls, I always measure the center-to-center spacing so the new pieces line up with the existing holes.
I also check the backset depth to make sure longer screws or threaded posts won’t hit a drawer interior or cross brace.
With those two quick measurements we can pick hardware that fits and looks right without surprises.
For awkward corner cabinets I often recommend corner cabinet hardware to make the most of wasted space.
Measure Center-To-Center
One simple measurement makes swapping cabinet hardware easy: center-to-center (C-to-C), the distance between screw holes for pulls or handles.
I always measure twice with a tape, noting the exact millimeter or inch number. That number guides the new pulls I choose, so holes line up and finishes match my kitchen’s worn, cozy vibe.
It keeps installs neat and stress-free. I often start by planning layout around standard IKEA unit widths and cabinet sizes to ensure a cohesive look with standard units.
Gauge Backset Depth
Grab your tape and a flashlight and let’s check the backset depth—the distance from the cabinet face to where the hardware’s screw will sit inside—because it’s as important as center-to-center for a clean fit.
I measure each door and drawer, noting shallow rails or inset frames that need shorter screws.
Match hardware length to wood thickness so pulls sit true and installation stays fuss-free.
Consider how inset cabinet designs affect screw length and clearance during installation.
Choosing Pulls for Doors vs. Drawers

I like to think of pulls as the small but mighty details that shape how a cabinet feels in your hand, so when I choose between pulls for doors and drawers I focus on how each will be used every day.
Doors get vertical or cup-style pulls for steady grip; drawers suit longer horizontal bars for even leverage.
Scale, placement, and comfort guide my choice.
Multifunctional islands can free up workflow and storage in compact kitchens with smart layout choices that pair well with well-chosen hardware, such as pulls that match an island’s multifunctional storage options.
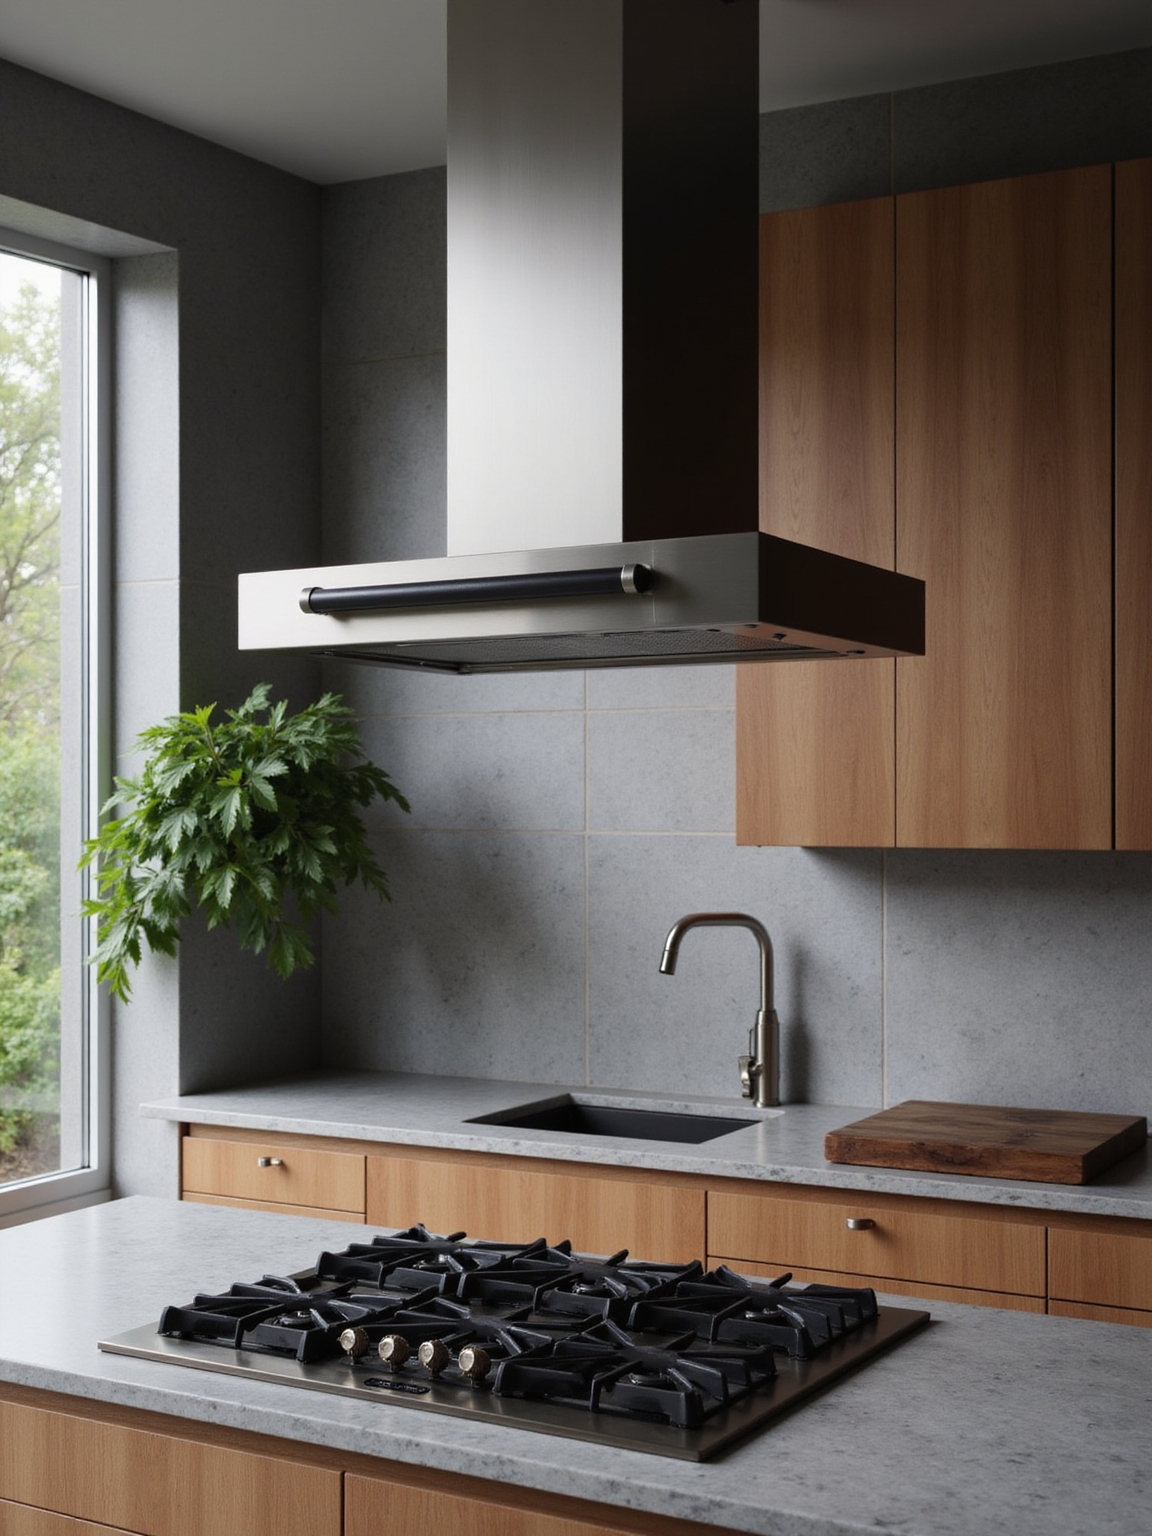
Choose Hardware Finishes to Match Appliances

I like to start by matching cabinet hardware to the finish of my appliances so the kitchen feels cohesive.
I’ll mix a second metal—say matte black or warm brass—for accents to keep things interesting without overpowering the room.
I also consider how each finish will wear over time, choosing durable coatings where I know hands and steam will take a toll.
Consider pairing hardware with premium appliance essentials to ensure finishes and functionality align.
Coordinate With Appliance Finish
When your appliances dominate the room, you’ll want cabinet hardware that nods to their finish so the whole kitchen feels intentional.
I suggest matching tones—brushed stainless with stainless, warm brass with brass—to create a cozy, pulled-together vibe.
I stick to one dominant finish per zone so things read as intentional, then let texture and simple shapes bring that rustic, lived-in charm without fuss.
Consider space-optimized appliances for small urban living to maintain flow and function with compact cabinetry space-optimized appliances.
Mix Metals For Interest
Often I mix metals in the kitchen to keep things lively without making them chaotic. I pick a dominant finish—brass or matte black—then add a secondary metal on accents like drawer pulls or light fixtures.
That contrast gives depth and a lived-in, rustic charm. Match metals loosely to appliance tones so the room feels intentional, warm, and collected.
Consider Long-Term Durability
Mixing metals adds character, but I also think about how finishes will wear with time and with the appliances they’re paired with.
I pick hardware that complements stainless, black matte, or brass appliances so everything feels cohesive.
I favor finishes resistant to fingerprints and scratches, and I test sample pieces when I can. That way my kitchen ages gracefully, not awkwardly.
When to Replace Hinges for Tighter Doors
If a cabinet door starts to sag or rub against its frame, I’ll check the hinges first because worn or loose hinges are the usual culprits; replacing them is often the quickest way to get doors closing tight and looking crisp again.
I look for wobble, stripped screws, or rust. Swapping bent or tired hinges restores alignment fast, giving cabinets a neat, handcrafted feel.
Upgrade to Soft-Close Hinges and Drawer Slides
Once the doors are aligned and hinges tightened, I like to swap in soft-close hinges and drawer slides to give the whole kitchen a smoother, more finished feel.
The upgrade quiets slams, protects wood, and makes daily use feel thoughtful. I pick reliable, simple mechanisms and match them to cabinet depth so drawers glide true and doors close gently, like a well-worn, welcoming home.
Step-by-Step: Installing Knobs, Pulls, and Handles
I’ll walk you through fitting knobs, pulls, and handles so they look right and feel sturdy every time you reach for them.
First, I mark centers, clamp a template, drill pilot holes, then test fit hardware.
I use screws of proper length, snug but not overtight, and touch up finish around holes.
Finally, I check alignment and smooth operation before calling it done.
How to Update Framed vs. Frameless Cabinets
Because framed and frameless cabinets attach and wear differently, I approach updates with slightly different steps so each type looks and works its best.
For framed doors I center knobs on stile faces and pre-drill into solid wood; for frameless, I use backset measurements and sturdier anchors.
I also check hinge alignment and choose hardware that complements each cabinet’s structure and age.
Mixing Finishes and Styles Without Clashing
I like mixing metal finishes, but I always pair them with purpose so the room feels intentional, not accidental.
I’ll anchor the look by repeating a small detail—like a cup pull or a tiny knob—across different areas so the eye finds a thread.
That simple repeat keeps rustic brass, matte black, or worn nickel from clashing and makes everything feel cozy and collected.
Pair Metals With Purpose
I’ll admit I used to panic at the thought of mixing metals, but over the years I’ve learned a few simple rules that keep finishes from clashing and actually make a kitchen feel layered and intentional.
I pair warm brass with oil-rubbed bronze for contrast, use satin nickel as a neutral bridge, and repeat one finish in small accents so everything feels cozy, rustic, and thoughtfully balanced.
Anchor With Repeating Details
Think of repeating small details as the glue that keeps mixed finishes from looking chaotic. I like to echo a tiny motif — a knob shape, screw cap, or warm brass accent — across cabinets and open shelving.
That repeat ties brass, black iron, and wood together, so the room reads intentional, cozy, and grounded instead of busy. It’s simple, rustic cohesion.
High-End Looks on a Budget
Often I reach for small changes first, because swapping hardware gives my kitchen a luxe feel without draining the budget.
I pick aged brass or matte black for instant warmth, mix knobs and pulls for layered charm, and prioritize quality finishes over pricey brands.
These tiny swaps create a cohesive, high-end look that feels lived-in and welcoming without breaking the bank.
Common Install Problems and Fixes
I’ve run into loose or misaligned hinges more times than I care to admit, and I’ll show you quick ways to realign and tighten them so doors sit true.
When screws get stubborn or stripped, I rely on a few simple tricks—like toothpicks with glue or a slightly larger pilot hole—to get a solid hold without fuss.
Stick with me and you’ll skip the frustration and have those new pulls and hinges working like clockwork.
Loose Or Misaligned Hinges
When a cabinet door starts to sag or rub against the frame, I roll up my sleeves and check the hinges first — they’re the usual suspects. I tidy, tighten, and tweak until doors sit right.
My quick checklist:
- Inspect hinge alignment.
- Adjust screws for proper gap.
- Re-seat hinge plates if needed.
A little patience brings rustic charm back.
Stubborn Or Stripped Screws
If a screw won’t budge or the head’s chewed out, I don’t panic — I grab a few simple tools and a plan.
I try a rubber band for grip, an extractor bit if needed, or drill the head off for stubborn cases.
For stripped holes, I glue in a toothpick or wooden dowel, re‑drill and re‑screw.
It’s satisfying, simple handiwork.
Accurate Alignment: Preventing Misaligned Holes
A simple jig and a steady hand make all the difference when I swap cabinet hardware, because nothing kills the look like misaligned holes;
I always measure twice, clamp a template, and sight down the drawer face before drilling.
I tell you simply:
- Mark center, use tape guide.
- Clamp template tight.
- Pilot drill slowly, check alignment.
It’s satisfying and rustic.
Styling Hardware: Focal Points vs. Subtle Detail
Once the holes are perfectly aligned, the next choice is whether the hardware should shout or whisper — I like to think of knobs and pulls as either the room’s focal points or quiet notes that let wood and grain take center stage.
I usually pick bold, patinated pulls for statement pieces, and simple round knobs when I want texture and woodwork to sing softly without competing.
When to Call a Pro (What’s Not DIY)
Because some jobs bite off more than a weekend afternoon, I recommend calling a pro when the work risks your cabinets’ structure, your safety, or your house’s systems.
I’ll step back and hire help for serious issues:
- Rotten frames or warped doors needing reconstruction.
- Electrical or plumbing behind cabinets.
- Load-bearing alterations or complex hinge systems.
A good pro keeps your kitchen honest and steady.
I swapped our tired brass knobs for matte black pulls in an afternoon and felt like I’d given the whole kitchen a tiny renovation.
One tired hinge became two friends arguing until I measured—95% of my mistakes were just misaligned holes—and a $7 jig fixed it.
Little changes like that can be the walnut beam in a cottage: simple, sturdy, and suddenly everything else looks intentional and warm.