I’ve got you covered with 15 simple steps to paint kitchen cabinets like a pro. I start by gathering solid tools, a prime, and cabinet-grade paint, then prep: clean, sand, and mask every hinge and edge. I tackle corners and rails with care, time coats right, and avoid drama by letting each layer cure. Reinstall hardware, touch up wear spots, and stay on top of durability with quick maintenance. Curious to keep going for the full pro-ready plan?
What You’ll Accomplish by Painting Cabinets Like a Pro
Painting cabinets like a pro isn’t about magic tricks; it’s about steady technique and smart prep, which means you’ll end up with a smoother finish and cabinets that look brand-new longer than you expect.
I’ll outline what you’ll gain: a durable, wipe-clean surface; brighter room feel; fewer brush marks; improved resale appeal; and a satisfaction boost from completing a pro-grade project with confidence and control. Additionally, following the proper painting techniques can significantly enhance the longevity of your cabinets.
Gather the Exact Tools and Materials You’ll Need
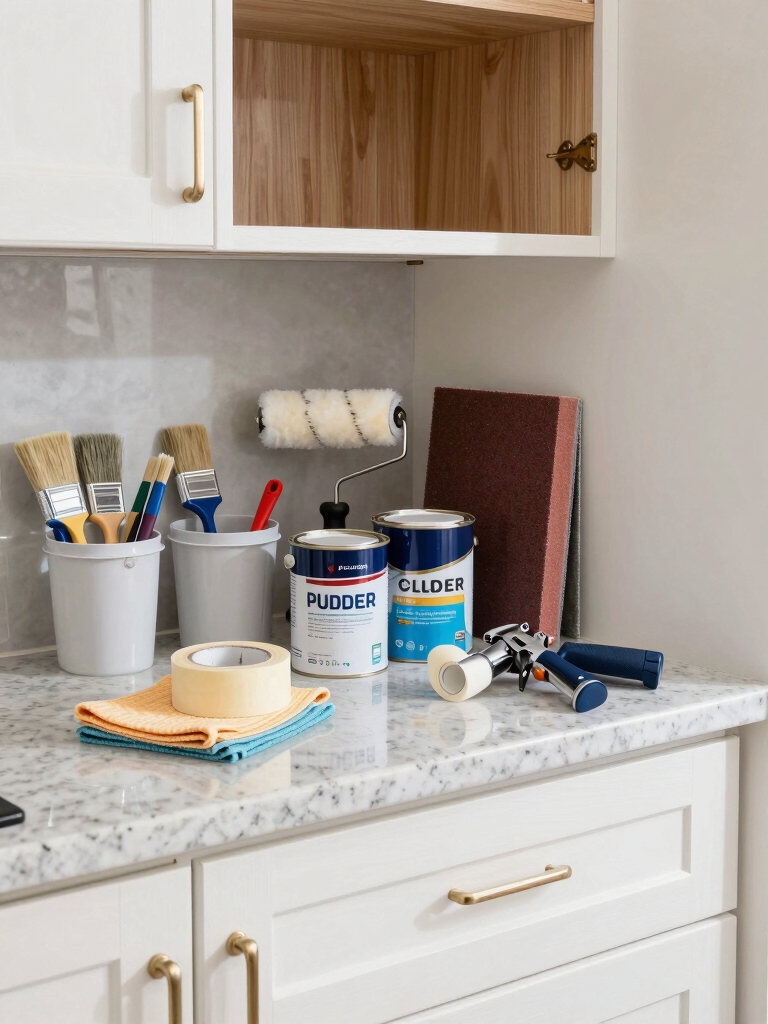
I’m laying out the exact tools and materials you’ll need, from brushes to PPE, so nothing slows you down.
I’ll flag a tight, essentials-first list and a simple setup so you can prep in minutes, not hours.
Let’s keep the chaos out of your workshop and the finish looking sharp.
Tools and Materials List
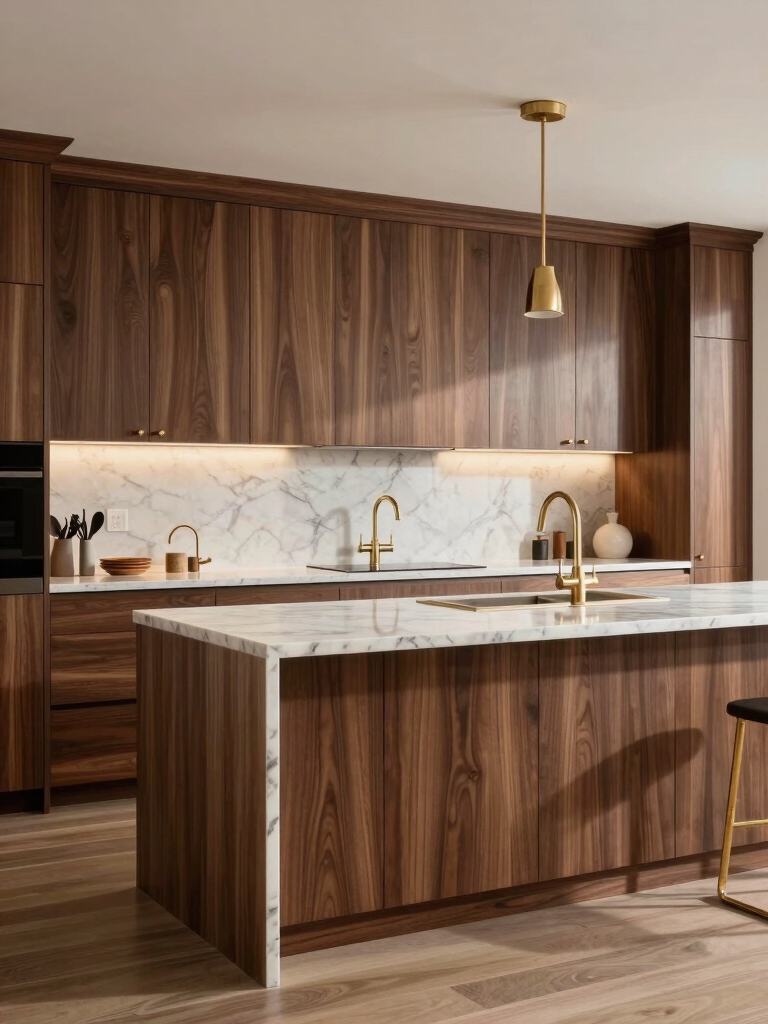
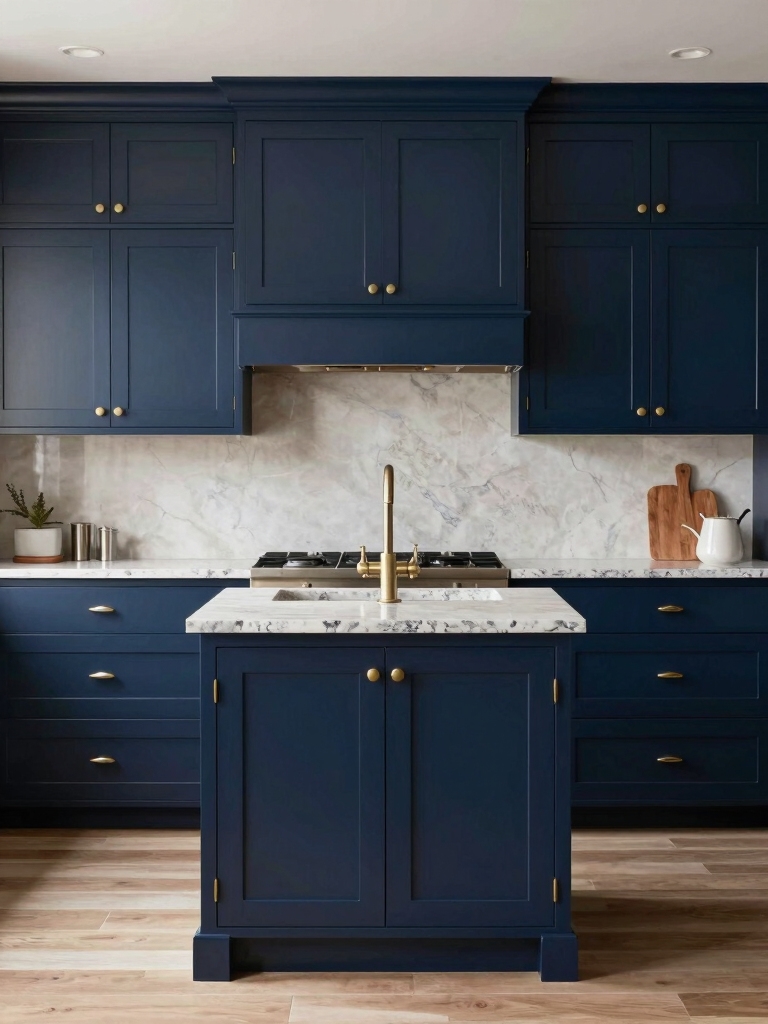
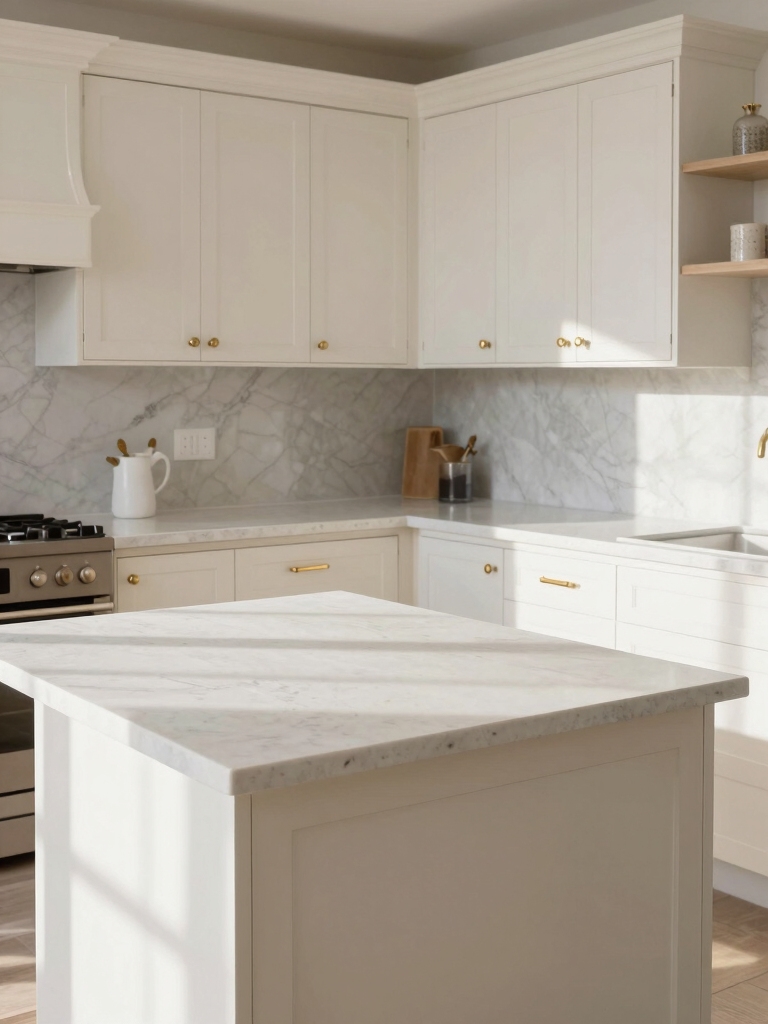
Here’s the exact toolkit and lineup you’ll need to tackle kitchen cabinet painting without fuss: a solid sander, high-quality primer, a durable topcoat, and the right brushes and rollers, plus masking tape, a drop cloth, and a tray. I’ll keep it practical: skip fluff, pick efficient tools, clean edges, and prep surfaces properly for smooth, lasting results you’ll actually be proud of. Additionally, consider stunning kitchen cabinet makeovers for inspiration on how your finished project could look.
Prep Essentials Gathered
Now that you’ve got the right tools, it’s time to pin down the exact gear for prep.
I pull together essentials fast, so your project stays on track and drama-free.
- Painter’s tape that sticks without peeling
- Degreaser or soap-and-water duo for clean cabinets
- 220–320 grit sanding blocks or sandpaper
- Tack cloths to wipe dust
- [Mini] roller kit and brushes for smooth coats
A thorough cleaning process is vital to ensure paint adheres properly.
Organization For Supplies
Gather the exact tools and materials you’ll need before you sand the day away.
I lay out a tight kit: sanding block, grit 120–180, tack cloth, primer, paint, brushes, rollers, tray, 2–3 drop cloths, painter’s tape, foam brushes for detail, and a small workstation.
I double-check measurements, organize by task, and keep extras ready—no hunting later, no surprises. Adding a fresh coat of paint to your cabinets can significantly enhance kitchen decor and boost your home’s value in the long run.
Choose the Right Primer for a Flawless Base
Choosing the right primer sets the stage for a flawless finish, so pick one that sticks to the surface and blocks stains without soaking into the wood.
I’ll guide you, not bore you, through practical picks and quick hacks.
- Oil-based vs. water-based: know your surface
- Stain-blocking power matters most
- Sand lightly for adhesion
- Kilz, BIN, or turtle wax? Not exactly, but similar vibe
- Test on a hidden area first
Additionally, consider how the right primer can enhance your small kitchen remodel by creating a uniform base for your cabinets, which is crucial for transforming your space.
Pick Cabinet-Grade Paint and Finishes That Last
Picking cabinet-grade paint and finishes means choosing toughness that actually lasts, not just looks.
I keep it simple: I pick durable enamel or acrylic formulas, low or zero VOC, with good flow. I test sheens for wipeable results, and I trust reputable brands.
A tough finish saves headaches, resists moisture, and keeps cabinets looking sharp long after the project ends.
Prep Like a Pro: Clean, Sand, and Mask for a Flawless Surface

Prep like a pro starts long before the paint—clean, sand, mask, and you’ll set a flawless stage.
I guide you briskly: remove grime, abrade glossy spots, and seal edges, then shield with precise masking so edges stay sharp.
- Clean thoroughly with daredevil persistence
- Sand uniformly for bite, not dust clouds
- Wipe dust, don’t skim
- Tape off hardware, hinges, and edges
- Ventilate and let surfaces dry completely
In addition to preparation, consider how easy hardware swaps can also elevate the overall appearance of your cabinets.
Fix Sticking Doors and Warped Panels Before Painting
I’ll start by checking the hinges and alignment so the doors swing true, not like a DIY roller coaster.
If a door sticks, I’ll adjust the hinges and plan for any misalignment before anything else.
For warped panels, I jump on them early and address the bend now so the finish stays flat and honest.
Inspect Hinges And Alignment
We’ll start by checking the hinges and overall alignment, because sticking doors and warped panels can derail a paint job faster than a skipped primer coat.
I’ll guide you through quick checks, fixes, and sane tweaks that save time and frustration.
- test door swing and clearance
- tighten screws without overdoing it
- align gaps evenly
- lubricate hinges lightly
- rehang and test again
Additionally, ensuring proper cabinet organization can help you maintain a smooth workflow during your painting project.
Address Warped Panels Early
Warped panels can sabotage an entire paint job before you’ve even rolled the first coat.
I spotlight them early, so doors don’t bind and paint doesn’t crack. Fix high spots with clamps and a straightedge, then fill gaps with lightweight shims or filler.
Test fit, re-sand, and prime. Quick, calm fixes save your finish and sanity.
Mask and Protect Hardware to Simplify Reassembly
To save time and headaches later, mask and protect the hardware before you paint, so you can reassemble in minutes without hunting for missing screws or misaligned hinges.
I’ll show you quick, practical steps that keep hardware pristine and labeled.
- Bag screws with tiny notes
- Tape hinges and pulls gently
- Mark locations with a dot system
- Use painter’s tape on metal finishes
- Photograph setup for reference
Lightly Scuff, Wipe, and Re-Clean for Optimal Adhesion
Sure, you’ll want a clean slate before you paint, so I start with a quick light scuff to wake up the surface, wipe down with a damp rag, and then re-clean to remove any dust or grease that could mess with adhesion.
I keep it practical: scuff, wipe, inspect, and dry. Ready for primer, without leftovers sabotaging grip. Additionally, using proven storage hacks can help you maintain a tidy kitchen environment, making your painting project more enjoyable.
Prime Correctly: Even Coverage and Proper Drying Times
I’ll show you how to get even coverage with a smooth coat that seals the deal, every time.
We’ll keep priming predictable with steady passes, so drying times stay friendly and not a guessing game.
With consistent technique, your cabinets dry evenly and look pro, from edge to edge.
Even Coverage Techniques
Even coverage isn’t just about dripping on paint and hoping for the best; it hinges on how you prime, lay down coats, and watch the clock.
I’ll share tight, practical steps you can rely on, without fluff, to keep every panel even and smooth.
- Prep with a light, even edge
- Use long, steady passes
- Maintain consistent pressure
- Cross-lay for uniformity
- Check and correct high/low spots promptly
Drying Time Guidelines
Now that you’ve got even coverage dialed in, it’s time to tame drying times so every coat behaves.
I’ll pace coats smartly, avoiding touch-ups between layers, because patience isn’t optional—it’s essential.
Maintain warm, steady airflow, not blasts.
Watch between clips for tackiness, then recoat when the surface feels dry to the touch.
Quick, clean, confident, and done.
Priming Consistency Tips
Prime consistency starts with a simple rule: thin, even coats matter more than heavy, unbalanced ones.
I stay mindful of pressure, brush angle, and uniform motion, then let each coat dry fully before the next. Your primed surface will thank you, and cabinets will look flawless.
Now, 5 tips to keep you on track:
- Test flow before committing
- Back-brush to smooth blobs
- Wipe drips immediately
- Maintain steady pace
- Ventilate and rest between coats
Cut in Edges and Start With the Frame for a Smooth Base
Cutting in edges and starting with the frame gives you a solid, paint-ready backbone.
I keep lines clean with a steady hand, then seal the frame before the doors go near it. Precision beats splatter, so I tape corners, smooth joins, and wipe drips as I go.
A crisp edge equals fewer touch-ups and faster, worry-free progress.
Paint Cabinet Doors With Even Strokes and a Quality Roller
Grab the doors and glide the paint on with smooth, even strokes using a quality roller, not a splashy brush’s tremor.
I’ll keep it crisp, practical, and friendly as we roll to a flawless finish.
- Use a soft roller sleeve for uniform film
- Maintain light, steady pressure
- Work in short, overlapping passes
- Watch for drips, wipe immediately
- Let first coat dry fully before next
Tackle Tricky Cabinet Surfaces: Corners, Rails, and Panels
Corners, rails, and panels can be stubborn, but with the right approach they’re no tougher than the rest of the cabinet.
I tackle them with focused prep, tight tape lines, and selective brushing. I lay down thin coats, smooth joins, and wipe drips immediately.
Precision saves time, and neat edges keep the finish looking professional without drama or guesswork.
Drying, Curing, and Recoat Timing to Avoid Issues
Drying and curing aren’t the same thing, and getting them right is the sly trick to a showroom finish.
I’ll walk you through timing so your cabinets don’t sag, peel, or trap odor.
- Know your product’s flash time and working pot life
- humidity and temperature sweet spot for this finish
- sand between coats only when advised
- dust-free zones before recoat
- plan final cure before use
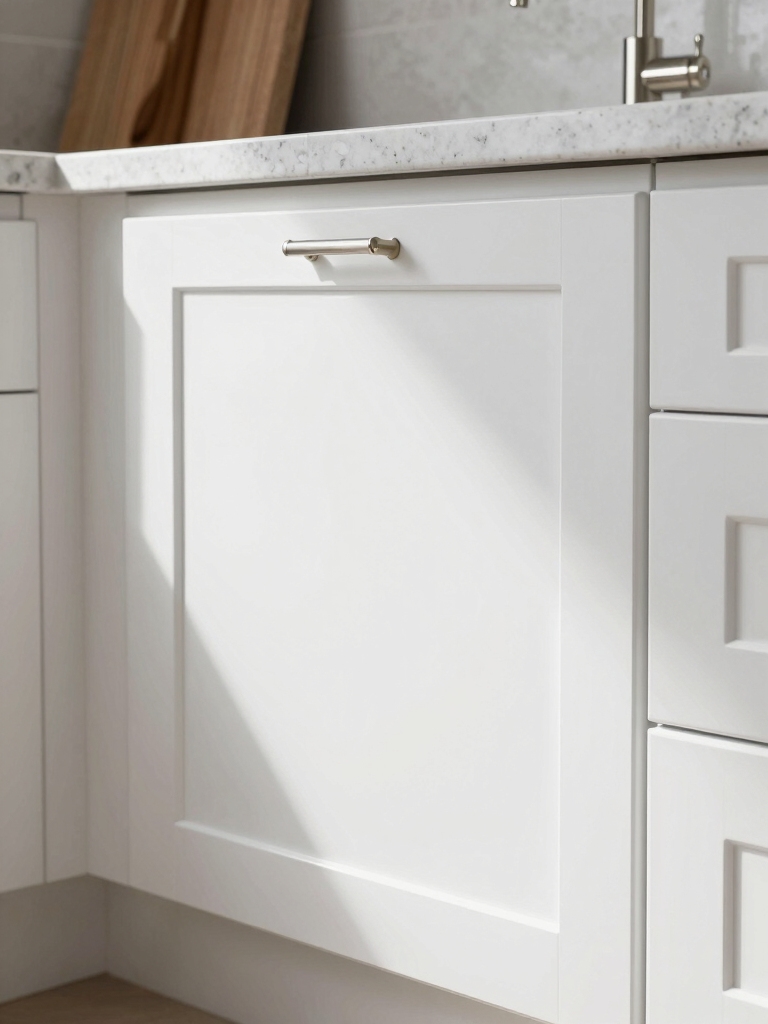
Reinstall Hardware and Touch Up High-Traffic Spots
Now that the coats are dry, I’ll walk you through reattaching the hardware, touching up those high-traffic spots, and giving the finish one last scrub-in to seal the deal.
We’ll reinstall each knob and drawer pull with a steady hand, then hit the worn edges with a precise touch-up so it looks seamless.
Think of it as the finishing polish that makes all your hard work look effortless.
Reinstall Cabinet Hardware
Reinstalling cabinet hardware isn’t rocket science, but it does take a steady hand and a little patience.
I’ll keep it simple, you’ll finish with clean lines and solid mounts.
- align holes, don’t force screws
- use a gauge or template for consistency
- start with knobs, then pulls
- tighten by hand, finish with driver
- test drawers for smooth operation
Touch Up High-Traffic
If you’ve already reinstalled the hardware, the next step is touching up high-traffic spots so your finish looks flawless and tough enough to handle daily use.
I sand lightly, dab matching paint, and blend edges with a soft brush.
I ignore dust, wipe mistakes, and test a quiet kitchen routine to confirm resilience, without overthinking every stroke.
Finishing Touch Scrub-In
Once you’ve got the hardware back in place, give those high-traffic spots a final, decisive touch-up to lock in the look and durability.
I’ll walk you through a quick scrub-in that seals the finish, covers nicks, and guarantees smooth operation—without drama.
- Recheck alignment, tighten screws, and test doors
- Wipe fingerprints and dust with a soft cloth
- Lightly scuff glossy areas for adhesion
- Apply a fine, controlled pass of touch-up paint
- Cure under low heat before usage
Final Quality Check and Maintenance Tips for Longevity
While the finish is still fresh, I like to run a quick quality check and share a few maintenance tips that keep your cabinets looking sharp for years to come.
Inspect seams, touch up nicks, and wipe with a microfiber cloth.
Avoid excess moisture, use a mild cleaner, and schedule annual wax or sealant reapplication for lasting protection.
Conclusion
If you follow these steps, your cabinets will look like they came straight from a pro showroom. You’ll save money, gain bragging rights, and hear fewer questions about when you hired someone—okay, maybe just a few. Painting isn’t magic, it’s method: prep, prime, paint, and patience. Think of it as a makeover you control, not a gamble with a rolling dice. You’ve got this—the finish will be the cherry on top of your kitchen cake.