I’ve got you covered with 14 kitchen layouts that pair an island with every home type. From compact studios to spacious family kitchens, I’ll show how island-first zoning, divider hubs, and smart work zones boost flow, storage, and social cooking. You’ll see practical layouts for L-shaped, one-wall, and parallel kitchens, plus tips on lighting, heights, and budget-friendly upgrades. Stick with me and you’ll learn how to tailor an island to your space and lifestyle.
Choose a Kitchen Island Layout by Your Type
Choosing a kitchen island layout that fits your type starts with a quick, honest look at how you cook and what you value.
I’m sharing a simple approach: reflect on pace, prep style, and whether gatherings thrill you or relax you.
Then pick an island shape and work zone. Practical, clear choices help cooking feel effortless and inviting. Additionally, incorporating unique island designs can elevate the functionality and aesthetic of your kitchen space.
Compact Studio: Island-First Zoning That Works
Compact studios are a tough but rewarding challenge, and island-first zoning helps you make every square inch count.
I’m showing how a compact island defines flow, separates zones, and keeps essential appliances within reach.
You’ll free wall space for a foldable dining surface, store smartly, and choose multitask furniture.
Let’s design with lightweight, timeless pieces that adapt as your needs evolve. Incorporating an open kitchen layout enhances both functionality and style, making the most of your limited space.
L-Shaped and Corner Kitchens With Island Nooks
How can an L-shaped kitchen with a cozy island nook transform your workflow?
I’ll show you practical tweaks that fit your space, keep traffic flowing, and center everything on you—cook, prep, and clean.
Here’s how it helps:
- Optimize triangle areas without crowding corners
- Create a casual dining or coffee zone
- Maximize storage with vertical and under-island solutions
Additionally, incorporating an island can enhance kitchen workflow efficiency, making it easier to transition between cooking, serving, and cleaning.
Island as Divider and Hub in One-Wall Kitchens
I see the island acting as both divider and hub in one-wall kitchens, creating clear zones without walls.
I’ll explore how this setup balances separation with social flow, guiding you toward harmony between prep, cooking, and casual dining.
Let’s talk about making the hub-first layout feel connected, efficient, and welcoming. Additionally, incorporating stunning open kitchen ideas can enhance the overall aesthetic while optimizing functionality.
Island Divider Harmony
An island can act as both divider and hub in a one-wall kitchen, neatly separating prep from seating while keeping every function close at hand.
I’m sharing practical harmony tips that keep flow smooth and uncluttered.
1) Align outlets and lighting for ease
2) Use a slim overhang for seating without crowding
3) Choose dual-purpose surfaces to minimize clutter
4) Consider incorporating professional organization systems to enhance efficiency and functionality in your kitchen.
Hub-First One-Wall Kitchens
In a one-wall kitchen, the island can be more than a surface—it becomes the hub and the divider that shapes daily flow.
I design around this centerpiece, placing prep, cooking, and cleanup within reach while keeping traffic clear.
The island invites conversation, supports storage, and anchors zones, so every task feels natural, efficient, and comfortably connected to the rest of your home. Additionally, incorporating open-concept kitchen ideas can enhance the overall spatial experience and flow of the area.
Parallel Kitchens: Islands That Gate Flow
I’ll walk you through how parallel kitchens use an island to gate flow, balancing traffic and task zones.
We’ll look at Gate Flow Dynamics to keep pathways clear and interactions smooth, even when the space feels busy.
I’ll share practical tips for zoning the layout so the island anchors the workflow without slowing you down.
Gate Flow Dynamics
Gate flow dynamics in parallel kitchens hinge on how islands function as gates to movement, sightlines, and task zones.
I’ll share practical insights you can apply today, keeping paths clear and corners welcoming.
- Prioritize clear corridors: maintain at least 36 inches of clearance around the island for smooth passing.
- Align work zones: place prep, cook, and cleanup within reachable ranges without crossing traffic.
- Use sightlines: position seating to overlook work zones, not obstruct motion.
Additionally, incorporating island solutions can significantly enhance your kitchen’s functionality and aesthetic appeal.
Parallel Kitchen Zoning
Parallel kitchen zoning treats islands as strategic gates that guide movement while separating tasks. I design layouts where the island buffers prep from cleanup, yet keeps ovens and sinks reachable on opposite sides. You’ll notice cleaner workflows, less crowding, and easier guest interactions. I balance traffic flow with zones, add smart storage, and favor sightlines that make your kitchen feel calm and functional. Additionally, open-plan kitchens often enhance guest interaction dynamics, creating a more inviting space for entertaining.
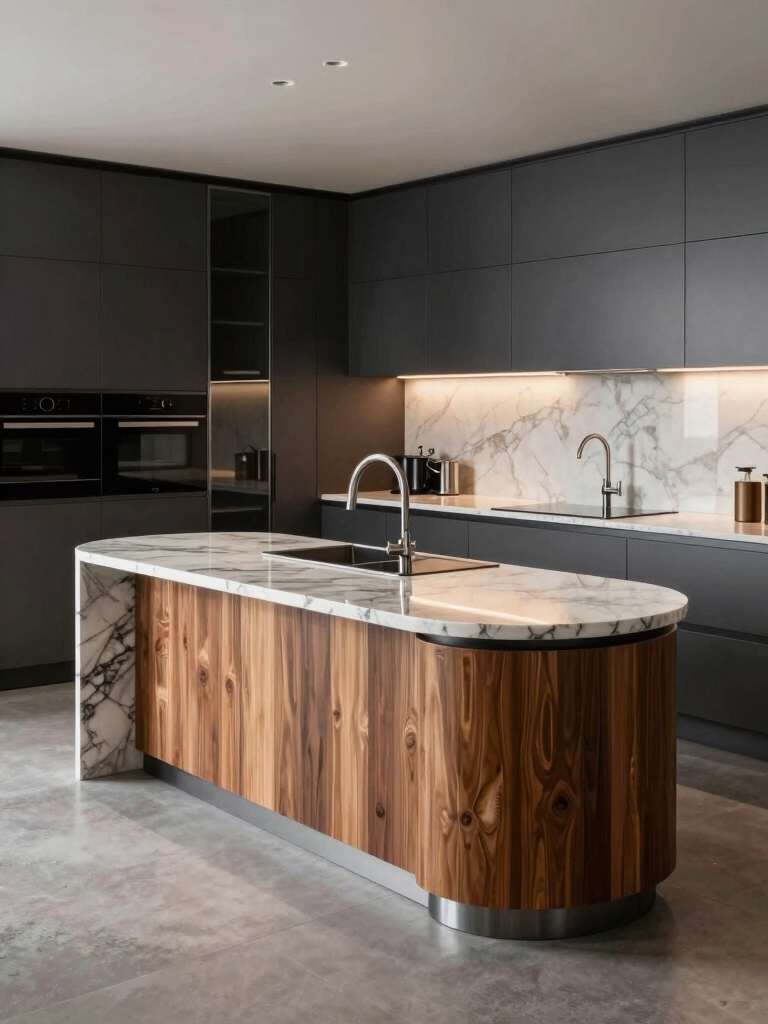
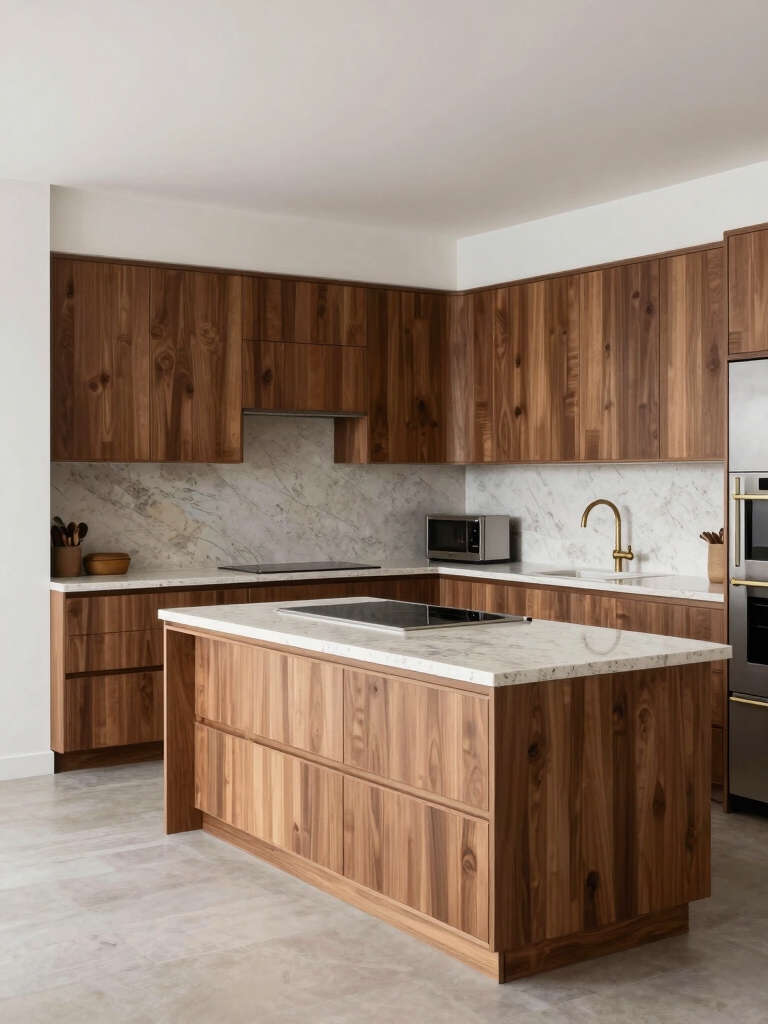
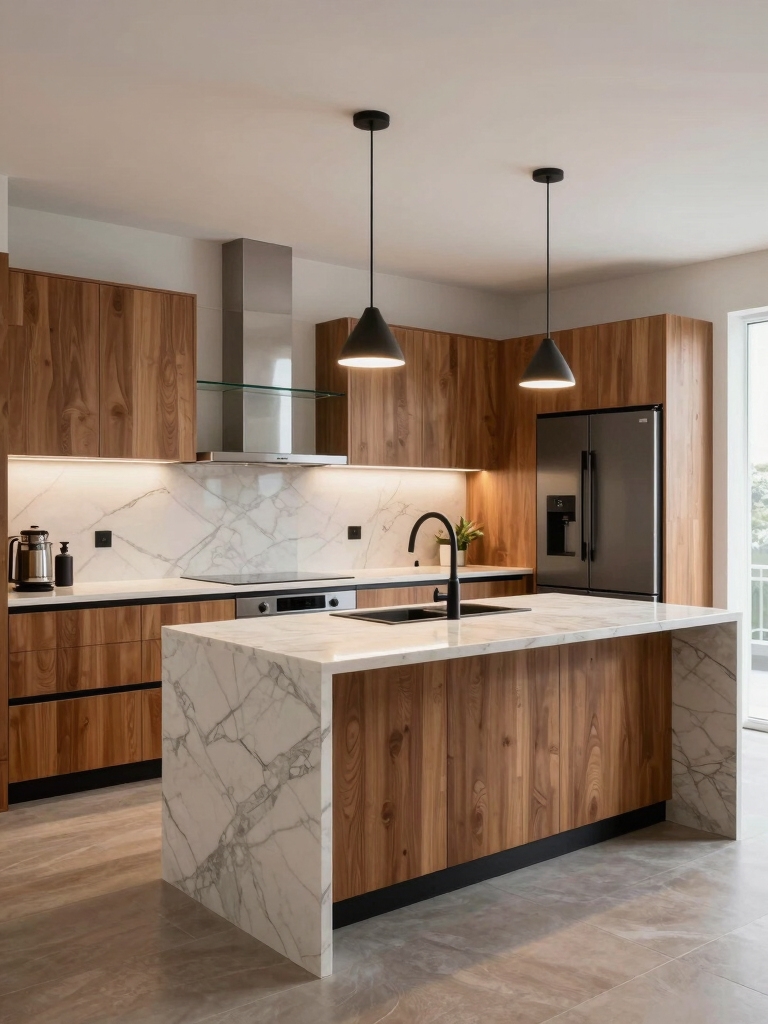
U- or G-Shaped Kitchens: The Island as Central Anchor
A U- or G-shaped kitchen centers the action around a practical island, turning the island into the true anchor of the workspace.
I guide you to smooth work zones, keep circulation clear, and let the island handle prep, storage, and seating.
You gain cohesion, efficiency, and a social hub.
- Centered workflow around the island
- Clear traffic paths and zones
- Seamless storage and seating integration
Incorporating an island not only enhances functionality but can also significantly increase your property value.
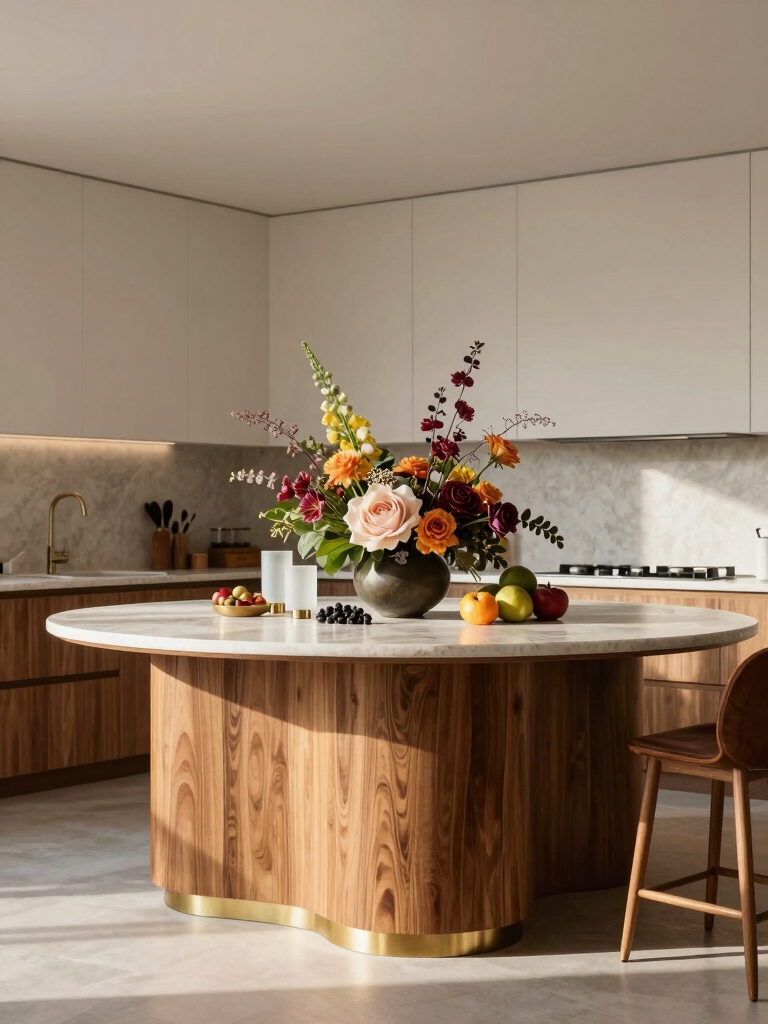
Open-Plan Living: Islands for Social Cooking
Open-plan living thrives when the island becomes the social heart of your space, inviting conversation as soon as you step in.
I design islands to host, not hover, with seating that invites eyelifts and quick chats while you chop.
Keep appliances handy, zones clear, and airflow smooth.
Playful lighting and accessible storage keep this layout practical, welcoming, and easy to live with daily. Additionally, incorporating genius layout hacks can maximize functionality in kitchens of all sizes.
Pantry-Plus Kitchen Islands: Hidden Storage Solutions
I love turning pantry space into smart, hidden storage with pantry-plus island designs.
Think hidden pantry access and sliding door storage that keep everyday items within reach but out of sight.
Let’s explore practical layouts that simplify your workflow without adding clutter.
Hidden Pantry Access
Hidden pantry access can be a game changer in kitchens with islands, offering extra storage without sacrificing counter space.
I love how a discreet door or pull-out shelf keeps staples handy and clutter low.
Here are practical ideas:
- Swing-out cabinet
- Hidden drawer pantry
- Sliding panel with racks
Sliding Door Storage
Sliding door storage is a smart, low-profile solution for pantry-plus islands, because it hides messy shelves behind a sleek panel while keeping everything you need within arm’s reach.
I love how it maximizes counter space and minimizes visual clutter, letting you grab pasta, spices, or snacks without opening a whole cabinet.
Practical, accessible, and effortlessly tidy for everyday use.
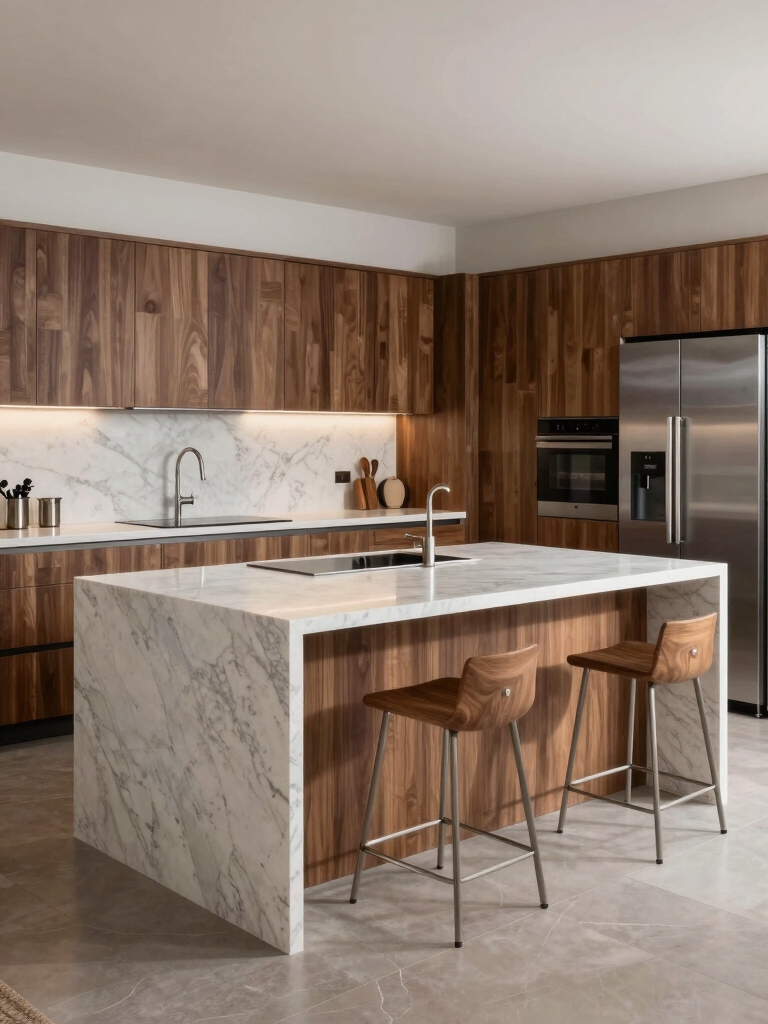
Breakfast Bar Islands: Everyday Seating That Surfaces
Breakfast bar islands instantly make your kitchen feel social and functional, so you’ll have a casual spot for quick meals, homework, or chatting with the cook.
I value the everyday ease they offer, with cozy seating and clear surfaces.
Here are ideas:
- Casual dining without clutter
- Quick homework nook
- Conversation hub for guests and cooks
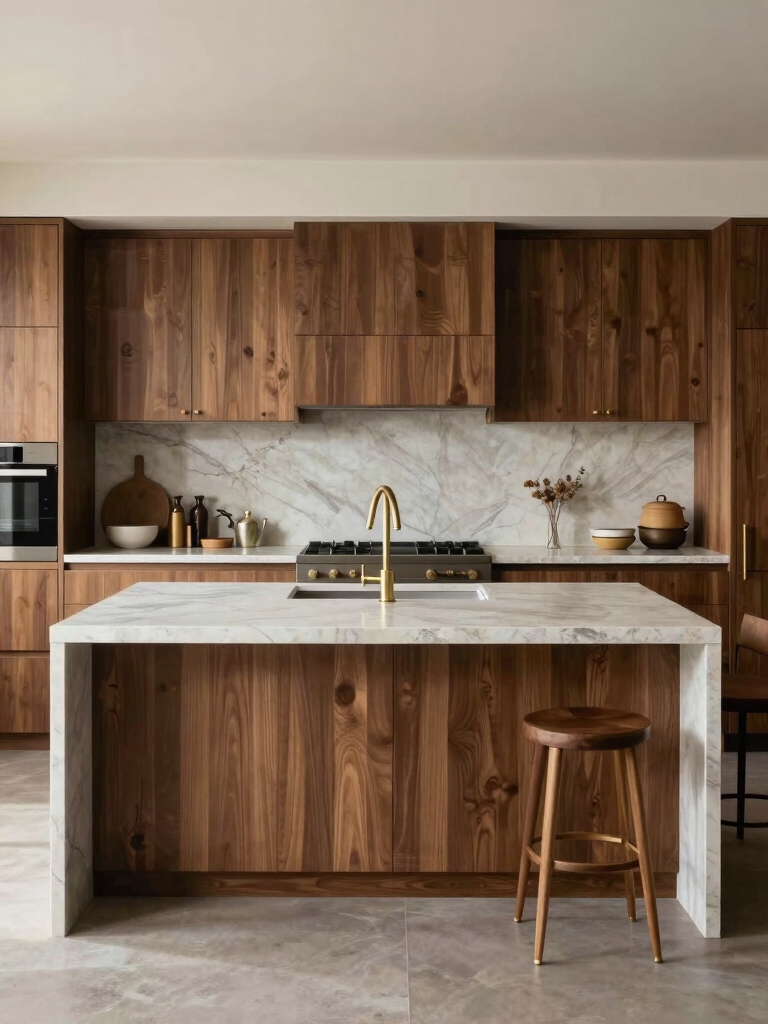
Workstation Islands: Dedicated Prep and Tech Zones
I design workstation islands with dedicated prep zones and tech-integrated corners that keep the workflow smooth.
I’ll show you how separate prep surfaces, power outlets, and smart storage can coexist with clip-on chargers and screens attitude-free.
Let’s explore practical layouts that balance food prep, cleanup, and device use without crowding the counter.
Dedicated Prep Zones
A dedicated prep zone in a workstation island keeps cooking tasks organized and flowing smoothly, especially when you’re juggling multiple steps or feeding a hungry crowd.
I’ll share practical ideas you can apply now:
- Clear separation for chopping and marinating
- Pull-out drawers for utensils and measuring tools
- Proximity to sink and trash for quick cleanups
Tech-Integrated Workstations
Tech-integrated workstations blend conversation-friendly layouts with smart efficiency, so your island can handle prep, cooking, and cleanup in one fluid workflow.
I design zones that keep gadgets out of sight yet reachable, with wireless charging, smart timers, and hidden outlets.
You’ll enjoy seamless shifts, durable surfaces, and intuitive storage that supports focus, reduces clutter, and speeds up weeknight routines.
Lighting and Island Heights for Everyday Comfort
Lighting and island heights might seem like minor details, but they shape everyday comfort in real, practical ways.
I’m sharing simple truths I’ve learned:
1) Pendant placement at 28–34 inches above the island keeps tasks clear without glare.
2) Adjustable fixtures offer flexibility for meals, homework, or hosting.
3) Counter height should match your typical seating to minimize strain and improve flow.
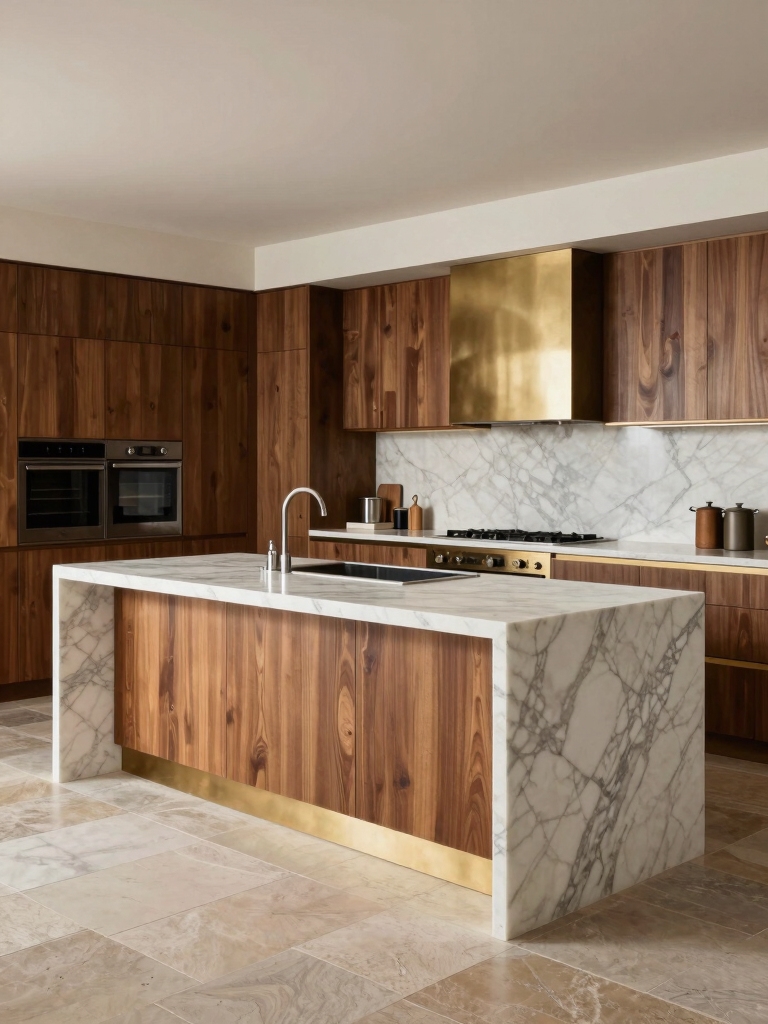
Finishes and Materials That Match Your Style
Finishes and materials set the tone of your kitchen, and choosing wisely helps you feel at home the moment you step in.
I’ll guide you toward durable, easy‑care options that suit your lighting and layout, from cabinet fronts to countertops.
Think texture, color, and maintenance—all aligned with your style—so your island feels timeless, welcoming, and perfectly you, every day.
Traffic-Proof Island Placement for Smooth Moves
Island layout is all about flow: you want to move smoothly from prep to cooking to cleanup, without squeezing past a bulky island.
I share practical placements that keep paths clear and counters usable.
- Align the island with main work zones for direct, short corridors.
- Leave at least 42 inches (1.07 m) of clearance on all sides.
- Choose a compact, functional footprint to reduce congestion.
Budget to Brilliance: Practical Upgrades for Any Home Type
Upgrading on a budget doesn’t mean sacrificing style or function—I’ve learned that practical tweaks can make any home feel brighter and more organized.
Start small: swap cabinet hardware, add under-cabinet lighting, or refinish a tired surface.
Reassess layout so traffic flows freely.
Use multi-tasking furniture, like a compact island with storage, to maximize value without clutter.
Practical, achievable brilliance awaits.
Conclusion
If you’re still wondering where to start, trust your gut and pick a layout that feels like you. A well-placed island is more than a prettified surface—it’s the heart of your kitchen, a everyday work buddy and gathering spot. Start small, expand as needed, and remember: a thoughtful design today stays in step with your life tomorrow. So go with what fits your space, and let the island do its job—beautiful, useful, yours.