I tackled 16 kitchen remodel tasks on my own, from planning and budgeting to finishing touches, and you can too. I set a clear budget, a practical timeline, and simple success metrics, then picked essential tools I could trust. I swapped cabinet hardware, painted or stained cabinets, and even built a DIY island. I refreshed floors with peel-and-stick options and kept a neat maintenance checklist. If you stick with me, you’ll uncover the practical steps and tips that helped me push through.
What You’ll Save and Spend on DIY Kitchen Upgrades

When you tackle a DIY kitchen upgrade, you’ll feel both the thrill of saving money and the pull of the numbers you’re about to spend.
I’m showing you real-world costs—materials, tools, misc., and a few must-knows—without hype.
You’ll hear about tradeoffs, hidden fees, and smart shortcuts.
I’ll guide you to balance quality with budget, calmly and clearly. Plus, with the right approach, you can achieve affordable kitchen remodel changes that give your space a high-end feel.
Set Your Budget, Timeline, and Success Metrics
I’ll start by setting a clear budget so we understand what’s feasible and what stays in reach.
Next, I’ll outline timeline milestones that keep us moving without pushing us past what we can handle, and I’ll align our success metrics with what really matters—quality, function, and joy in the end result.
Let’s map these together, so every choice now guides us toward a confident finish. Additionally, incorporating kitchen remodel ideas that enhance both aesthetics and functionality can significantly increase your property’s value.
Set Clear Budget
Setting a budget for your kitchen remodel keeps the project real and doable, so I start by outlining three simple anchors: what you’ll spend, the timeline you’re aiming for, and how you’ll know you’ve succeeded.
I’m careful with numbers, buying smart, and tracing every expense. If a plan veers, I adjust early, keeping momentum without sacrificing quality or peace of mind. Additionally, focusing on renovation projects with the highest return can help you prioritize which upgrades to make for maximum property value.
Timeline Milestones Defined
After pinning down a budget, I map out the roadmap: clear timeline milestones, so you can see progress at a glance and stay motivated.
I break the project into manageable phases, with start dates, buffers, and review points. You’ll know when to buy, when to pause, and what each milestone delivers, keeping momentum steady without overwhelm.
Simple, practical, reassuring. Utilizing small kitchen ideas can also help you make the most of your space as you plan your remodel.
Success Metrics Alignment
To align your budget, timeline, and success metrics, I start by naming what “done” looks like and how we’ll measure it along the way.
We set clear costs, milestones, and acceptance criteria, then track progress with weekly check-ins.
When surprises pop up, we adjust scope gently, documenting decisions, staying transparent, and keeping the vision alive without derailing the simple, practical kitchen goals. Incorporating essential kitchen upgrades can also enhance the overall functionality and aesthetic of your remodel.
Essential Tools Every DIYer Should Have

Think of your toolkit as the loveable sidekick to every kitchen project: a few reliable basics that you’ll reach for again and again.
I’ll keep it practical: a scratch awl, sturdy hammer, tape measure, utility knife, level, and a cordless drill.
Bright LED flashlight, multibit screwdriver, and a small pry bar complete my go-to kit, ready for quick, clean, confident progress. Additionally, consider incorporating large window styles to flood your cooking space with natural light, enhancing both functionality and ambiance.
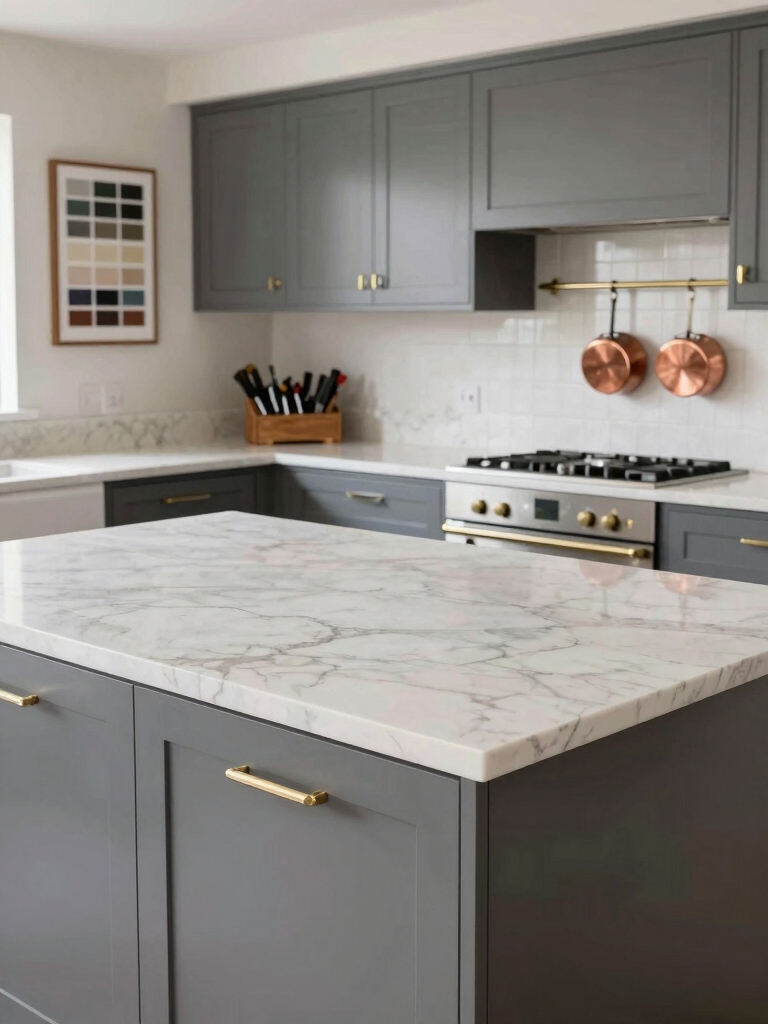
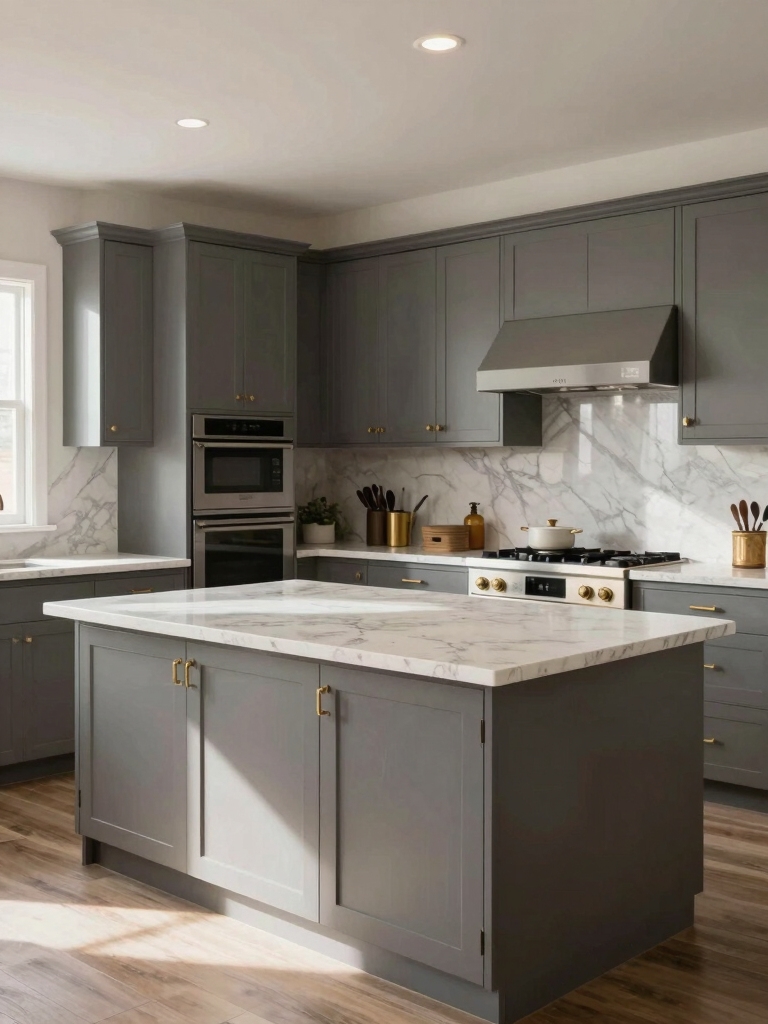
Replace Cabinet Hardware for an Instant Update

I love a quick hardware swap that instantly refreshes the feel of a kitchen. We’ll feel the sparkle as new knobs and pulls catch the light, making everything look brighter with minimal effort. In fact, stunning kitchen cabinet makeovers can greatly enhance the overall aesthetic of your space. I’ll walk you through the tools we’ll need fast, so you can get started and see results right away.
Quick Hardware Swap
A quick hardware swap is a simple, high-impact move that can transform the look of your kitchen in moments.
I grab fresh pulls, measure spacing, and swap with a steady hand. The room feels renewed, not redesigned—enough change to cheer me without the mess of a full reno.
You’ll notice the difference as soon as you finish the last screw. Professional Kitchen Cabinet Decor Upgrades can further elevate your kitchen’s style and functionality.
Sparkling New Hardware
Swapping cabinet hardware is my favorite quick upgrade: it gleams up the room without reconfiguring everything.
I pick pulls that echo the kitchen’s vibe—sleek, warm, or playful—then swap with a patient, measured twist.
The new hardware catches light, adds texture, and instantly feels cohesive.
It’s remarkable how small changes can calm cluttered counters and elevate daily routines.
Tools Needed Fast
Even with just a few quick moves, you can swap cabinet hardware in no time, and I’ll show you exactly what you’ll need.
I keep a small, friendly toolkit: a drill, driver bits, a measuring tape, and a pencil. Choose 1-1/4 inch screws, clean shifts, and a steady hand.
Quick, clear steps keep the update breezy and satisfying.
Cabinet Painting or Staining: Prep, Application, and Finish

When you’re painting or staining cabinets, preparation is everything, because a smooth finish starts on a clean, primed surface.
I start by removing hardware, then scuff-sanding for bite, wipe with mineral spirits, and tape edges.
I choose a compatible primer, apply thin coats, and let each dry fully.
Finish with a quality topcoat, light sanding between coats, and steady, confident strokes.
Basic Backsplash Upgrades: Peel-and-Stick vs Tile Options
I’m weighing Peel-and-Stick options against traditional tile, sharing what each brings to the backsplash journey.
Peel-and-Stick offers quick, budget-friendly pros, while tile brings longevity and texture, with its own set of installation quirks.
I’ll walk you through cost and install time, plus the trade-offs in durability and ease, so we can pick what fits your kitchen pace.
Peel-and-Stick Pros
Peel-and-stick backsplashes can be a surprisingly easy upgrade, offering a quick refresh without the fuss of traditional tiling.
I love that they’re forgiving: no grout, no messy mortar, just precise alignment and a clean finish. They’re budget-friendly, adjustable, and ideal for quick room-to-room experiments.
When it sticks, it stays, and that confidence feels like a win.
Tile Pros and Cons
Tile options bring real durability and a classic look to any backsplash, but they also come with more prep and patience.
I’ve weighed the tradeoffs with you, friend, so you can decide confidently.
- Longevity and timeless appeal
- Higher prep and materials cost
- Grout maintenance and staining risk
- Skill curve and learning payoff
Cost and Install Time
If you’re weighing Peel-and-Stick against tile for a backsplash upgrade, the big obvious trade-offs are cost and install time.
I’ve compared both: Peel-and-Stick saves money and installs in a few hours, but may show seams and wear sooner.
Tile costs more, takes days, yet delivers longevity and a premium look.
Your priorities decide the best fit.
Upgrading Faucets and Fixtures: What to Look For
When you’re upgrading faucets and fixtures, you want reliability, not surprises.
I look for durable finishes, solid warranties, and easy-to-replace cartridges, then match flow to your needs without wasting water.
Here’s what to check:
- Material and finish compatibility
- Water flow rate (gpm)
- Cartridge accessibility and replacement
- Installation clearance and rough-in compatibility
Lighting Makeover: Task, Ambient, and Accent Layers
A good lighting plan brings a kitchen to life, just as thoughtful faucets bring water to a comfortable flow.
I approach lighting by layering task, ambient, and accent layers, guiding you with practical choices. I’ll pick fixtures that illuminate counters, soften corners, and highlight details, balancing warmth and efficiency.
Together, we’ll create a functional, inviting space without overcomplicating the design.
Countertop Refresh: Laminate, Butcher Block, and Alternatives
I’m exploring laminate surface ideas that keep costs friendly and styles flexible, so you’ll see a range from bright neutrals to subtle textures.
I’m weighing butcher block prospects for warmth, durability, and upkeep, hoping to find a fit that feels like home.
I’ll also look at alternative materials that strike a balance between budget, look, and practicality, inviting you to weigh what matters most for your kitchen.
Laminate Surface Ideas
Laminate surfaces have come a long way, and options now range from crisp, airy looks to bold patterns that mimic stone.
I’m sharing ideas you can actually pull off without tears or tools you don’t own.
- Crisp white slabs for bright kitchens
- Soft gray weaves that hide fingerprints
- Marble-inspired swirls with subtle veining
- Textured, matte finishes for modern warmth
Butcher Block Prospects
Countertop refresh ideas are on the table, and butcher block could be the warm, forgiving centerpiece you’re after.
I’m drawn to its natural grain and forgiving cuts, the way a light oil lift brightens it without fuss.
With careful sealing and routine care, it ages gracefully, inviting touch and conversation, while staying pleasantly practical for a DIY kitchen makeover.
Alternative Materials Options
When you’re revitalizing a kitchen, alternatives beyond standard laminate or butcher block can surprise you with durability and character.
I’m sharing a few options that fit DIY tweaks, price, and personality.
- Quartz-inspired laminate for hassle-free maintenance
- Edge-painted plywood for rustic charm
- Solid-surface sheets with seamless seams
- Reclaimed butcher block overlays for budget-friendly warmth
Smarter Storage: Drawer Organizers and Pull-Outs
With a few smart drawer organizers and sturdy pull-outs, my kitchen suddenly feels calmer and more usable.
I ditched clutter by grouping utensils, lids, and measuring cups in labeled zones, so I reach what I need without digging.
The pull-outs keep tall bottles upright, while shallow trays cradle spices and snacks.
It’s simple efficiency that invites cooking more often.
Tiling a Backsplash: Layout, Grout, and Sealing Guide
I decided to tackle the backsplash by laying out a practical plan: start with a clean, dry surface, measure twice, and map the tile pattern so nothing ends up crooked.
- Dry-fit tiles to confirm alignment
- Mix grout to smooth, sanded consistency
- Seal edges and cut precisely for outlets
- Wipe excess grout, cure, and clean glassy finish
Safety First: Basic Electrical and Plumbing Boundaries
Safety first, I’ll always keep electrical and plumbing boundaries clear to protect you and your home.
I’m sharing a simple, human note: know your limits, switch off circuits, and don’t fork with pipes under pressure.
If something feels risky, pause and call a pro. Respect codes, label everything, and test with calm patience before proceeding.
Your peace of mind matters.
DIY Kitchen Island or Cart: Simple Install Steps
When you’re adding a DIY kitchen island or cart, the key is a calm, step-by-step vibe: pick a sturdy cart or plan a simple island that fits your space, then work through each install piece with care.
1) Measure your footprint and align with outlets
2) Secure casters or legs firmly
3) Attach lower shelf or cart box
4) Mount rails, append handles, test stability
Flooring Refresh: Peel-and-Stick Options and Prep
Peel-and-stick flooring can be a quick, forgiving update, especially after you’ve nailed down a sturdy subfloor.
I walk you through choosing options that resist moisture, then prep tips that actually work: clean, smooth, and dry surface; remove old adhesive; tape seams; and roll out with steady hands.
If I can do this, you can too, calmly and consistently.
Maintenance Checklist to Keep Your Kitchen Fresh
A clean, fresh kitchen starts with a simple routine, and a steady maintenance checklist helps it stay that way without feeling like a chore.
I share a gentle rhythm you can follow, day by day, so you notice neatness, not effort.
- Wipe surfaces nightly, glare-free and streak-free
- Empty trash, sanitize bins, and refresh liners weekly
- Scrub sink and faucet to keep shine
- Declutter counters monthly for calm prep spaces
Troubleshooting Common DIY Kitchen Remodel Hurdles
I’ve been there: DIY kitchen hiccups happen, but most hurdles are solvable with a calm plan and a few smart moves.
When a setback hits, I breathe, reassess measurements, and test a small batch before committing. I keep tools within reach, label cables, and document steps.
Patience saves mistakes, and asking for a quick second opinion can spark fresh, practical solutions.
Conclusion
I’ve shared simple, savvy steps, steady and self-sufficient, so you can smile at the sight of your saved sums. Stick with small, sincere shifts, steadying your space with style you’ve staged. From cabinet charms to flooring flourishes, you’ll savor the sparkle spurred by patience and planning. If setbacks surface, stay sweet, skimming solutions, step by step. You’ve got this—your kitchen, your canvas, your cozy, crafty kingdom.


