I love how raw concrete gives an industrial kitchen that honest, lived‑in feel while staying tough enough for daily use. It handles heat, spills, and heavy wear far better than softer surfaces, and a warm wood or brass pairing softens its coolness.
Expect occasional staining and routine resealing, and consider pros for structural pours or embeds. If you want practical tips on mixes, seams, maintenance, and layout, keep going and I’ll walk you through them.
Why Choose a Raw‑Concrete Industrial Kitchen (Durability, Look, Tradeoffs)

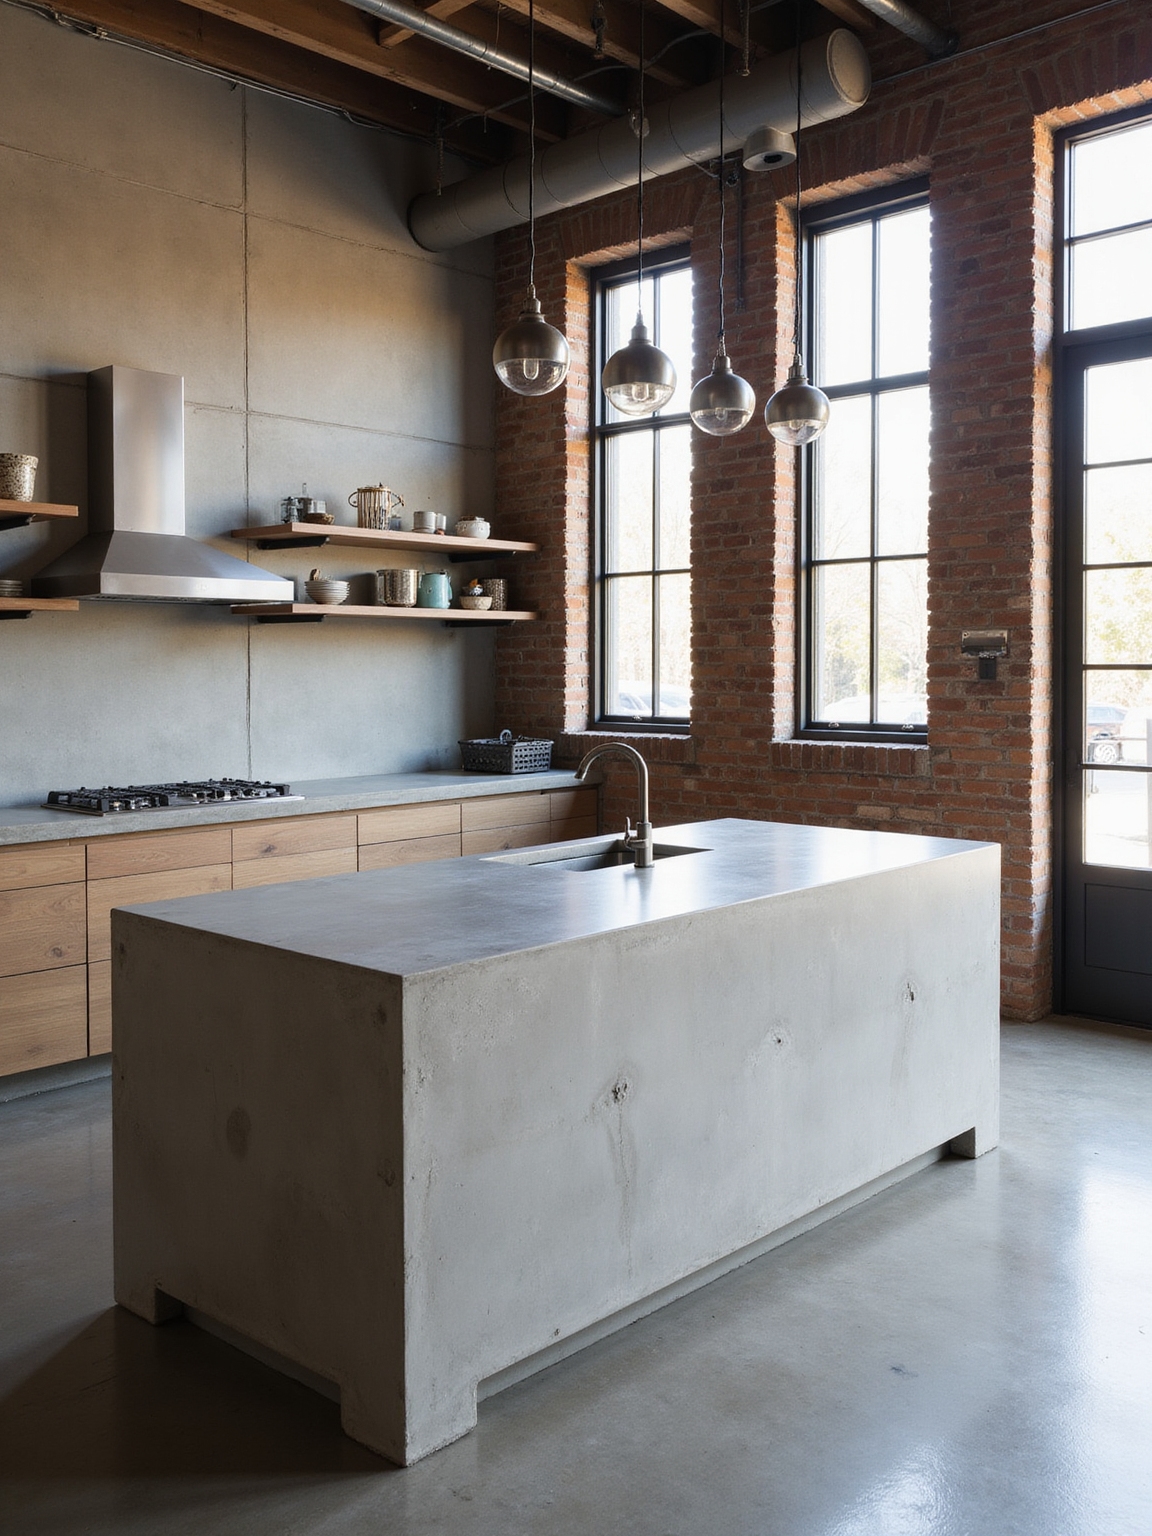
When I first considered a raw‑concrete industrial kitchen, I was drawn not just to its rugged good looks but to the promise of real longevity—concrete stands up to heat, heavy use, and humidity in ways softer surfaces don’t, so you won’t be constantly repairing or replacing counters and floors.
I love the honest texture, ease of maintenance, and how it ages; though it can feel cold, warmth from wood and textiles balances it.
Concrete is one of the key raw materials used to achieve the perfect industrial kitchen look, prized for its durability and texture.
Quick Decision Checklist: Is Concrete Right for Your Project?

If you’re wondering whether concrete fits your kitchen, I’ll help you cut through the hype with a quick checklist so you can decide fast.
I’ll keep it simple and honest — think lifestyle, budget, maintenance, and style.
Consider these five essentials:
- Do you want an industrial, low‑maintenance surface?
- Can you budget for professional installation?
- Will you accept occasional staining?
- Is thermal mass okay for you?
- Do you like a minimalist look?
Concrete backsplashes are a durable option that can add long-term value to your home.
Poured vs. Precast vs. Engineered Concrete: Choose the Right Type
I’ll walk you through how poured, precast, and engineered concrete actually behave in a busy kitchen, so you can weigh material performance against your needs.
We’ll compare installation timing and what to expect on-site, since that can make or break a renovation schedule.
I’ll also cover upfront costs and long-term maintenance so you know which option fits your budget and workload.
Top Luxury Countertops rated for performance and elegance can help inform realistic expectations.
Material Performance Differences
Because the concrete you pick shapes how your kitchen performs every day, I want to walk you through the real differences between poured, precast, and engineered mixes so you can choose the right one.
I’ll keep it simple and honest:
- Poured: seamless, customizable, cures on-site.
- Precast: consistent, fast, factory-controlled.
- Engineered: high strength, stain-resistant.
- Durability varies by mix and sealant.
- Maintenance needs differ.
Factory-controlled production can improve consistency and quality, which is why precast concrete is often chosen for predictable results.
Installation And Timing
When we talk timing and installation, you’ll find the choice between poured, precast, and engineered concrete really comes down to your schedule, site conditions, and how hands-on you want to be.
I prefer poured for custom shapes but know it takes more time onsite. Precast speeds installation, engineered panels balance speed with precision.
I’ll help you match type to timeline and site realities. Smart islands can maximize function in tight layouts by combining storage and seating with concrete surfaces for durability and style, especially when integrating multifunctional island designs.
Cost And Maintenance
While cost shouldn’t be the only factor, I know it’s often the first question people ask when picking between poured, precast, and engineered concrete. I’ll keep it simple—upfront price, long-term care, and lifespan vary.
Consider:
- Poured: higher labor, seamless look, repairs tougher
- Precast: mid cost, quick install, joints visible
- Engineered: costlier, low maintenance, consistent finish
- Sealing extends life
Durable choices like polished concrete can offer decades of use with minimal upkeep and low-maintenance long-term care.
Set Your Budget: Realistic Costs by Concrete Type and Size

I’ll walk you through what you can expect to pay for poured, precast, and engineered concrete so you can pick what fits your kitchen and wallet.
Size matters — larger slabs and islands raise material and labor costs, so I’ll show how pricing scales by square footage.
I’ll also cover installation and finish options that add to the total so you can plan a realistic budget.
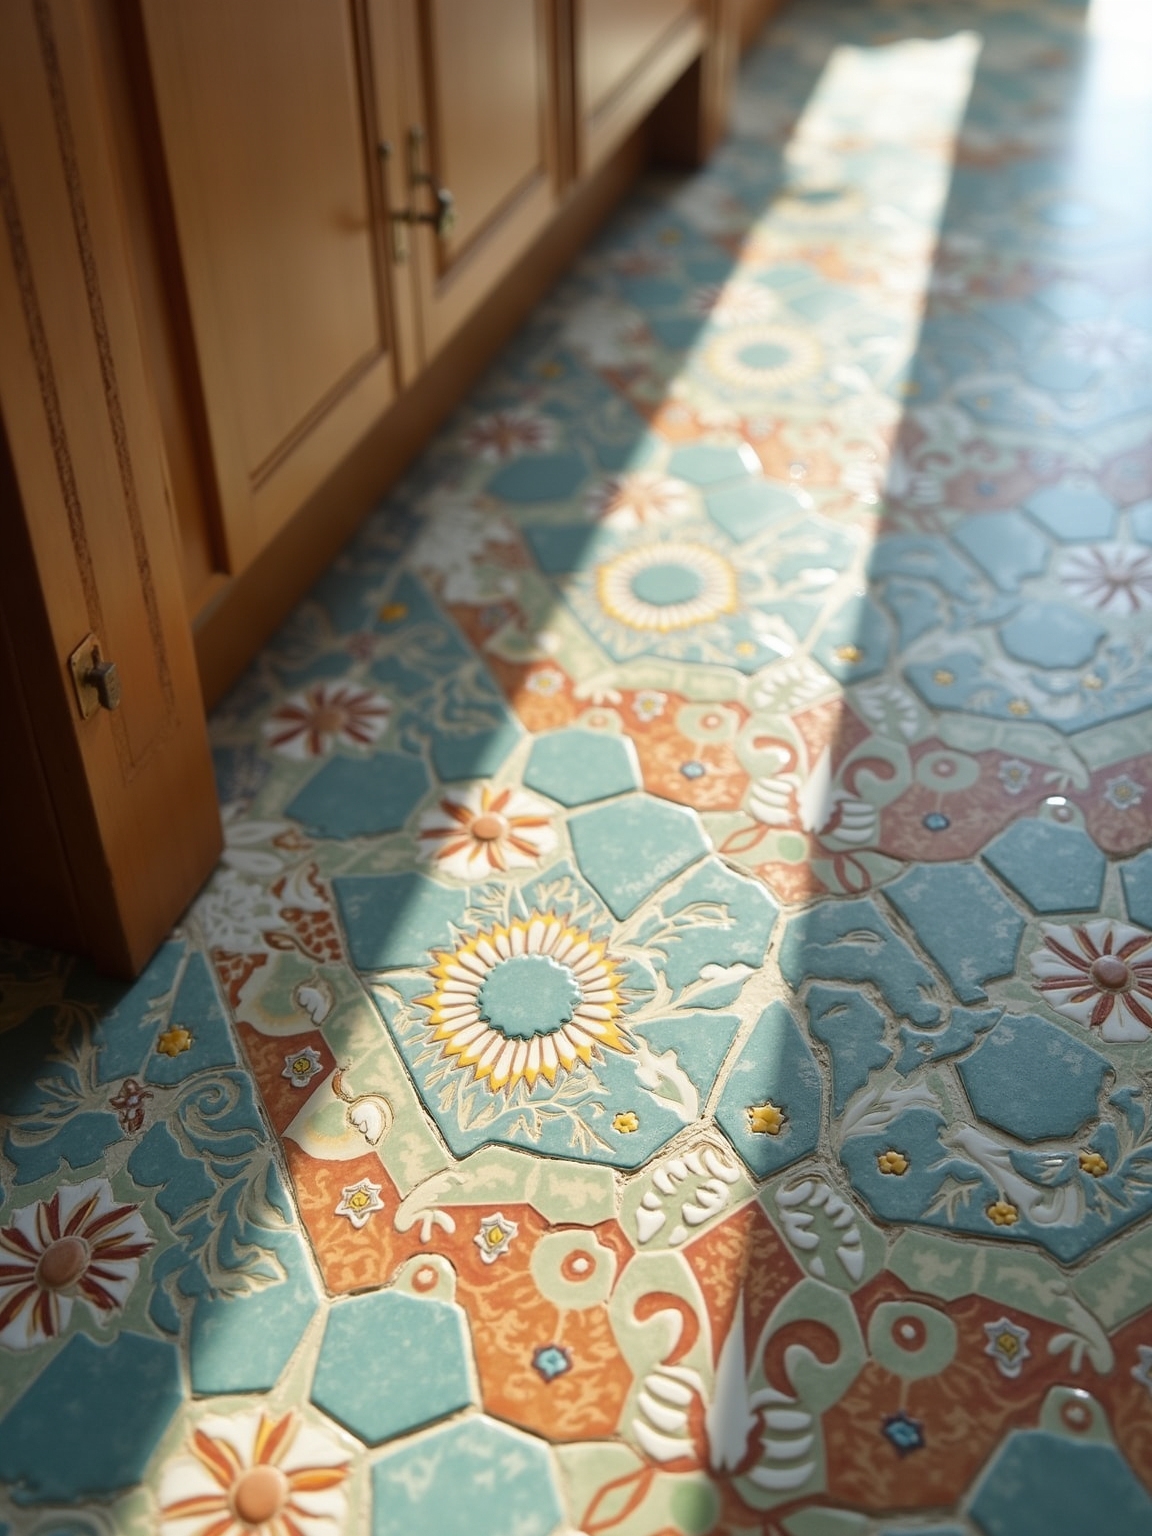
Beautiful 3D Textured Tiles For A Unique White Kitchen Look can inspire complementary surfaces, including concrete textured finishes, to tie the design together.
Concrete Type Costs
A few popular concrete types—flatwork, reinforced, polished, and fiber-mesh—each come with different price tags, so I’ll help you figure what to expect for the size you need.
I’ll outline typical cost drivers and choices so you can plan without surprises:
- Flatwork: basic, budget-friendly
- Reinforced: stronger, pricier
- Polished: finish-focused, mid-to-high cost
- Fiber-mesh: crack-resistant, moderate
- Decorative additives: extra charge
Architects often use space-saving layout tricks to make concrete-centered designs feel larger and more functional.
Size-Based Pricing
Now that you know the common concrete types and what drives their prices, let’s look at how size changes the equation.
I find cost scales mostly by surface area and thickness: larger islands or long countertops need more material and reinforcement, raising per-piece totals.
Small repairs or accent bars stay economical. Plan measurements early so your budget matches the scale you want.
Installation And Finishes
Because installation and finish choices can shift your estimate as much as the concrete type and size, I like to break costs into clear line items so you know what you’re paying for. I’ll walk you through realistic budget pieces and what adds or saves money.
- Demolition and prep
- Pouring or overlay labor
- Sealers and pigments
- Polishing or texturing
- Edge work and trim
Choosing Pigments, Aggregate & Surface Finishes

When I pick pigments, aggregate, and surface finishes for a commercial kitchen, I think about durability first and personality second—because the space has to perform hard work while still feeling welcoming.
I favor muted pigments that hide stains, select aggregates for slip resistance and texture, and choose sealed, low-maintenance finishes that withstand heat and cleaning.
Practical choices keep the kitchen efficient and inviting.
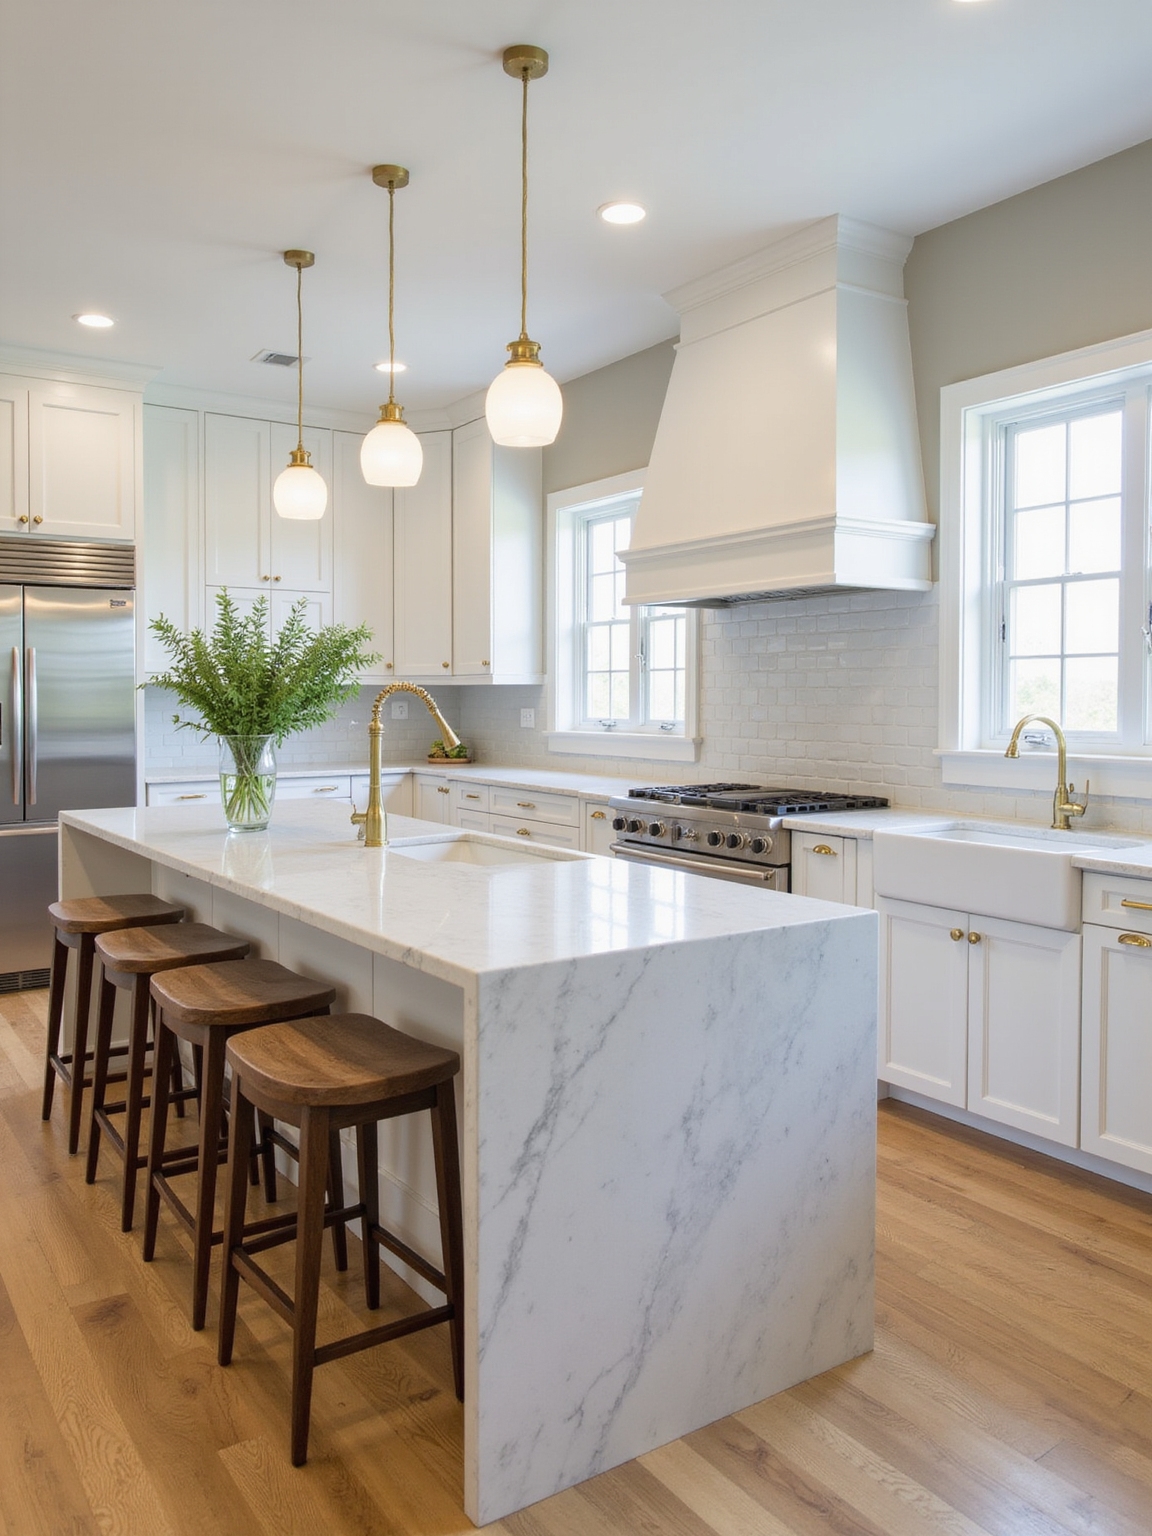
Pairing Concrete With Warm Woods and Matte Metals
If I pair concrete with warm woods and matte metals, I aim for a balance that softens the room without losing the material honesty of an industrial kitchen.
I choose textures and tones carefully, mixing warmth and restraint:
- Oak cabinets to warm concrete
- Matte brass pulls for subtle shine
- Walnut accents for depth
- Blackened steel frames to ground
- Soft lighting to cozy the space
Concrete Countertop Methods & Joinery
I like to start by talking through mix design choices, because the right proportions and admixtures set the tone for strength, color, and finish.
Then I’ll cover reinforcement and embeds so your slab stays crack-free and can hide sinks or electrical runs.
Finally, we’ll look at seamless joint techniques that keep long runs looking like one continuous, usable surface.
Mix Design Choices
I’ll walk you through the key mix design choices for concrete countertops and the joinery techniques that hold them together, because getting those decisions right makes the difference between a durable, beautiful surface and a maintenance headache.
I prefer mixes that balance strength, workability, and finish. Consider:
- Low water-cement ratio
- Fine aggregates for smoothness
- Admixtures for flow
- Pigments for warmth
- Tight seam tolerances
Reinforcement And Embeds
Now that you’ve got mix choices sorted, let’s talk about how to make those mixtures hold up under daily use: reinforcement and embeds.
I use fiber mesh, rebar cages, and strategically placed stainless anchors to control cracking and support overhangs.
Embedded fixtures—drains, electrical boxes, and threaded inserts—get set during casting so edges stay crisp and attachments remain reliable for years of kitchen life.
Seamless Joint Techniques
Let’s talk about making seams disappear: when I join concrete countertop sections, I aim for joints that’re both invisible and mechanically sound.
I use careful fit, adhesive, hidden dowels, microgrout and final sanding so the surface reads as one.
My approach feels practical and cozy, like finishing a well-loved piece of furniture.
- Precision fit
- Structural dowels
- Epoxy adhesive
- Microgrout fill
- Blend and sand
Waterproofing, Sealing & Stain Protection
I recommend starting waterproofing and sealing early in the build process so moisture never gets a chance to undermine your work or stain high-use surfaces.
I choose breathable sealers on countertops and floors, add discreet membrane layers where spills gather, and use penetrating treatments for longevity.
Clean spills promptly, refresh sealers periodically, and your concrete will age beautifully without blotches or dull spots.
Heat Resistance & Cooktop Integration for Concrete Surfaces
Having taken care of waterproofing and seal protection, I also plan for heat challenges so concrete stays beautiful around ranges and cooktops.
I use thermal breaks, protective pads, and proper clearance to prevent cracking and discoloration.
- Thermal insulation layers
- Heat-resistant sealers
- Metal trim or splash guards
- Floating countertop joints
- Cooktop manufacturer clearances
These steps keep the kitchen cozy and durable.
Lighting to Soften Concrete and Highlight Texture
Often I rely on layered lighting to take the edge off concrete and bring out its subtle textures; I position warm task lights over work areas, add soft ambient fixtures to lower contrast, and use angled accent lighting to reveal trowel marks and aggregate.
I favor dimmable LEDs, warm color temps, and simple fixtures that feel cozy, letting shadows and highlights define the surface without glare.
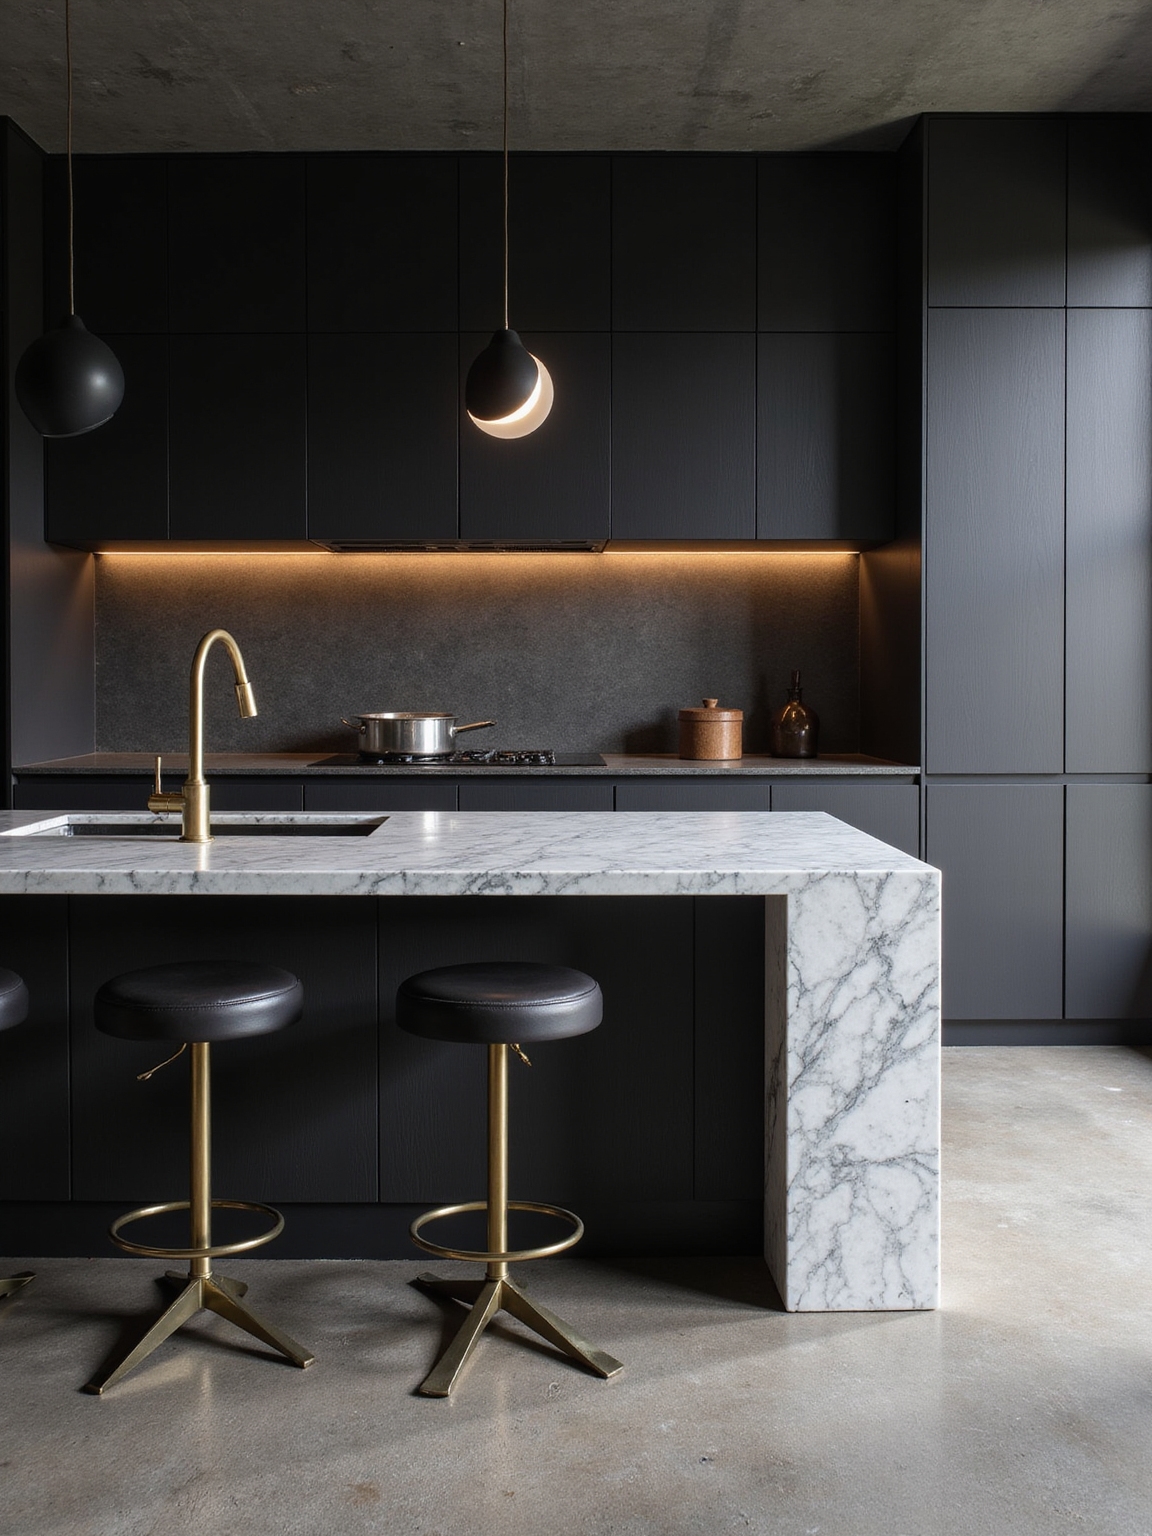
Cabinetry, Hardware & Trim Choices for Concrete Kitchens
While concrete sets the tone with its cool, tactile presence, my cabinetry, hardware and trim choices are what make the kitchen feel intentional and livable.
I favor warm wood tones, matte black pulls, and simple trim to soften raw edges. I choose durable finishes that age gracefully and mix textures for balance:
- Reclaimed oak cabinets
- Matte black hardware
- Slim profile trim
- Soft-close drawers
- Oil-rubbed finishes
Layout Tips: Work Triangles, Maintenance Zones, and Traffic Flow
Now that the cabinets and hardware bring warmth and personality to the space, I pay equal attention to how the kitchen works day to day.
I plan clear work triangles between sink, stove, and fridge, designate maintenance zones for cleaning and tool storage, and map traffic so people don’t cross cooking paths.
These small choices keep a raw concrete kitchen efficient and welcoming.
DIY vs. Contractor: When to Hire Concrete Specialists
I’ll be honest—concrete work can feel intimidating, but you don’t always need to call in a crew.
For major pours, structural slabs, or anything that affects drainage and appliances, I recommend hiring concrete specialists to make certain the job’s safe and lasting.
For small fixes like patching cracks or smoothing a countertop surface, I’m comfortable doing it myself with the right materials and a bit of patience.
When To Hire Pros
Deciding whether to tackle a concrete job yourself or call in a pro can feel overwhelming, but I’ll help you sort the key factors so you don’t bite off more than you can handle.
I recommend hiring pros when risk, permits, or complex finishes are involved:
- structural work
- plumbing or electrical integration
- large pours
- custom polished or stained finishes
- tight timelines or warranty needs
DIY For Small Tasks
Tackle small concrete tasks yourself when they’re straightforward, low-risk, and you’ve got the right tools—I’ll walk you through which jobs fit that bill and which don’t.
I’ll tackle patching hairline cracks, sealing countertops, sanding rough spots, and simple mold creation.
Hire pros for structural pours, complex forms, plumbing embeds, or any finish you can’t confidently flatten, seal, and protect.
Fixing Cracks, Stains, and Chips in Concrete Surfaces
Start by inspecting the concrete closely so you can see exactly where cracks, stains, and chips are hiding; I’ll walk you through straightforward fixes that don’t require a contractor.
I’ll show simple patching, stain lifting, and sealing tips so your kitchen feels cared for.
- Clean area
- Use epoxy or cement filler
- Sand smooth
- Apply stain remover
- Seal and buff
Cleaning Routines, Long‑Term Care, and Inspired Palettes for Concrete Kitchens
Regularly caring for concrete surfaces keeps them looking fresh and saves you work down the line, so I’ll share routines that fit both busy weeks and slow Sundays.
I wipe spills immediately, use pH‑neutral cleaners weekly, and reseal annually.
For long‑term care, gentle scrubbing and prompt repairs matter.
I pair cool greys with warm woods and muted greens for a cozy, modern palette.
So, are you ready to let raw concrete bring warmth and honest texture into your kitchen? I’ve walked you through the practical tradeoffs, cost choices, layout tips, and upkeep tricks so you can decide with confidence.
Whether you go poured, precast, or engineered, a thoughtful palette, good sealing, and sensible traffic planning will keep it feeling lived-in and loved.
Take your time, ask for help when needed, and enjoy the grounded, modern charm you create.