I’d tuck a slim cutting board upright, add a mason-jar herb or two, and hang a small wooden spoon rack to make a cozy, functional corner that doesn’t feel crowded. I’d measure the nook, pick one purpose—prep, display, or storage—and use narrow shelves, hooks, or a magnetic strip to go vertical.
Choose durable finishes and a statement tray to corral clutter. Keep it simple and rustic; keep going and I’ll share layout sizes, DIY hacks, and lighting tips.
Quick Corner Styling Wins You Can Do Today

I’ll show you a few quick corner styling wins you can do today that make your kitchen feel cozier without a big overhaul.
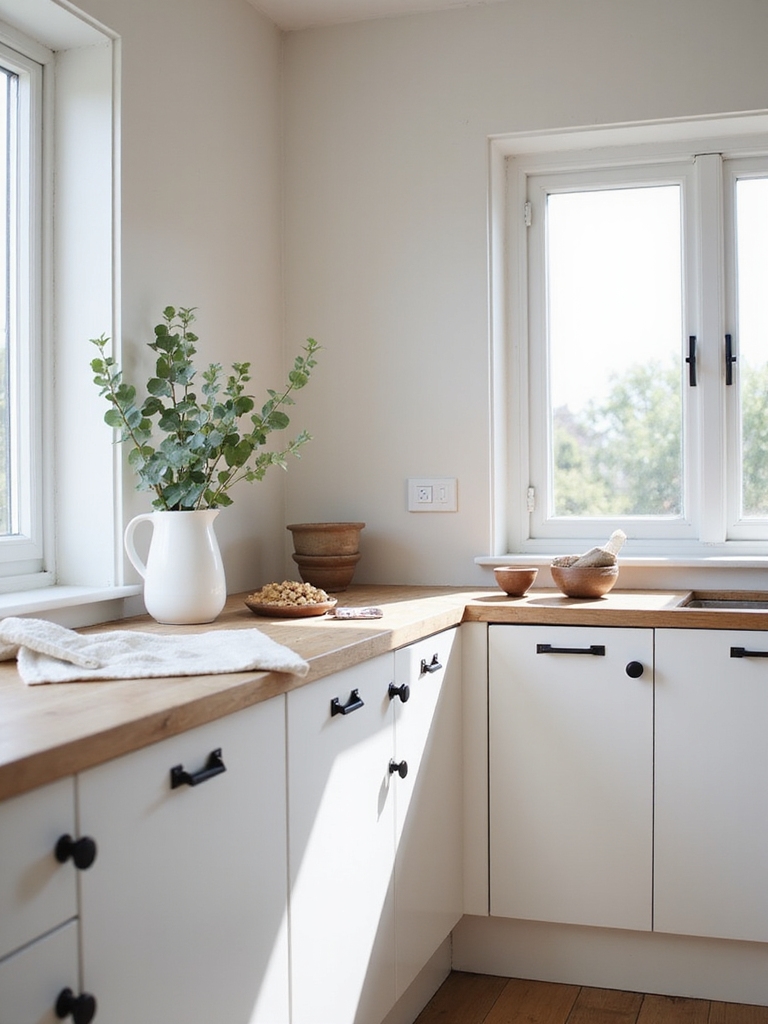
I tuck a small wooden cutting board upright, add a mason jar of fresh herbs, and lean a vintage spoon rack against the backsplash.
A woven coaster and a tiny oil cruet finish the vignette — simple, functional, and warmly lived-in.
Small, minimalist pieces can maximize visual space and keep counters uncluttered for a clean, airy look.
Measure Your Corner Footprint First

Before you start arranging anything, I measure the corner footprint so every piece I add actually fits and breathes. I jot depth, height to outlets, and nearby appliance clearances, then sketch a quick outline.
That little map stops overcrowding, helps me pick scale-appropriate items, and keeps the nook feeling open and cozy—like a well-loved farmhouse shelf, not a cluttered catchall.
I also rely on space-saving layout strategies architects swear by to make the most of tight corners.
Choose the Corner’s Job: Prep, Storage, or Display

With my corner sketched and measurements noted, I figure out what job that space should do: prep, storage, or display.
I lean toward a single purpose so the nook feels intentional. For prep, I keep clear counter space and a cutting board; for storage, a tidy jar cluster and baskets; for display, a few beloved ceramics and a small potted herb.
A simple habit like returning items to their designated spots keeps the corner orderly day after day.
Maximize Vertical Storage With Tiered Organizers

I like to stack things up in a corner with simple tiered shelves so every jar and bowl has its own spot without cluttering the counter.
I’ll also add a small rail above the tiers to hang utensils and mugs, which frees up even more space.
Let me show you how stackable shelving and hang-rail accessories can turn a neglected corner into useful storage.
You can further enhance the look with stylish shelf decor to keep the space functional and visually appealing.
Use Stackable Shelving
A few simple tiers can turn a cluttered corner into an organized little display, so I often reach for stackable shelving when I want to maximize counter space without sacrificing style.
I layer wood or metal shelves to corral jars, mugs, and a small plant, keeping things visible yet tidy.
It feels cozy, practical, and instantly more intentional in a tiny kitchen. For a chic compact look, I choose pieces that echo luxurious living while still saving space.
Hang Rail Accessories
If you liked how stackable shelving cleared counter clutter, try installing a simple hang rail above that corner to lift things up and out of the way.
I hang mugs, utensils, and baskets to free surface space and add charm.
Try rustic hooks and tiered baskets for easy reach:
- Mason jar utensil holder
- Cast iron skillet hook
- Woven produce basket
- Herb planter rack
Smart organizers can help you maximize narrow storage and make the most of tight kitchen corners.
Compact Corner Shelves: Sizing and Placement

When you’re working with a tight corner, I’ll tell you that small shelves can make a big impact—so think about depth, height and sightlines before you buy or build.
I measure clearances, choose 6–8 inch depths for usable surface, stagger heights for jars and mugs, and tuck brackets to keep a rustic, airy feel.
Placement near light keeps items inviting.
Designer kitchens often rely on shelf styling to create a polished, professional look.
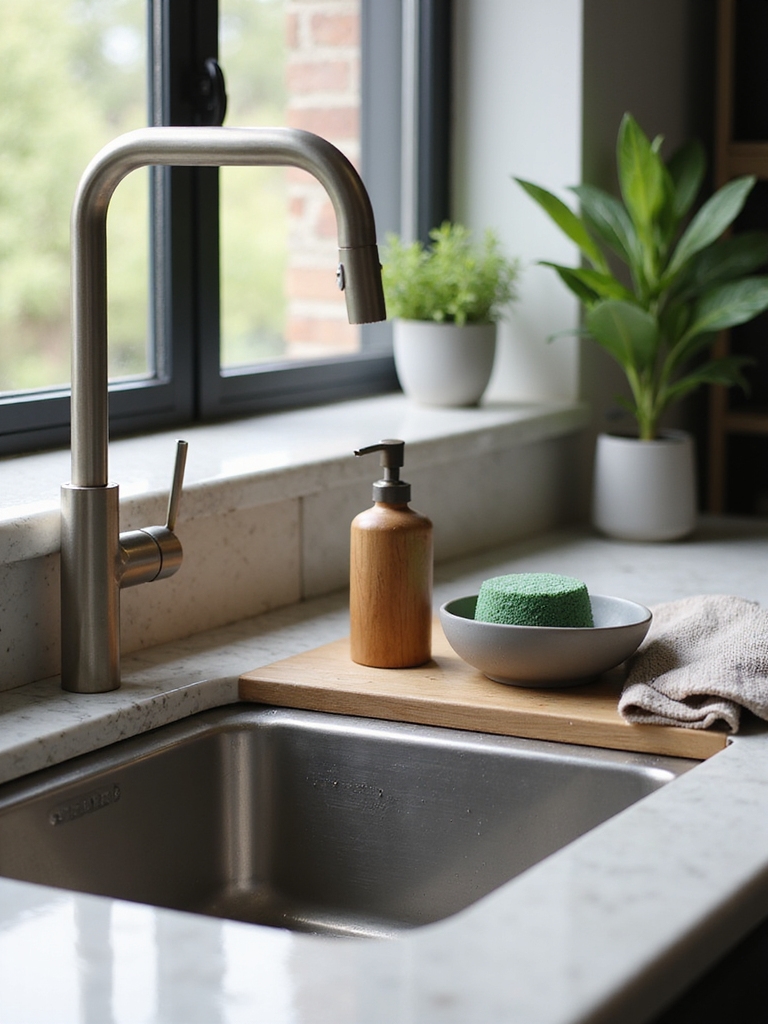
Create a Mini Herb Garden for Small Corners
You can keep the cozy vibe from those compact shelves by tucking a tiny herb garden into the corner — I like to think of it as both decoration and dinner prep.
I choose small pots, a shallow tray, and sunny placement.
Try these simple steps:
- pick resilient herbs (thyme, chives)
- use well‑draining soil
- rotate for even light
- water sparingly
Adding a few air-purifying plants can boost freshness and complement the herbs, especially when placed near cooking areas with good light and ventilation air-purifying plants.
Corral Clutter With a Statement Tray
I like to corral the everyday chaos of keys, mail, and odds‑and‑ends on a single statement tray so the corner looks intentional instead of cluttered.
I pick a wooden or hammered metal tray, add a small ceramic bowl for loose change, and tuck a folded linen napkin for receipts. It feels tidy, welcoming, and quietly rustic without fuss.
Slim Appliances to Save Counter Corner Space
I’ve learned that choosing appliances with a narrow profile frees up those tight counter corners without sacrificing function.
Look for vertical, storage-friendly designs that tuck in utensils or stack components so you use height instead of width.
I also like multipurpose slimline machines—think toaster-oven combos or slim blenders—that keep the rustic kitchen feeling uncluttered.
Narrow Profile To Maximize
A few slim appliances can make a big difference in a cozy kitchen corner, so I always lean toward narrow profiles when space gets tight.
I pick pieces that tuck neatly, keep lines simple, and feel homey without crowding the countertop.
- slim toaster
- compact blender
- narrow coffee maker
- slender utensil holder
Vertical Storage-Friendly Designs
When space gets tight and slim profiles only go so far, I turn upward—stacked, vertical-friendly appliances keep corners clear while still giving you the function you want.
I often choose compact coffee makers over wide brewers, slim toasters that dock vertically, and narrow mixers that nest on shelves.
It’s cozy, practical, and keeps the rustic kitchen feeling uncluttered and intentional.
Multipurpose Slimline Appliances
Think small but do more—I’ve learned to favor slimline appliances that pull double duty so my corner stays useful instead of crowded. I pick pieces that tuck in, look homey, and simplify chores.
- Slim toaster oven with bake and air-fry
- Narrow coffee maker plus grinder
- Vertical blender with compact base
- Slimline sous-vide controller
They save space and feel deliberate.
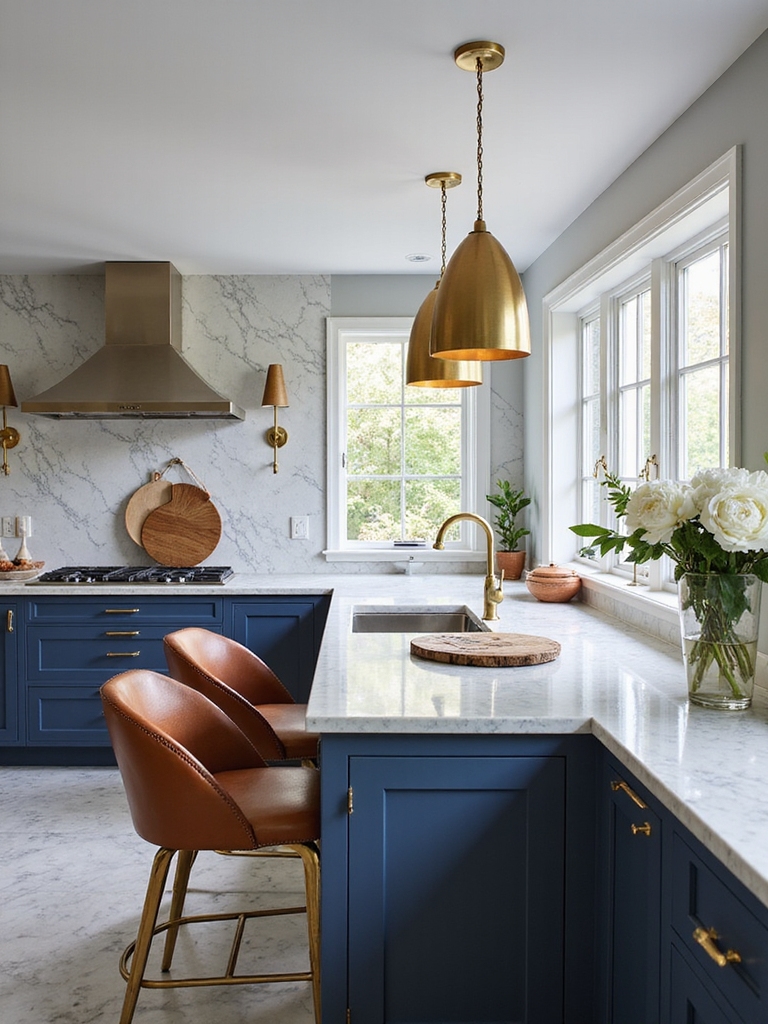
Lighting for Small Kitchen Corners (Task + Accent)
Because good lighting can make a tiny corner feel intentional instead of overlooked, I like to blend practical task lights with a touch of accent glow to highlight texture and pottery.
I mount a slim under-cab LED for chopping and a small adjustable wall sconce to wash a shelf.
The mix keeps the space useful yet cozy, inviting and handcrafted in feel.
Materials & Colors That Make Corners Feel Bigger
If I want a corner to read as spacious instead of cramped, I reach for light, reflective surfaces and a restrained palette that bounces light around the nook.
I favor natural textures with simple tones, keeping clutter minimal and cozy.
- pale quartz or butcher block
- matte white or soft sage paint
- warm metallic accents
- clear glass or open shelving
Hang Utensils With Hooks and Magnetic Strips
I like to hang spatulas and ladles on a row of sturdy hooks or a magnetic strip to make the most of vertical corner space.
Using durable materials like stainless steel or solid wood keeps things looking rustic and holding up to daily use.
Let me show you how a simple hook rail or magnet bar can free up counter real estate and stay beautiful for years.
Maximize Vertical Space
When I want to free up counter space and give my kitchen a lived-in, farmhouse feel, I hang utensils on hooks and magnetic strips; it keeps tools within reach and turns everyday items into charming decor.
I love how vertical storage adds warmth and order:
- Spoons and ladles on copper hooks
- Knives on a wooden magnetic strip
- Measuring cups hung neatly
- Small pans stacked vertically
Choose Durable Materials
Because these hooks and magnetic strips live where steam, spills, and heavy use are constant, I pick materials that can take the heat and keep looking good: solid brass or stainless-steel hooks, a hardwood-backed magnetic strip, and weathered copper for a bit of rustic patina.
I mount them securely, oil moving parts, and choose finishes that age gracefully so function and charm last.
Hide Mess With an Appliance Garage Solution
Tuck away the clutter with an appliance garage and you’ll instantly calm your countertop’s look—I’ve found they’re a simple, rustic trick that keeps mixers, toasters, and coffee makers handy but out of sight.
I love the tidy warmth it brings. Consider:
- Roll-up door for easy access
- Wood finish to match cabinets
- Built-in outlets inside
- Low-profile footprint for small corners
Budget Hacks: Thrifted Finds & DIY Builds
After hiding gadgets in an appliance garage, I still love hunting for small touches that give a corner personality without blowing the budget.
I thrift weathered cutting boards, mason jars, and a chipped vase, then patch and stain them.
I DIY a simple floating shelf from reclaimed wood, stack vintage bowls, and swap seasonal herbs—charming, cheap, and perfectly imperfect for small spaces.
Care and Maintenance to Keep Corners Functional
I keep a simple routine cleaning schedule for my counter corners so crumbs and spills don’t turn into stubborn stains.
I also give them quick preventive wear checks—tightening loose hardware and watching for chips—so small issues don’t become big repairs.
Stick with these little habits and your corners will stay both practical and pretty.
Routine Cleaning Schedule
Usually I wipe down corner surfaces twice a week, and that simple habit keeps crumbs, grease, and sticky spills from turning into big problems.
I follow a small, steady routine that respects time and the rustic feel of my kitchen:
- Quick wipe with mild soap and warm water
- Dry thoroughly to prevent marks
- Clean under decor weekly
- Refresh cloths after heavy use
Preventive Wear Checks
When corners start to see daily use, I check them regularly so small wear doesn’t turn into a bigger repair — a quick look every month catches loose grout, soft caulk, or scuffed trim before they worsen.
I tap corners, wipe edges, and note wobble or gaps.
Fixing tiny issues with wood glue, fresh caulk, or sanded touch-ups keeps my cozy kitchen corners working and charming.
Adapting Corner Ideas for Different Kitchen Layouts
Although every kitchen has its own flow, I’ll show you how to translate corner decor across layouts so your space feels intentional and lived-in.
I lean into scale, function, and texture to suit your layout, making corners useful and charming:
- Use tiered trays for tight galley corners.
- Add a small plant to island ends.
- Hang hooks in L-shaped nooks.
- Place a rustic fruit bowl in open-plan spaces.
I love how small corner changes can feel like big wins—especially since studies show the average kitchen uses just 60% of its available storage, so those corners matter.
Measure, pick a purpose, and prioritize vertical solutions or a cozy display spot. Thrifted shelves or a simple appliance garage keeps things tidy without fuss.
Keep it rustic, keep it practical, and you’ll enjoy a kitchen that’s both charming and truly usable every day.