I’ve found 16 affordable kitchen backsplash ideas that keep stylish vibes without blowing your budget. Start with budget basics, then consider peel-and-stick patterns for quick updates or paint-tinted backsplashes where color shines as the hero. I’ll compare cost-saving tile alternatives and smart install tricks for subway tile, plus practical sizing tips to minimize waste. You’ll also get savvy shopping and staged planning tips for real-life results. If you keep exploring, you’ll uncover even more budget-friendly upgrades.
How to Define an Affordable Backsplash (Budget Basics)
Defining an affordable backsplash starts with honest budgeting and smart material choices.
I’ll guide you with clear steps, so you can stretch every dollar without sacrificing style.
We’ll set a realistic cap, compare durable options, and prioritize timeless looks.
You’ll weigh installation costs, durability, and maintenance, then choose textures and colors that feel elevated yet practical.
Incorporating cheap backsplash ideas can also help you achieve a high-end look without overspending.
Ready to plan confidently together?
Peel-and-Stick Patterns for Quick Updates

Peel-and-stick patterns are a fast, cost-conscious way to refresh your kitchen backsplash without a full remodel. I love how easy it’s to customize textures and tones, then swap them out whenever you crave a new vibe. Additionally, these options are perfect for DIY enthusiasts looking for easy installation methods that can transform their space in no time.
Here are quick picks:
- Quick-install tiles that mimic natural stone
- Peel-and-stick metal finishes for a modern edge
- Patterned vinyl sheets with subtle grout lines
Paint-Tinted Backsplashes: Color as the Hero

Sure! Here’s the revised content:
—
Paint-tinted backsplashes put color front and center, turning the wall behind your stove into a confident design statement.
I love how a single shade can reshape the room’s mood, pairing beautifully with countertop tones and cabinets.
I’ll guide you toward choosing finishes that resist fingerprints, feel cohesive, and stay budget-friendly, while keeping the look warm, curated, and invigoratingly simple. Additionally, consider painted kitchen backsplash ideas that not only brighten the space but also enhance its overall aesthetic.
—
Let me know if you need any more adjustments!
Cost-Saving Tile Alternatives You Can Actually Use

Let’s stretch your budget without sacrificing style by leaning on practical, cost-saving tile alternatives you can actually use.
I share simple, reliable picks that look polished, not compensating on quality. You’ll love how these options fit real kitchens without drama or waste.
- Peel-and-stick faux stone or ceramic tiles for quick updates
- Porcelain or ceramic sheets with retry-friendly patterns
- Tesellated vinyl or tempered glass panels for easy wipe-downs
Additionally, consider durable outdoor kitchen backsplashes that can withstand various weather conditions, making them a perfect choice for both indoor and outdoor settings.
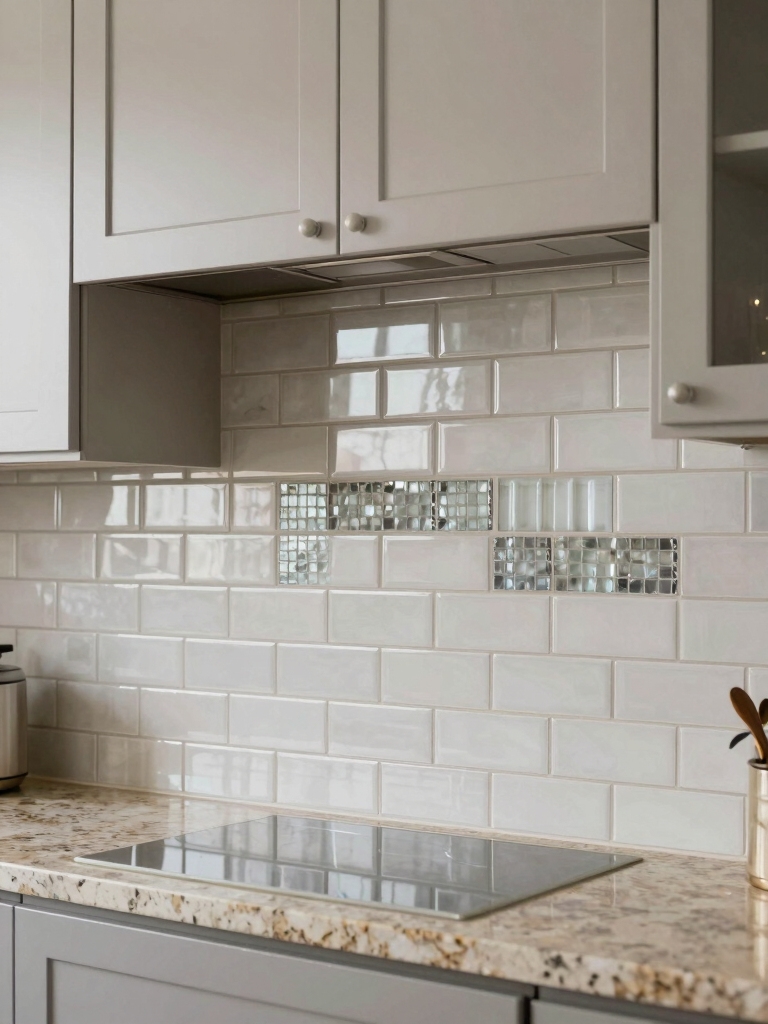
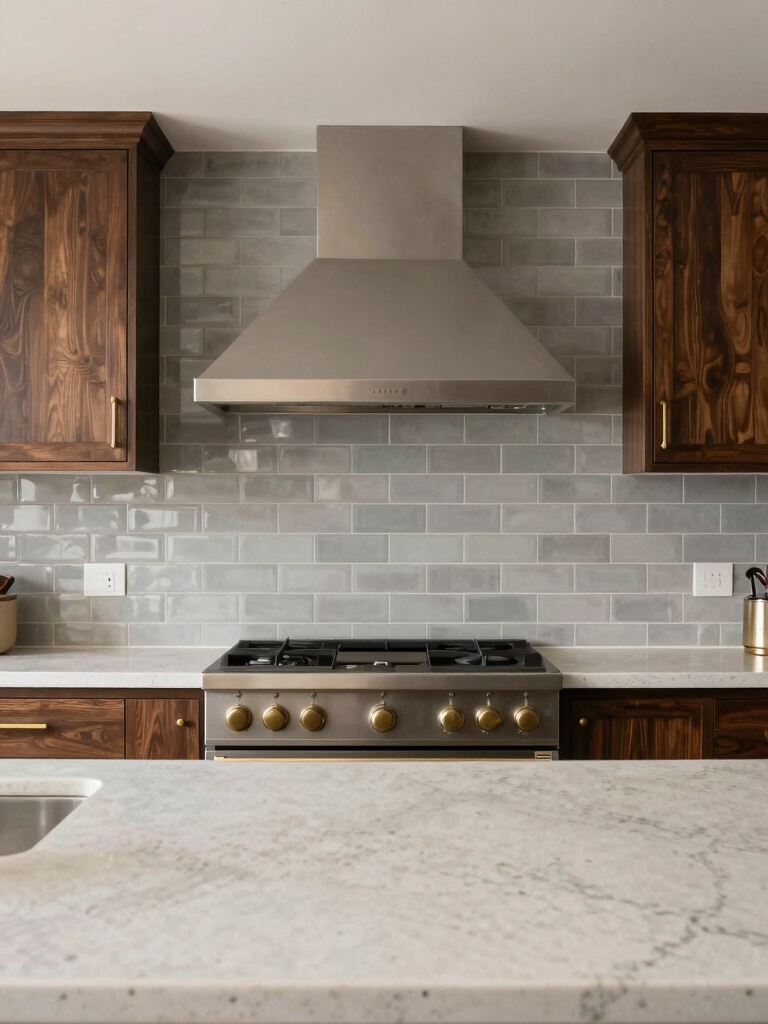
Subway Tile on a Budget: Simple, Smart Install Tricks

I’m sharing smart install tricks and budget-friendly layouts that make subway tile feel high-end without breaking the bank.
We’ll explore simple, precise spacing, grout choices, and layout tweaks that maximize impact on a budget. One great option is to consider stylish subway tile layouts, which can enhance the overall look of your kitchen without additional costs.
Ready to get practical tips that keep your backsplash stylish and affordable?
Smart Install Tricks
You don’t need a fancy setup to get a subway-tile look on a budget.
I’ve found smart install tricks that save time and money, without sacrificing style or grout chaos.
- Use a level and spacers for precise lines
- Dry-fit sheets before committing to full tiles
- Opt for thin, lightweight ceramic for easy cuts
Additionally, incorporating a timeless subway tile design can elevate your space while remaining cost-effective.
Budget-Friendly Layouts
Budget-friendly layouts keep the subway-tile vibe fresh without gobbling up time or cash.
I swap long, intricate patterns for clean, simple runs that feel deliberate. I mix sizes, grouts, and offsets to add interest without complexity.
I plan around existing plumbing and outlets, choosing standard cuts and DIY-friendly spacing. You get a polished look with smart, accessible choices. Additionally, using simple installation techniques can further enhance the efficiency of your backsplash project.
DIY Repurposing: From Scrap Surfaces to Style
From scrap yards to statement walls, DIY repurposing turns leftover surfaces into stylish backsplash magic. I guide you to see potential in peeling paint, glass prisms, and tile fragments, then mix them with simple grouting and careful placement.
- Upcycle glass fragments for a mosaic glare
- Reuse old metal or wood trims as edge details
- Layer vintage tiles with modern separator lines
Consider incorporating rustic elements for a warm and inviting atmosphere in your kitchen.
Budget-Friendly Materials That Pay Off
When you’re sprucing up a kitchen, smart, budget-friendly materials can deliver big impact without breaking the bank.
I’ve found durable options that look elevated yet trim costs, like porcelain panels, tempered glass, and durable vinyl tiles. These choices resist stains, wipe clean easily, and hide imperfections.
With careful pairing and color, you get a polished, durable backsplash that respects your budget. Consider exploring quick and stylish backsplash ideas to inspire your design choices.
Quick-Install Grout Patterns for the Weekend
One great way to speed up a weekend tile refresh is to pick grout patterns that look intentional but go in quickly.
I favor simple options that hide seams and mistakes, so you finish confidently.
Try these fast patterns:
- Running bond with staggered joints
- Grid with even grout lines
- Herringbone on small sections for texture
Additionally, choosing stylish backsplash ideas can elevate the overall aesthetic of your kitchen while keeping your project budget-friendly.
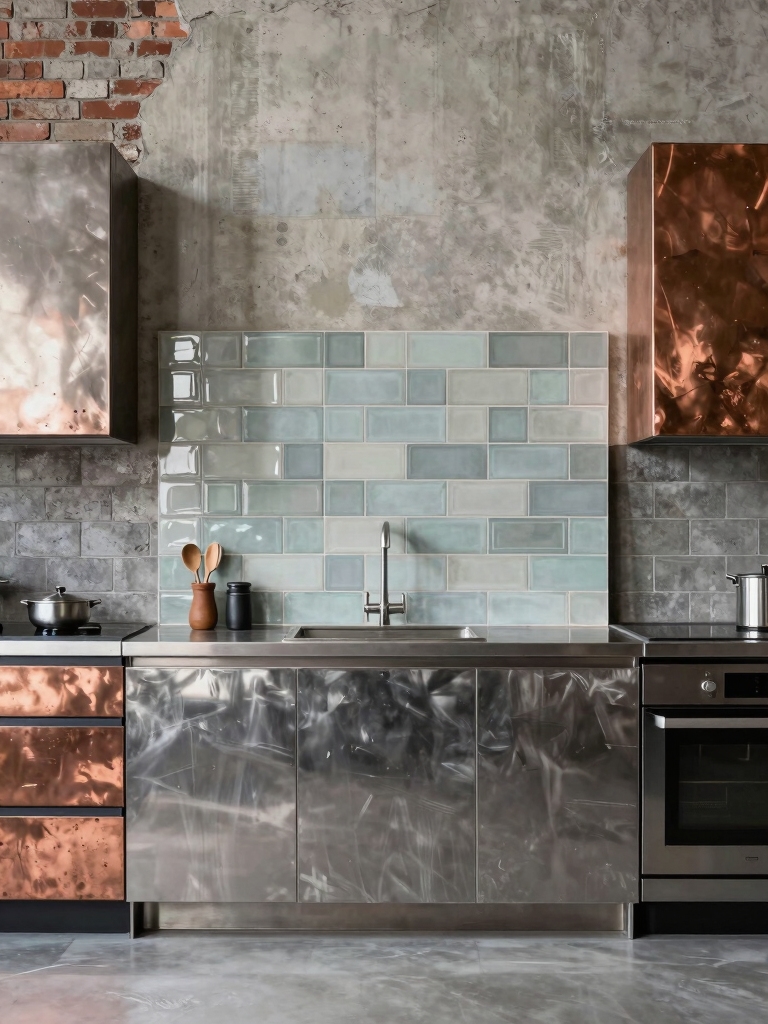
Pair Colors to Maximize Small Kitchens
When I pair colors in a small kitchen, I focus on contrast to make the space feel more dynamic without crowding it.
Lighter reflective tones bounce light and help spaces grow, while complementary hues pull details together for a cohesive look.
Let’s explore how subtle contrasts and thoughtful brightness can transform your backsplashes into a brighter, more open kitchen.
Contrast for Small Kitchens
Color contrast in a small kitchen isn’t about dramatic shocks; it’s about smart pairings that brighten without crowding.
I guide you through clean contrasts that feel spacious, not busy, and budget-friendly.
- Pair soft whites with warm taupe accents for depth without heaviness
- Use a medium-gray backsplash against light cabinets to enhance openness
- Introduce a single bold color as an accent to avoid overload
Light Reflects, Space Grows
Light bounces off glossy whites and pale neutrals, making a compact kitchen feel airier.
I pair light backsplashes with reflective surfaces to extend the feel of depth, using subtle contrasts that don’t overwhelm.
You’ll notice brighter mornings and calmer evenings, thanks to careful color choices.
I guide you toward clean lines, strategic sheen, and a space that reads larger, inviting, and easy to maintain.
Complementary Tones Play
Pairing complementary tones can transform a small kitchen from cramped to cohesive.
I guide you to pick colors that echo cabinets and countertops, then add accents that pop without stealing space. You’ll feel calmer, more intentional, and organized.
- Use a main neutral with a bold complementary accent
- Mirror countertop hues in small hardware or tiles
- Test swatches in natural light before committing
Texture Play Without a Big Price Tag
Texture can punch up a backsplash without draining your budget, and I’ve found a few easy tricks that deliver big impact.
I favor tactile surfaces like subway tiles with subtle raised patterns, pebble-like textures, or stacked textures painted in a cohesive tone.
Mix matte and gloss sparingly, and let grout color ground the look.
Simple, inexpensive, and stylish—trust your instincts.
Lighting Ideas That Make Your Backsplash Pop
We’ve seen how texture can add interest without a steep price, and now we can lift that same impact with smart lighting.
I’ll guide you toward small changes that brighten the backsplash, highlight pattern, and feel welcoming.
Let’s keep it simple, affordable, and elevating.
- Use under-cabinet LED strips for even glow
- Choose warm white bulbs to soften edges
- Install dimmers for flexible mood lighting
Maintenance-Friendly Choices for Longevity
Maintenance-friendly choices actually pay off in fewer touch-ups and more time enjoying your kitchen.
I select materials and finishes that wipe clean easily and resist staining, so you won’t chase marks after every spill.
I keep grouts streamlined, rely on durable seals, and prefer non-porous surfaces.
The result: longevity, less maintenance, and a calmer, inviting cooking space you’ll treasure daily.
Measure Twice, Buy Once: How to Size Backsplash Precisely
Measure twice, buy once: sizing a backsplash precisely starts with a careful plan.
I’ll map wall dimensions, account for outlets, and sketch tile layout before buying. Precision saves both waste and stress, so I err on exact measurements, not estimates. Ready to simplify?
- Measure width, height, and any heat-vent or outlet offsets
- Use full-till layouts to minimize cuts
- Buy a little extra for waste and future tweaks
Where to Shop Smart for Backsplash Deals
I’ll walk you through smart shopping for backsplash deals so you save without sacrificing style.
From budget-friendly retailers to clearance racks, I look for quality, selection, and reliable prices that fit your space.
Let’s explore practical, curated options that keep your kitchen polished and affordable.
Shop Smart, Save More
One smart way to stretch your backsplash budget is to shop with a plan: compare prices, look for sales, and mix and match materials that complement your style without overspending.
I’ll guide you to savvy sources and smart picks that feel curated, not rushed.
- Build a mood board and price everything before buying
- Check clearance aisles and outlet stores for durable options
- Consider peel-and-stick without sacrificing style
Budget Backsplash Finds
Here’s where to score smart on backsplash finds: I’ll keep it practical, pinpointing budget-friendly sources, sales cycles, and mix-and-match options that still feel curated.
I shop clearance aisles, outlet stores, and online marketplaces for remnant tiles, DIY-friendly sheets, and affordable classics.
I compare unit prices, watch for bulk bundles, and pair high-end looks with budget basics for cohesive, stylish results.
Planning Your Install in Stages to Save
Planning your backsplash in stages can save you money and stress, and it lets you see how each section looks before you commit to the whole design.
I’ll guide you step by step so you feel confident, not overwhelmed, as you pace the project and keep options affordable while maintaining style.
- Prioritize high-impact areas first
- Measure twice, order once
- Batch cuts and grout for savings
Budget Backsplash Before-and-After: Real-Life Wins
Seeing real-world results is the best motivation to keep a backsplash project moving, so I’m sharing budget-friendly before-and-after wins that prove you don’t need top-dollar materials to make a big impact.
I swapped in affordable ceramic sheets and beadboard accents, then added peel-and-stick tiles for a vignette-worthy contrast. The effect feels polished, personal, and totally doable on any budget.
Conclusion
If you’re dreaming of a fresh kitchen without breaking the bank, you’ve got this. Start small, test ideas, and build confidence one smart choice at a time. I’ve seen how a peeled-and-studied update or a splash of color can feel like a door opening to a brighter space. Think of budget updates as seeds: with patience and smart planning, they grow into a room that’s truly you—bright, practical, and beautifully yours.