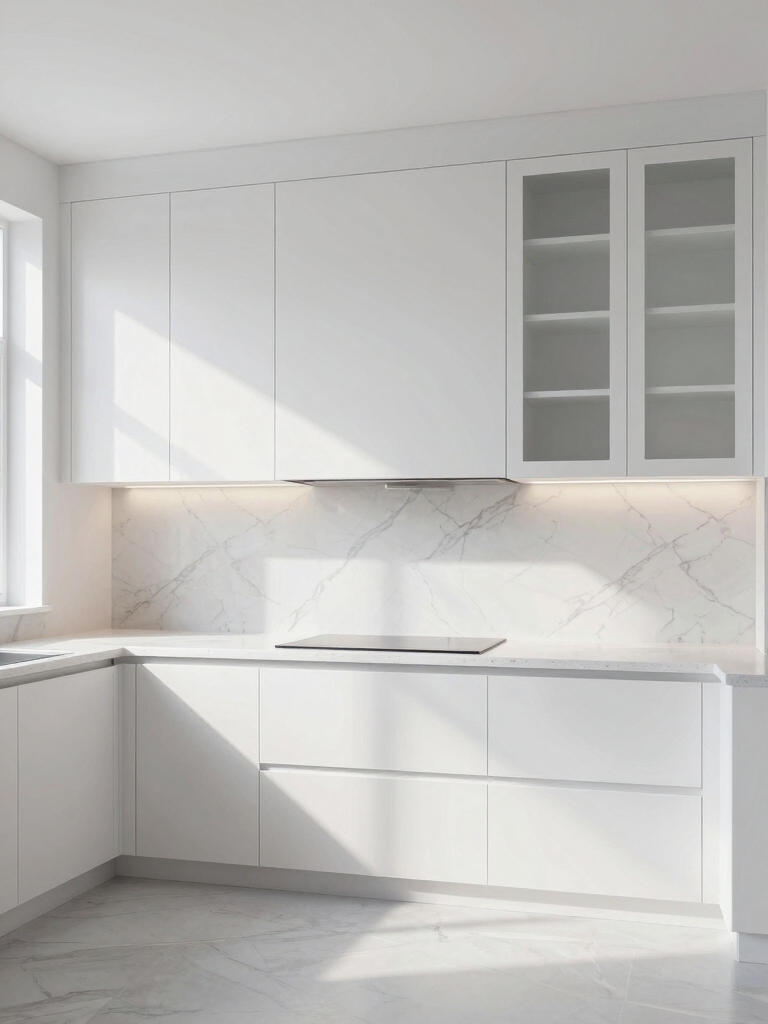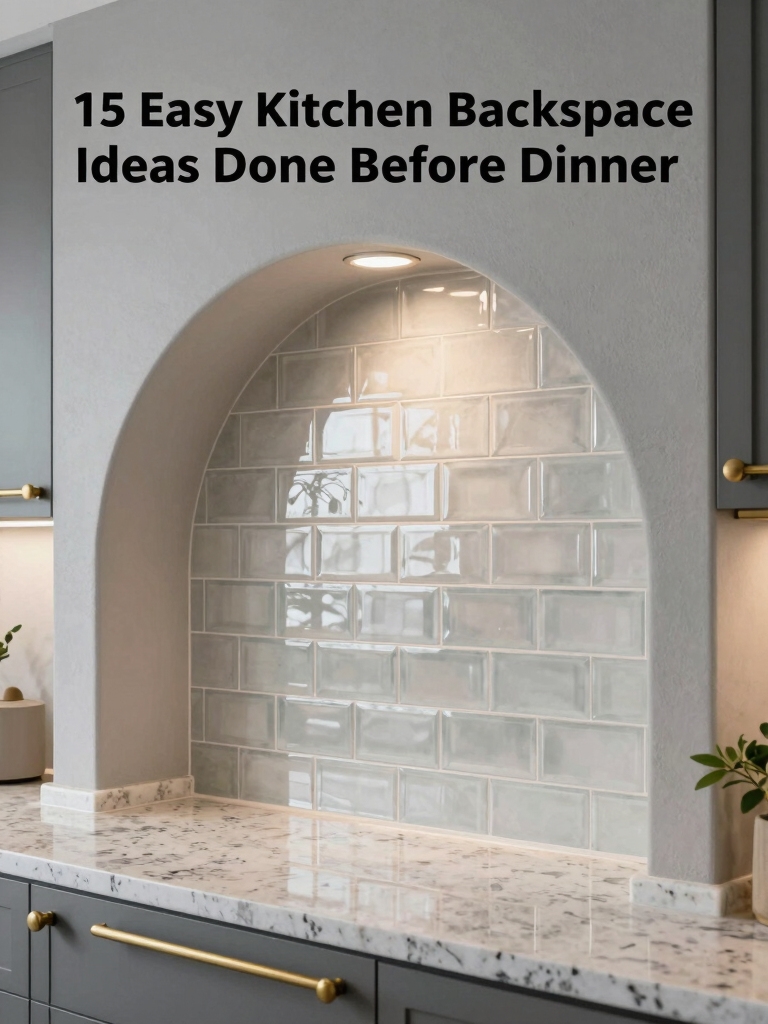
I’ve got you covered with 15 easy kitchen backsplash ideas you can tackle before dinner. Think quick, budget-friendly options like peel-and-stick panels, faux tile with contact paper, and bold painted backsplashes. I’ll show simple tile layouts for beginners, plus handy upgrades like magnetic strips and chalkboard strips for instant practicality. You’ll also learn a fast three-step workflow: prep, install, and finish. If you keep going, you’ll pick up tips to streamline the whole process and get dinner-ready faster.
How to Pick a Quick Backsplash: Budget, Time, and Skill
If you’re aiming for a quick, budget-friendly backsplash, start by three simple questions: What’s my budget, how much time can I spare, and what’s my skill level?
I’ll guide you to fast, practical choices, balancing cost, install speed, and DIY confidence. Transform your kitchen with easy peel and stick backsplashes that can elevate your space in no time.
Pick a plan that fits, then move confidently, knowing you’ll achieve a polished result without unnecessary complexity.
You’ve got this.
Peel-and-Stick Panels: Fast, Affordable Wall Makeovers
Peel-and-stick panels offer a fast, affordable way to refresh your kitchen walls without the mess of grout or mortar.
I love how they simplify updates, yet feel durable and polished. You can measure, cut, and apply with minimal tools, then step back to admire a seamless finish.
If you crave flexibility, they’re a practical, stylish choice. Easy, tidy, effective. Plus, they come in various designs, making them a popular choice for chic wallpaper backsplash ideas.
Peel-and-Stick Tile Patterns: Grid, Herringbone, and Mixed Looks
Grid, herringbone, and mixed looks all work with peel-and-stick tile patterns, letting you tailor your kitchen’s vibe without a remodel.
I mix grids for crisp lines, stack for clean symmetry, and tilt into herringbone for movement. Using elegant herringbone patterns can elevate your kitchen’s aesthetic while remaining budget-friendly.
You’ll keep grout-free upkeep, swap patterns anytime, and enjoy a cohesive, polished backsplash that feels custom without the stress or expense.
Painted Backsplash: Color Pop Without Demolition
A painted backsplash can be a bold, budget-friendly way to inject color and personality into your kitchen without tearing out tile or fixtures.
I choose a washable, matte finish and a compact palette that coordinates with cabinets.
I prep, tape edges precisely, and seal edges for durability.
You’ll enjoy instant impact with minimal mess and downtime.
Color, confidence, doorstep ready. Plus, a painted backsplash offers vibrant design options that can completely transform the aesthetic of your space.
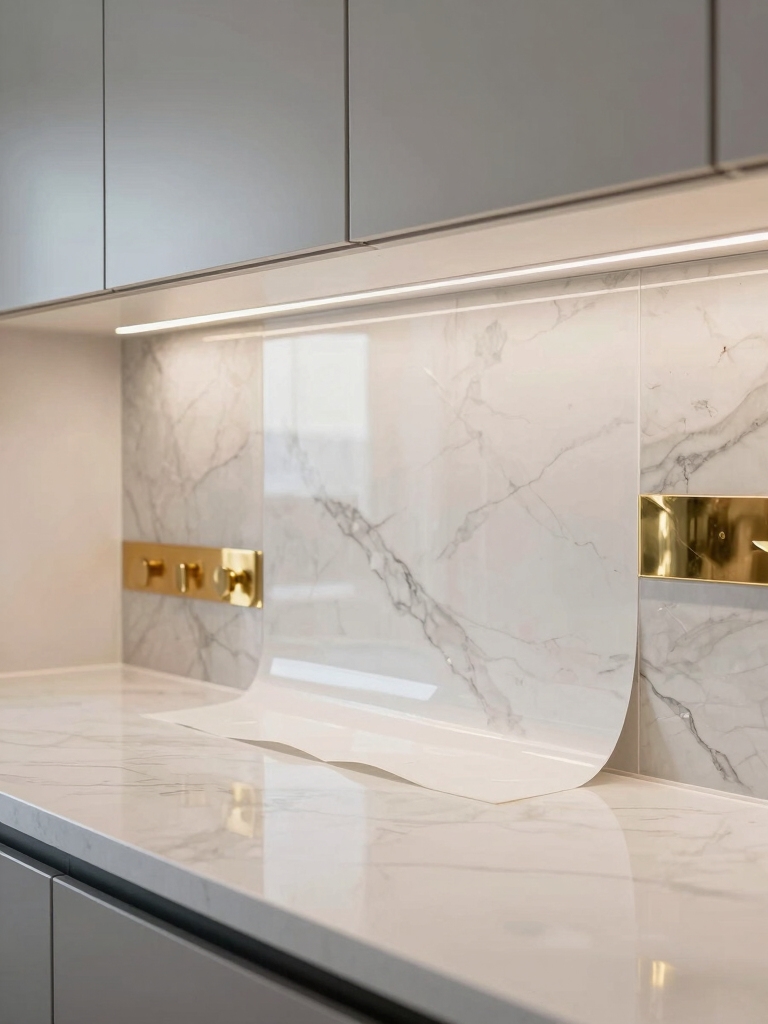
Faux Tile With Contact Paper: Easy Visual Trickery
If you’re curious about Faux Tile Trickery, I’m breaking down how simple contact paper can mimic real tile without the mess.
I’ll show you how to use this technique for a convincing Visual Kitchen Illusion in your space, focusing on texture, pattern, and alignment.
Let’s explore practical tips for choosing the right print and applying it cleanly so your backsplash feels polished, not gimmicky. Using easy backsplash ideas, you can transform your kitchen in no time.
Faux Tile Trickery
Faux tile tricks can give your kitchen a fresh look without the commitment—and without breaking the bank.
I’m showing you a simple, polished approach, focusing on texture and color rather than matchy patterns. I treat this as a visual upgrade, not a renovation, so you’ll feel accomplished quickly.
You’ll see impact, minimal effort, and lasting appeal. Simple, effective, repeatable. Additionally, using stylish kitchen tile designs can enhance the overall aesthetic of your space.
Contact Paper Use
You can get the look of tile without the commitment by using contact paper as faux tile. I love how simple it is: peel, press, and voila—instant texture.
Choose a grout-like pattern and a glossy or matte finish to match your space. Clean edges, straight cuts, and steady hands keep the illusion clean and convincing. This method is one of the cheap kitchen backsplash ideas that can transform your space without breaking the bank.
Easy, affordable, non-permanent update.
Visual Kitchen Illusion
I love how quick and clever faux tile can be, especially when you want a kitchen that looks polished without a long renovation.
I’m sharing a visual trick: contact paper laid in a staggered grid reads as tile, but it’s soft-edged, forgiving, and easy to replace.
Pair with grout-colored edges for depth, and the illusion feels real without the heft. Simple yet effective. This approach aligns with the concept of embracing simplicity in kitchen design, proving that less really is more.
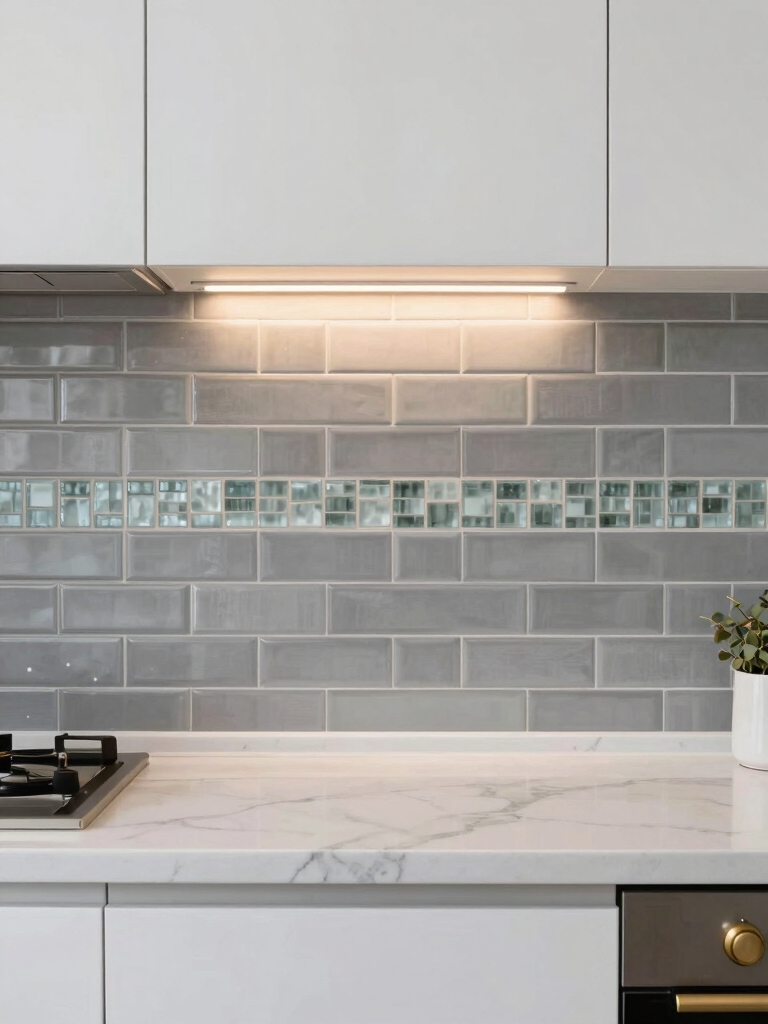
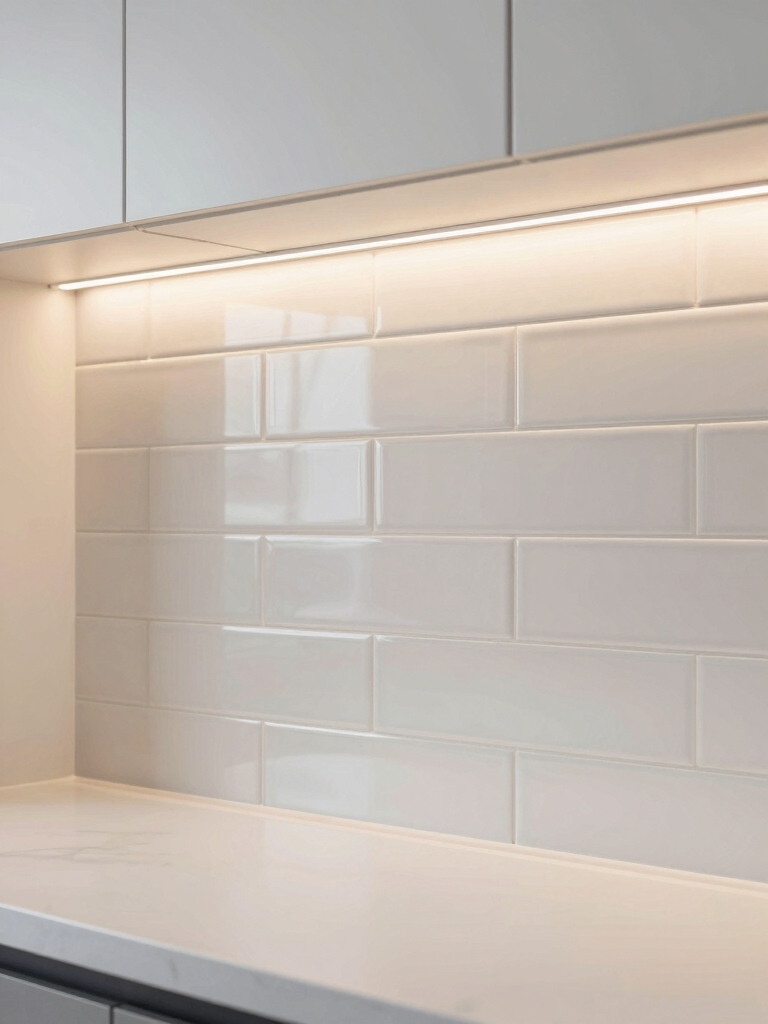
Subway Tile Decals: Classic They Look, Modern Feel
Subway tile decals bring that timeless subway vibe to your backsplash with instant polish.
I’ve used them before dinner, and they wrap a kitchen in clean lines without the commitment of real tile. They’re simple, affordable, and forgiving—peel, stick, trim.
You’ll get modern texture with classic charm, plus effortless updates when mood shifts or trends change. Plus, they mimic the look of stylish subway tile while being easy to install and remove, ensuring your kitchen stays fresh without a major renovation.
Magnetic or Chalkboard Strips: Functional Accent in Minutes
I’m loving how magnetic layouts and chalkboard nooks can transform a backsplash into a practical focal point.
I’ll show you quick hacks to keep nightly notes, grocery lists, and recipe ideas within easy reach.
Let’s explore simple ideas to add function and personality in minutes.
Magnetic Layout Hacks
Magnetic layout hacks let you swap in function without redoing your backsplash, using either magnetic strips or chalkboard strips for a quick, tactile upgrade.
ILove how simple changes feel, and I’ll show you practical tweaks that stay tidy, stylish, and true to workdays.
- Quick swaps that spark delight
- Visual anchors for menus and notes
- Seamless organization you can trust
- Reusable, mess-free updates
Incorporating DIY backsplash ideas can also enhance your kitchen’s aesthetic while being functional.
Chalkboard Nook Ideas
Chalkboard nooks offer a quick, charming upgrade you can implement in minutes, whether you choose magnetic strips or a classic chalkboard surface.
I’ve designed mine to crumble less navigation and more notes, reminders, and playful menus. With a simple frame, damp-wipe surface, and magnetic accents, it stays organized, inviting, and stylish—no fluff, just functional, friendly flair for your kitchen.
Reclaimed or Faux Wood Panels: Warmth Without a Full Remodel
Reclaimed or faux wood panels bring a welcoming warmth to a kitchen backsplash without the upheaval of a full remodel.
I love how the grain reads softly, inviting conversation and coziness, without commitment.
- Visual warmth with minimal effort
- Easy maintenance, wipe clean
- Budget-friendly upgrade
- Timeless texture that ages gracefully
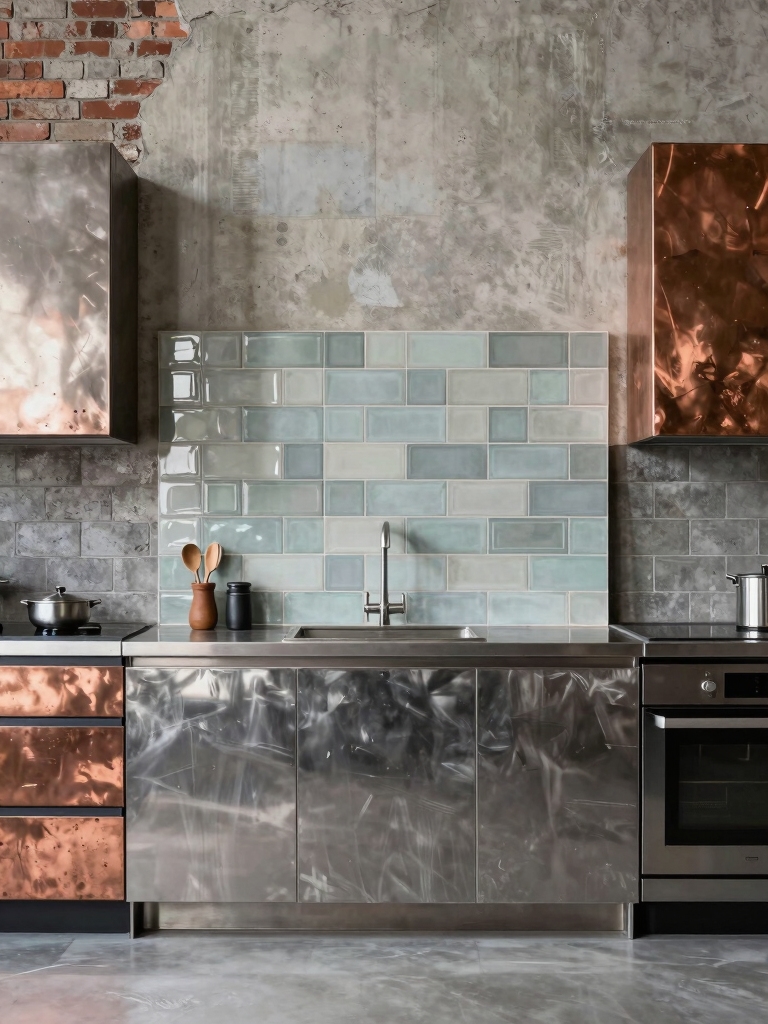
Metal Sheets and Stainless Steel: Industrial Shine on a Budget
Metal sheets and stainless steel bring an industrial shine that doesn’t break the bank.
I love how they brighten a space without being fussy, reflecting light to open up small kitchens.
Stainless panels resist stains and wipes clean with ease, making weeknight meals feel less chaotic.
Pair with simple grout and a slim trim for a finished, affordable look.
Simple, practical, stylish.
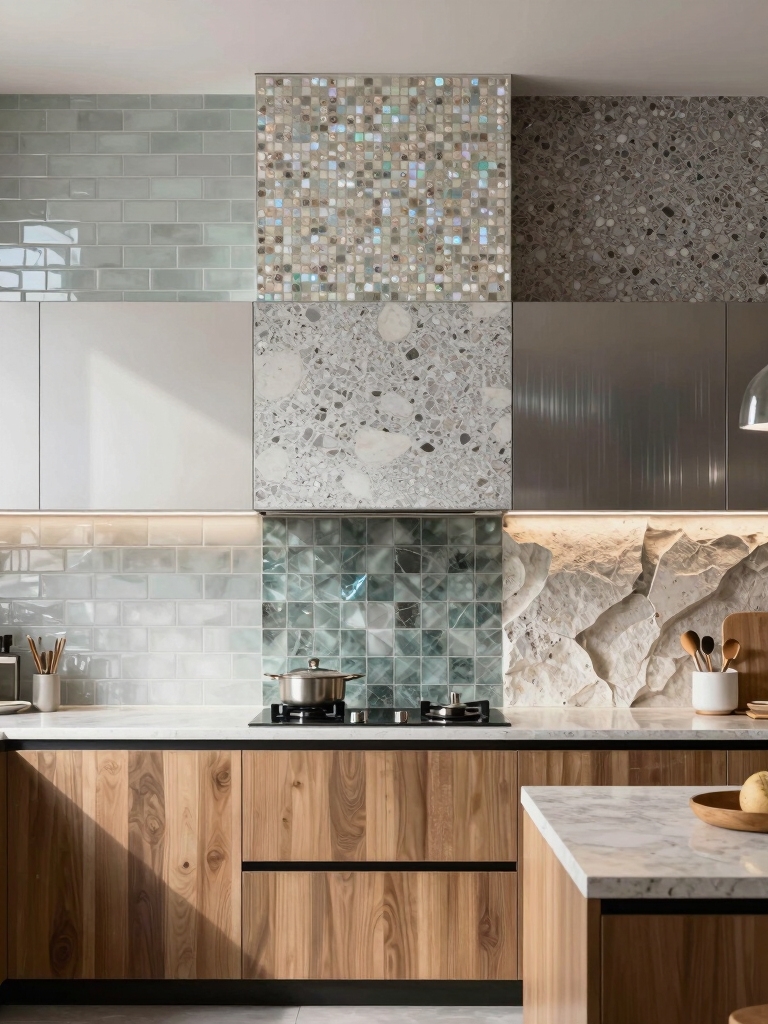
Ceramic Mosaic Sheets: Simple Install, Big Style
Ceramic mosaic sheets are a breeze to install, and they instantly elevate a kitchen with their small, polished tiles.
I guide you: simple cuts, quick grout, clean lines, and enduring shine. Your space feels brighter, more welcoming, and polished.
- Quick setup, instant impact
- Versatile layouts, bold personality
- Easy maintenance, lasting durability
- Budget-friendly, high-end feel
Glass Panels: Light-Reflecting Backdrops on a Budget
Glass panels instantly brighten a kitchen and feel lightweight on the budget, reflecting light to make small spaces look bigger.
I share a simple approach: choose clear or tinted panels, guarantee proper sealing, and maintain minimal grout lines for a seamless feel.
You’ll enjoy easy cleaning, modern gleam, and a reflective backdrop that complements existing textures without shouting.
Simple, affordable elegance.
Simple DIY Tile Layouts for Beginners: Diagonal, Brick, Staggered
Diagonal, brick, and staggered tile layouts are beginner-friendly ways to level up your backsplash without overthinking your space.
I guide you gently, choosing simple patterns that feel intentional yet effortless.
- I feel confident starting small
- I watch grooves align with natural lines
- I embrace even spacing and clean edges
- I finish with a polished, cohesive look
Plan Smart: Budgeting Materials and Tools for a Dinner-Ready Timeline
Plan smart from the start by tallying what you’ll actually need, then pricing it out so your dinner-ready timeline stays on track.
I walk you through budgeting essentials—precision over guesswork, core tools, and durable materials—so surprises don’t derail plans.
I prioritize clear lists, smart substitutions, and fair sums, keeping your project steady, practical, and confidently within reach.
You’ll finish prepared, not overwhelmed.
The 3-Step Quick-Backsplash Workflow: Prep, Install, Finish
I’ll walk you through the quick-backslash workflow I rely on: Prep fast, then install, finish with clean-up, and we’re done.
I’ll share practical tips for getting materials ready, setting a solid layout, and making those cuts clean and precise.
Let’s keep things tight, efficient, and finished with a spotless, ready-to-enjoy backsplash.
Prep Fast, Then Install
Start with a quick 3-step prep to set your backsplash up for success: measure and mark the area, clean and dry the surface, and gather the right materials.
I guide you through fast action, keeping momentum, so install feels seamless and confident, not rushed.
- Spot-check measurements to avoid surprises
- Wipe surfaces until they’re spotless and dry
- Lay out tiles and spacers for smooth flow
- Gather adhesive, grout, and tools within arm’s reach
Finish With Clean Up
After you’ve installed, it’s time to finish strong with the clean-up that locks in a polished result: wipe down, inspect, and tidy up the workspace so your backsplash looks flawless and your area stays safe.
I’ll wipe grout haze, check edges, and store tools neatly.
Quick, careful cleanup preserves your work and keeps the kitchen ready for dinner tonight.
Troubleshooting Quick-Backsplash Hurdles: Common Hiccups and Fixes
When you’re tackling a quick backsplash, hiccups almost always show up at the worst possible moment, but they’re usually solvable with a few steady fixes.
I’ll guide you calmly through common snags and smart workarounds.
- Measure twice, cut once, then dry-fit to avoid slips
- Use painter’s tape for clean, sharp edges
- Mix adhesive in small batches to control set
- Wipe excess grout promptly for a sleek finish
Conclusion
I’ve shown you fast, frugal fixes that flourish, from peel-and-stick to painted finishes. Now you can craft a charming backsplash in minutes, not meltdowns. So sip your tea, start small, and savor the simple success. Sensible steps, speedy setups, stylish results—sip, swiftly, smiling. Stick with smart planning, steady hands, and steady progress. Your dinner-ready space deserves delight—deliberate, doable, and deliciously done. Let your kitchen’s new look rise, resilient and radiantly refined. You’ve got this.