I keep a small, intentional coffee corner so I can move from beans to cup in one calm motion each morning. I pick a single workflow—espresso, pour‑over, or drip—fit a compact grinder and kettle near an outlet, and stash backups in airtight jars.
I weigh doses, tune grind, and wipe down tools after the last pour. Hooks, a slim cart, and a tray save space and feel cozy; keep going and I’ll share gear, workflow, and troubleshooting tips.
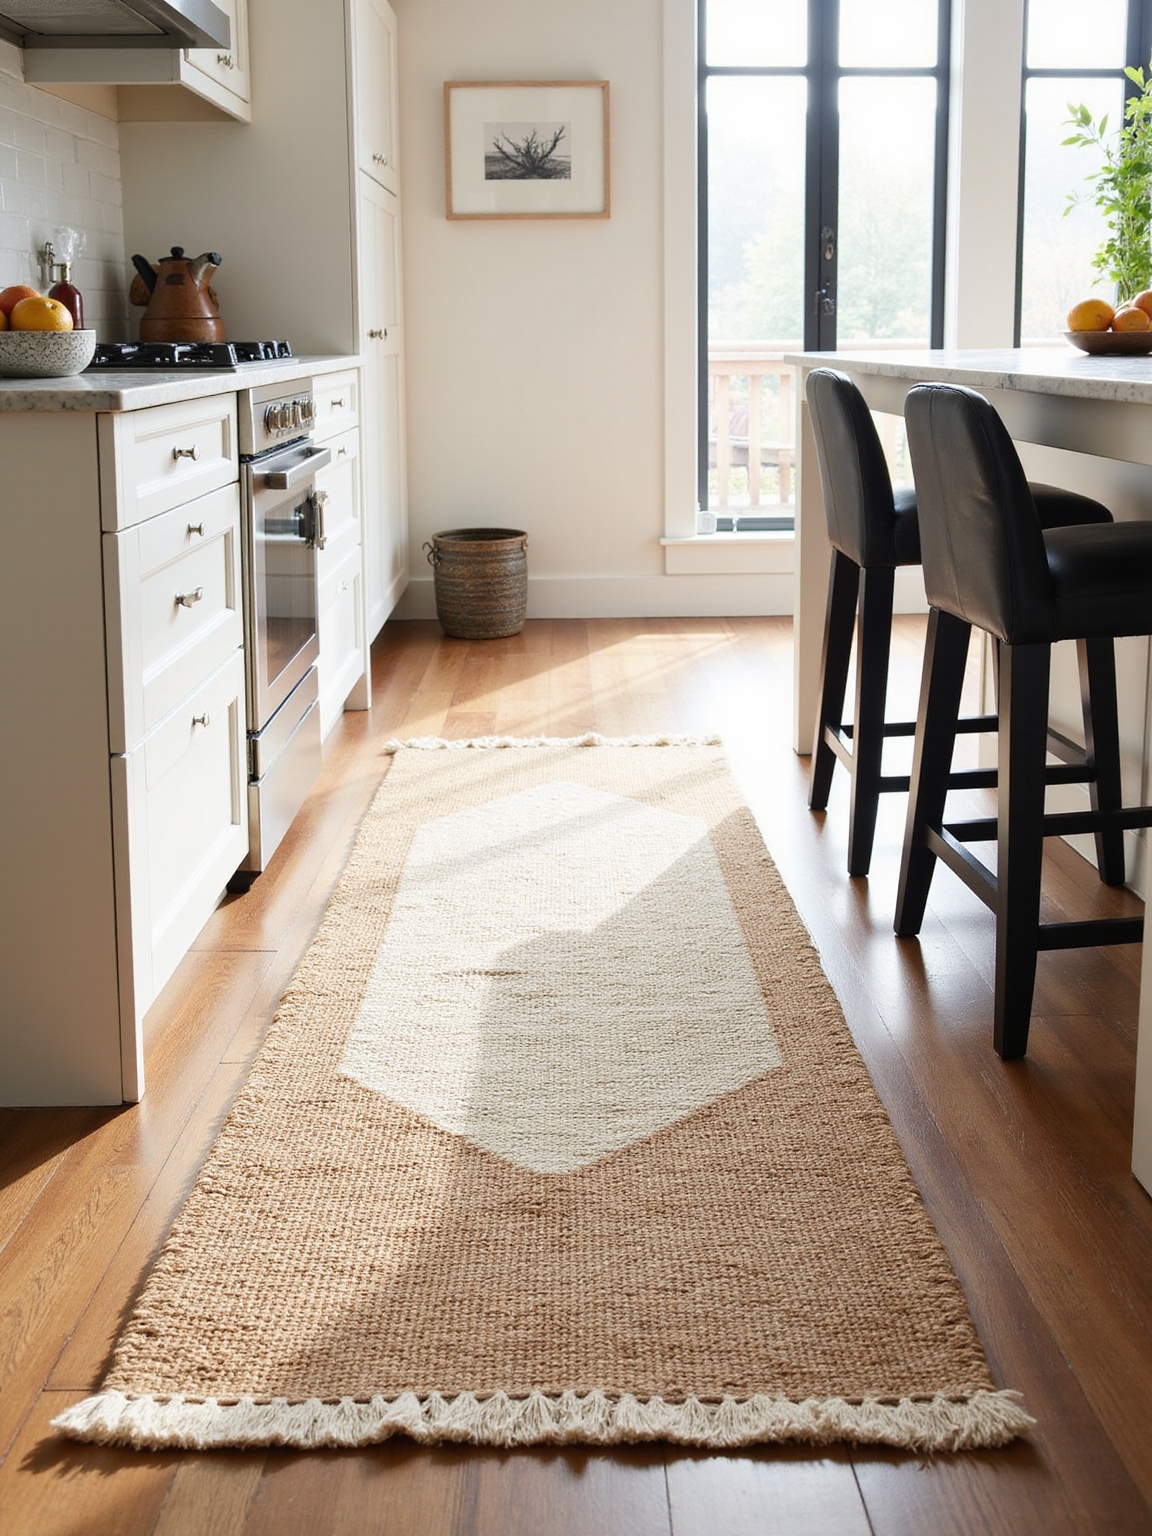
Decide Your Coffee Counter Footprint

Because morning routines change, I start by deciding how much counter space I can realistically dedicate to coffee—big enough for the essentials, small enough to keep the kitchen feeling open.
I pick a compact zone near light and an outlet, reserve room for a grinder and mug, and leave breathing space. That balance keeps mornings calm, efficient, and a little charming.
I also think about storage and layout to create a functional setup that follows design principles for a cozy coffee corner.
Pick One Brewing Workflow: Espresso, Pour-Over, or Drip

When I set up my coffee corner, I pick one brewing workflow and commit to it — espresso, pour-over, or drip — since each shapes the gear, ritual, and counter layout you’ll need.
I choose what fits my mornings: quick espresso shots, meditative pour-over, or reliable drip. Sticking to one keeps the counter tidy, the routine simple, and the mornings calmer.
I also arrange cabinets and drawers around standard units so the layout works with IKEA units and keeps everything accessible.
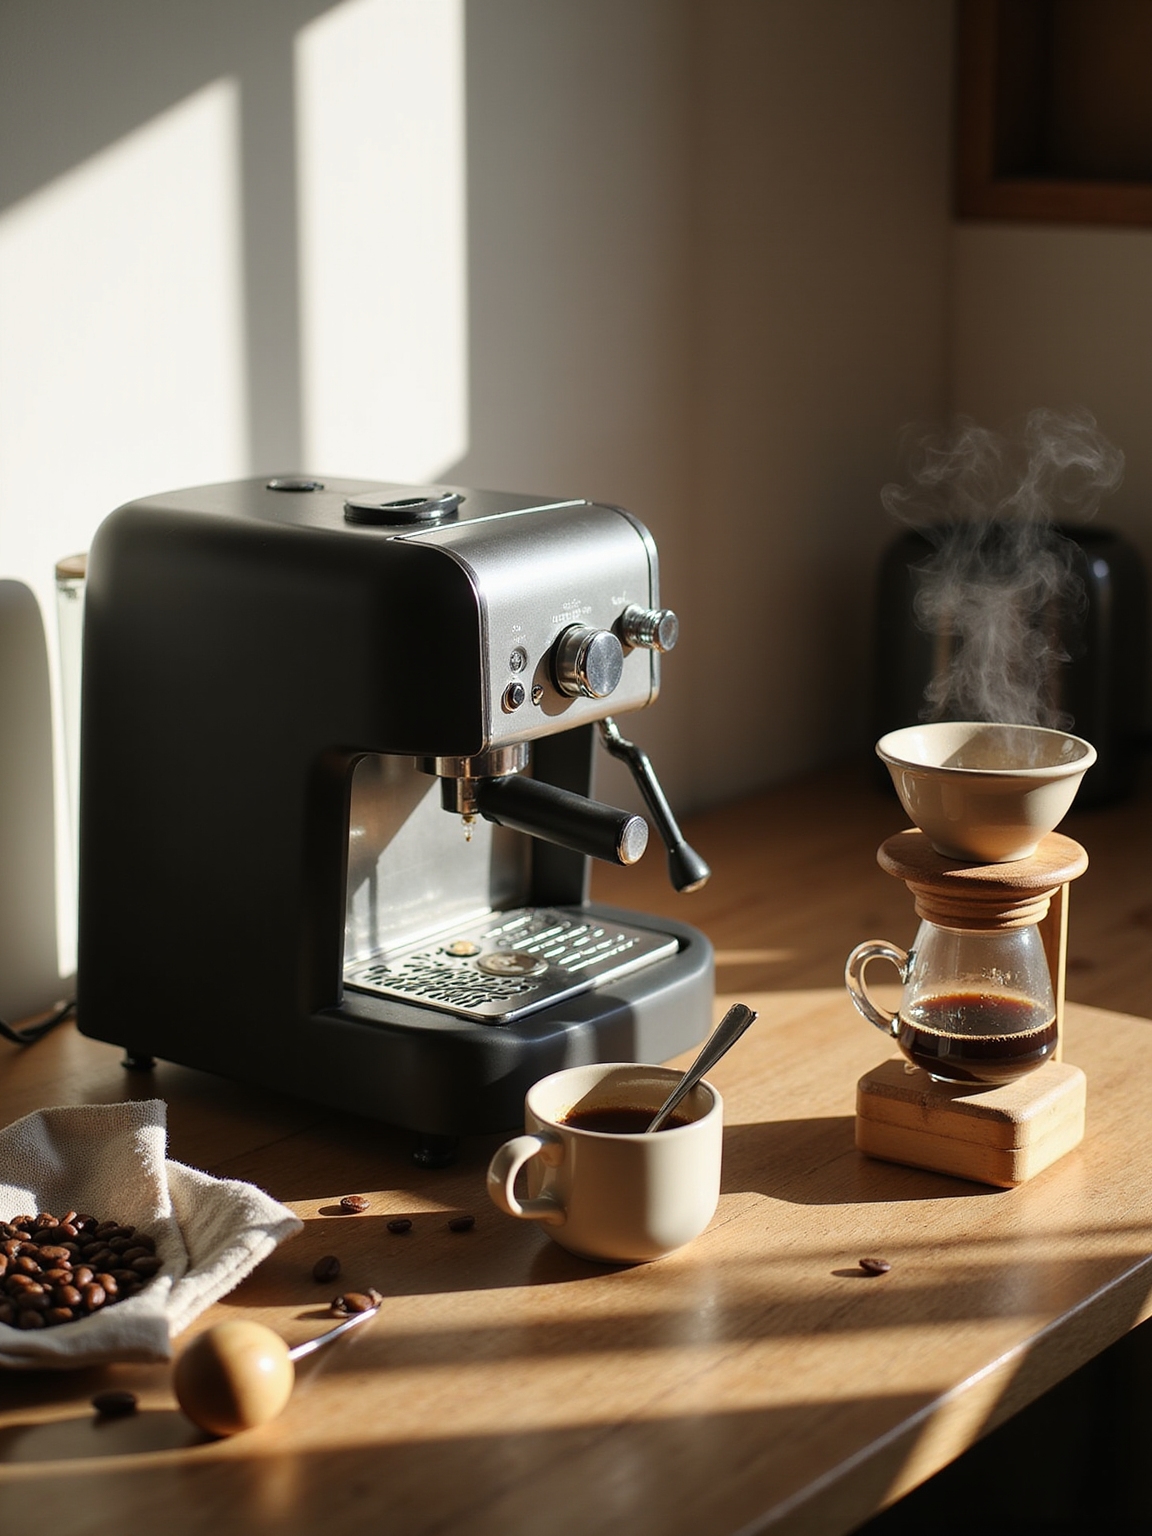
Choose Essential Machines (What Each Actually Does)

Now that you’ve picked a brewing workflow, it’s time I walk you through the machines that actually make it sing — what they do, what they don’t, and which bits you’ll use every morning.
I’ll show you espresso machines (pressure and steam), grinders (burrs and dosing), pour-over kettles (gooseneck control), and drip brewers (timing and filters), so your counter feels ready and honest.
For a serious home chef, investing in a few premium appliance essentials can transform kitchen routines and elevate daily coffee into a ritual.
Set Up Water and Grinder for Consistent Shots

I always start with clean, balanced water because it’s the quiet hero behind every steady shot.
I’ll walk you through simple checks for mineral content and why a modest filter often makes a big difference.
Then we’ll tune the grinder together—small adjustments, consistent dose, and you’ll see how steady grounds mean steady extraction.
Also consider sustainable choices like water filtration to reduce waste and improve consistency.
Water Quality Basics
Because the water you use changes everything, I always start by checking taste and hardness before I touch the grinder or beans.
I favor filtered water with balanced minerals—too soft and shots taste flat, too hard and they’re bitter.
I keep a simple test kit, adjust with bottled spring or a pinch of mineral mix, and taste frequently for steady, clean cups.
Luxury countertop materials can make your dedicated coffee counter both beautiful and durable, so consider surfaces designed for high performance when planning the space.
Grind Consistency Tips
Good water makes the rest of the system behave, and once I’ve set that, the grinder becomes the other half of the equation for steady shots.
I dial in grind size, watch dose yield, and note extraction time—small tweaks, big returns. Consistency comes from routine and a reliable machine; treat your grinder like a trusted tool.
- Check burr alignment regularly
- Weigh doses every shot
- Adjust in tiny steps only
High-quality gadgets like a reliable grinder can be worth the investment for long-term consistency and performance.
Dose, Grind, and Basic Extraction Settings

I weigh my dose every morning because precision there makes the rest feel easy and steady.
I’ll talk about how grind size sits on a spectrum and what ranges work for different machines.
Then we’ll set simple extraction time targets so you can tweak one thing at a time and get reliably tasty shots.
Space-optimized appliances can help keep a compact counter uncluttered, making them ideal for small urban apartments.
Dose By Weight
I’ll start by weighing my dose every morning — it’s the simplest habit that reliably tightens up the rest of the brew. I measure, tweak, and note results so each cup feels intentional, not accidental.
- Consistent dose = predictable strength.
- Small changes reveal balance.
- A scale turns guessing into craft.
A dedicated counter with easy-to-reach tools keeps everything organized and focused on kitchen storage.
Grind Size Range
Because grind is where the recipe really starts to sing, I dial it in right after weighing my dose—finer for a slower, syrupy extraction, coarser for a brighter, quicker cup.
I keep a narrow range for each brew: espresso tight, pour-over a touch coarser, French press distinctly chunky.
I note settings, adjust incrementally, and trust texture and taste to guide me.
Extraction Time Targets
Once you’ve settled on a dose and a grind, I dial in extraction time as my next, non-negotiable move—it’s the measurement that ties those variables together. I watch seconds, taste, and tweak until balance sings.
Start simple, record results, and trust your palate; small changes matter.
- Aim for consistent shot times
- Adjust grind, not dose, for small shifts
- Taste, log, repeat
Small Tools That Save Minutes (Scale, Kettle, Tamper)
When I’m rushing through a morning, a few small tools keep my coffee routine honest and quick: a compact scale to nail doses, a gooseneck kettle that lets me control the pour, and a simple tamper that gives consistent tamp pressure on espresso days.
They’re sturdy, easy to grab, and save seconds that add up—quiet, reliable helpers that make each cup feel intentional.
What to Keep on the Counter vs. in Cabinets
If I’m honest, I keep the things I use every morning on the counter and tuck the rest away—cups, the coffee grinder, and whatever jar of beans I’m working through sit within arm’s reach, while backup filters, spare mugs, and seasonal gadgets live in the cabinets.
I favor a tidy, lived-in feel that saves time and comforts me.
- Essentials for daily ritual
- Extras for space and calm
- Sentimental pieces stored safely
Quick-Access Storage: Jars, Trays, Drawer Inserts
Keeping my everyday items within reach makes mornings smoother, but I also like them to look intentional.
I use glass jars for sugar and stirrers, a wooden tray to corral the kettle and mugs, and felt-lined drawer inserts for filters, scoops, and clips.
Everything feels accessible yet tidy, like a small ritual station—practical, comforting, and quietly rustic at heart.
Rotate and Store Beans for Peak Freshness
I keep my beans moving with a simple first-in, first-out habit so nothing lingers past its best.
I store them in opaque, airtight containers to lock in aroma and keep light and air out.
Trust me, a little rotation and the right jar make morning coffee taste like you brewed it from freshly roasted beans.
First-In, First-Out Rotation
When I grab beans from my counter, I make a point to rotate them so the oldest bags get used first; it keeps every cup tasting its best.
I label dates, move new arrivals to the back, and keep a simple rhythm so nothing lingers.
- Label roast dates clearly
- Place new bags behind older ones
- Check supply weekly and brew accordingly
Proper Bean Storage Containers
For the best cup, I stash beans in containers that block air, light, and moisture—those three are the real enemies of freshness.
I use opaque, airtight canisters with a small footprint on my counter and a cool spot in the pantry for backups.
I buy modest amounts, label roast dates, and rotate stock so each morning tastes like the roast intended.
Create a Single-Motion Morning Routine
Because mornings run better with fewer decisions, I set up a single-motion routine that gets coffee going and my day started without extra steps.
I reach, grind, and start the brewer in one flow, savoring the simplicity. It feels like a small ritual that steadies me before the day unfolds.
- One motion: grab beans, grind, press start
- Tools staged within arm’s reach
- Quiet pause to breathe and sip
Daily Cleanup Habits That Keep the Counter Tidy
I always wipe spills the moment they happen—sticky rings and drips never get a chance to set in.
Each morning I give my kettle and French press a quick rinse so they’re ready and smelling fresh.
Those two small habits keep the counter looking cared-for without any fuss.
Wipe Spills Immediately
Usually I wipe spills as soon as they happen—coffee grounds, drips, or the odd splash—so the counter never gets that sticky, crusty layer.
I keep a small cloth and a spray nearby, treat stains gently, and enjoy the calm that follows a quick clean.
Little habits make the space welcoming and ready for the next cup.
- Quick care prevents stubborn stains
- Rhythm keeps mornings peaceful
- Small tools, big difference
Daily Appliance Rinse
Often I give the coffee maker and kettle a quick rinse right after I pour the last cup—metal filters, carafes, and any removable bits get a rinse under warm water so residue doesn’t sit and harden.
I wipe seals, clear drip trays, and leave doors open to air dry. Small daily rinses save scrubbing later and keep the counter smelling fresh and simple.
Space-Saving Hacks for Tiny Kitchens
I’ve learned to squeeze every useful inch out of a tiny kitchen without sacrificing the comforts of a proper morning coffee setup.
I tuck mugs on hooks, use a slim rolling cart, and mount a fold-down shelf for beans and grinder—small choices that feel homey and intentional.
- Hooks for mugs and tools
- Slim rolling cart for flexibility
- Fold-down shelf for staging
Budget-Friendly Coffee-Counter Builds ($<100, $300, $700)
If you want a cozy coffee corner without blowing your budget, I’ll show you how to build setups that feel thoughtful at under $100, $300, and $700—each one scaling up in durability, tools, and style so you only pay for what matters to your morning ritual.
Under $100: basic pour-over, thrifted mug, shelf.
$300: grinder, better kettle, sturdy tray.
$700: compact espresso maker, quality grinder, solid counter space.
Style Touches That Make Coffee Feel Like Ritual
When I set my mug down each morning, small details turn a routine into something I look forward to: a well-worn tray that catches drips, a linen towel folded just so, and a mason jar of spoons within easy reach.
I arrange things with intention, letting texture and memory guide me.
- A chipped mug that feels like home
- Warm light on wood grain
- Fresh grounds, counted breaths before the pour
Common Mistakes and Quick Troubleshooting Fixes
The little rituals I cherish don’t always go smoothly — and I’m happiest when I can fix things fast and get back to my cup.
If the grinder clogs, pulse it and brush grounds out. Too weak? Tamp firmer or use finer grind. Leaking brewer needs a new gasket; stubborn stains yield to vinegar. Small fixes keep mornings calm and cozy.
I’ve walked you through the bits that make a morning coffee corner both useful and lovely, from choosing a footprint to dialing in your grind.
You don’t need every gadget—what matters is a workflow that fits your space and time, right? Keep things simple, tune your grind and dose, and add a few personal touches to make rituals stick.
Come back to the basics when things go off; your counter will reward you.