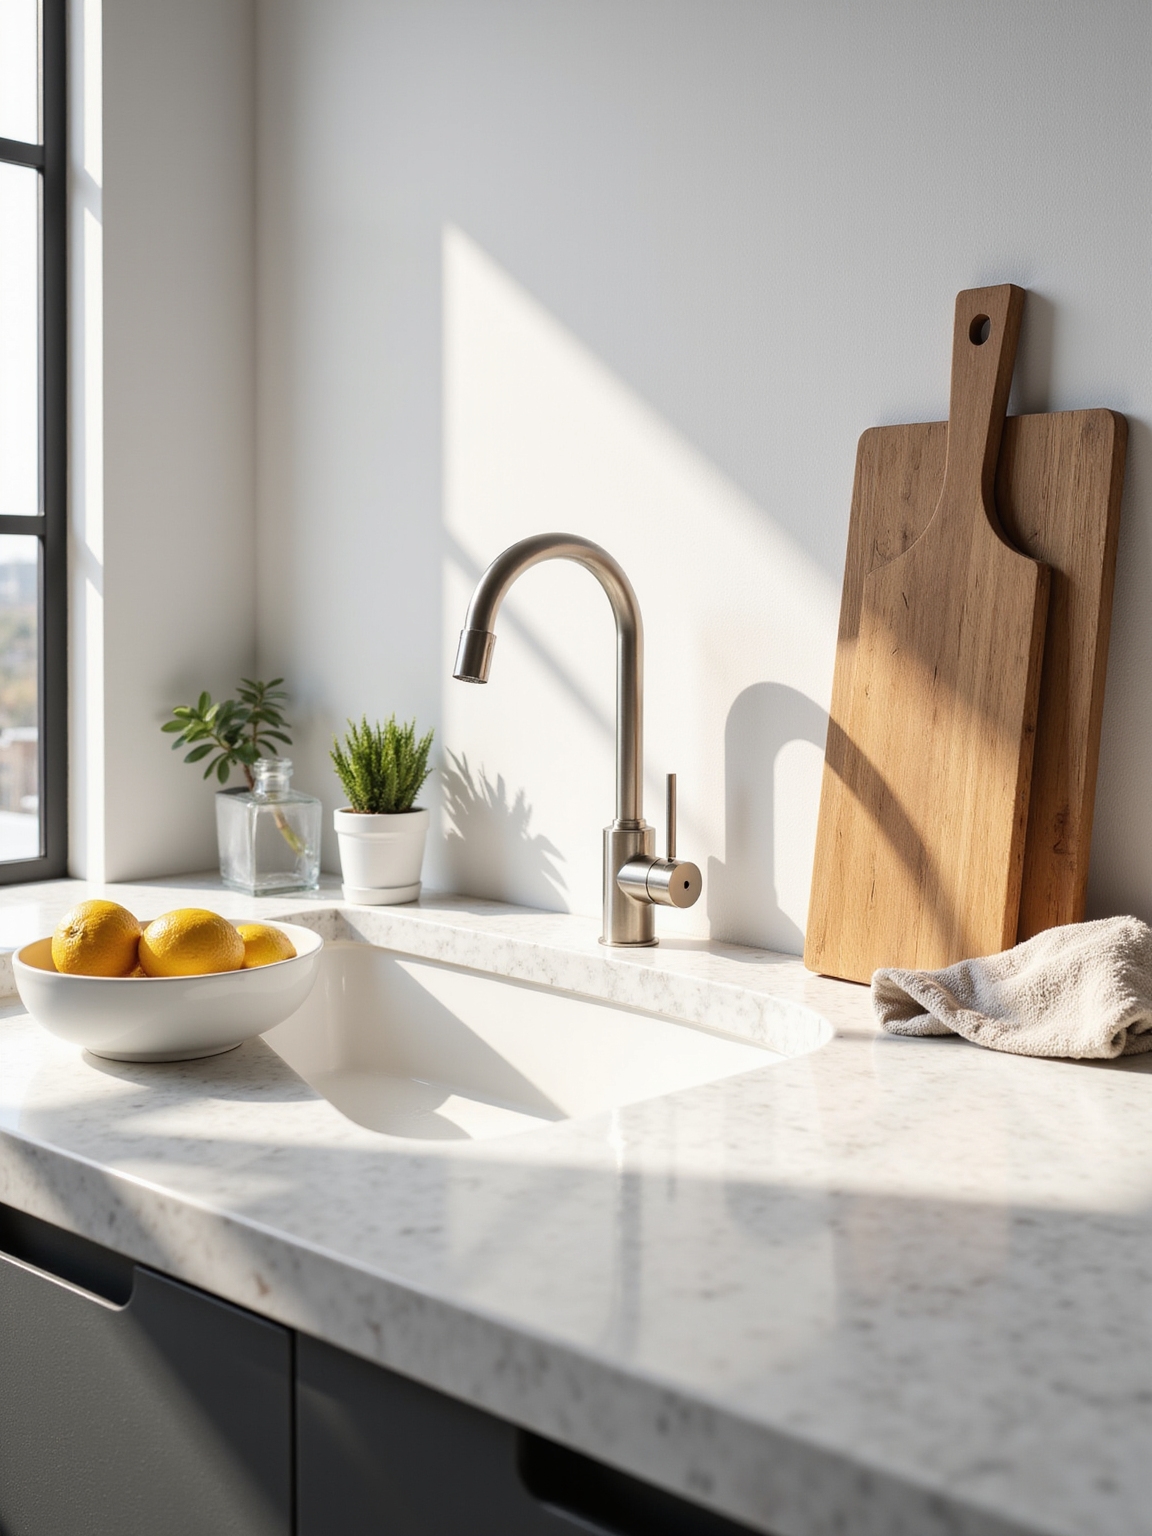
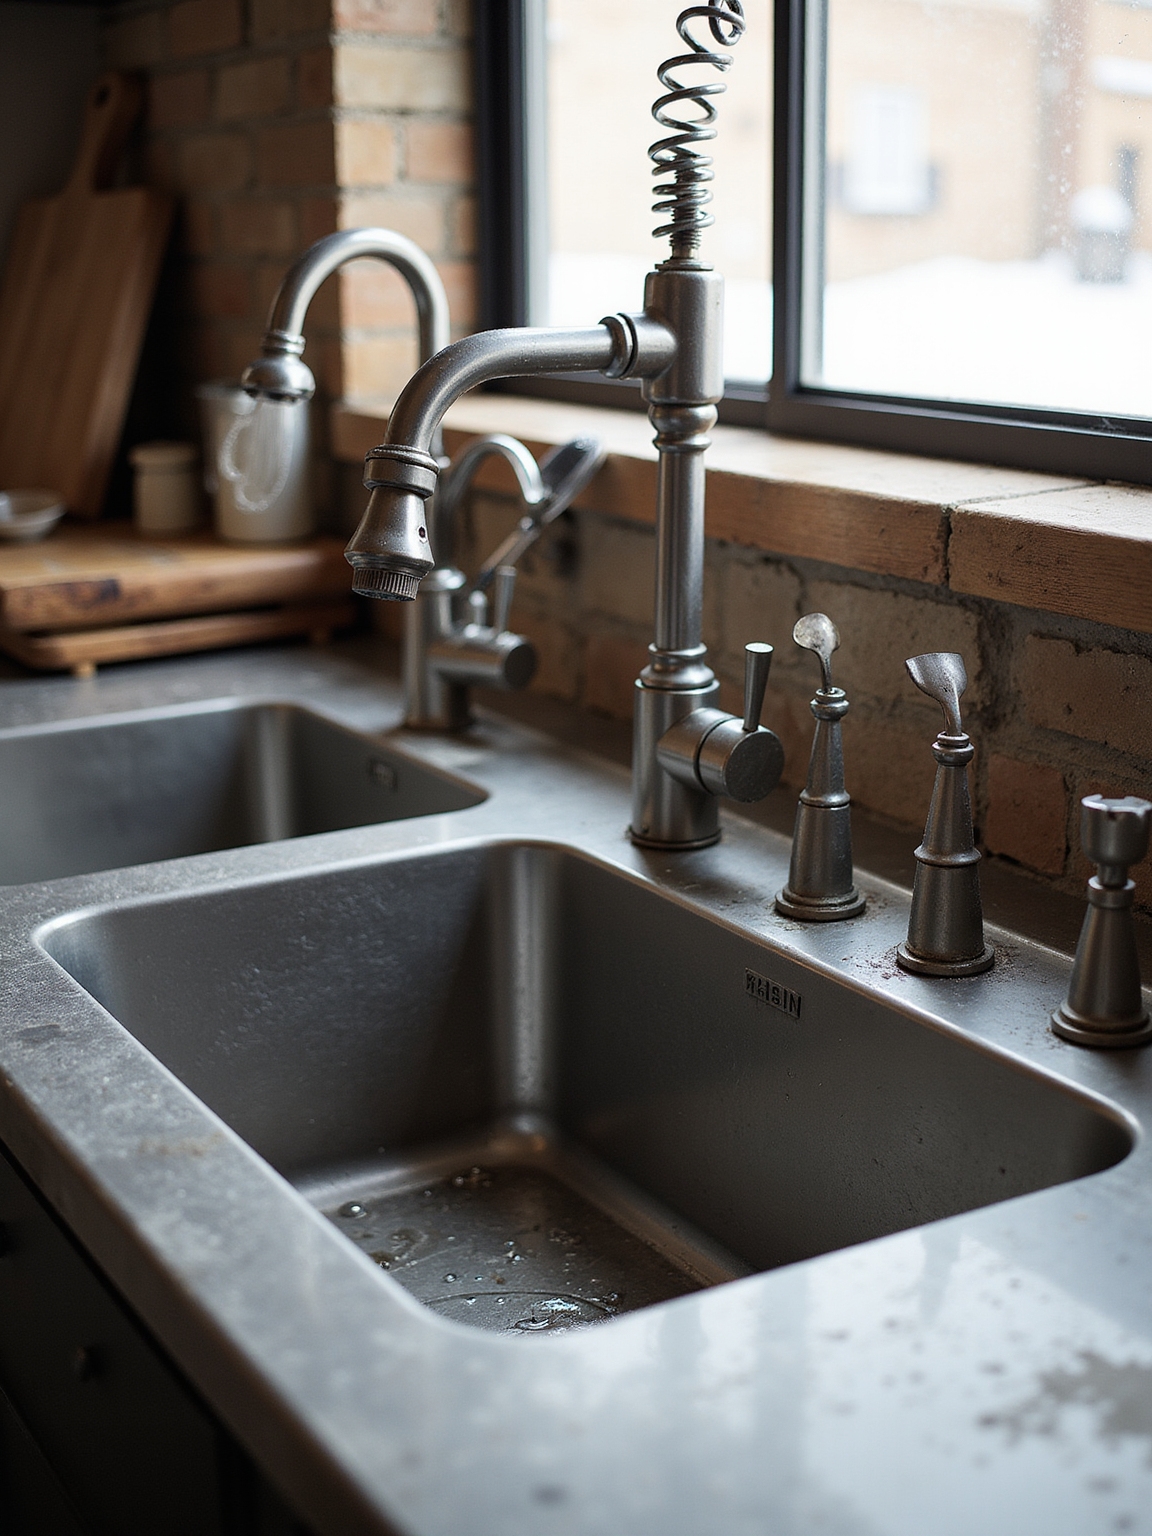
I pick heavy‑duty sinks for kitchens where pots are warriors and silence matters; I favor thick 16–18 gauge stainless for toughness, fireclay for farmhouse charm, or composite for color and scratch resistance.
I look for sound‑damping pads, matte or ceramic‑infused finishes, and deep single basins when roasting pans rule. Undermounts clean up nicer; accessories and proper fittings extend life. Keep going and I’ll show how to match material, gauge, and layout to your cooking.
Do You Need a Heavy‑Duty Sink? Quick Decision Guide
Wondering whether you really need a heavy‑duty sink, or if a standard basin will do? I ask about your cooking habits, family size, and how often you scrub pots.
If you host often, tackle big batches, or value longevity over low cost, I lean toward heavy‑duty.
If you use the sink lightly, a standard basin usually suffices and saves money. Durable flooring choices like resilient flooring can also influence overall kitchen durability and maintenance.
Materials: Stainless Steel, Fireclay, and Composites
Because your sink is one of the hardest‑working parts of the kitchen, I like to start by comparing materials side by side: stainless steel for toughness and sound control, fireclay for that durable, classic look, and composite sinks for a balance of toughness and color options.
I prefer stainless for busy households, fireclay for farmhouse charm, and composites when I want color and resilience.
Top Luxury Countertops: Performance Meets Elegance includes insights on material selection and durability, which is useful when choosing a sink to match your countertop, especially regarding performance ratings and aesthetics.
Gauge and Thickness: How to Read Specs
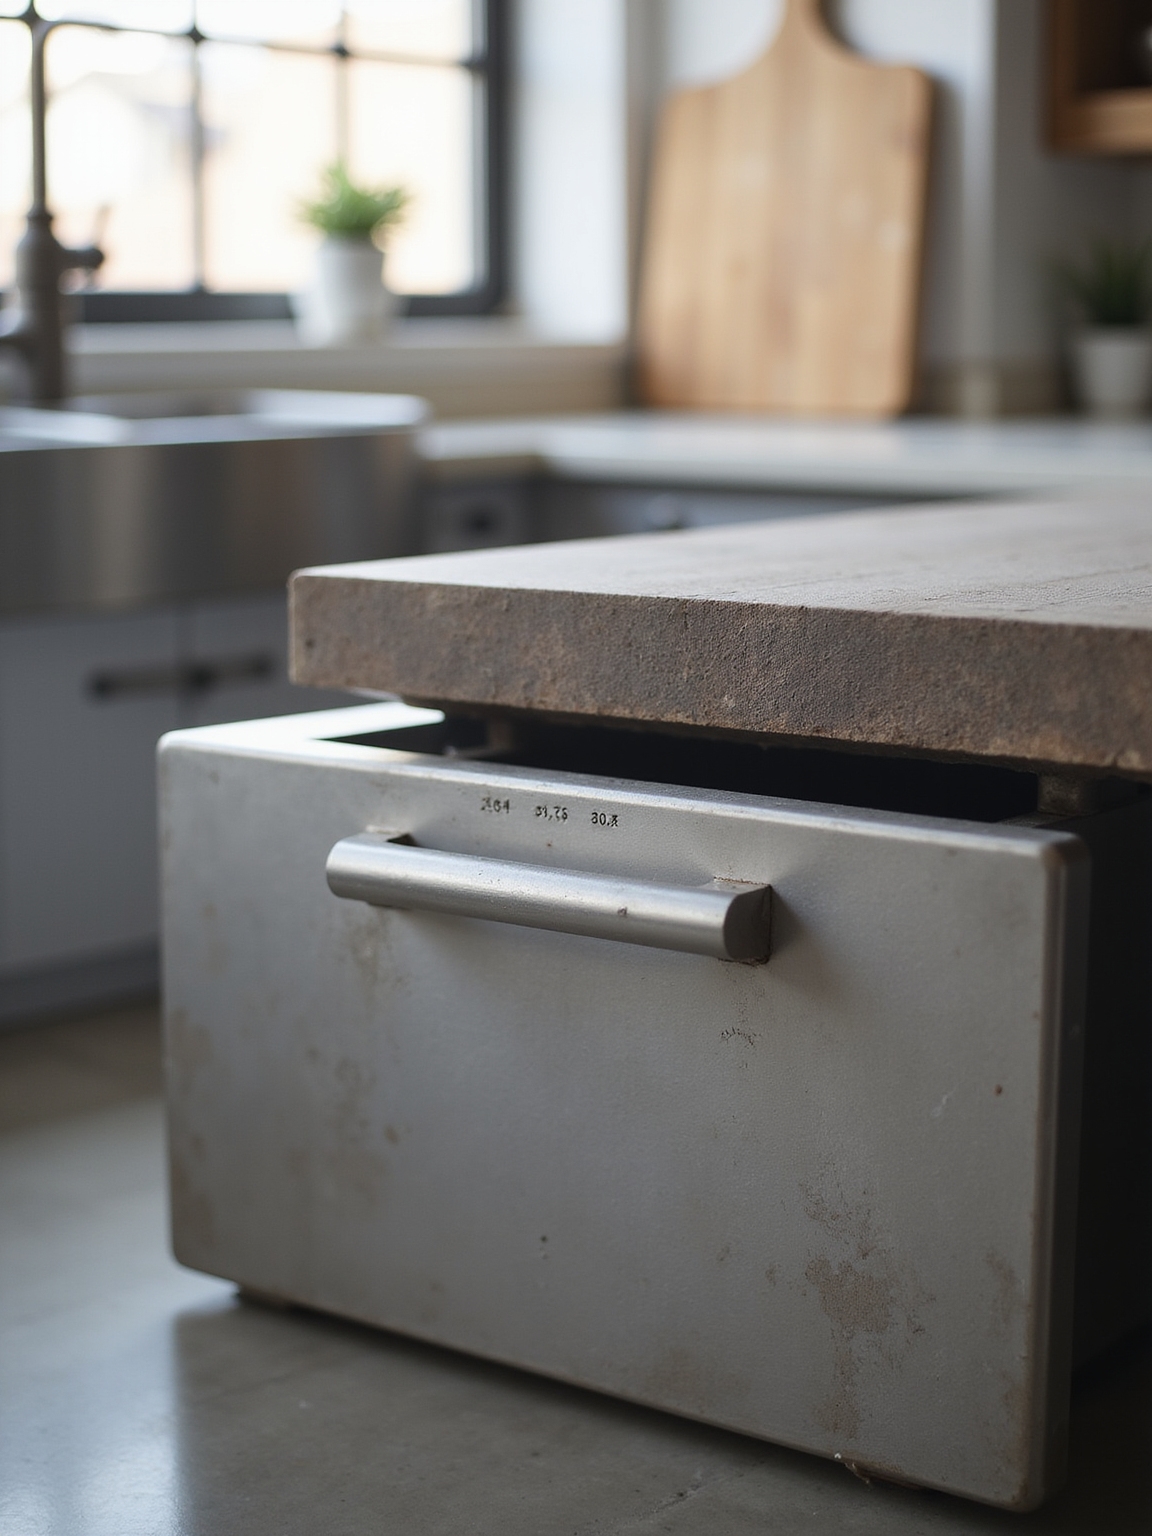
Let’s talk turkey about gauge and thickness so you can read sink specs without second-guessing.
I’ll show how gauge numbers translate to actual metal thickness and why thicker usually means tougher, then we’ll cover how to measure true depth so your pots actually fit.
Stick with me and you’ll spot the good from the gimmicks in no time. Durable backsplashes can complement a heavy-duty sink and boost resale appeal by signaling quality and longevity to buyers, like those made from long-lasting materials that increase home value.
Understanding Gauge Numbers
If you’ve ever compared stainless sinks and felt lost in a tangle of numbers, I’ll walk you through how gauge figures into sink thickness and performance. Gauge is a simple inverse scale—lower numbers mean thicker metal.
I explain common gauges (16, 18, 20) and what they feel like under your hands, helping you choose a sink that balances sturdiness, sound, and budget without overcomplicating things.
Many homeowners also refresh cabinets easily with simple hardware swaps to update a kitchen’s look with minimal effort and cost, offering a quick style boost with easy hardware changes.
Thickness Versus Durability
When I look at sink specs, I focus on two things: gauge and thickness, because they tell different parts of the same story—gauge gives you a quick sense of metal weight while thickness (usually listed in millimeters or fractions of an inch) tells you the actual meat of the stainless.
- Lower gauge = heavier steel, stiffer feel.
- Millimeters show true rigidity.
- Match use to thickness for longevity.
- Consider pairing the right finish with raw materials to complete the industrial kitchen look.
Measuring True Depth
At a glance, gauge and thickness can feel like two different languages, but I read them together to judge a sink’s true depth and how it’ll perform day to day.
I check gauge for metal weight and millimeters for actual thickness, imagining strain under pots.
A lower gauge and higher mm mean less flex, quieter use, and longer life — practical, honest measures I trust.
Keeping only the essentials on countertops helps those durable sinks stand out and makes daily cleanup faster, because a minimal setup reduces visual chaos and maintenance needs, with clear counter rules guiding what stays and what goes.
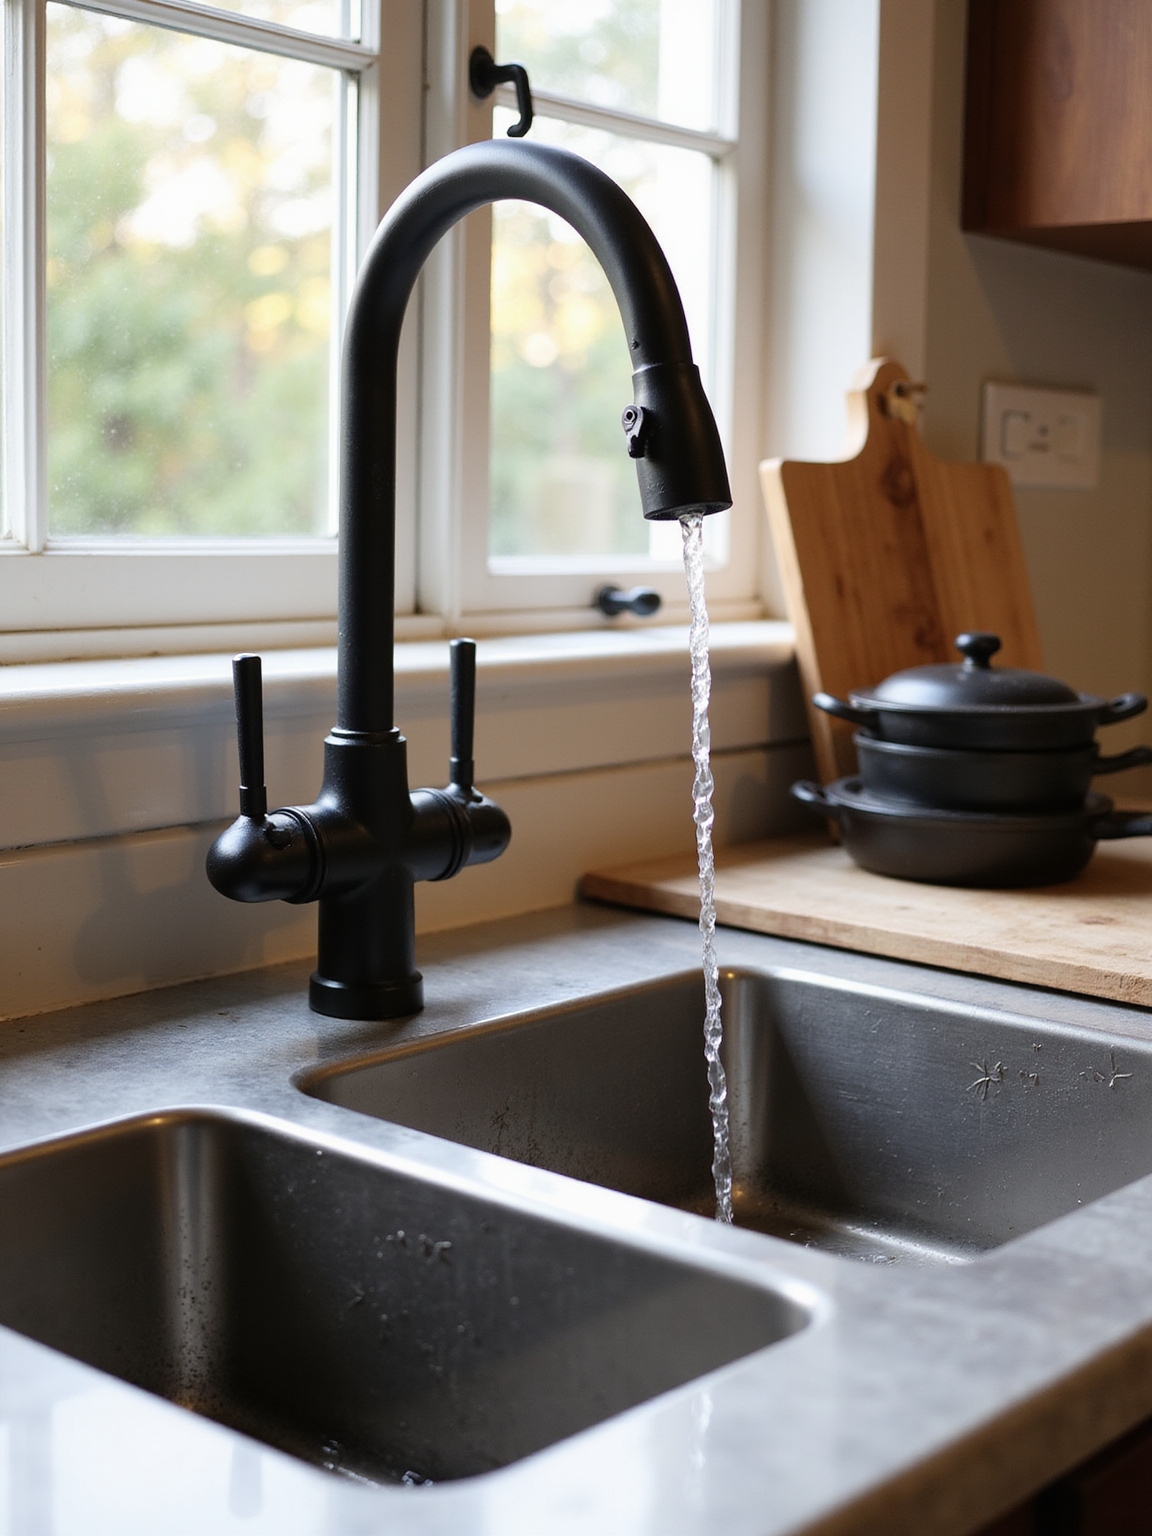
Finish, Coatings, and Soundproofing That Last

I want to talk about the finishes and coatings that keep a sink looking good and resisting scratches and stains.
I’ll point out which long-lasting coating technologies you should look for and what makes a protective finish truly durable.
Then we’ll cover practical soundproofing options that actually cut down on clatter without adding bulk.
Durable wall coverings are easier to clean than paint and can inspire similar expectations for sink finishes; consider easier-to-clean materials when choosing coatings.
Durable Protective Finishes
I usually recommend thinking of a sink’s finish like a good coat of varnish on a farmhouse table: it protects, it shows off the grain, and it makes daily use feel less risky.
I focus on finishes that resist stains, hide wear, and quiet the kitchen.
- Matte protective sealer
- Durable enamel layer
- Sound-dampening undercoat
Sleek kitchen ventilation can complement these finishes by maintaining air quality and reducing odors with stylish ventilation solutions that match the sink’s aesthetic.
Long-Lasting Coating Technologies
Think of these coatings as the last line of defense for a hardworking sink: I want something that keeps its look and tone for years, muffles the clatter, and survives everything from lemon juice to dropped pans.
I favor matte enamel, ceramic-infused finishes, and durable powder coats — each resists stains, scratches, and fading while keeping a warm, lived-in kitchen feel without fuss.
Effective Noise Dampening
We’ve talked about coatings that keep a sink looking good — now let’s quiet the racket they make. I favor durable soundproof pads, thick undercoats, and thoughtful mounting to keep clatter low and cozy.
- Dense rubberized pads under bowls for vibration control.
- Epoxy or polymer undercoats that dampen noise and resist moisture.
- Isolation mounts to reduce structural transmission and prolong finish.
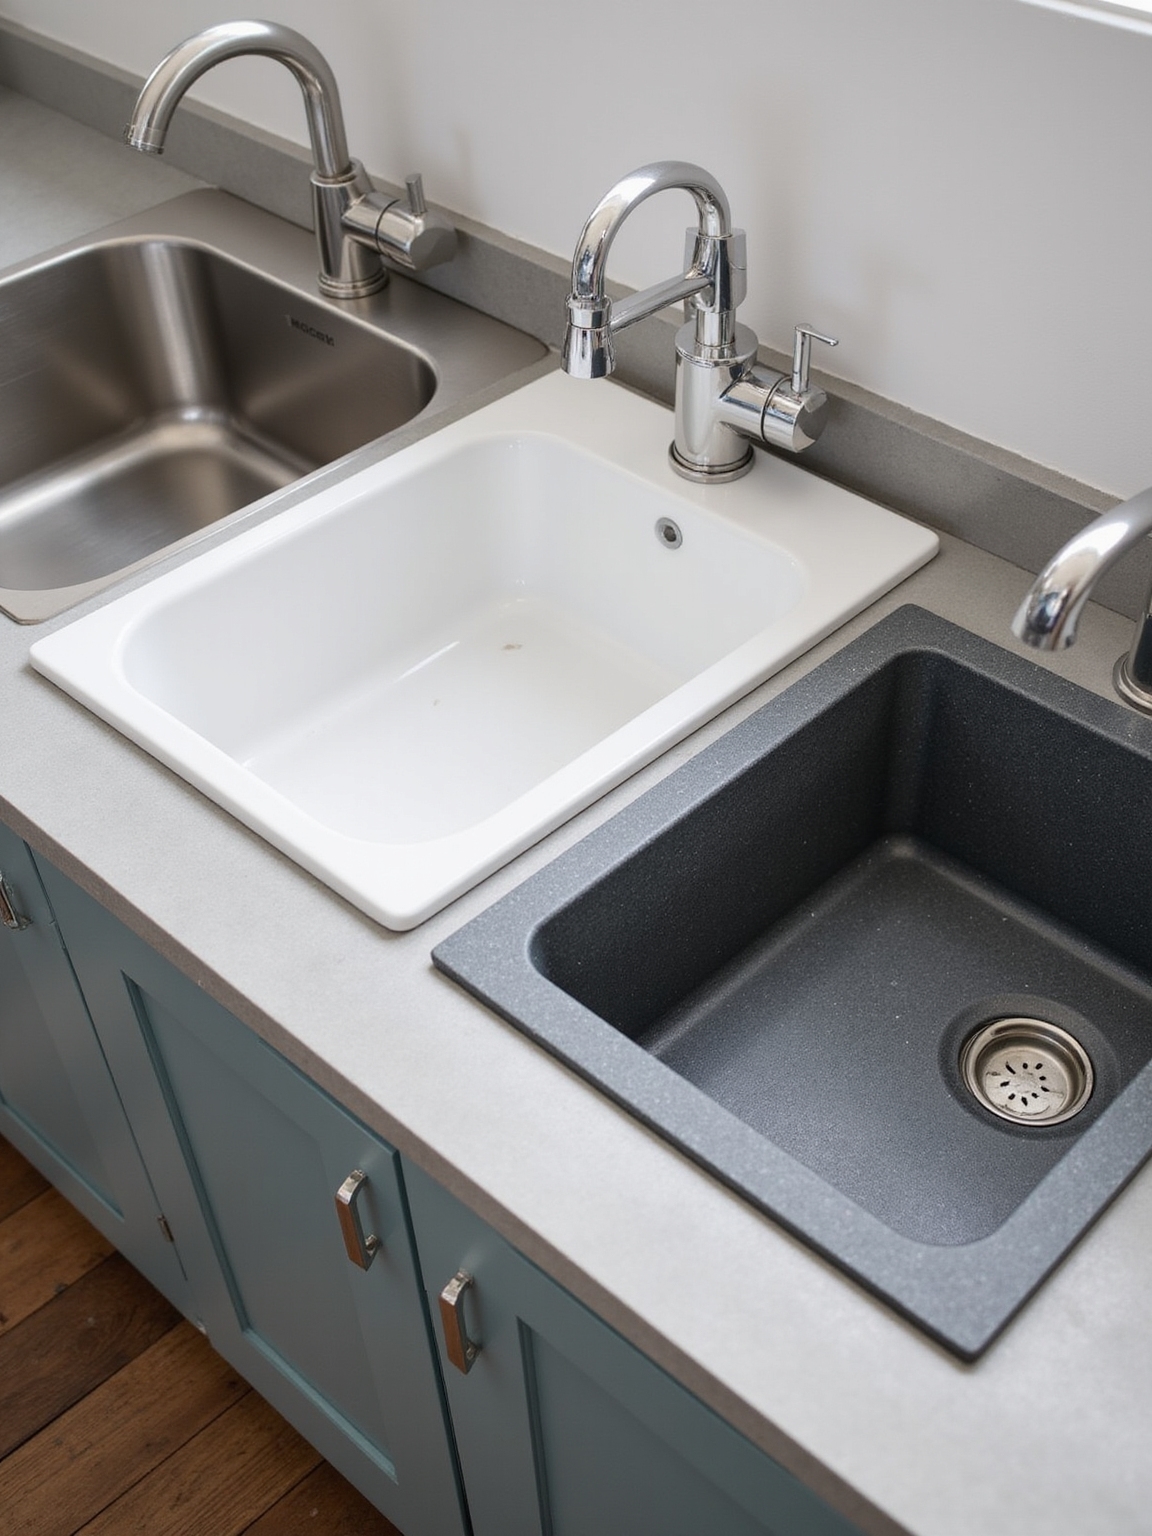
Single vs Double Bowl Heavy‑Duty Sinks: Durability & Workflow
When I’m choosing between a single or double bowl heavy‑duty sink, I focus on how it’ll hold up and how it’ll fit into my kitchen rhythm; a single bowl gives me rugged simplicity for oversized pots, while a double bowl splits tasks and keeps prep separate from cleanup.
I pick single for bulky, durable work and double when I want tidy, efficient multitasking.
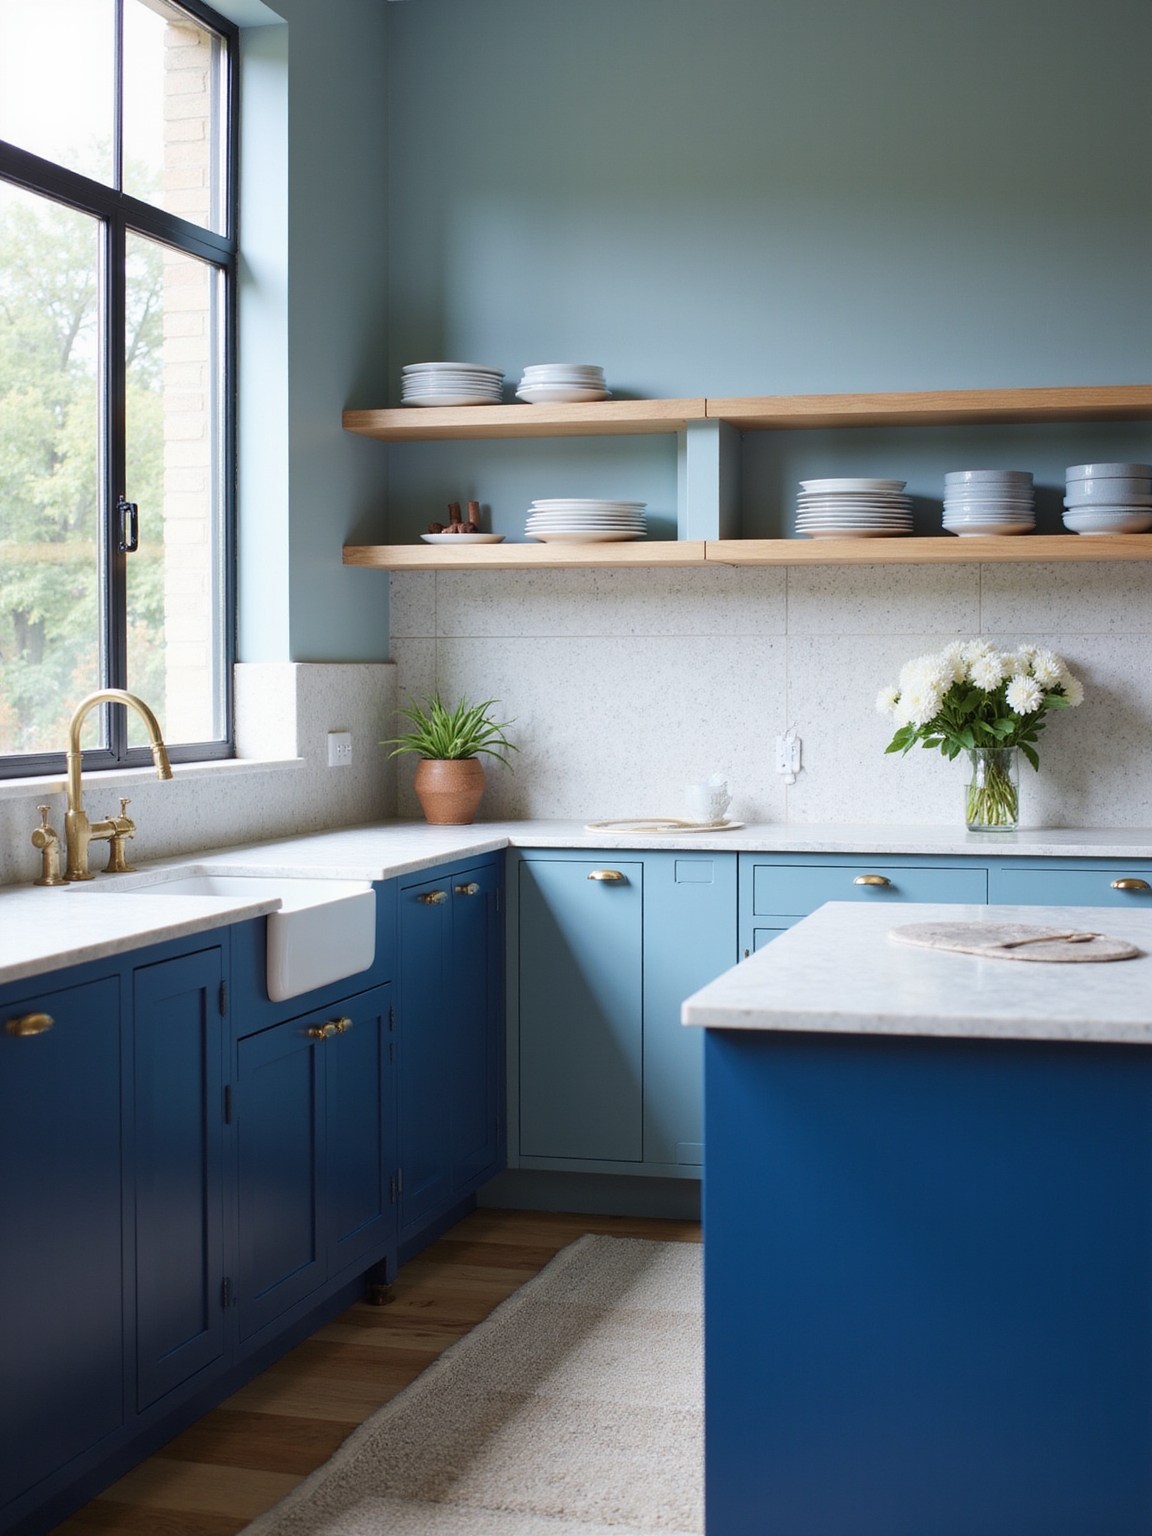
Undermount, Drop‑In, or Farmhouse: Best Heavy‑Duty Installs
Having settled whether a single or double bowl fits your routine, I now look at how the sink sits in the counter — undermount, drop‑in, or farmhouse — because installation shapes both use and look. I prefer practical, hands‑on choices that age well.
- Undermount: sleek, easy to wipe crumbs straight in.
- Drop‑in: budget‑friendly, forgiving on cabinets.
- Farmhouse: bold, easy access, very characterful.
Sizing a Sink for Heavy Use and Small Kitchens
I’ll start by measuring the actual counter space so we understand what’ll truly fit without crowding the prep area.
Then we’ll weigh the pros of a single versus double bowl for heavy use and small kitchens, since one big basin can handle pots while two can keep tasks organized.
Finally, we’ll account for accessories like drying racks and garbage disposals that need clearance so your heavy‑duty sink stays practical.
Measure Actual Counter Space
With a tape measure in hand and a mug of coffee nearby, I start by measuring the actual usable counter space—not the total cabinet width—because that determines what size sink will truly fit and function in a busy, small kitchen.
- Note faucet, backsplash, and appliance clearance.
- Account for workspace on both sides.
- Mark cutout and cabinet obstructions before ordering.
Choose Single Vs. Double
Which makes more sense for you: a roomy single bowl or a split double that keeps chores tidy?
I lean toward single bowls for heavy pots and easy rinsing, but in a small kitchen a double helps separate prep from soaking.
Think about how you cook daily, how often you wash large pans, and let practicality guide your choice. Keep it simple and sturdy.
Account For Accessories
Think about the extras you’ll add before you pick a bowl size and depth — they change how the sink performs more than you might expect.
I pick accessories to match chores and space, picturing prep boards and colanders nesting neatly.
- Cutting board that rides the rim for cramped counters.
- Roll-up drying rack that stows away.
- Sink grid protecting finish while letting water flow.
Integrated Accessories: Racks, Grids, and Strainers That Help
I like to outfit a heavy-duty sink with the right accessories because they turn a tough workhorse into a more practical, calmer workspace.
I add stainless racks for drying, fitted grids to protect the basin, and tight-fit strainers to catch debris.
These pieces slide, lift, and clean easily, keeping chores simple and the sink looking honest and ready for whatever the kitchen throws at it.
Common Damage Types and Fast Repairs
I’ve seen my share of scratches and scuffs on heavy-duty sinks, and a few careful buffing tricks usually bring them back to life.
Chips and cracks are tougher, but I’ll show you when a quick patch is enough and when to call in a pro.
Clogged or leaking drains are the most common headaches, and I’ve got fast fixes you can try before reaching for the toolbox.
Scratches And Scuffs
Scratches and scuffs crop up faster than you’d expect in a hardworking kitchen, and I’ve learned a few quick fixes that save a sink from looking tired.
I keep repairs simple and honest, matching finish and tone.
- Rub a paste of baking soda and water for light abrasions.
- Use a fine abrasive pad with oil for stainless.
- Touch up enamel with matching repair paint.
Chips And Cracks
When a chip or hairline crack shows up in the sink, it can make the whole basin look older than it is, so I tackle these spots quickly to stop them from spreading.
I clean, dry, and use a matching repair kit or epoxy to fill and smooth. A light sanding and touch-up paint restore the finish, preserving both beauty and function.
Clogged Or Leaking Drains
After fixing chips and cracks, I turn my attention to clogged or leaking drains because even small blockages or a slow drip can ruin a good sink’s performance.
I roll up my sleeves, grab simple tools, and tackle issues fast.
- Clear hair and grease with a plunger and enzyme cleaner.
- Remove and clean the trap for debris.
- Tighten or replace leaking fittings promptly.
Maintenance Schedule to Prevent Chips, Stains, and Corrosion
I usually recommend a simple, regular maintenance schedule you can stick to so your heavy-duty sink stays free of chips, stains, and corrosion.
I wipe it daily with mild soap, rinse after acidic foods, and dry to prevent mineral spots.
Weekly I inspect for scratches, treat with appropriate oil or sealant, and address stains immediately before they set.
DIY vs Professional Install: Time, Cost, and Risk
Because you’re weighing whether to tackle the install yourself or hire a pro, let me walk you through the trade-offs in plain terms:
DIY saves money up front and gives you satisfaction if you like hands-on work, but it takes more time, can void warranties or cause leaks if done poorly, and might end up costing more in fixes; hiring a professional costs more initially but gets the job done faster, with proper seals, plumbing, and often a warranty that lowers long-term risk.
- I DIY for pride and savings, knowing steady hands and patience matter.
- I hire pros when plumbing is complex or warranty protection is essential.
- I balance time, confidence, and risk to pick what feels right.
Budgeting: Cost Ranges and Where to Spend More
If you’re weighing DIY vs hiring pros, the next question is almost always money—how much should you expect to spend and where does it make sense to pay more.
I usually budget $300–$1,200 for the sink itself, $200–$800 for installation.
Spend extra on thick stainless, sound-deadening, and a trusted plumber; save on basic faucets or simple accessories.
Top Heavy‑Duty Sink Models and Who They’re For
Let’s walk through the heavy-duty sink models I recommend and who each one suits best: from farmhouse firebrands built for big pots to commercial-style basins that stand up to daily hard use, I’ll point out which choices fit busy families, home cooks who want professional performance, and homeowners on a budget who still want durability.
- Farmhouse apron sinks — cozy, roomy, family cooks.
- Stainless steel commercial bowls — pros, heavy use.
- Composite granite — budget-friendly, tough, low-maintenance.
Pick Faucets, Drains, and Fittings That Last
Start by thinking of your faucet, drain, and fittings as the hardworking partners of your sink — I pick pieces that can take daily knocks, resist corrosion, and still look good years down the road.
I favor solid brass or stainless bodies, ceramic cartridges, and sturdy finishes. Simple, serviceable designs age well; choose parts that are easy to repair or replace without fuss.
Choosing a Sink for Cooking Habits (and Resale Impact)
Because how you cook shapes what you need from a sink, I always match sink size, depth, and accessories to real habits rather than trends.
I think about prep, cleanup, and future buyers—choosing durable finishes and versatile basins pays off.
Consider these practical choices:
- Deep single basin for roasters and pots.
- Double for multitasking.
- Integrated drainboard for outdoor cooks and entertainers.
I’ve seen kitchens transformed when folks choose a sink built to last—so think long term.
Consider this: stainless steel makes up about 70% of professional kitchen sinks for its combo of strength and hygiene, a stat that hints at why durability matters in everyday cooking.
Pick materials and fittings that suit your habits, spend where it counts, and you’ll get a hardworking centerpiece that feels warm, rustic, and ready for years of family life.