Here’s the quick take on 13 designer-approved island lighting ideas I’d actually use: mix task, ambient, and accent layers so your center island stays bright, balanced, and stylish. Think pendant clusters, warm LEDs with high CRI, dimmers, and smart controls that adapt to cooking rhythms. Keep fixtures 24–30 inches above the island and evenly spaced to avoid crowding edges. Want finishes that talk to stone and cabinets? Stick around— smarter layout tricks follow.
Island Lighting Layers: The Essentials You Must Know
Island lighting isn’t one size fits all, and that’s why you’ll want layers: ambient glow, task brightness, and a dash of drama.
I walk you through where each layer belongs, why it matters, and how to balance them without harsh overlaps.
You’ll get practical tips, quick examples, and a grin—so your island shines with smart, doable flair, not guesswork. Additionally, consider that kitchen pendant lights can serve as both functional and decorative features, enhancing your overall design.
Master Task Lighting for Clear, Safe Work Surfaces

I’m all about accurate task illumination, so your counters stay clear and safe as you chop and whisk.
We’ll aim for shadow-free work zones and smart placement that keeps every cut and slice visible, no surprises.
And yes, the right dimming helps you switch from precise prep to relaxed plating without fumbling for switches. Additionally, utilizing elegant lighting schemes can enhance the overall aesthetic while maintaining functionality.
Accurate Task Illumination
When it comes to kitchen work, accurate task illumination is non-negotiable: the right light at the right angle turns potential mishaps into confident, precise moves.
I prioritize color temperature and glare control, avoiding shadows that hide spoons or seams.
Focused, adjustable fixtures keep surfaces bright without washing colors out, so your prep stays clean, safe, and remarkably efficient. Additionally, proper task lighting placement enhances visibility and ensures that every corner of your workspace is well-lit for optimal performance.
Shadow-Free Work Zones
Shadow-free zones aren’t optional for serious cooks; they’re the backbone of safe, precise prep.
I keep shadows out with bright, directional task lights that hug the countertop. No glare, just clear, even coverage.
Here’s what works:
- Under-cabinet rails for edge-to-edge glow
- Adjustable sconces near the prep zone
- Linear LEDs along the island front
- White, shadow-minimizing fixtures
- Dimmer-ready task lamps for detail work
Incorporating pendant lighting can elevate the overall aesthetic while ensuring functionality in your kitchen.
Dimming For Clarity
Dimming for clarity isn’t about mood lighting; it’s about making every task safer and easier to nail precisely.
I’m all about practical tweaks: choose a dimmer that crisply adjusts range, place it where you slice, dice, or whisk, and avoid glare by spacing fixtures.
Lower light reduces fatigue while higher levels spotlight fine details, keeping surfaces clearly controlled. Additionally, incorporating sleek kitchen ventilation solutions can enhance both functionality and style, ensuring that your workspace remains comfortable while you cook.
Ambient Lighting That Sets the Room’s Mood

Ambient lighting is the mood-setter in any kitchen, and getting it right means you can cook, chat, and snack without feeling like you’re in a showroom.
I’ll keep it real: soft layers, warm temps, and dimmable options set the vibe without glare.
- Use dimmers for flexible mood shifts
- Layer ambient, task, and accent lighting
- Favor bulbs around 2700–3000K
- Opt indirect sources to soften shadows
- Coordinate finishes for cohesion
Incorporating layered lighting can enhance the overall atmosphere, making your kitchen feel welcoming and functional.
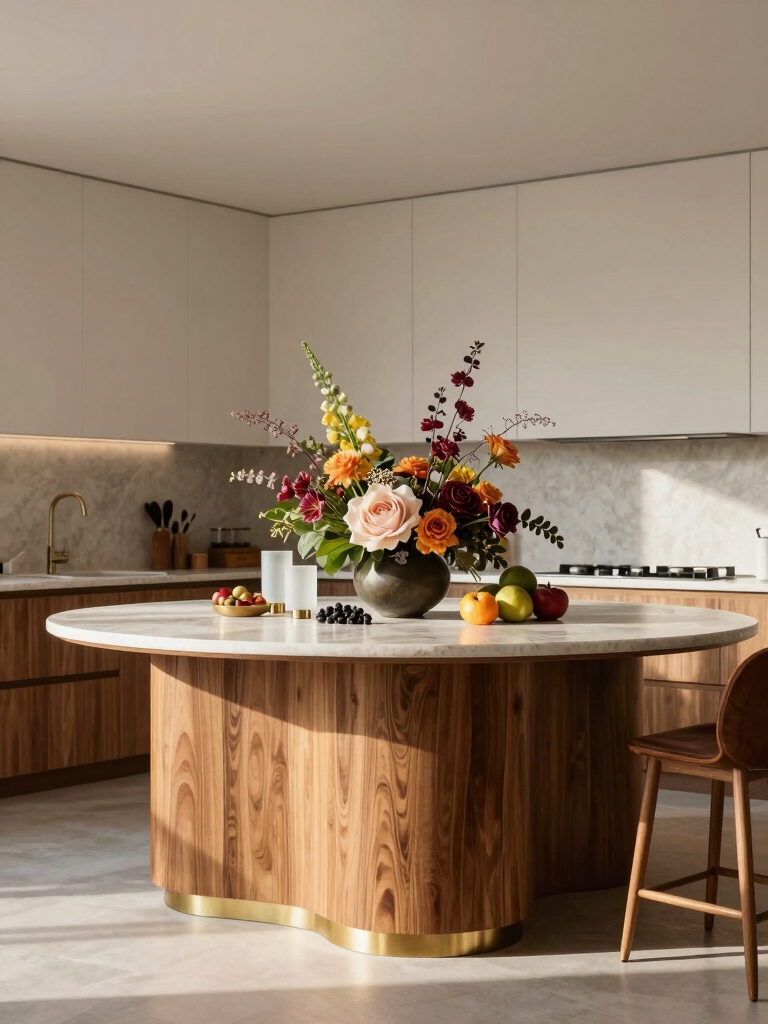
Accent Lighting to Highlight Cabinets and Stone Details

Cabinets glow up when I aim tiny LEDs along their underlines, turning everyday cabinetry into a sculpted feature. I love how stone details catch a soft beam and tell their own story without shouting. Let’s chat about practical ways to mix task and accent lighting so every inch sparkles with purpose. Incorporating splurge-worthy pendant lights can elevate the overall design and functionality of your kitchen island.
Cabinets Glow Up
Whether you’re chasing a subtle glow or a bold glow-up, accent lighting can transform cabinets and stone details from background to centerpiece.
I love pairing under-cabinet LEDs with warm dimming, so profiles disappear when not needed. Subtle uplights add drama, while flexible strips follow every edge. Additionally, consider incorporating modern countertop decor that complements your lighting choices for a cohesive look.
- Under-cabinet LEDs with dimming
- Warm color temperatures
- Hidden power runs
- Uplights for depth
- Corner accents
Stone Details Highlight
Stone details deserve their moment in the spotlight, so I lean into accent lighting that caresses textures without shouting.
I use warm, focused beams to outline stone veining and cabinet edges, adding depth without glare. This approach highlights character, avoids harsh contrasts, and stays practical. Incorporating modern kitchen gadgets can also enhance functionality and efficiency in your cooking space.
Dimmer switches let me adjust mood, while shadows add dimension, not distraction.
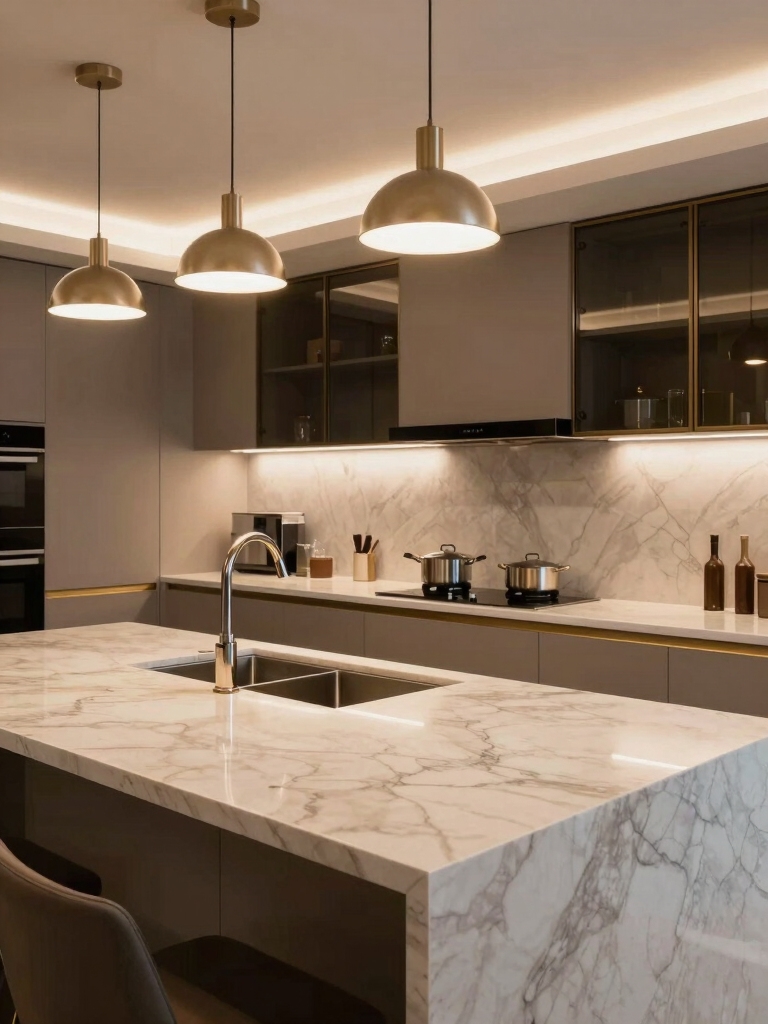
Pendant Styles That Anchor a Center Island

Center island lighting isn’t just about brightness—it’s about personality, too.
I pick pendant styles that anchor the space, balancing function with flair, so your island feels intentional, not incidental.
Here are strong contenders:
- Mini/pillars with bold finishes
- Cone or cylinder silhouettes for clean lines
- Glass or halo glass for diffusion
- Industrial metal frames with warm bulbs
- Sculptural or asymmetric clusters for drama
Choosing the right island lighting combos can help create the perfect ambiance in your kitchen.
Size, Spacing, and Placement for Perfect Proportions
Size, spacing, and placement aren’t afterthoughts—they’re the blueprint for perfect island lighting.
I’ll keep measurements simple: center fixtures 24 to 30 inches above the island, evenly spaced, with two to three paths of light depending on length.
Avoid crowding edges; allow clear sightlines. Aim for balanced symmetry, practical reach, and a cohesive feel that makes prep counter tasks glow with ease.
Color Temperature and Mood: Warm, Neutral, or Cool?
I’m tired of guessing my kitchen mood, so let’s map it by Kelvin: warm for cozy dinners, neutral for all-purpose prep, cool for sharp task lighting.
I’ll talk through the warmth, the neutral range, and how cool task lights spike focus without feeling clinical.
Ready to pick your vibe and align it with your cooking rhythm?
Warmth Through Kelvin
Warmth isn’t just a mood—it’s a color temperature you can dial in.
I’ll map Kelvin to vibe, then help you pick for prep zones, island tasks, and cozy dinners, without vibes chatter. Your eyes will thank you when warmth reads as inviting, not orange.
- 2700K: candlelit calm with cozy glow
- 3000K: everyday warmth, versatile
- 3500K: neutral-friendly spice
- 4000K: clean, modern warmth
- 5000K: crisp contrast for focus
Neutral Ambiance Range
Neutral ambiance sits right in the sweet spot: not too cozy, not too clinical, just enough warmth to keep a kitchen feeling livable while still reading as clean and fresh.
I lean neutral here, pairing daylight balance with subtle warmth for versatile vibes. Choose fixtures that shift gently from sunrise to evening without pinging your senses or overpowering accents.
Practical, concise, and design‑friendly.
Cool Task Lighting
Cool task lighting is where the work actually happens, and it benefits from a tilt toward the right color temperature.
I guide you: cool boosts contrast, clarity, and focus, while still feeling welcoming. Choose fixtures that skim the countertop without glare.
Below are smart ideas to sharpen detail and speed tasks—without sacrificing style or warmth elsewhere.
- Color temperature guidance for prep zones
- Task-specific fixtures with accurate CRI
- Dimmable options for mood control
- Anti-glare shields and placement tips
- Integrated troubleshooting for shadows
Dimmable and Smart Options for Daily Control
Dimmable and smart lighting isn’t a fancy add-on; it’s daily comfort you can control with a tap or a quick voice command.
I mix scenes: bright for prep, soft for late-night chats, and a gentle mid-level when guests arrive.
I avoid cluttered controls, sticking to simple apps or switches that remember my favorite moods.
Practical, witty, and instantly adjustable.
Energy-Efficient Choices That Don’t Compromise Brightness
Some smart, energy-saving moves keep brightness high without the bill creeping up.
I’ll share tight, practical choices that light up your island without waste. You’ll feel guided, not preached, as I map quick wins and lasting value.
- opt for high-CRI LEDs with dimmable drivers
- choose layered lighting: task, ambient, accent
- favor bulbs with lower wattage, higher output
- use motion/occupancy sensors in rarely used corners
- pick efficient, slim-profile fixtures for clean lines
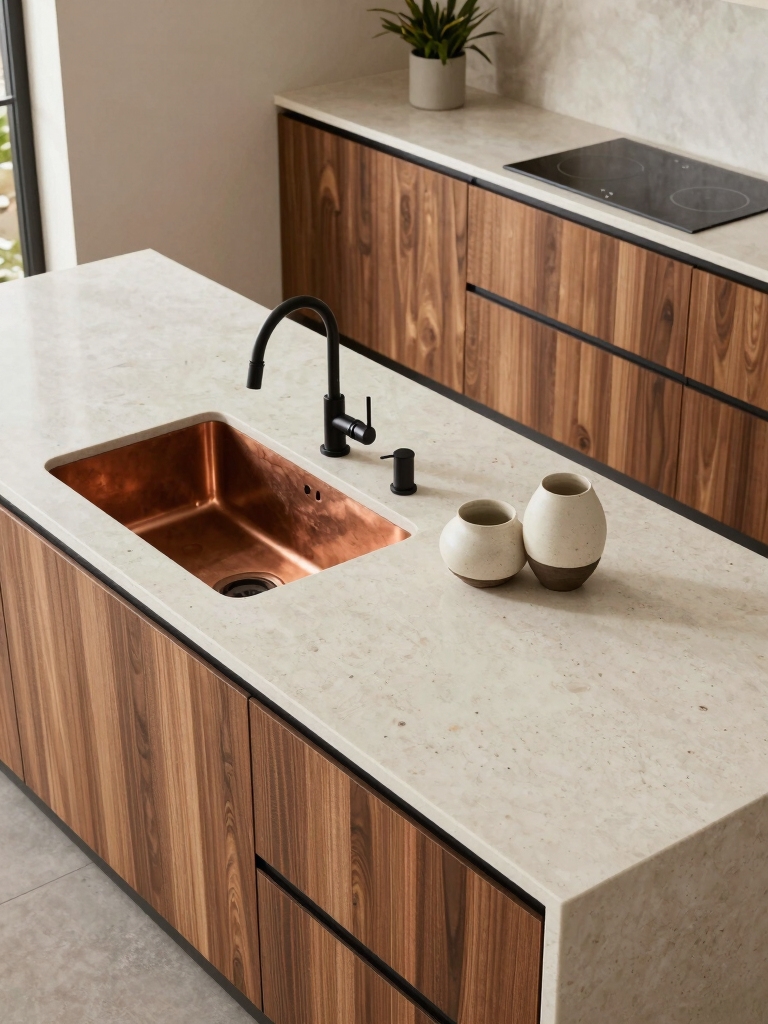
Finishes and Materials That Work on Modern Islands
On modern islands, finishes and materials matter as much as the wiring and layout, so let’s pick surfaces that stay sharp and kind to busy kitchens.
I gravitate toward durable quartz, warm woods, and matte metals that hide fingerprints.
Pair with low-gloss laminates for contrast, and sealants that resist heat.
Practical, stylish, and easy-care choices keep your island lighting feeling timeless.
Wiring, Switches, and Safety: What You Need to Plan
Wiring, switches, and safety aren’t glamorous, but they’re the backbone of a kitchen that actually works, so let’s get practical from the start.
I’ll map out essentials without the fuss, so you’re confident tonight.
- Plan dedicated island lighting circuit and GFCI protection
- Choose dimmable, compatible switches and smart control
- Ground fault and arc-fault protection everywhere
- Accessible junction boxes and clear labeling
- Professional inspection before installation, always
Design Approaches by Island Shape and Layout
When you’re shaping an island’s lighting plan, shape first, shine second: the layout dictates where task light, ambient glow, and accents should land.
I tailor approaches to island shape—rectangular takes linear pendants, L-shapes invite compact clusters, and islands with overhangs crave wall washes.
Think sightlines, clearance, and zones: balance function with mood, and keep pathways crystal clear for effortless flow.
Budget-Smart Designer Tricks That Still Look Luxe
If you want luxe look without the bill shock, start with smart materials and smart placement that punch above their price tag.
I’ll show you how to cheat the budget while keeping polish, with practical tweaks you can actually execute tonight.
- Swap metal for brushed brass-look hardware on a budget
- Layer warm light with dimmable LEDs
- Use oversized, statement glass globes
- Paint room tones to unify fixtures
- Shop outlets for designer-level finishes
Conclusion
If you’re planning island lighting, you’ve got a toolkit that’s as versatile as it is stylish. I’ve shown you where to layer task, ambient, and accent—and how pendant styles, finishes, and layout choices all play nice together. Think of your island like a stage, with lighting as the rhythm that keeps everything in focus. Now go ahead, pick a vibe, dial in the dims, and watch your kitchen glow with both function and personality.