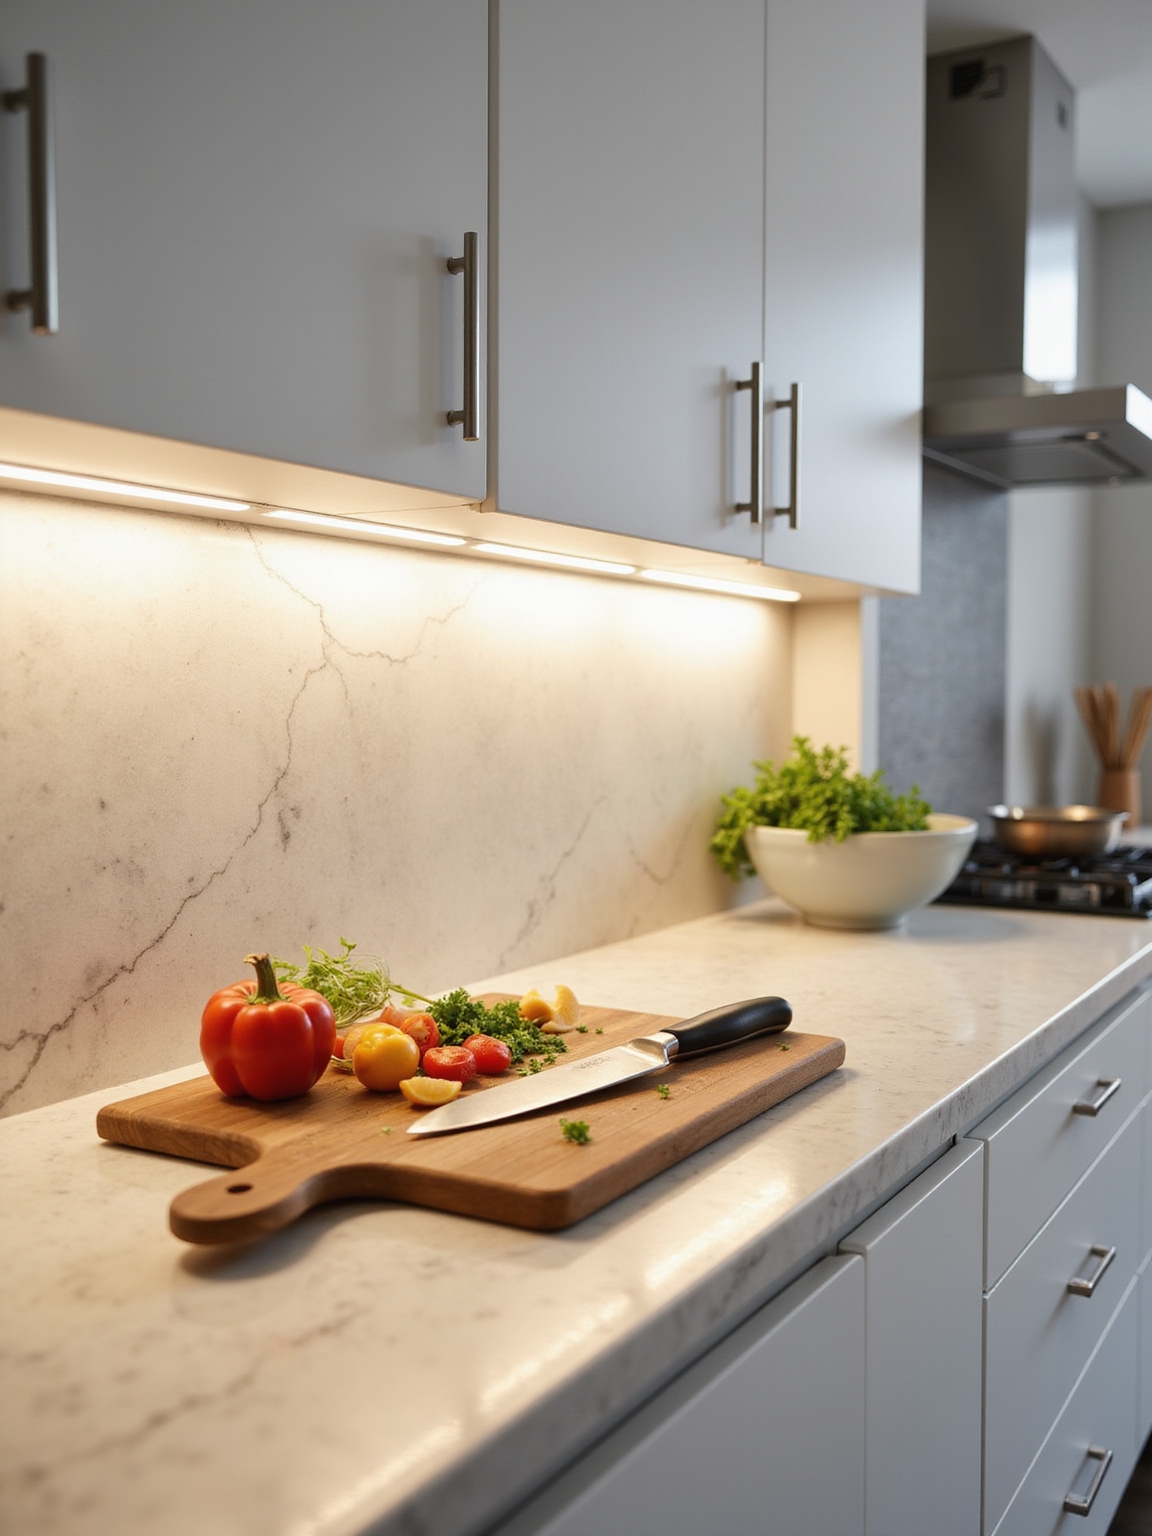
I’d center task fixtures over main prep surfaces so light falls evenly across counters, tuck under-cabinet strips 6–12 inches back and 2–4 inches down to avoid shadowing, and space lights every 12–18 inches for overlap.
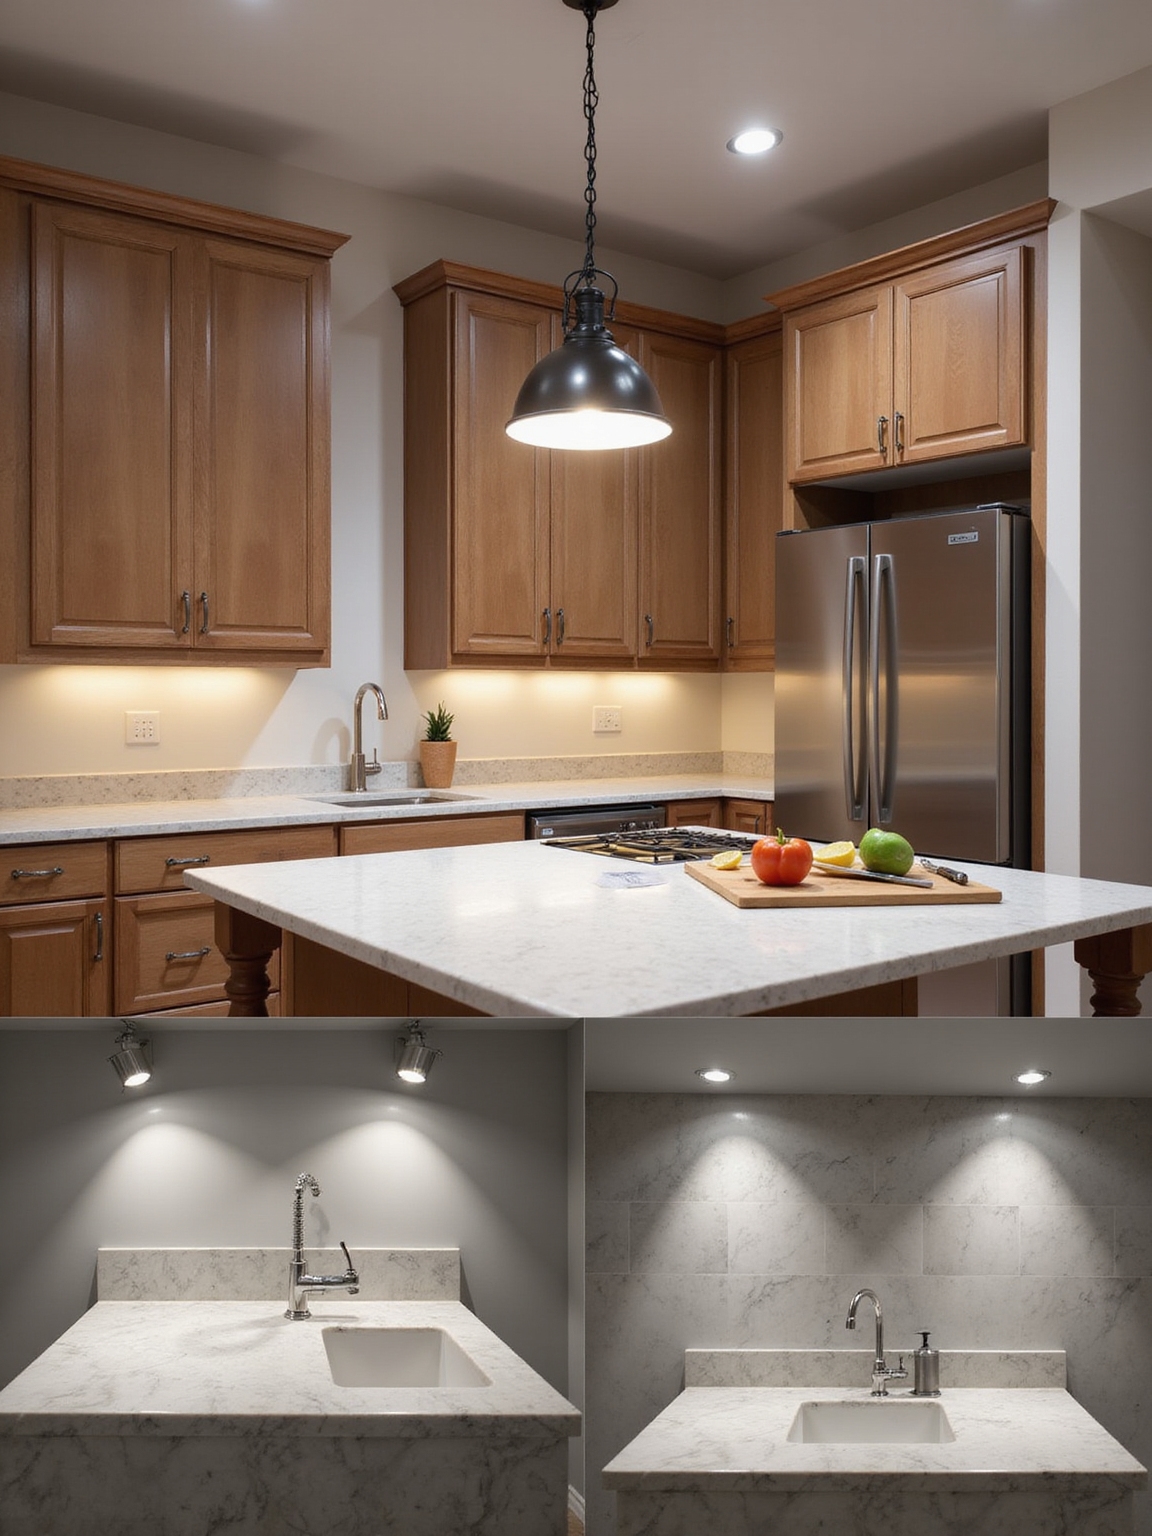
Hang pendants 30–36 inches above islands, aim adjustable spots away from where your hands block the beam, and group switches by zone with dimming for mood and function. Keep measurements and power checks handy — I’ve got step-by-step placement and spacing tips next.
Quick Rules: 3 Placement Rules for Kitchen Prep Lighting
When I’m planning task lighting for a kitchen prep area, I stick to three simple placement rules that keep the work surface bright, shadow-free, and comfortable to use.
I center lights over work zones, angle fixtures to cut shadows from my hands, and layer with dimmable options so brightness matches tasks.
That combination feels practical, cozy, and effortless to live with. A well-designed kitchen often uses layered lighting to balance function and atmosphere throughout the space.
Where to Place Task Lights Over Counters

When I plan task lights over a counter, I aim to center fixtures over the main work surface so the beam hits where I chop and mix.
I also pay attention to depth—placing lights far enough forward to reduce shadowing from my head and hands but not so close they blind me.
The goal is simple: even coverage with minimal glare so the workspace feels comfortable and safe.
I often layer lighting for an elegant lighting scheme to enhance both function and ambience.
Center Over Work Surface
I like placing task lights centered over the main prep surface because it gives me even, glare-free illumination exactly where I work.
It feels cozy and practical. I aim for balanced coverage and easy reach.
- Prevents shadows across chopping and mixing
- Creates a focused, inviting work area
- Keeps fixtures simple and uncluttered
Splurge on statement fixtures like pendant lighting to combine form and function over your island.
Light Placement Depth
Having the light centered over the prep surface makes sense, but I also pay attention to how far forward or back the fixture sits above the counter — that depth determines how well the beam covers your work and how much glare you get.
I tuck lights slightly toward the front for better reach, or back them for broader spread, adjusting height to balance coverage and cozy ambiance.
Large window styles can complement task lighting by filling the kitchen with natural light, reducing the need for bright fixtures during the day and helping balance overall illumination for cooking and prep large window styles.
Minimize Shadows And Glare
Usually I aim lights so my hands don’t cast big shadows on the counter — that simple habit makes prep feel faster and less fussy.
I place fixtures slightly forward and use diffused beams to cut glare.
Try these tactics:
- Mount lights just past the cabinet front.
- Use wide-angle, diffused fixtures.
- Layer with undercabinet strips for even fill.
Architects often arrange fixtures to follow the kitchen work triangle, improving flow between prep, cook, and cleanup areas.
Under-Cabinet Task Lights: Best Mounting Height
I often find that the best height for under-cabinet task lights is the one that keeps shadows off my work surface without blasting my eyes, so I aim for fixtures mounted about 6–12 inches back from the cabinet front and 2–4 inches below the cabinet bottom.
That position lights countertops evenly, stays out of sight lines, and feels comfortable when I’m prepping, chopping, or reading recipes.
Sleek kitchen ventilation can also complement under-cabinet lighting when coordinating stylish kitchen ventilation with your fixtures.
Spacing Under Cabinets to Avoid Dark Spots
I like to space under-cabinet fixtures so light overlaps a bit — that way you get even brightness across the counter.
If the fixtures are too far apart you’ll end up with shadow gaps where chopping and prep happen, so I plan placement with both fixture throw and overlap in mind.
Let’s look at how far apart lights should go to balance brightness without creating dark spots.
Keeping storage and layout in mind helps maintain a tidy prep area, so consider organized storage when planning light placement.
Optimal Light Fixture Spacing
When I’m planning task lighting under cabinets, I aim to space fixtures so the light overlaps just enough to eliminate dark spots without creating glare; proper spacing keeps countertops evenly lit and makes prep work easier.
I recommend:
- Place fixtures every 12–18 inches for continuous coverage.
- Offset strips toward the front edge for clarity.
- Use dimmable fixtures to fine-tune brightness.
Keeping kitchen counters clutter-free with minimal rules also helps make the illuminated work area more functional and safer by reducing obstacles to food prep and cleanup, following the principle of clutter-free counters.
Preventing Shadow Gaps
Although cabinets themselves block light, I make a few simple spacing choices so countertops never fall into shadow; small adjustments in fixture placement and distance from the wall keep work surfaces bright and consistent.
I leave a narrow gap under cabinets or recess lights slightly forward so beams overlap. That tiny offset eliminates dark spots, keeps chopping and prep safe, and feels kinder on the eyes.
Balancing Brightness Distribution
To keep that steady overlap working across the whole counter, I pay close attention to how far the lights sit from the cabinet face and how much of a gap I leave under the cabinets.
I aim for even spread so knives, bowls, and chopping boards don’t hide in shadow.
- 2–3 inches gap for small LEDs
- 4–6 inches for linear strips
- Adjust for bulb beam angle
Where to Position Pendants Over Islands
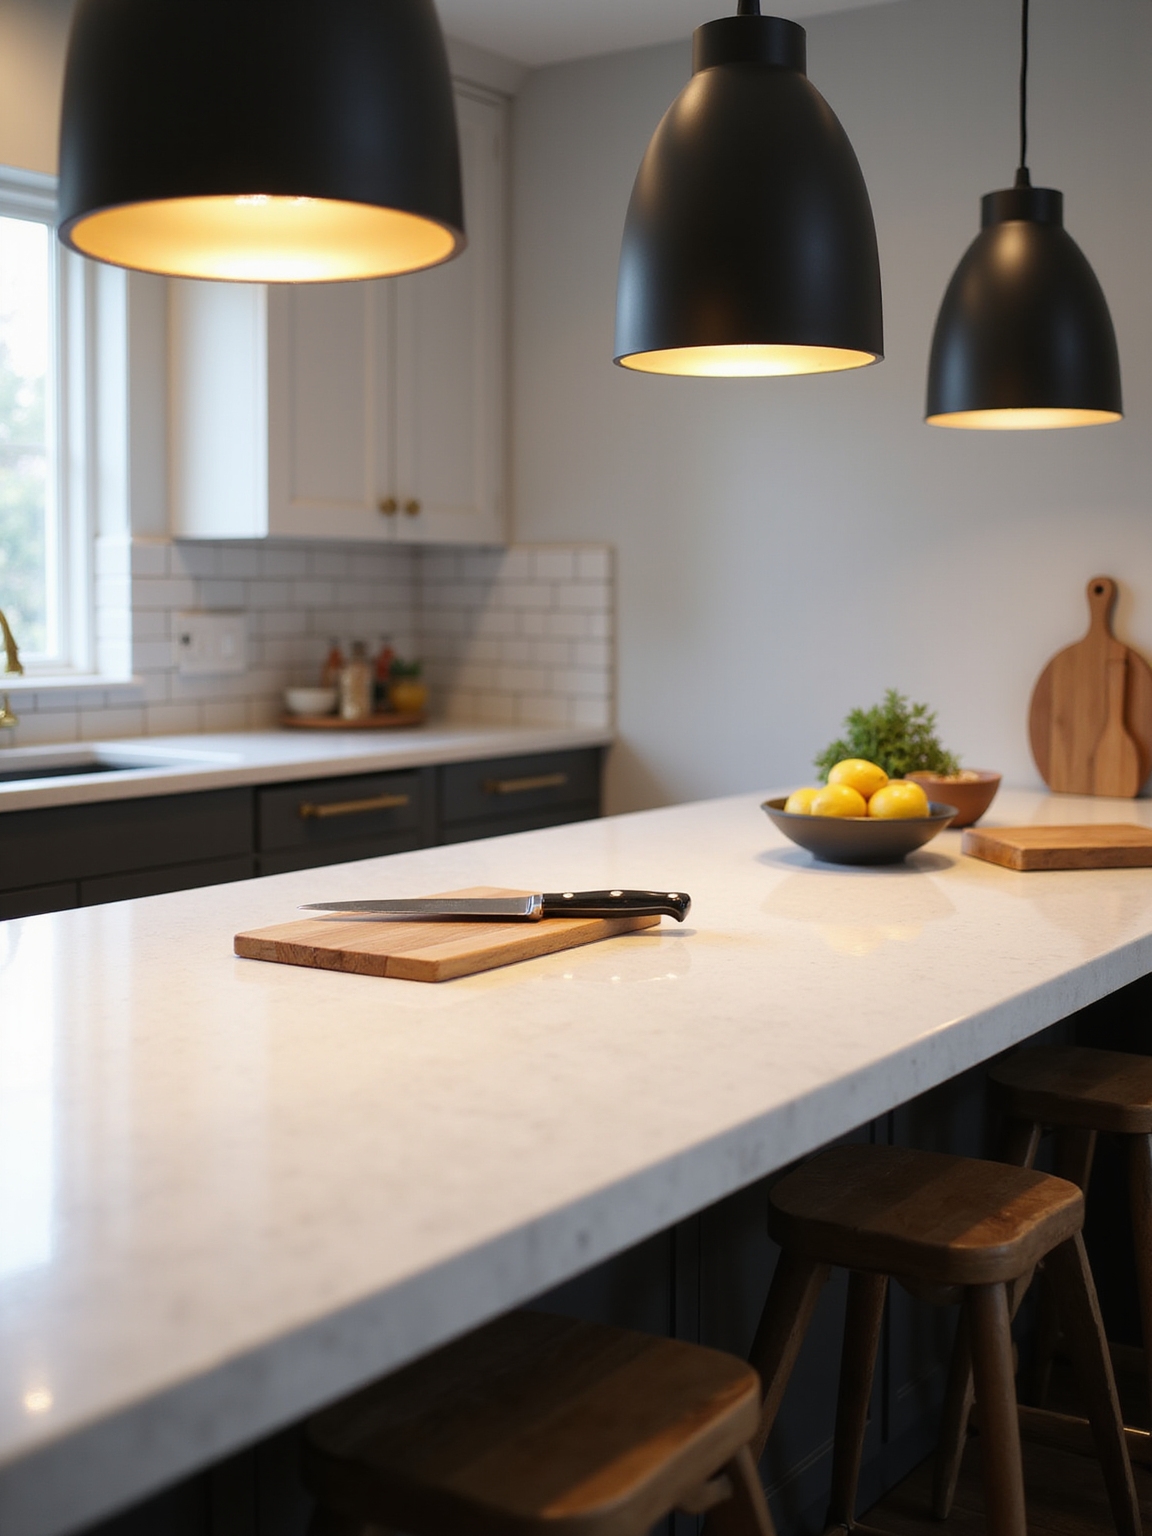
If I’m placing pendants over an island, I aim for even light and clear sightlines so the fixtures look intentional and work well for prep, dining, and conversation.
I position them centered along the island’s length, spaced evenly to avoid dark spots, and aligned with cabinetry or countertops for a cohesive feel.
That balance makes the space cozy and practical.
How Far Pendants Should Hang for Glare-Free Tasks
When I’m hanging pendant lights over a prep area, I think about keeping the bulbs low enough to light tasks without blasting your eyes—usually about 30 to 36 inches from the countertop for standard ceilings gives a good balance of task light and visual comfort.
I aim for glare-free, cozy workspaces:
- Height: 30–36″ typical.
- Adjust: lower for deeper counters.
- Shield: use shades or diffusers.
Beam Angle and Lumen Output for Prep Areas
Although the fixture type and bulb wattage matter, I find beam angle and lumen output are the real workhorses for clear, comfortable prep lighting: beam angle controls how narrowly light concentrates on your counter while lumens tell you how bright that patch will be.
I suggest narrower beams for focused chopping zones and wider beams for spreading light across larger worktops, pairing lumen levels to task intensity.
Place Recessed Downlights to Fill Gaps in Task Lighting
I like to tuck recessed downlights into the ceiling grid to fill in the darker patches left by pendant and under-cabinet lights, because they give a smooth, even layer of illumination without stealing the show.
I place them thoughtfully to avoid glare and highlight work zones.
- Space to eliminate shadows
- Aim for even brightness
- Use warm color temperature
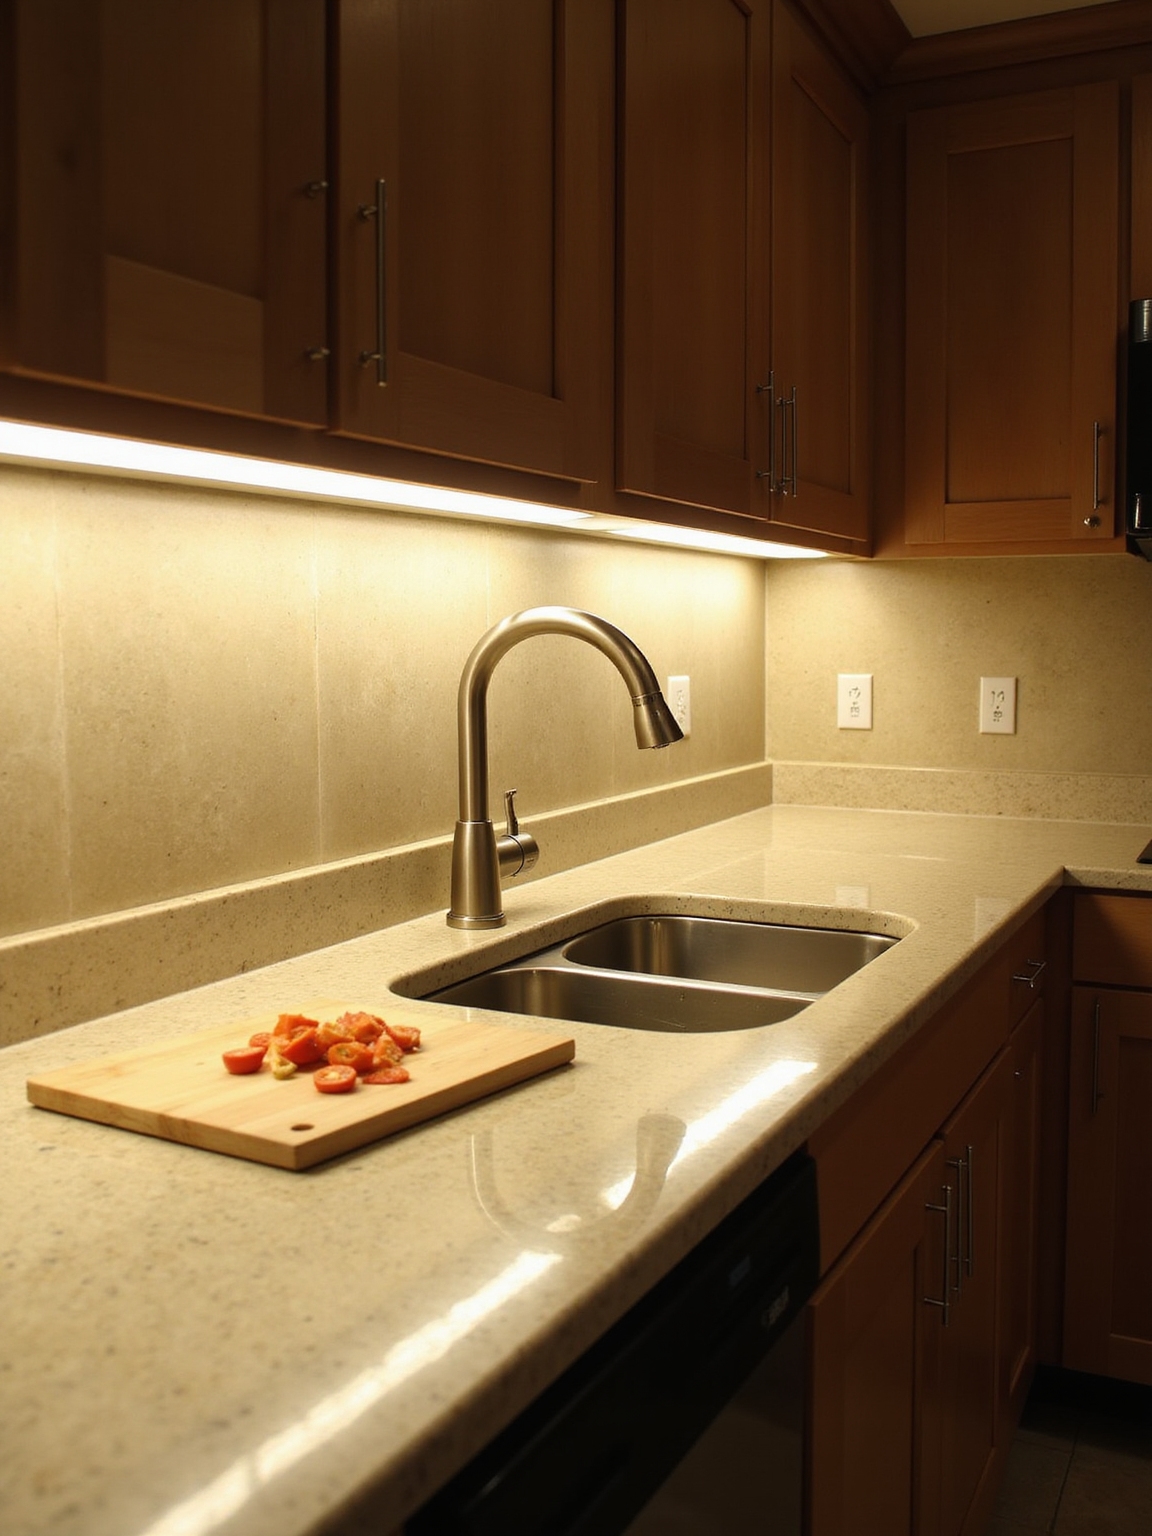
Under-Sink and Wet-Zone Task Lighting (Safe Options)
You’ve seen how recessed downlights smooth out shadows across the prep area, and now I want to cover the wetter spots where lighting needs to be safe as well as bright.
I suggest low-voltage, waterproof LED strips or puck lights rated for damp locations under sinks and over dishwashers. They give focused light, resist moisture, and keep wiring clear of splashes—simple, safe, cozy.
Layer Ambient and Task Lights Without Overlighting
When I plan lighting, I think in layers—ambient light to set the room’s mood, task light for the work zones, and a few accents to add personality—so the kitchen feels bright where you need it without becoming harsh or clinical.
I balance levels, avoid uniform brightness, and keep surfaces comfortable.
- Dim ambient for overall warmth
- Stronger task at counters
- Accent for depth and focus
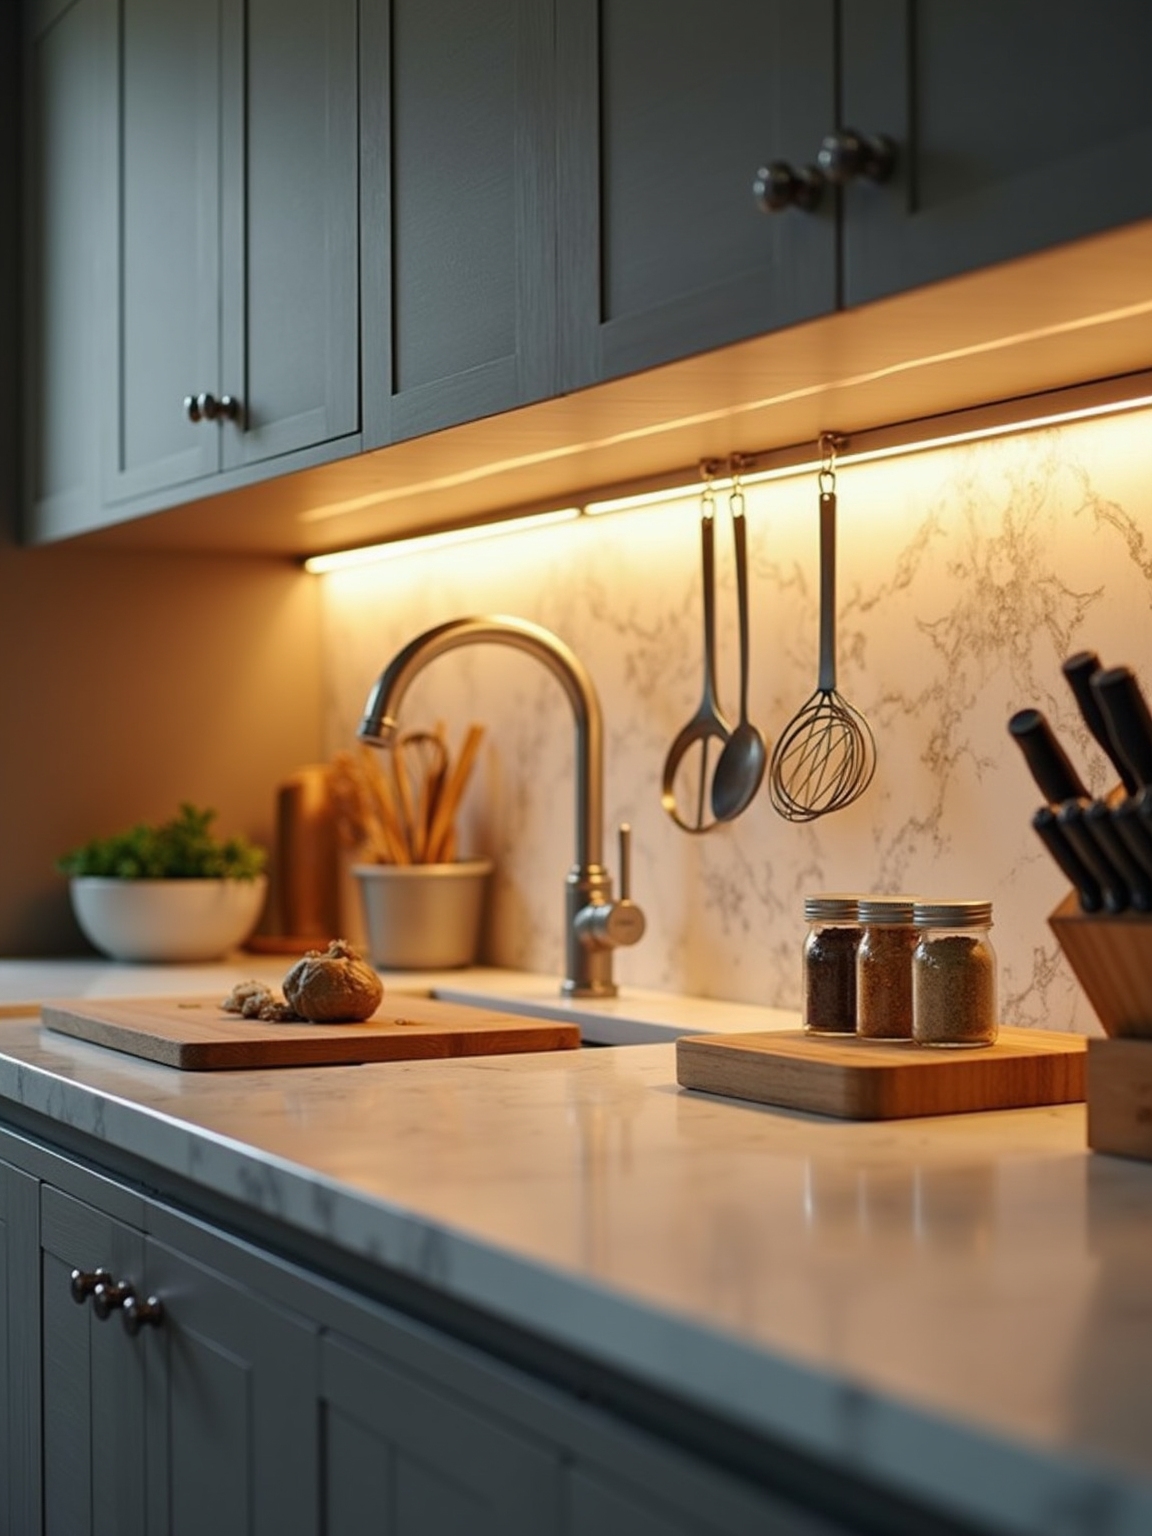
Fixture Styles and Finishes That Cut Shadows and Glare
Although good layering gives the kitchen its mood, the fixtures themselves decide whether you’ll get crisp, shadow-free light or harsh glare, so I pay close attention to styles and finishes that tame both.
I choose matte or satin shades, frosted diffusers, and wider conical profiles that spread light softly. Warm white LEDs and satin metal reduce sparkle and make chopping safer and more pleasant.
Adjustable and Directional Fixtures: Where to Aim Them
Aim adjustable fixtures so they follow how you actually work: I point spotlights toward task zones like the sink, prep island, and stove, and tilt pendants to wash countertops evenly.
I aim for flexibility and minimal glare, keeping shadows off cutting boards and pans.
- Focus on main prep surfaces.
- Angle for cookware and sinks.
- Soften edges with pendant tilt.
Switches and Wiring: Zone Controls for Task Lighting
I like to break the kitchen into lighting zones so I can switch prep, sink, and island lights independently for whatever task I’m doing.
You can stick with traditional hardwired switches or choose low-voltage control options for smoother dimming and simpler wiring runs.
Let’s look at how zone controls and low-voltage systems can make your task lighting more flexible and efficient.
Independent Zone Switching
When I’m planning task lighting for a kitchen prep area, I like to think in independent zones so each workspace gets exactly the light it needs without wasting energy or creating glare.
I recommend simple, labeled switches so you control islands, counters, and sinks separately:
- Island
- Countertops
- Sink
This keeps evenings cozy and chores well lit without fuss.
Low-Voltage Control Options
Let’s dig into low-voltage control options so you can fine-tune each work zone without rewiring the whole kitchen.
I like programmable low-voltage systems: a transformer feeds thin wiring to multiple controllers or keypads. You get dimming, scene-setting, and simple zone grouping.
Installation is tidy, less invasive, and often DIY-friendly. It’s an efficient, flexible way to tailor task lighting to how you actually cook.
Layout Tips for Two Cooks: Avoid Shadows and Crowding
Because two people working side-by-side can turn a simple meal into a crowded dance, I plan kitchen zones so we don’t bump elbows or cast shadows on each other’s tasks.
I keep paths clear, stagger prep areas, and balance light. My quick tips:
- Separate sink, stove, prep.
- Opposite-handed stations.
- Overhead plus undercabinet lighting.
DIY Pre-Install Checklist and Quick Troubleshooting Fixes
Before you start cutting holes or buying fixtures, I measure the exact task area so the lights will cover where we prep and chop.
I also check for nearby power access and make sure the circuit can handle the load, and I test a bulb in the actual fixture to confirm compatibility and color.
If something’s off—flicker, dimming, or the wrong color temperature—those quick checks usually point to an easy fix before installation.
Measure Task Area
When I measure the task area, I start by picturing how we’ll use the space day-to-day—chopping, plating, and clearing—so the lighting ends up where we actually need it.
I measure work surfaces, note overhangs, and mark shadow-prone spots. Then I jot priorities:
- Prep sink and counter
- Cutting board zones
- Appliance staging areas
Check Power Access
Since good lighting needs good power, I start by mapping where sockets, breakers, and switches already sit so I know what I can tap into without surprises.
I check outlet capacity, GFCI protection near sinks, and whether circuits are overloaded.
If I need a new outlet or dedicated circuit, I plan placement and budget for an electrician — safety first, then convenience.
Test Bulb Compatibility
Now that I’ve checked power locations and circuit capacity, I’ll make sure the bulbs I plan to use actually work with the fixtures and switches in the prep area.
I test sockets, dimmer compatibility, and color temperature quickly to avoid surprises.
- Test bulbs in each fixture.
- Verify dimmer and LED compatibility.
- Confirm color temperature and brightness match the task.
I’ll wrap up with one quick, cozy thought: good task lighting changes how you live in your kitchen.
Studies show well-placed lighting can cut prep time by as much as 20%, so it really pays to plan where lights go.
Focus on under-cabinet strips at eye level, pendants centered over islands, and adjustable fixtures to steer light away from shadows when two people cook. With a few simple swaps, your prep area becomes safer, faster, and more inviting.


