I keep a tray for function and charm: pick its purpose first — daily tools, a display, or a combo — then match size, shape, and material to your counters. I anchor each vignette with one taller piece, add a low bowl or salt cellar, and group tools in a crock for tidy access.
I favor sealed wood or metal for easy wipes and swap simple seasonal sprigs for freshness. Stick to three finishes and I’ll show you how to build templates next.
Decide the Tray’s Purpose (Daily Use, Display, or Combo)

When I choose a kitchen tray, I start by deciding how I actually want to use it—everyday workhorse, pretty display, or a bit of both—because that choice shapes size, material, and what I’ll keep on it.
I pick sturdy wood or metal for daily use, decorative ceramic for display, or a durable-but-pleasant combo that handles spills and still looks charming on the counter.
I also consider the tray’s role in the overall layout, since countertop decor should balance function and visual flow.
Choose the Right Countertop Tray Size and Shape
I like to start by matching the tray size to the counter space so it feels intentional, not crowded.
I also think about shape—round trays soften corners while rectangular ones corral bottles and tools better.
That simple balance of size and shape makes the whole countertop feel both useful and welcoming.
A well-chosen tray can turn everyday items into stylish counter decor that keeps your kitchen looking organized.
Match Tray To Countertop
On my countertops, a tray should feel like it was made for the space — not too big to crowd things, not so small it disappears.
I pick trays that echo the stone or wood tones, mirror the countertop’s scale, and tuck neatly into corners or centerpieces.
The right proportion makes everything look intentional, cozy, and effortlessly organized without shouting for attention.
I often use a well-chosen tray as a high-impact focal point to instantly elevate the overall look of the counter.
Balance Shape With Function
Because a tray’s shape should do more than look pretty, I pick forms that suit how we actually use the counter — oval for easy reach in front of a stove, a narrow rectangle to corral oils beside the sink, or a round tray for a centerpiece that invites passing plates.
I size trays so they fit workflow, leave elbow room, and feel balanced without crowding surfaces.
Designers often layer trays with complementary decor pieces to achieve an elevated, cohesive look and create intentional focal points on the countertop like in Designer Kitchen Shelf Styling and professional kitchen arrangements.
Pick Countertop Tray Materials That Match Your Kitchen
I like to pick trays that feel at home with the rest of my kitchen—wicker for a farmhouse look, metal for industrial, or wood for something cozy.
Think about how tough you need the tray to be versus how much upkeep you want; sealed wood and metal last well, while rattan looks great but needs gentler care.
Let’s weigh style and durability so your tray works and still looks right.
Top luxury countertop materials balance aesthetics and durability, so consider materials like quartz or granite for long-term performance when coordinating tray choices.
Material Match With Style
When I pick a countertop tray, I match its material to the kitchen’s personality—think warm wood for a farmhouse sink, matte black metal for an industrial look, or honed marble for a classic, elegant space.
I lean toward textures that echo cabinetry and hardware, layering wicker for casual charm or brass for vintage warmth, so the tray feels inevitable, not an afterthought, in the room’s story.
This simple swap can elevate cabinet-focused styling and create cohesion across the kitchen with professional cabinet decor.
Durability Versus Maintenance
Matching a tray to your kitchen’s style is only part of the decision—I’ve learned the practical side matters just as much: how long it lasts and how much upkeep it asks for.
I favor metal or sealed wood for daily use—durable, forgiving, easy to wipe. Porcelain looks lovely but chips; wicker is charming but needs gentle care.
Choose based on use, not just looks. A good rule is to favor materials known for longevity and resilience, like heavy-duty kitchen sinks, which reflect the same principles you should use when choosing countertop trays.
Make the Tray Easy to Clean (Materials & Placement)
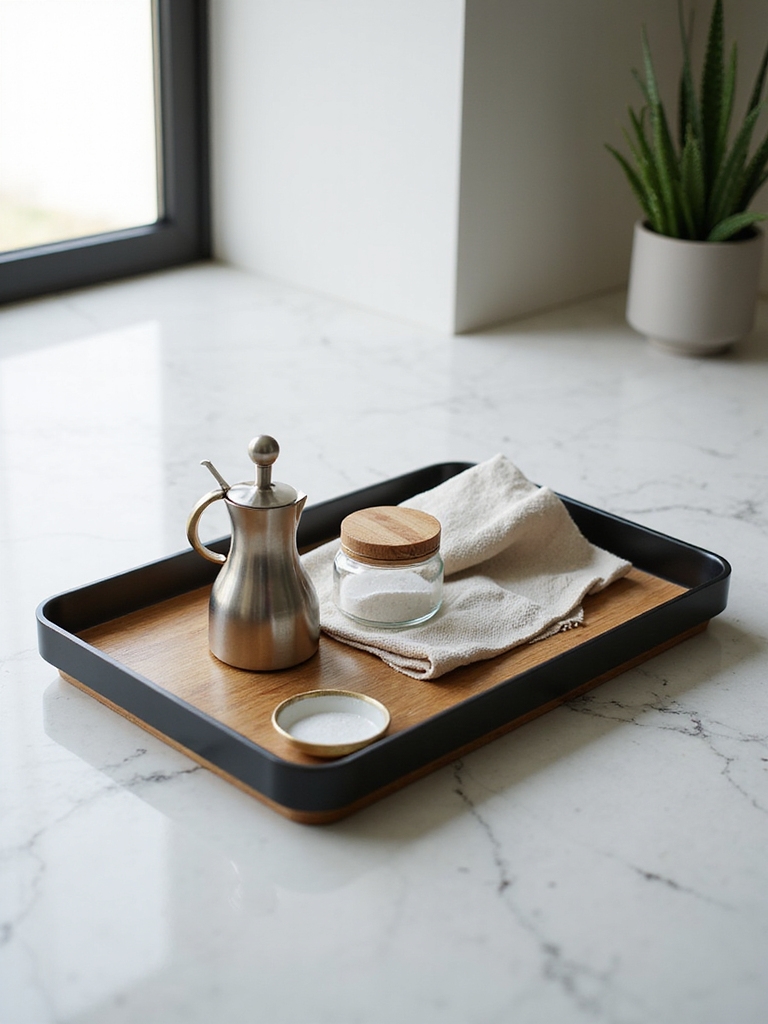
Although I love a curated tray, I also want one that’s simple to wipe down after a busy meal. I pick hard finishes and position things to avoid crumbs settling in corners. Keep it practical, rustic, and tidy.
- Sealed wood or metal tray
- Removable glass coaster
- Rubber feet for airflow
- Spot items near sink for quick wash
A well-planned tray is a simple way to maintain countertop order while keeping frequently used items accessible.
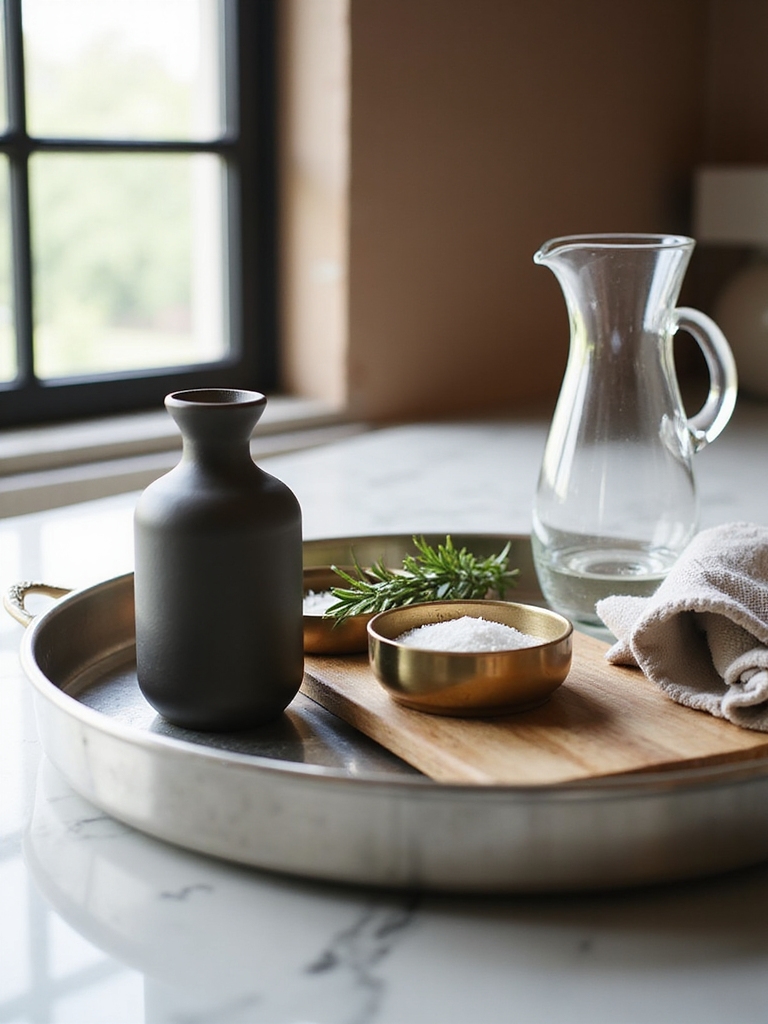
Anchor the Layout With a Focal Item
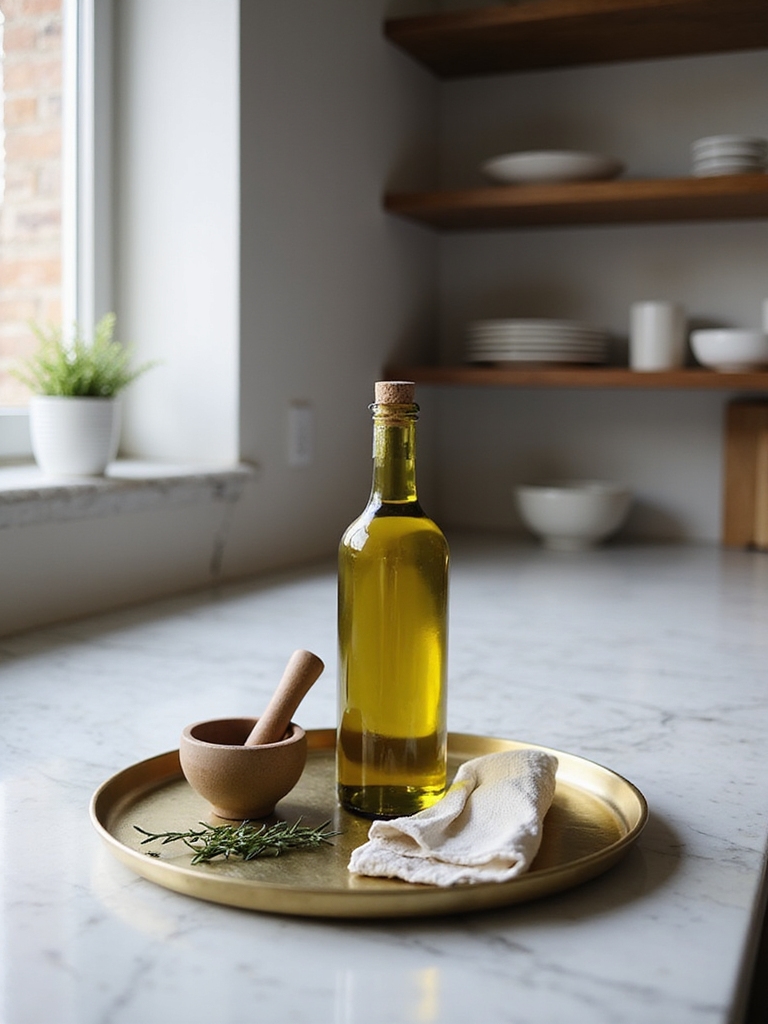
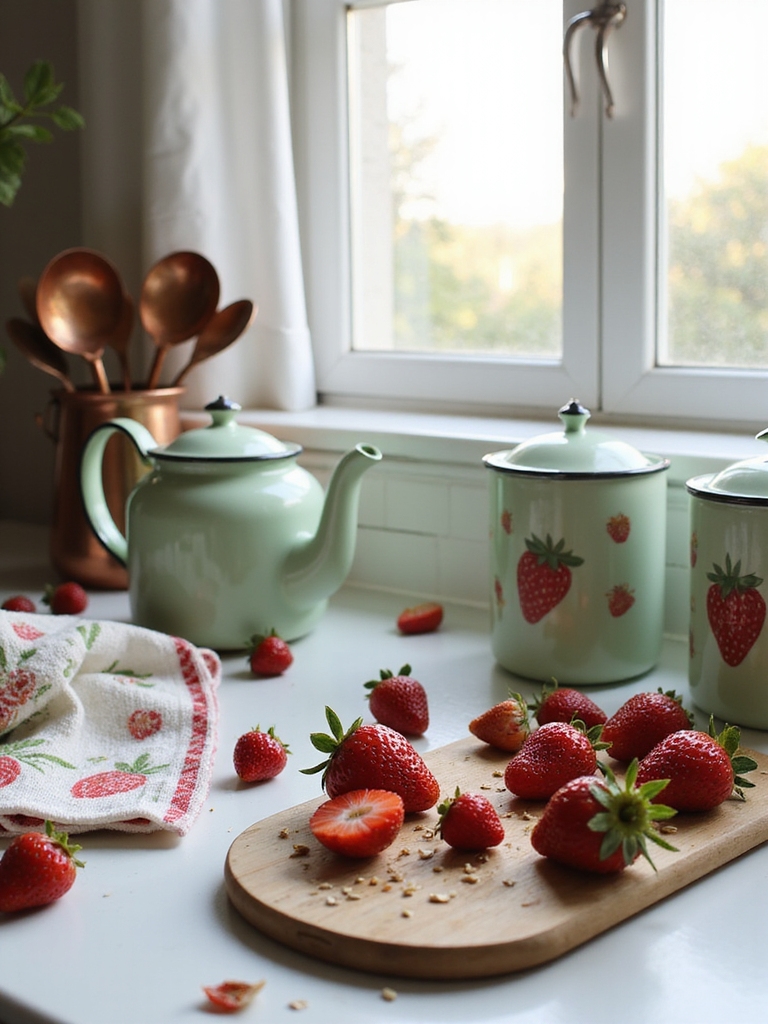
I like to start every tray by choosing a single centerpiece that sets the tone—maybe a mason jar of wildflowers or a wooden bowl of citrus.
From there I think about height, balancing taller pieces with low, textured items so the arrangement feels grounded and inviting. Keep the scale right for your tray and everything else will fall into place.
Centerpiece Selection
When I choose a centerpiece for a kitchen tray, I think of it as the anchor that gives the whole arrangement purpose and personality.
I pick items that feel lived-in, useful, and charming, then arrange smaller pieces around them to tell a simple story.
- Mason jar of wildflowers
- Vintage oil cruet
- Wood-bead candle
- Small bowl of lemons
Balance With Height
Because height gives a tray its backbone, I start by choosing one taller item to anchor the layout and then arrange lower pieces around it so everything feels intentional and balanced.
I pick something with texture—an oxidized vase or wooden salt cellar—then tuck in a small bowl, candle, and sprig. The contrast creates rhythm, guides the eye, and keeps the countertop calm.
Arrange Items in Odd-Numbered Groupings
Three items often make the sweetest little vignette, so I like to group things in odd numbers to keep a tray feeling natural and balanced.
I pair mismatched jars, a small cutting board, and a sprig of herbs to tell a simple story.
Try these combos to spark charm:
- Mason jar, wooden spoon, linen napkin
- Oil bottle, salt cellar, small bowl
- Ceramic vase, herb bundle, tiny tray
- Fruit cluster, linen, vintage jar
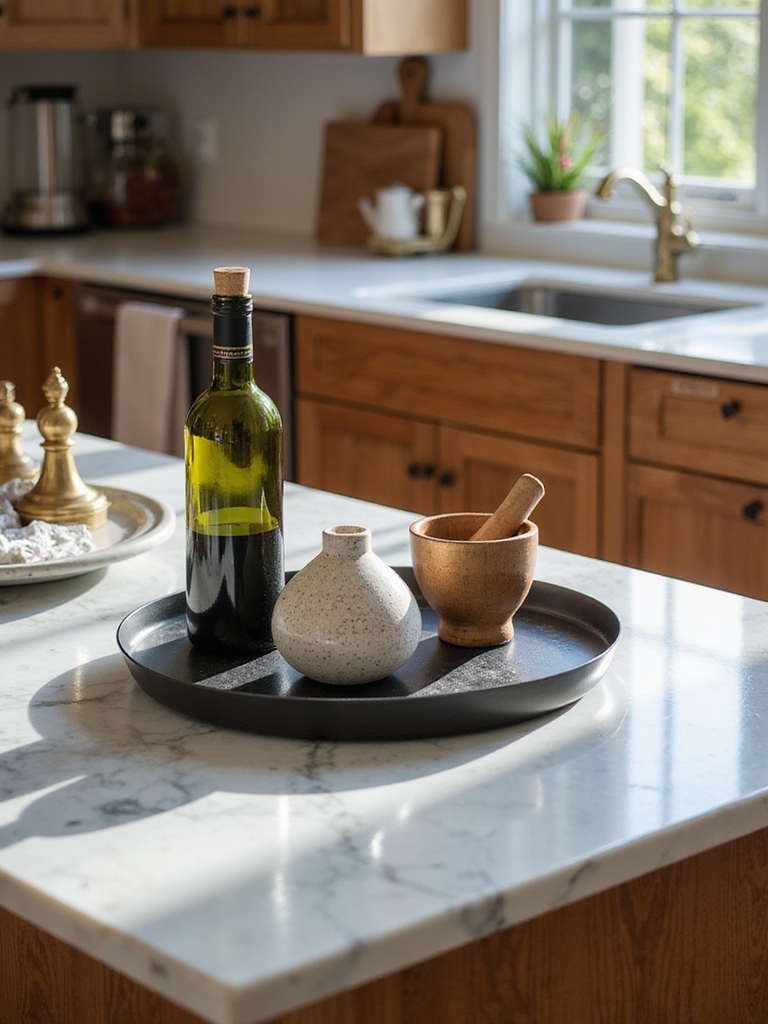
Layer Heights: Mix Tall, Medium, and Low Pieces
I like to start with a tall piece—like a weathered vase or candlestick—to anchor the tray and give it presence.
Then I layer in medium items and finish with low accents—small ceramic bowls, a stack of coasters, or a sprig of greenery—to keep the eye moving.
That mix of heights makes the arrangement feel balanced, cozy, and intentionally rustic.
Tall Pieces As Anchors
When I arrange a tray, I start with a tall piece to give everything else something to lean on; it immediately creates a focal point and anchors the composition.
I choose something with texture and presence, then balance with middling companions for harmony.
- Tall vase with wild stems
- Wooden utensil jar
- Oil bottle with label charm
- Small cutting board propped behind
Layering With Low Accents
A low bowl or stack of saucers is my secret for finishing a tray—I tuck them in front of taller pieces to soften edges and pull the whole vignette together.
I layer medium items—a spice jar, a small vase—behind that low plane, so eye moves naturally.
Low accents ground the scene, add texture, and keep countertops feeling ordered, cozy, and intentionally lived-in.
Corral Essentials With Small Containers and Bowls
Tuck small containers and bowls onto your tray, and you’ll see how easily clutter transforms into calm; I like to mix materials—terracotta, hammered metal, and simple wood bowls—to give that farmhouse-warmth without fuss.
I use containers for salt, matches, spare keys, and citrus so everything feels intentional.
- Salt cellar
- Match tin
- Key bowl
- Citrus nest
Style Frequently Used Countertop Tools for Access
Once the little bowls have corralled the small stuff, I like to style the tools I reach for every day so they look as purposeful as they’re handy.
I group spatulas, spoons, and whisks by material in a weathered crock, keeping knives in a simple block. It feels tidy, approachable, and makes cooking smoother without fuss.
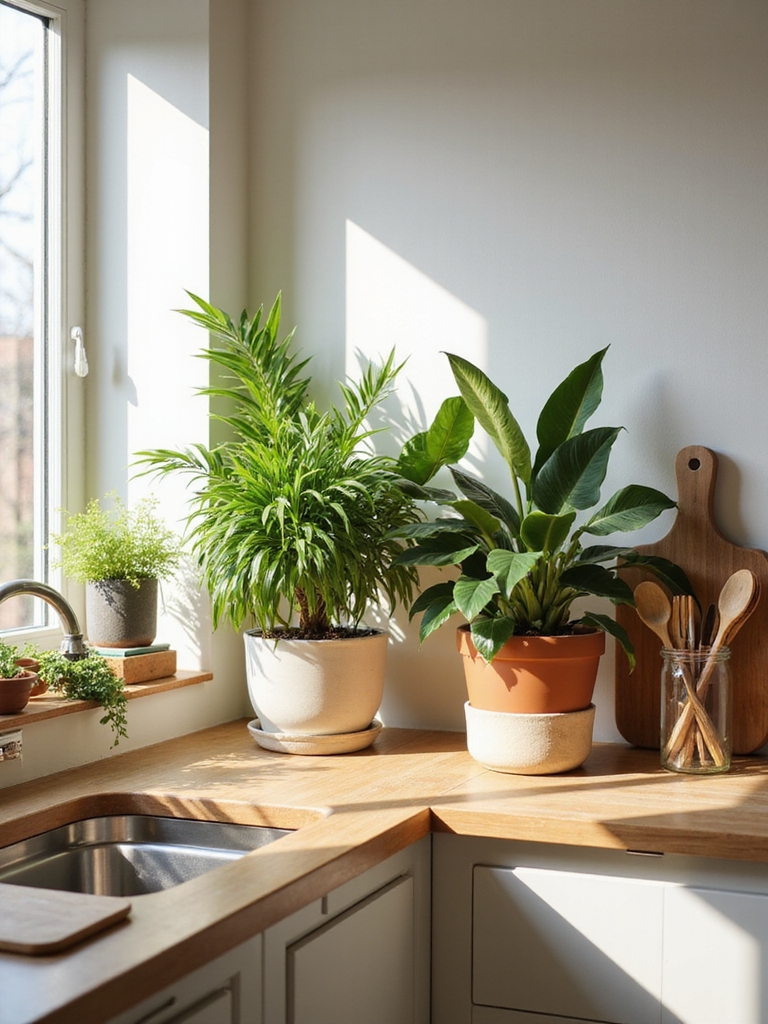
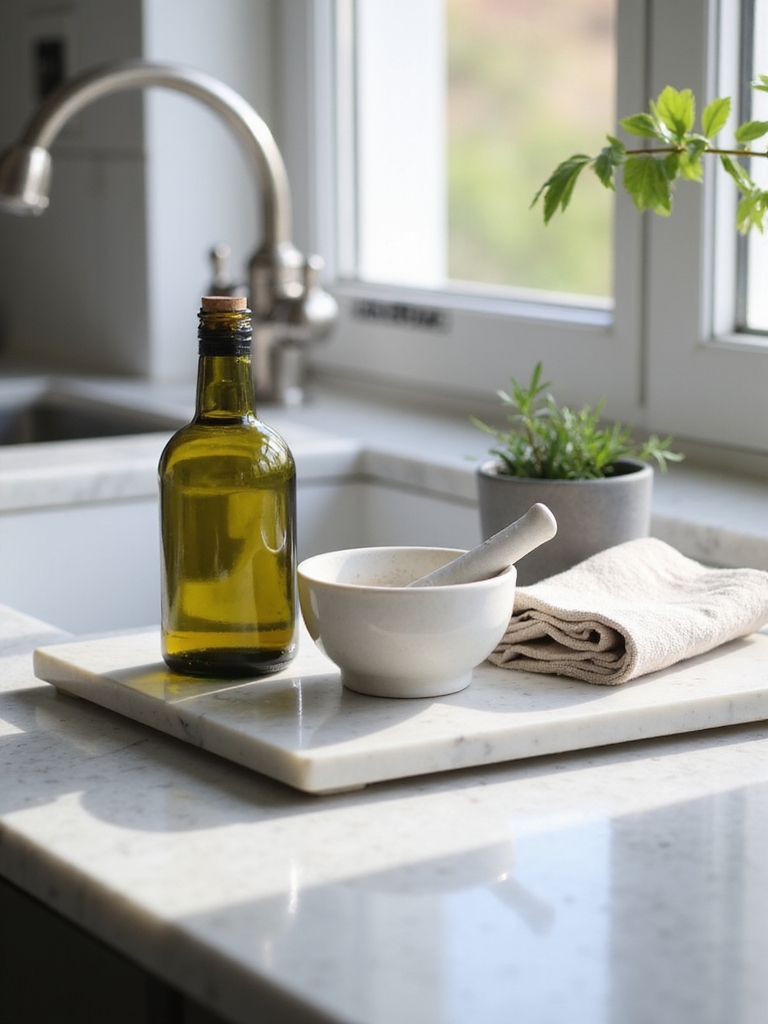
Add Greenery and Fresh Elements for Texture
I like to bring in a sprig of rosemary or a few stems of eucalyptus to soften the tray and add scent as well as texture.
I tuck small herbs and a citrus peel bowl for freshness. Simple, natural bits feel lived-in and intentional.
- Fresh rosemary
- Eucalyptus stems
- Small herb pot
- Citrus peel bowl
Add Color and Pattern With Textiles or Ceramics
After softening the tray with herbs and citrus, I like to introduce textiles or ceramics to bring in color and pattern that feel handmade and lived-in.
A linen napkin folded under a small bowl, a glazed ramekin with a mismatched hue, or a patterned coaster adds warmth and personality. I keep proportions simple so the pieces sing without crowding the tray.
Mix Metals and Finishes Without Clutter
When I mix metals and finishes on a tray, I aim for contrast that feels deliberate, not chaotic. I keep pieces few, varied, and grounded with natural textures so the look stays warm and tidy.
- Pair brass with matte black
- Add a wooden salt cellar
- Use one polished focal piece
- Limit to three finishes total
Swap Seasonal Accents Affordably to Refresh
Mixing metals taught me to edit with intent, and that same restraint makes seasonal swaps feel fresh without fuss.
I rotate inexpensive accents—dried wheat in fall, a sprig of eucalyptus in winter, bright citrus in spring.
I shop thrift shops and craft sales, keeping a neutral base so small, affordable changes make my countertop tray feel cozy and new each season.
Troubleshoot Common Tray-Styling Mistakes (Fixes)
If you’re like me, you’ve at some point crowded a tray until it looked more like a junk drawer than a curated vignette; I’ve learned a few quick fixes that rescue a cluttered or lopsided arrangement.
- Remove everything, keep only essentials.
- Group like items for calm.
- Vary heights for balance.
- Add one natural element for warmth.
Quick Styling Templates: Small, Medium, and Large Trays
I used to overthink every tray, but after clearing clutter and balancing heights, I found a few simple templates that make styling small, medium, and large trays fast and foolproof.
For small trays: one focal item + greenery. Medium: trio of varying heights. Large: anchor jar, stack of books, and bowl. Keep materials earthy, colors muted, and leave breathing room.
I’ve learned that a well-planned tray isn’t just pretty—it’s practical poetry for the countertop.
When I picture a sunlit tray anchored by a single focal item, mixed metals glinting, and seasonal accents swapped like a wink, I can almost smell coffee and citrus.
Try the sizes, tweak the mix, and keep cleaning simple; you’ll find a rhythm that feels both rustic and refined, and your kitchen will finally breathe easy.