I love keeping counters useful and calm, so I zone mine into prep, storage, and a small display area. I clear a strict prep stretch for chopping and hot pans, tuck jars and knives just behind it, and use pull-out drawers and wall hooks to hide clutter.
Layered bowls or glass canisters warm the corners, and robust surfaces like butcher block take the wear. Keep it simple and seasonal, and I’ll show you how to refine each zone.
Simple 3-Step System for Functional Countertop Layouts
Let’s simplify your countertop into three easy steps I actually use myself: clear, zone, and style.
I clear clutter first, keeping only daily essentials.
Then I designate areas for prep, storage, and a small display—so everything has purpose.
Finally I add a few warm, rustic accents that feel lived-in but tidy.
You’ll get a practical, inviting surface fast. Add a few curated pieces like a stylish counter decor to keep the space functional and visually cohesive.
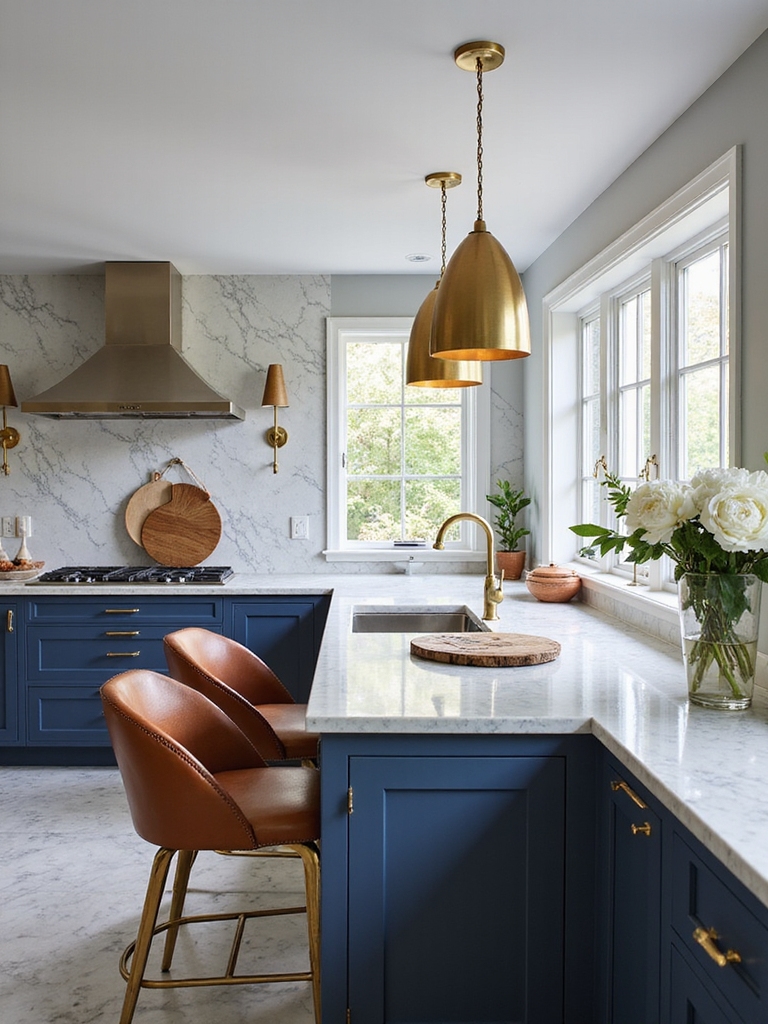
Zone Counters for Prep, Storage, and Display
I like to carve out a dedicated prep-only workstation with a roomy cutting board and easy-to-clean surface so cooking feels uninterrupted.
Right behind that spot I keep storage—spice jars, knives, and trays—within arm’s reach but out of the way of the main work area.
That simple separation keeps the counter tidy and makes both prep and display feel intentional. I also use proven storage hacks to maximize space and keep surfaces clutter-free.
Prep-Only Workstation
When I carve out a prep-only workstation, I think about flow first: a dedicated stretch of counter where chopping, mixing, and staging happen without dishes or small appliances crowding the space.
I keep essentials nearby—a sharp knife, wooden board, a jar for spoons—and leave plenty of clear surface. It feels intentional, cozy, and invites hands-on cooking without clutter slowing me down.
I also use smart storage solutions to eliminate clutter and keep that area functional, like hidden drawers and wall-mounted racks for countertop organization.
Storage-Behind-The-Workstation
Because the prep stretch needs a calm backdrop, I set up a storage-behind-the-workstation zone that keeps tools, ingredients, and a few decorative pieces within easy reach but out of the way.
I tuck jars, cutting boards, and a small wooden crate for produce behind my main workspace, keeping countertops clear while adding rustic charm and effortless function to every cooking session.
Professionals often emphasize modular systems for efficiency, so I incorporate zone counters to separate prep, storage, and display without clutter.
Choose a Layout Based on Workflow and Kitchen Shape
Although every kitchen has its own personality, I always start by watching how we move through it—prepping, cooking, cleaning—to pick a layout that supports that flow.
I suggest tuning layout to shape and rhythm: island for gathering, galley for quick runs, L-shape for zones, U-shape for cozy efficiency.
- Island: center hub
- Galley: streamlined path
- L-shape: open corner
- U-shape: wrapped workzone
Architects often rely on smart layout tips to maximize circulation and sightlines in a kitchen.
Counter Clearance Rules: What to Keep Free

Once you’ve settled on a layout that plays to your kitchen’s rhythm, I like to think about what we leave open on the counters so movement stays easy and safe.
I keep the stove and sink approaches clear, a patch near the prep zone free, and pathways by appliances uncluttered.
A cozy bowl or cutting board is fine, but leave room to work and pass. I also recommend adopting simple daily habits like wiping surfaces and returning items to their places to maintain that neat, organized feel.
Create a Dedicated Countertop Prep Station

I like to carve out a little prep station where the sink, stove, and fridge form a tidy work triangle that keeps things moving.
I organize utensils and bowls by task so chopping, mixing, and seasoning happen without scavenger hunts.
Keeping that counter clear except for a cutting board and a few essentials makes the whole space feel calm and ready.
Smart pull-out cabinets can maximize lower storage and keep frequently used items within easy reach pull-out solutions.
Designate A Work Triangle
When I plan a countertop prep station, I think of the work triangle as the home’s quiet choreography — stove, sink, and fridge placed so my movements feel natural and effortless. I keep paths clear, surfaces warm, and tools nearby without clutter.
- Worn wooden cutting board between sink and stove
- Mason jar herbs by the fridge door
- Narrow landing for hot pans
- Hooked towel at my side
Avoid these layout mistakes before kitchen demolition by planning placements and clearances early, such as preserving the work triangle to maintain efficient traffic flow.
Organize Tools By Task
Gather tools by task so your prep work feels like a simple, cozy rhythm — chopping, seasoning, and plating each get their own spot so you don’t hunt for things mid-recipe.
I keep a cutting board, knives, and scraps bin at one end, jars of frequently used spices near the stove, and a tidy tray for tongs, spoons, and plating tools.
It makes cooking calm.
Maintain Clear Counter Space
After I set tools by task, I keep one stretch of counter strictly for prep so the rhythm isn’t broken by clutter.
I clear everything else, leaving a bowl, cutting board, and a jar of utensils nearby. That dedicated space feels calm and ready.
- weathered wood board
- enamel prep bowl
- mason jar utensils
- hanging linen towel
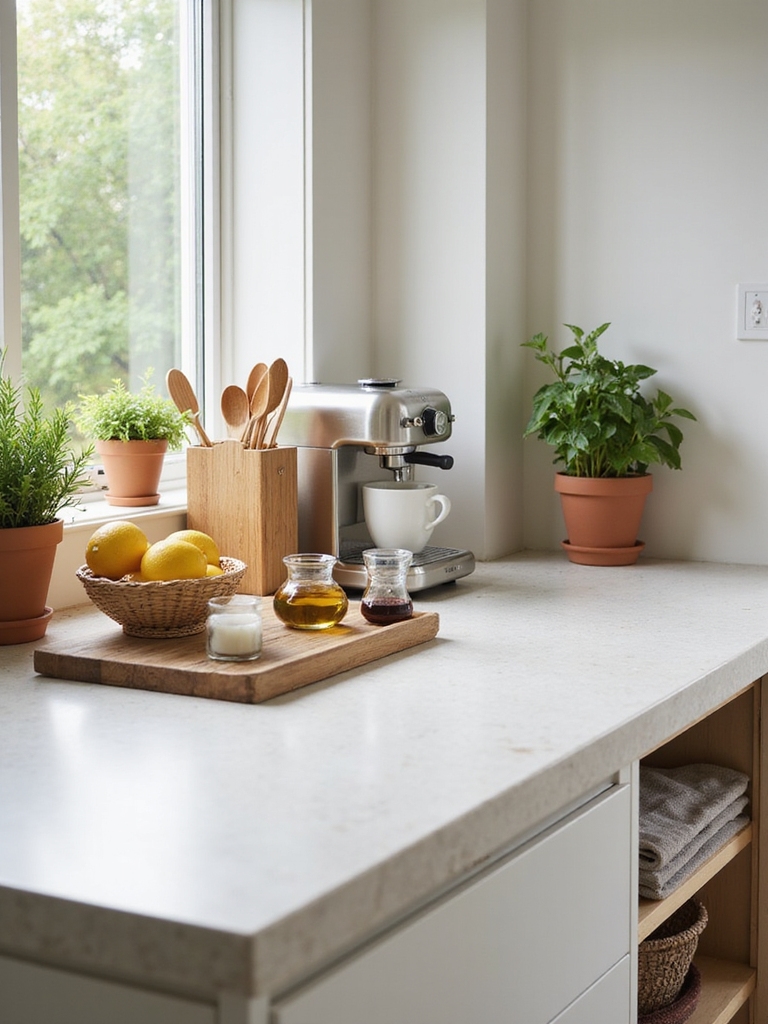
Multiuse Countertop Accessories That Save Space
I keep a few multiuse pieces on my countertop so I can clear clutter without sacrificing function or charm.
A wooden cutting board doubles as a serving tray and splashback; a ceramic jar holds utensils and fresh herbs; a slim tiered stand corrals spices and oil.
These layered, honest items feel homey, save space, and keep my workflow effortless.
Keep Everyday Items Handy : What Stays, What Hides
Keeping those few multiuse pieces within arm’s reach makes it easier to decide what deserves a permanent spot on the counter and what should disappear into a drawer.
I keep essentials visible and pretty, tuck clutter away, and rotate seasonal items.
Imagine this simple vignette:
- Mason jar utensils
- Cast-iron pan
- Salt cellar
- Stacked cutting boards
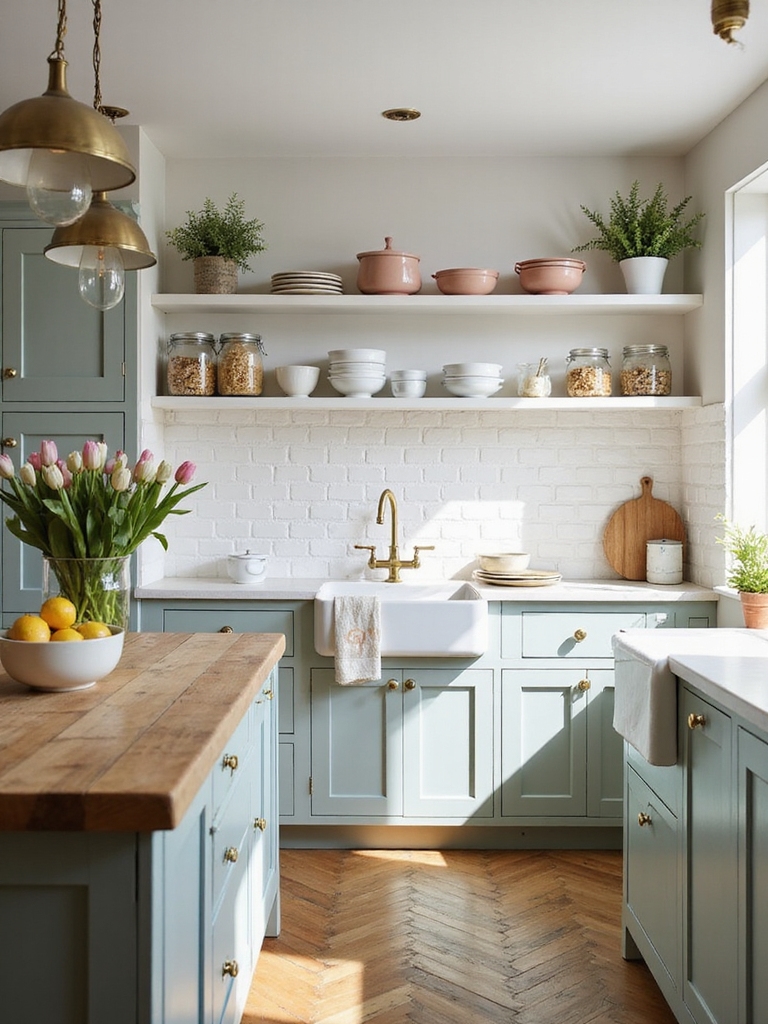
Use Vertical Solutions to Free Up Countertop Space
I’ve found that thinking upward instantly frees my counters and gives the kitchen a cozier, lived-in feel.
A couple of wall-mounted shelves make room for jars and cookbooks, while magnetic strips keep knives and metal tools handy without cluttering surfaces.
Let me show you how simple vertical fixes can tidy things up and add rustic charm.
Wall-Mounted Shelving
Shelves are a simple way I free up prime countertop real estate while adding character to the kitchen. I mount wood planks, hang hooks, and layer bowls to keep essentials close yet off the counter.
- Reclaimed wood shelf with mason jars
- Open spice ledge by the stove
- Hanging pot rail beneath a shelf
- Display of plates and vintage cups
Magnetic Storage Strips
After mounting shelves, I look for more ways to lift clutter off the counter—magnetic storage strips are my next go-to. I mount them along backsplash or inside cabinets to hold knives, spice tins, even scissors.
They keep essentials visible, organized, and safer than loose drawers. With warm wood and hammered metal accents, they feel rustic, practical, and make the kitchen breathe a little easier.
Smart Baskets, Trays, and Hidden Stowage for Clutter
When clutter starts to creep across my counters, I reach for smart baskets, shallow trays, and a couple of hidden stowage spots to tame the chaos without losing the kitchen’s cozy feel.
- Woven bread basket for mail and keys
- Shallow wooden tray for oils and salt
- Slim drawer under the hood for gadgets
- Lidded ceramic jar for chargers and odds
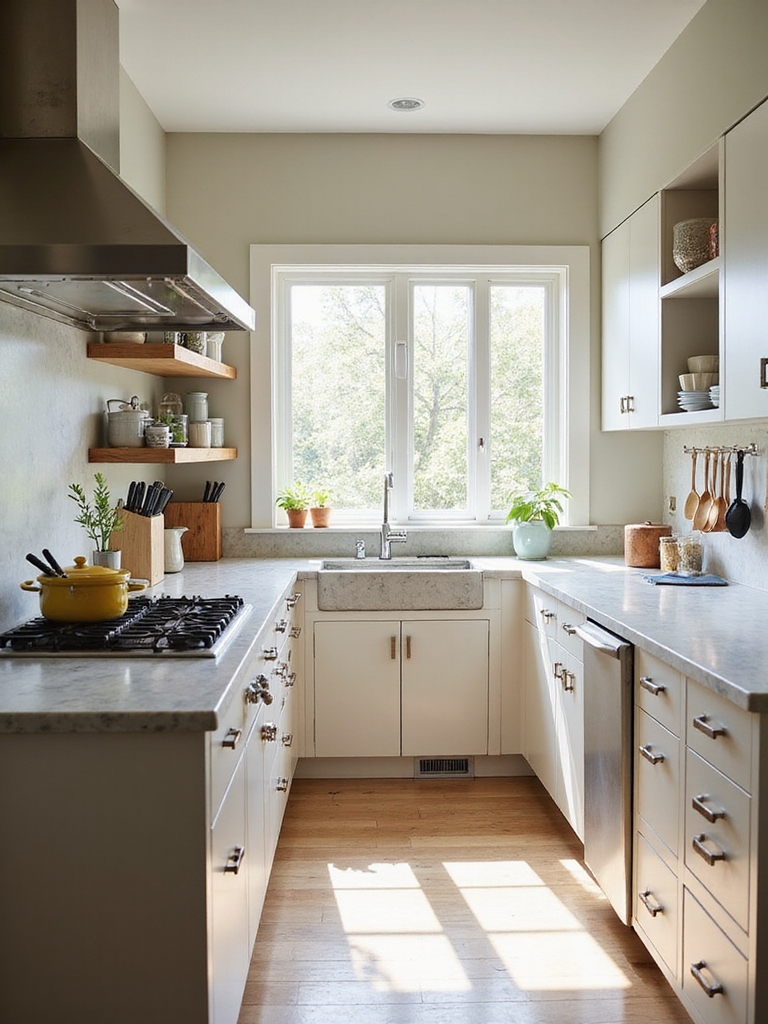
Small-Counter and Galley Kitchen Strategies
I’ve learned that in small-counter and galley kitchens every inch up is as valuable as every inch across, so I lean on hooks, open shelves, and magnetic strips to free up my workspace.
I keep only a few countertop essentials—a trusted kettle, a wooden spoon jar, and a compact cutting board—so the surface stays usable and calm.
Let me show you simple ways to maximize vertical storage and keep your counters intentionally minimal.
Maximize Vertical Storage
Think vertically: in a small-counter or galley kitchen I rely on upward space to keep the worktop clear and the room feeling open. I hang, stack, and layer with purpose, keeping tools visible and tidy in a cozy, rustic way.
- Pegboard with wooden spoons
- Floating shelves for jars
- Magnetic knife strip
- Over-cabinet rail for mugs
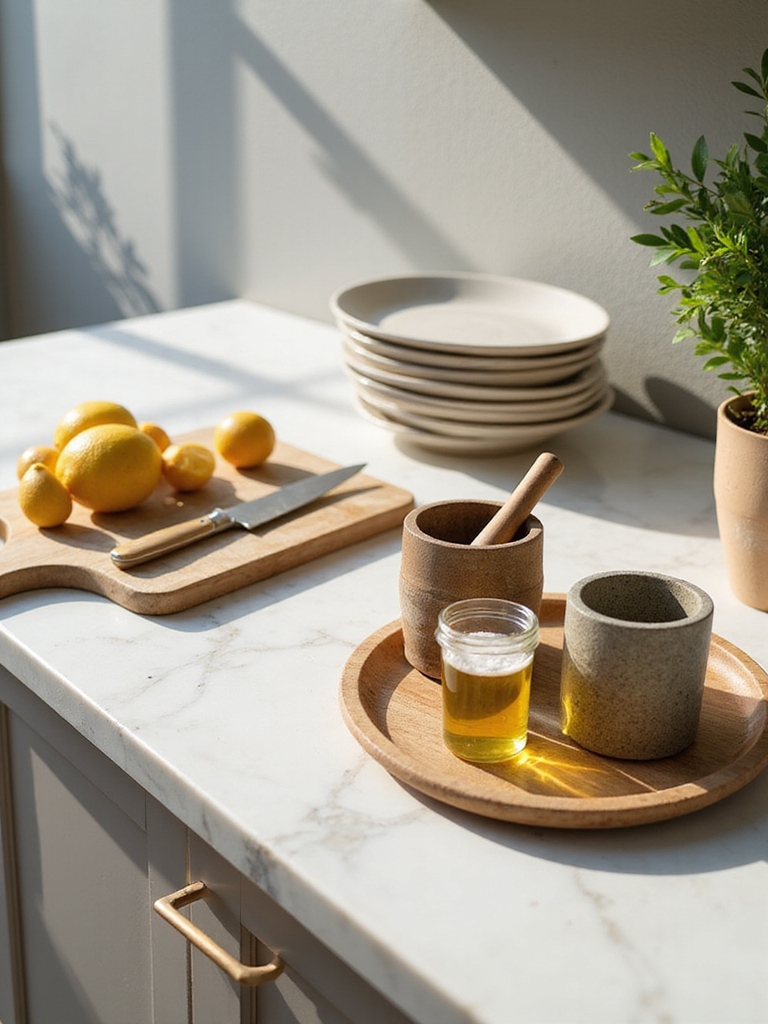
Minimal Countertop Essentials
After moving my tools up and out of the way, I focus on what truly needs to live on the counter in a small or galley kitchen: a handful of multiuse items that earn their spot every day.
I keep a sturdy wooden cutting board, a compact kettle, a mortar and pestle, and a jar of wooden spoons. They’re practical, warm, and tidy.
Design an Island for Prep and Display
Start by picturing an island that works as hard as you do: a solid, roomy surface for chopping and kneading, tucked drawers for knives and linens, and an open side where I can display fresh bowls, cookbooks, or a cluster of mason jars.
I keep tools handy, invite guests to gather, and let simplicity breathe.
- Rustic butcher block top
- Deep prep sink
- Pull-out chopping board
- Open shelving nook
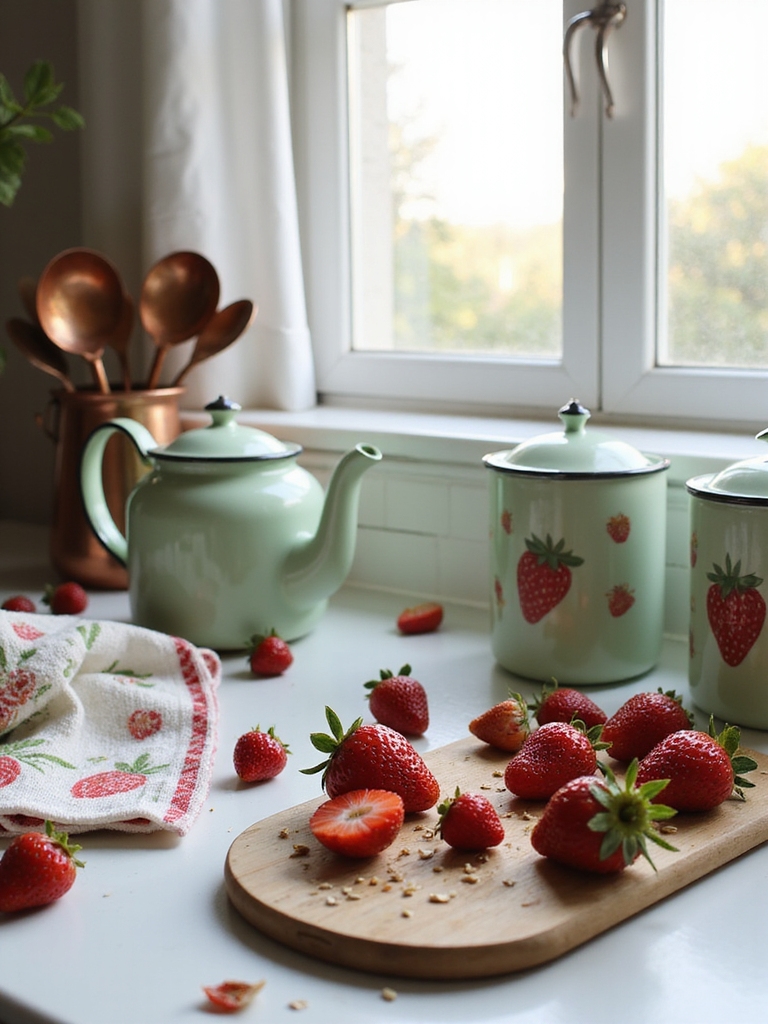
Style Counters With Layered Bowls, Canisters, and Vignettes
I tuck small stacks of bowls and a couple of glass canisters into the corners of my counters to make the everyday feel gathered and intentional.
I layer wooden bowls with neutral ceramics, add a jar of dried pasta or beans, and place a small cutting board behind them.
These vignettes feel homey, keep essentials handy, and let me change seasonally without fuss.
Durable Materials and Finishes for Busy Counters
Those little vignettes make the counters feel lived-in, but when I’m prepping meals or letting kids do homework, I want surfaces that can take a beating.
I pick practical, tactile finishes that age well and hide life’s marks. Consider these sturdy, warm options:
- Soapstone with soft patina and salted edges.
- Honed granite, forgiving and rustic.
- Reclaimed wood with food-safe oil.
- Matte porcelain slab, stain-resistant.
Countertop Lighting and Small Fixtures That Help
While I’m not willing to sacrifice function for style, good countertop lighting and well-chosen small fixtures let a kitchen feel both cozy and useful; a warm task light over the prep zone makes chopping safer, under-cabinet strips banish shadowy corners, and a simple adjustable swing-arm lamp can turn a breakfast nook into a homework hotspot.
I favor matte brass sconces, dimmable LEDs, and a compact utensil caddy.
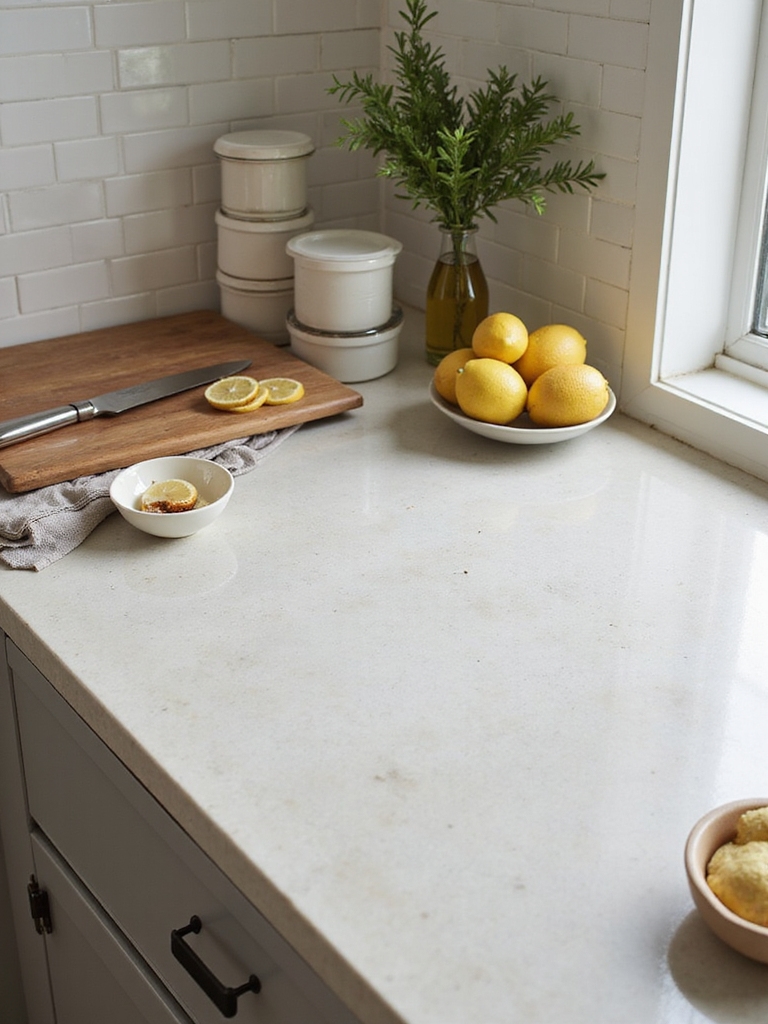
Quick Weekend Swaps and Simple Maintenance Routines
Good lighting and tidy fixtures make a kitchen feel lived-in, but small swaps and easy routines keep it that way without eating your weekend. I swap bowls, herbs, and a woven tray, then wipe surfaces and oil wood grain.
Small rituals save time and mood.
- Mason jar herbs on sunny sill
- Olive oil-stained wooden spoon
- Woven tray corralling clutter
- Quick lemon wipe-down
I’ve walked you through simple steps to make your countertops both useful and lovely, and now it’s time to act.
Like a well-tended herb garden, a little routine yields rich rewards: clear zones, a steady prep station, and a few pretty vignettes that sing.
Tidy often, swap seasonally, and choose sturdy materials—then enjoy the warm, lived-in charm of a kitchen that works as hard as you do.