I’m sharing practical, stylish ways to fill the space above your cabinets without crowding sightlines. Start with a cohesive color plan that ties to your kitchen, then build height zones with low, mid, and high-interest displays. Mix greenery, lightweight textures, and metallic accents for warmth. Consider soffits, gaps, or crown molding to balance air and accessibility. Quick tips, plus real-case tweaks, help you avoid clutter and keep the look fresh—plus you’ll snag ideas that evolve with you. Keep going for more inspiration.
What to Know About the Space Above Cabinets (Height, Airflow, and Accessibility)
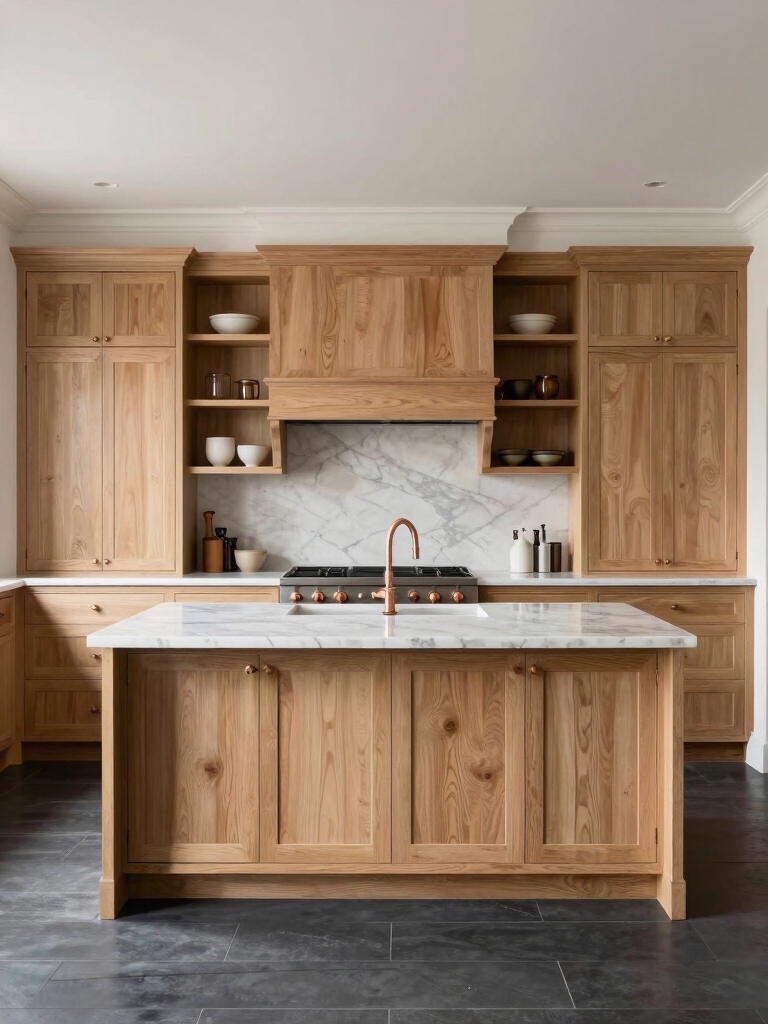
Space above the cabinets isn’t just empty space—it’s functional real estate you can use thoughtfully.
I measure height to avoid blocking sightlines and guarantee easy reach for daily items.
Consider airflow: gentle gaps prevent dust buildup and keep ceilings breathable.
Accessibility matters, so plan shelves or hooks within arm’s reach and safe, stable storage that stays tidy and usable.
Incorporating designer-approved decor ideas can also enhance the aesthetic appeal of this often-overlooked area.
Cap vs. Display: Decide Between Soffits, Gaps, or Crown Molding
Choosing between soffits, gaps, or crown molding isn’t just a detail check—it shapes how the space above cabinets feels and functions.
I weigh style, light, and access, then pick one that fits my kitchen rhythm.
- Soffits hide lines and create a clean ceiling edge.
- Gaps offer airiness and display space.
- Crown molding adds polish with subtle framing. Adding open-plan kitchen dining arrangements can enhance the overall functionality and aesthetic of your space.
Start With a Color Plan That Ties to Your Kitchen
I start by choosing a color plan that mirrors what’s already in your kitchen, so the space above the cabinets feels like a natural extension.
I keep the palette cohesive with the cabinetry, using Color-Coordinated Palette ideas to tie-in smoothly.
Together, we’ll map a cohesive scheme that feels intentional and fresh. Additionally, creating a cohesive color palette can enhance the overall aesthetic and functionality of your kitchen space.
Color-Coordinated Palette
A cohesive color plan starts with your kitchen as the anchor, then guides every decor choice for the space above your cabinets.
I propose a color-coordinated palette that keeps tones harmonious and intentional. Here’s how:
- Start with a neutral base to unite cabinets and countertop.
- Add with soft accents that echo your backsplash or hardware.
- Introduce a pop color sparingly for focal interest.
Incorporating chic neutral kitchen styling can elevate the overall design and ensure a timeless appeal.
Tie-In With Cabinetry
Tie your above-cabinet decor to what’s on the cabinetry by starting with a color plan that mirrors the kitchen.
I’ll choose a neutral base and echo cabinet tones with subtle accents, so the gap reads as cohesive rather than random. A focused palette keeps textures interesting, prevents clutter, and creates a confident, editorial finish you’ll enjoy every day. Additionally, consider utilizing perfect color pairings to enhance the overall aesthetic of your kitchen.
Create Height Zones: Low, Mid, and High-Interest Displays
To create visual rhythm in your space, start by setting height zones: low, mid, and high-interest displays.
I mix textures and colors to guide the eye, keeping balance between bold focal pieces and quiet accelerations.
1) Place a compact low display with a herb planter or framed recipe card.
2) Create a mid-height vignette with mirrors, candles, or ceramics.
3) Crown with a sculptural piece or botanical arrangement. Incorporating stylish ideas for decorating can elevate the overall aesthetic of your kitchen.
Build Travel-Inspired Vignettes That Feel Cohesive

Building on those height zones, travel-inspired vignettes bring a sense of wanderlust to your kitchen gap without feeling cluttered.
I pair vintage postcards, a ceramic compass, and a map-folded tray for cohesion, mirroring colors across pieces.
I avoid randomness, grouping items by origin and era, so your space reads intentional, energetic, and open to new adventures every time you cook.
Greenery That Thrives up There (And Why)
Let me share what works best up there: low-profile greenery that thrives with gentle light, steady air, and the right moisture balance.
I’ll guide you to picks that stay lush in that tight, above-cabinet nook without drying out or leaning toward the wall.
We’ll cover why these conditions matter and how to optimize light, air, and humidity for lasting greenery. Additionally, consider incorporating stylish storage solutions that not only maintain freshness but also enhance the aesthetic of your kitchen.
Thriving Above Cabinet
If you’re wondering what greenery can flourish above kitchen cabinets, the key is choosing plants that tolerate low light, dry air, and steady heat while staying low-maintenance.
I’ve found welcoming picks fast to thrive up there. Below, compact options that perform well:
1) Snake plant
2) Pothos
3) ZZ plant
Additionally, incorporating air-purifying kitchen plants can enhance the freshness of your kitchen environment.
Light, Air, Moisture
Light, air, and moisture all shape which greenery performs best above cabinets, and understanding their roles helps you pick plants that truly thrive there.
I’m guiding you to choose options that tolerate bright indoor light, fluctuating humidity, and ceiling drafts.
Think compact, resilient varieties, water wisely, and group plants for microclimates. You’ll enjoy low maintenance beauty that stays vibrant year-round.
Low-Profile Greenery Picks
When you’re choosing greenery for the space above cabinets, start with low-profile picks that stay tidy and visually unobtrusive while still delivering impact.
I favor compact varieties that thrive in bright kitchens and occasional sun, with minimal maintenance.
- String of pearls
- Baby rubber plant (peperomia)
- Sage cuttings, styled neatly
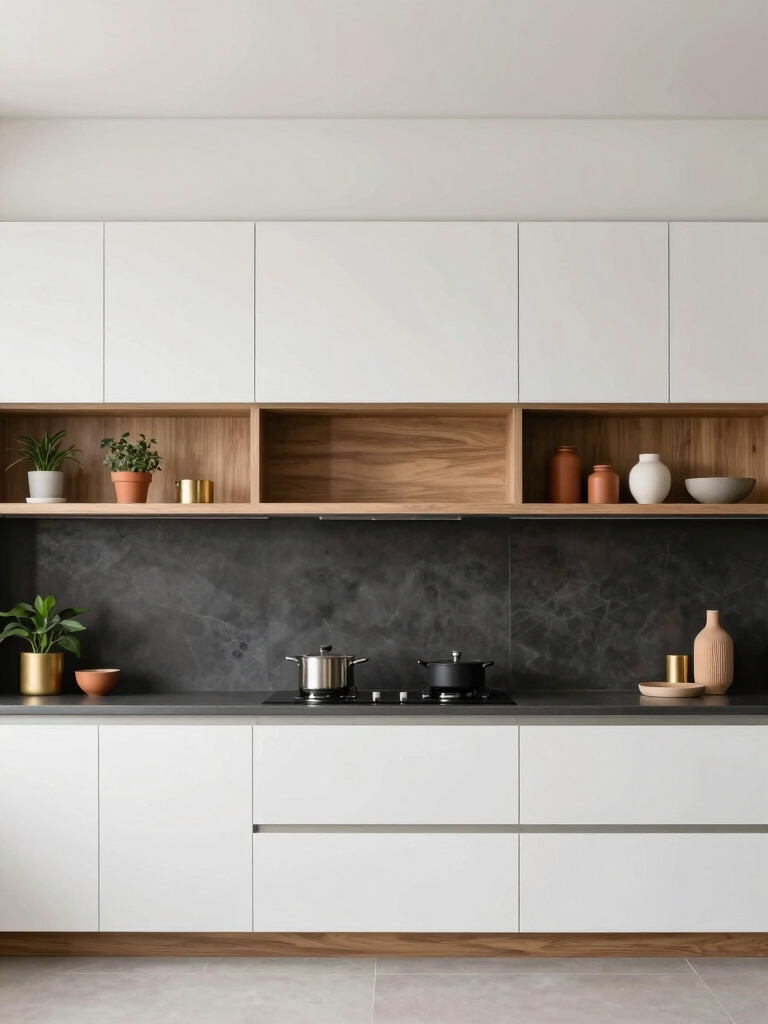
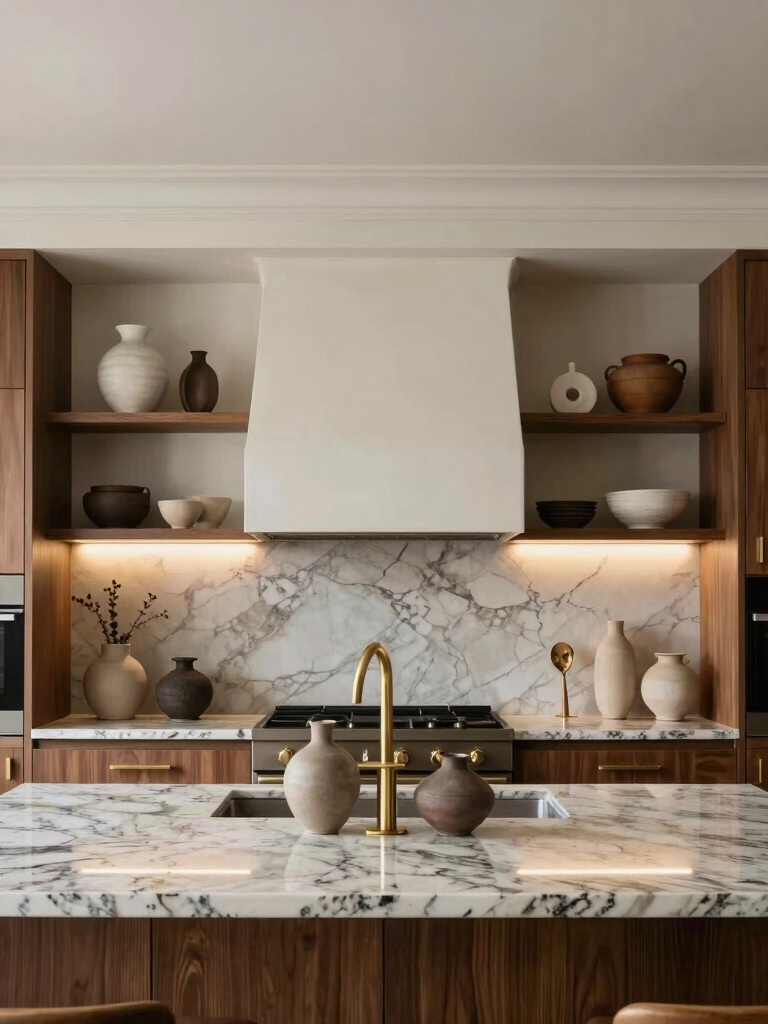
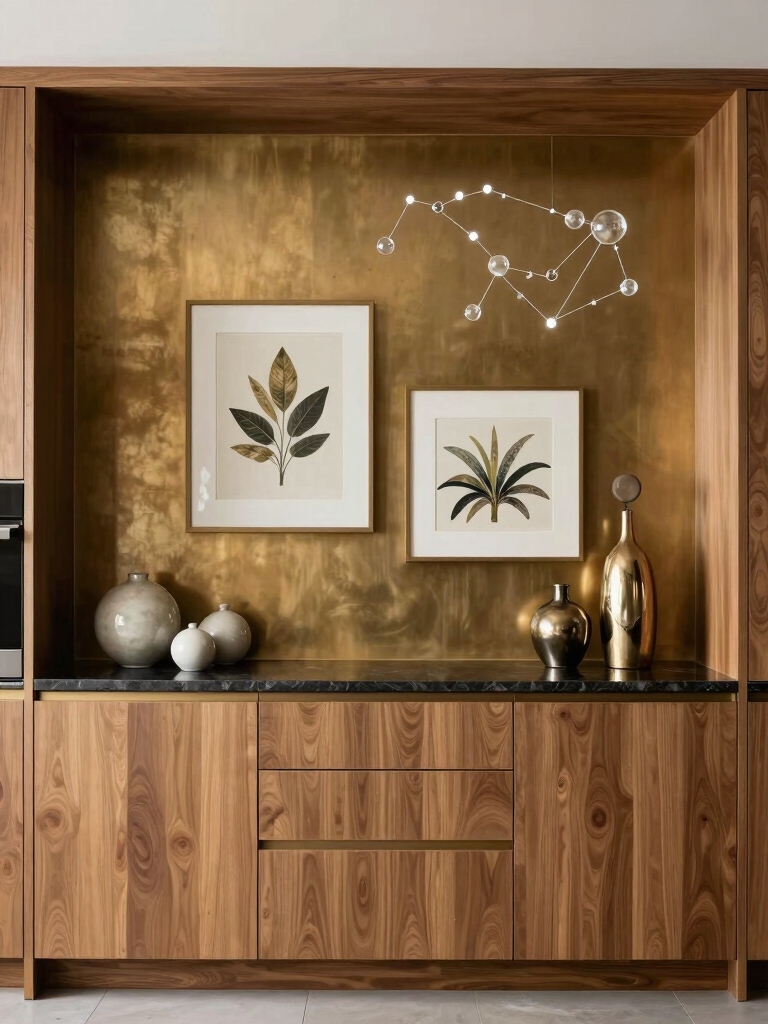
Metallic Accents That Stay Calm and Chic
Metallic accents can transform a kitchen without shouting for attention; they add warmth and polish while keeping the space calm.
I favor brushed brass, champagne, or muted chrome to reflect light without glare. A single, well-placed piece or two—like a timeless canister set or a discreet pendant—keeps the gap feeling intentional and chic, not flashy, as you mix textures.
Textured Layering: Baskets, Wood, and Ceramic
Texture plays a big role in kitchen charm, especially when you layer baskets, wood, and ceramic so they feel intentional rather than cluttered.
I show you how by mixing textures you already love—without crowding the space.
- Place woven baskets at varying heights
- Pair warm wood with cool ceramic tones
- Tie in greenery for soft contrast
Framed Art and Mirrors to Bounce Light
Framed art and mirrors are the perfect partners to bounce light around a kitchen that already plays with texture.
I love selecting pieces with reflective surfaces or light frames that echo cabinet tones, then grouping them in a tidy rhythm.
Keep scale in mind, switch frames for seasonal brightness, and let the reflections brighten counters without shouting for attention.
Sculptural Anchors to Ground the Display
Sculptural anchors ground the display, giving the space a deliberate, intentional pause between the eye-catching pieces.
I’m sharing shapes that add weight without heaviness, so your shelves feel curated, not crowded.
- Ceramic or stone sculptures with clean lines
- Abstract metals echoing cabinet hardware
- Minimalist wood or bone lengths for natural contrast
Lighting Strategies That Highlight Rather Than Clutter
Good lighting can transform space above the cabinets from cluttered to curated, so I focus on highlighting the best pieces and letting the rest fade away.
I favor layered illumination: gentle ambient, targeted task, and a touch of accent with warm bulbs.
Keep cords hidden, use dimmers, and choose fixtures that echo your kitchen’s rhythm.
The result feels intentional, open, and calm.
Seasonal Swaps for a Refreshed Look
Seasonal swaps keep the look fresh without a full overhaul: I rotate in elements that echo the season, swapping out colors, textures, and small accents above the cabinets.
Here are quick, polished ideas:
- Swap in seasonal foliage or fruit jars.
- Layer lightweight textiles and mini-trays.
- Refresh with metal or wood accents in warm tones.
Budget-Friendly Ideas That Look Curated
Budget-friendly ideas that look curated start with smart, simple swaps that add polish without breaking the bank.
I notice a few small moves—swap in a cohesive set of jars, add a single textured rug, or group framed prints for rhythm.
Keep color simple, mix metals sparingly, and let negative space breathe. This deliberate polish feels expensive, without the price tag.
Scale and Proportion: Avoiding Overload
Scale and proportion matter more than you might think when you’re placing decor above the kitchen cabinets.
I keep sight lines clean and balanced, avoiding clutter that weighs the space down.
- Choose a single focal piece that echoes cabinet color
- Layer smaller accents around it to create rhythm
- Leave breathing room between objects for visual ease
Practical Safety: Heat, Weight, and Easy Updates
Practical safety should guide every decision above the kitchen cabinets, because heat, weight, and future updates all matter.
I prioritize sturdy shelves, heat-resistant finishes, and balanced weight distribution so cookware, books, and decor stay secure.
I suggest lightweight accents, cable-free lighting, and simple updates that don’t require reconfiguring walls.
Plan for easy access, immediate removal if heat fear arises, and clear labels.
Quick-Reference Checklist for a Polished Gap
From here, I’ve got a quick-reference checklist to keep that polished gap above the cabinets looking sharp without overthinking it.
- Declutter weekly with a simple tray or few favorite accents.
- Balance height by varying objects and leaving breathing room.
- Refresh seasonal pieces or swap in fresh florals for a bright feel.
Before-And-After Case Studies to Inspire
These case studies show how small tweaks above the kitchen cabinets can transform a space, one entryway glow-up at a time.
I walk you through real before-and-after examples, pointing out simple swaps, clever lighting, and thoughtful placement that make rooms feel brighter and more cohesive.
You’ll see practical ideas you can replicate without major renovation or expense.
Let’s draw inspiration together.
How to Maintain a Cohesive Gap Over Time
I keep the gap above my cabinets looking intentional by sticking to a consistent style, year after year.
I’ll refresh with seasonal decor, but without overloading it, so the rhythm stays calm and cohesive.
I also set a simple maintenance schedule to catch dust, scuffs, or mismatched pieces before they pile up.
Consistent Style Updates
Consistency in style over time keeps your space feeling intentional, not stitched together.
I’m guiding you to keep that cohesion with simple updates that feel you-focused and fresh.
1) Refresh hardware accents periodically to echo your evolving taste
2) Swap or rotate art and small decor for a light, intentional cadence
3) Consolidate colors and textures to prevent clutter and preserve flow
Seasonal Decor Rhythm
Seasonal decor rhythm helps your kitchen stall feel intentional year-round without feeling chaotic.
I pace updates with a simple rhythm: rotate a standout piece, swap small accents, and keep a neutral backdrop.
I choose a color hint per season, balance texture, and document my pulls so future changes stay cohesive.
You’ll avoid clutter and preserve a calm, stylish gap.
Proactive Maintenance Schedule
A proactive maintenance schedule keeps that cohesive gap intact, so you’re not chasing changes later.
I share a simple plan you can trust, with steady checks that fit your routine.
- Schedule quarterly surveys of the display area for dust, gaps, and alignment.
- Refresh or replace worn elements before they stand out.
- Log notes, adjust timing, and refine the plan as your kitchen evolves.
Troubleshooting Common Gap-Styling Dilemmas
If you’ve ever found a stubborn gap between your cabinet tops and the wall, you’re not alone, and there are practical tweaks that can close it without a full remodel.
I outline quick fixes: adjust trim, seal with lightweight caulk, add slim molding, or use decorative panels.
Prioritize consistency, test fit, and choose options that blend with your design for a seamless look.
Conclusion
I learned that the space above cabinets isn’t empty, it’s a chance to tell your kitchen story. Sometimes I cap it with a soffit, other times I let color and texture breathe up there. Case in point: a client who added a bold blue display and warm wood accents, turning that gap into a travel-inspired gallery. The result felt cohesive, intentional, and alive—without sacrificing accessibility. Your gap can glow with personality, if you plan deliberately and edit thoughtfully.