I’m here to show you how a warm, open kitchen can become the soul of your home — think a reclaimed-wood island for gathering, layered pendant and under-cabinet lighting for mood and work, durable honed stone counters, and smart storage that keeps clutter hidden but handy.
Keep sightlines open with a partial divider if you want noise control, and size your island for seating and clearances so traffic flows. Stick around and I’ll share layouts, budgets, and pro tips.
Should You Open Your Kitchen? Pros and Checklist
If you’re wondering whether to open your kitchen, I’ll tell you up front: I think most homes benefit from it, but it depends on how you live and cook.
I’d weigh noise, privacy, entertaining style, and storage needs. Open plans invite light and conversation but demand tidy habits.
Checklist: workflow, ventilation, lighting, seating, and durable surfaces—practical choices matter most.
Designers are also embracing open kitchen trends that blend form and function to create social, stylish spaces.
Partial vs. Fully Open Layouts

I like to think of partial and fully open kitchens as two different kinds of welcome: one keeps conversation flowing while giving you little pockets of privacy, the other throws the whole house into the cooking rhythm.
I lean toward partial openness when I want cozy sightlines and noise control; I choose full openness when I crave communal energy, sightlines, and easy hosting.
Balanced designs can offer the best of both worlds by using half-open layouts to define zones while maintaining flow.
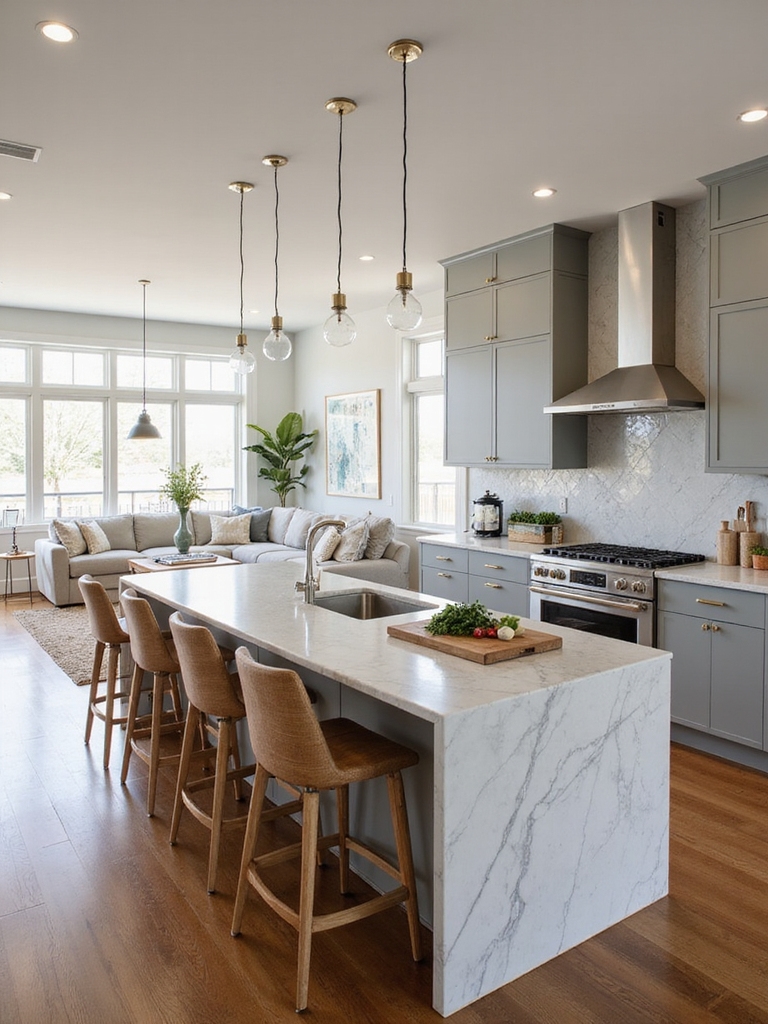
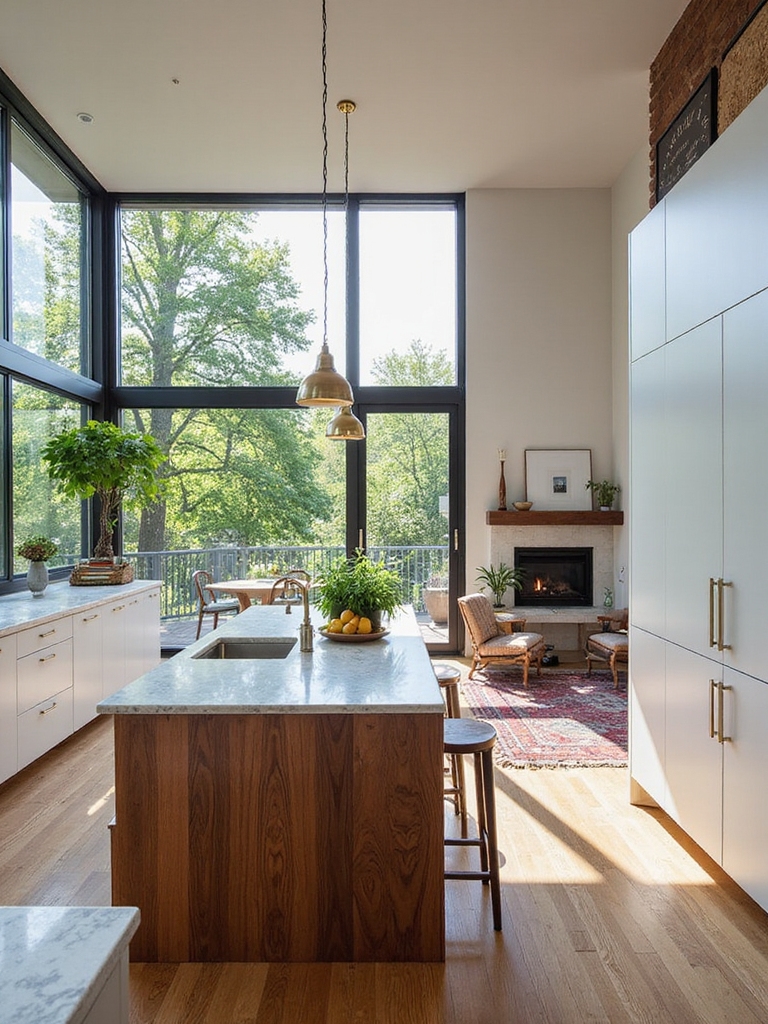
Open-Kitchen Layouts: Islands, Peninsulas, Galleries
Let’s talk islands, peninsulas, and gallery kitchens—the three ways I shape an open kitchen’s flow.
I favor islands for gathering and casual prep, peninsulas when I want a cozy division without closing space, and galleries for efficient, rustic workhorses.
Each choice nudges movement, sightlines, and warmth differently, so I pick the layout that fits how my family lives and entertains.
Open island kitchens also invite guests to mingle around a central hub, turning cooking into social time with everyone nearby and involved in the process, making open island kitchens a natural gathering spot.
Island Sizing: Workflow, Seating, Clearances
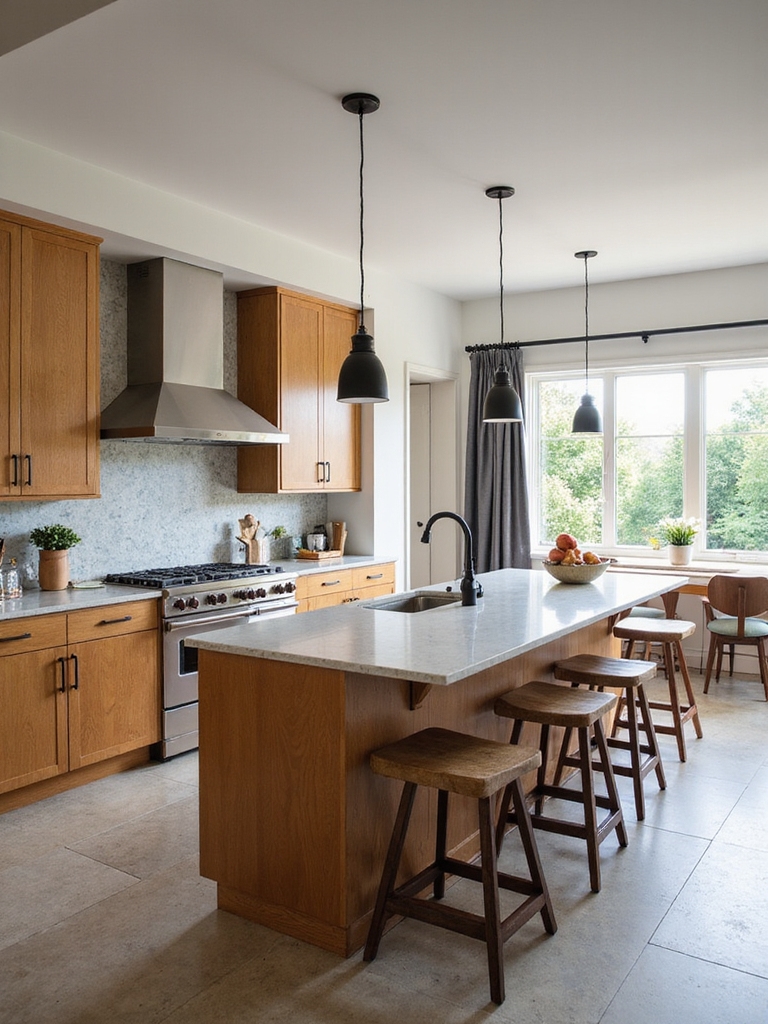
When I plan an island I keep the work triangle front and center so cooking flows without extra steps.
I also think about seating depth so folks can sit comfortably and eat or chat without bumping knees.
Finally, I respect minimum clearances around the island so drawers, doors, and traffic all move easily.
Multifunctional islands are a great way to maximize utility in tight spaces and often include features like prep areas, storage, and seating to improve workflow and efficiency while saving square footage; consider incorporating multifunctional island elements to get the most from a small kitchen.
Proper Work Triangle
In planning the work triangle for an island kitchen, I focus on keeping the cooktop, sink, and refrigerator close enough to move between them easily but far enough to avoid crowding—about 12 to 26 feet total is a good target.
I size the island so pathways stay 42–48 inches, keep prep near the sink, and place storage where I can grab ingredients without interrupting flow.
One must also consider incorporating unique island designs that enhance both workflow and visual appeal.
Comfortable Seating Depth
After sizing the island so the cooktop, sink, and fridge move smoothly, I turn my attention to seating depth because that’s where comfort and flow meet. I want stools that tuck, backs that support, and edge overhangs that feel right.
- 12–15″ knee space for stools.
- 15–18″ seat depth for support.
- 6–12″ overhang for elbows and plates.
Professional stagers often recommend considering comfortable seating depth as part of island styling to balance function and visual appeal.
Minimum Clearance Distances
Because we move around the island constantly, I make minimum clearances a non-negotiable part of the layout: aim for 42–48” of free space around an island in a single-cook kitchen and 48–54” for a multi-cook setup so doors, drawers, and traffic don’t fight each other.
I prefer a cozy, practical flow—room to pass, open cabinets, pull chairs—and it keeps cooking relaxed and safe.
Consider a peninsula layout to boost workflow with peninsula workflow advantages, especially in homes where a full island won’t fit.
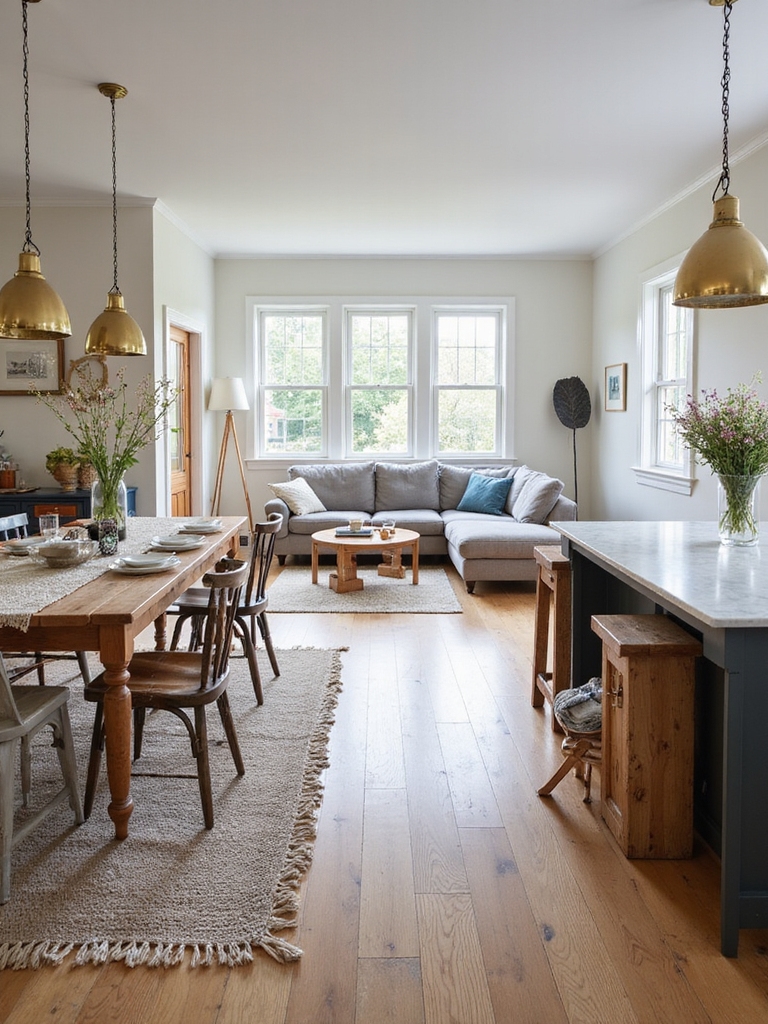
Zoning to Define Kitchen, Dining, Living
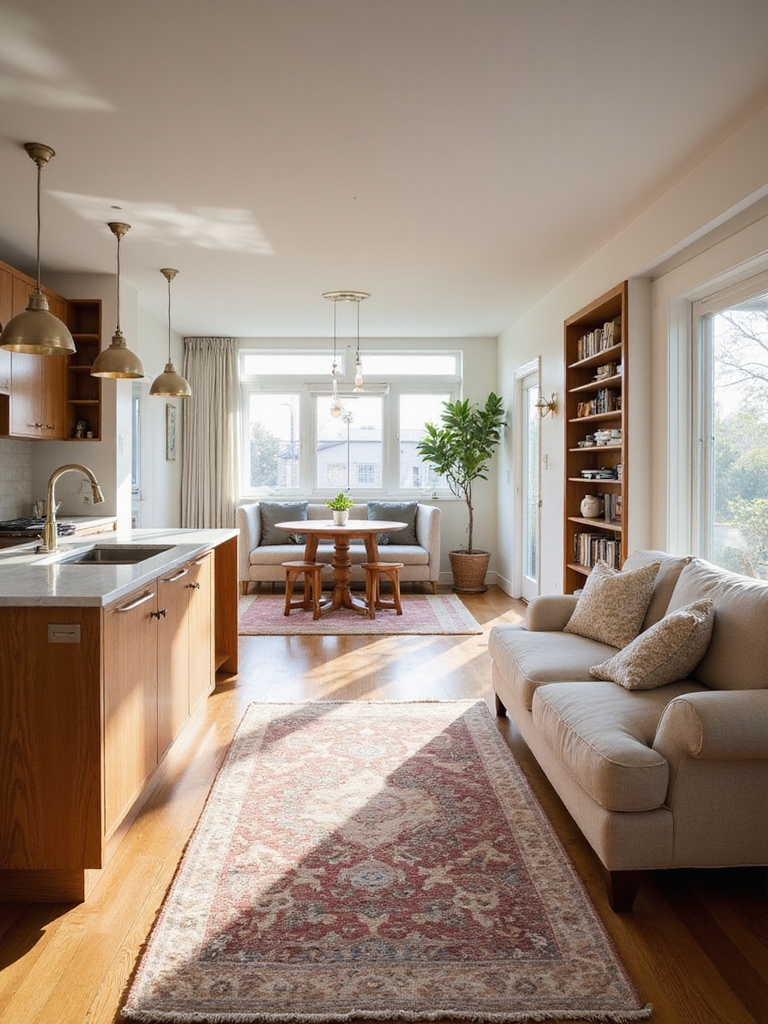
With an open plan, I like to think of zoning as the recipe that keeps kitchen, dining, and living spaces distinct but connected; I use rugs, lighting layers, and shifts in flooring or ceiling treatments to tell each area what it’s without building walls.
I cozy up zones with simple touches:
- Pendant clusters over dining.
- Rug anchor for seating.
- Different floor finish between prep and lounge.
Open plan layouts also benefit from thoughtful transitions like partial-height dividers, change in ceiling plane, or furniture placement to subtly separate functions.
Clutter-Free Storage for Open Kitchens
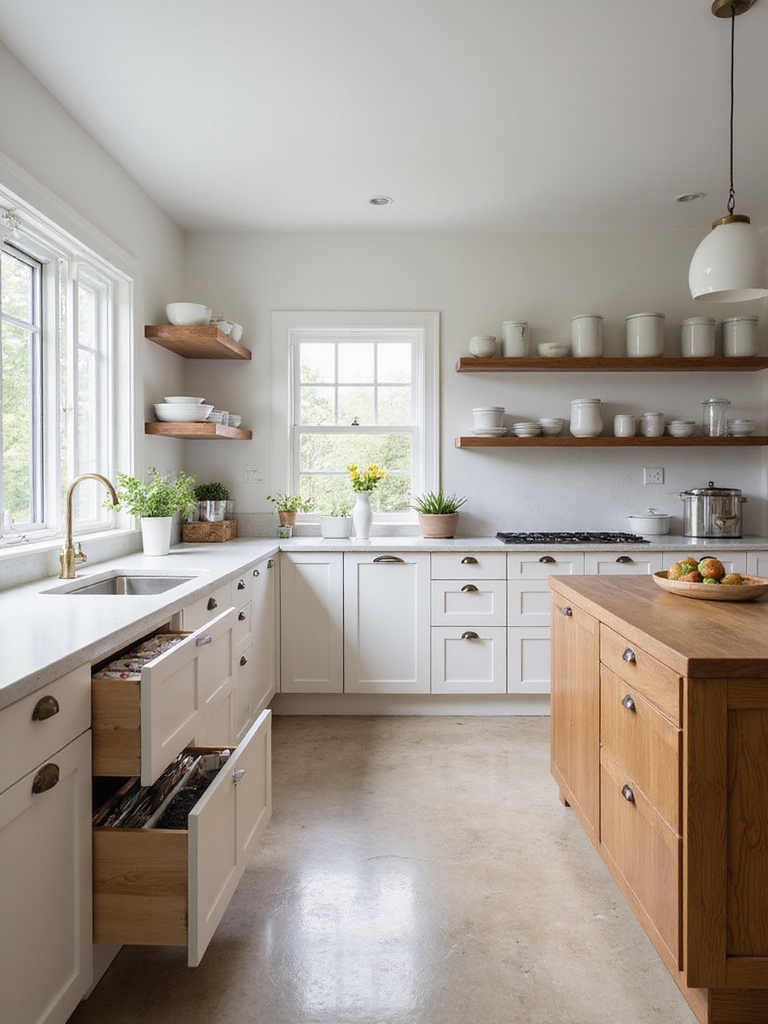
I lean into smart storage the same way I season a favorite cast-iron skillet: deliberately and with an eye for lasting results.
I tuck everyday items behind cabinet doors, use baskets to soften open shelving, and label jars so friends and family know where things belong.
Clear sightlines stay calm when everything has a home—simple, sturdy solutions that feel lived-in, not cluttered.
Appliance Placement and Integration
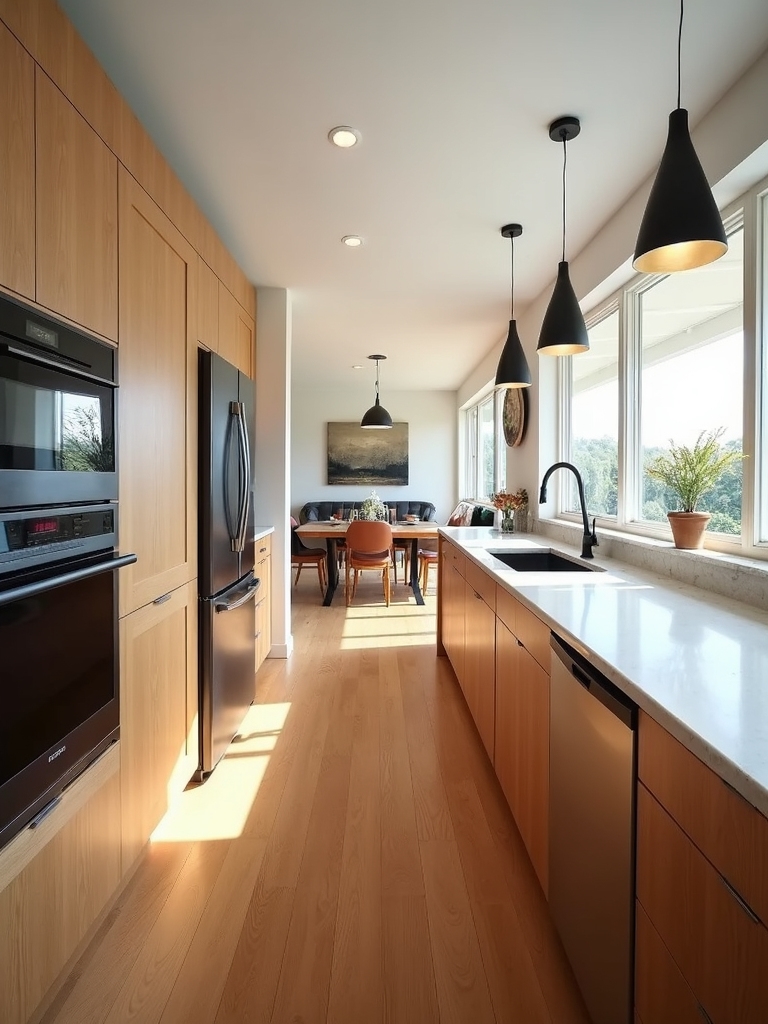
When I plan appliance placement, I think about rhythm—how the fridge, stove, and sink will let a meal move from idea to table without unnecessary steps.
I tuck appliances into the flow, aiming for charm and function.
- Zone by task for easy movement.
- Conceal bulky units with warm cabinetry.
- Match appliance heights for comfortable prep.
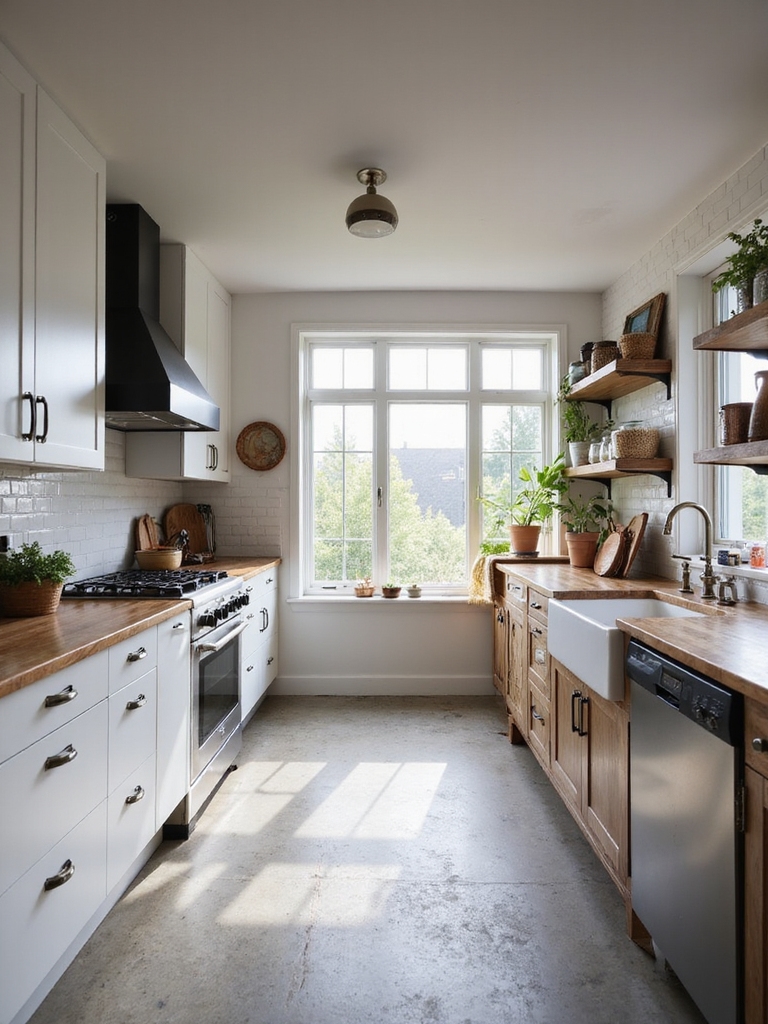
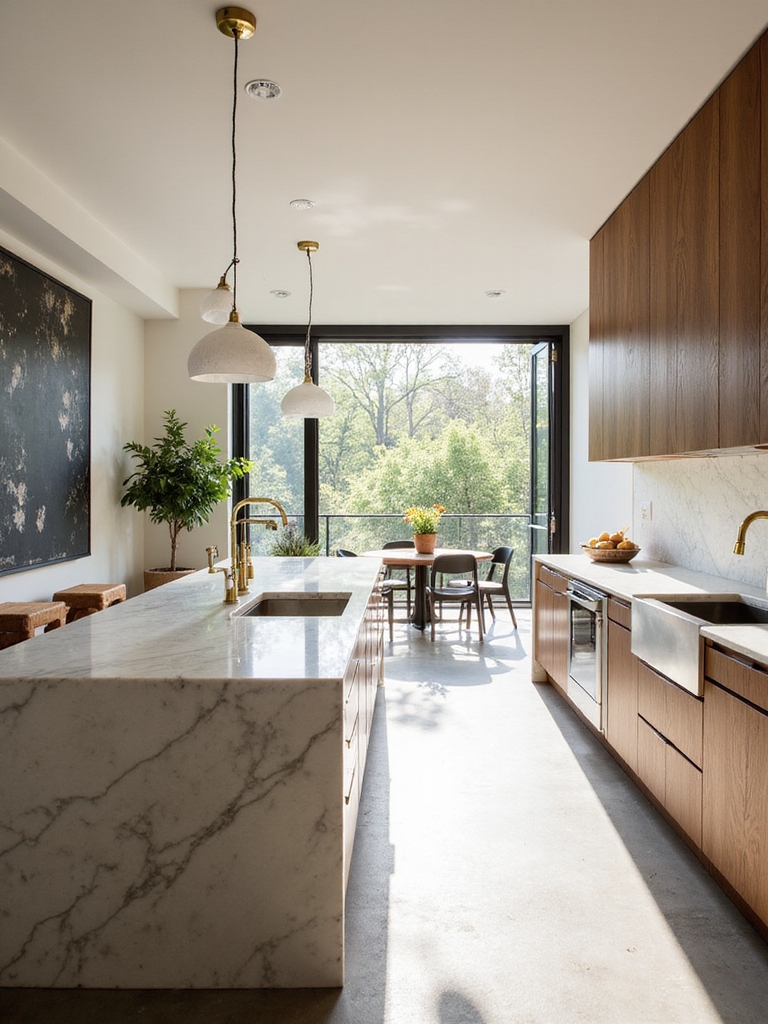
Countertop and Island Materials That Stand Out
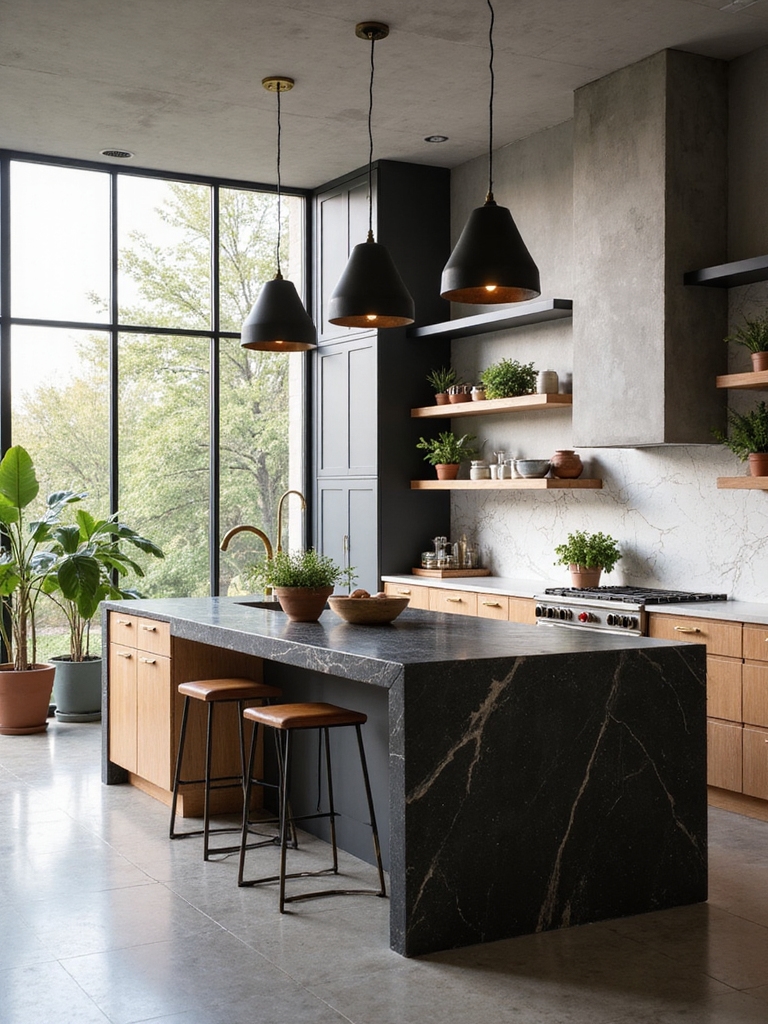
Let’s talk stone, wood, and the surprises I love to tuck into an island—materials that make a kitchen feel lived-in and worth lingering in.
I favor honed stone for durability, reclaimed wood for warmth, and a mixed-material island—stone top with a wood apron—for contrast.
Leathered finishes and butcher block add texture, while matte concrete brings a modern rustic edge without shouting.
Backsplash and Accent Walls to Anchor Space
I love using a bold patterned tile as a backsplash to give an open kitchen instant personality and a focal point.
Pairing that with a textured feature wall—think reclaimed wood, plaster, or stacked stone—adds warmth and a tangible, rustic feel.
Let’s talk about how to balance pattern and texture so the space feels anchored, not overwhelmed.
Bold Patterned Tile
A handful of bold patterned tiles can transform a plain kitchen into a lively, anchored space, and I love how a strong backsplash or accent wall gives the room instant character.
I’ll pick patterns that feel timeless yet homey.
- Geometric encaustic for old-world charm
- Moroccan motifs for cozy warmth
- Simple repeat tiles for rustic balance
Textured Feature Wall
When you run your hand over a textured backsplash, you feel the room settle into place—those ridges, grooves, or rough-hewn tiles give an otherwise flat kitchen instant depth and personality.
I love how a weathered stone or hand‑made ceramic wall anchors an open plan, catching light and shadow.
It’s practical too: scrubbable, forgiving, and instantly cozy, like a kitchen with a quiet story.
Open-Kitchen Lighting: Layers for Function + Mood
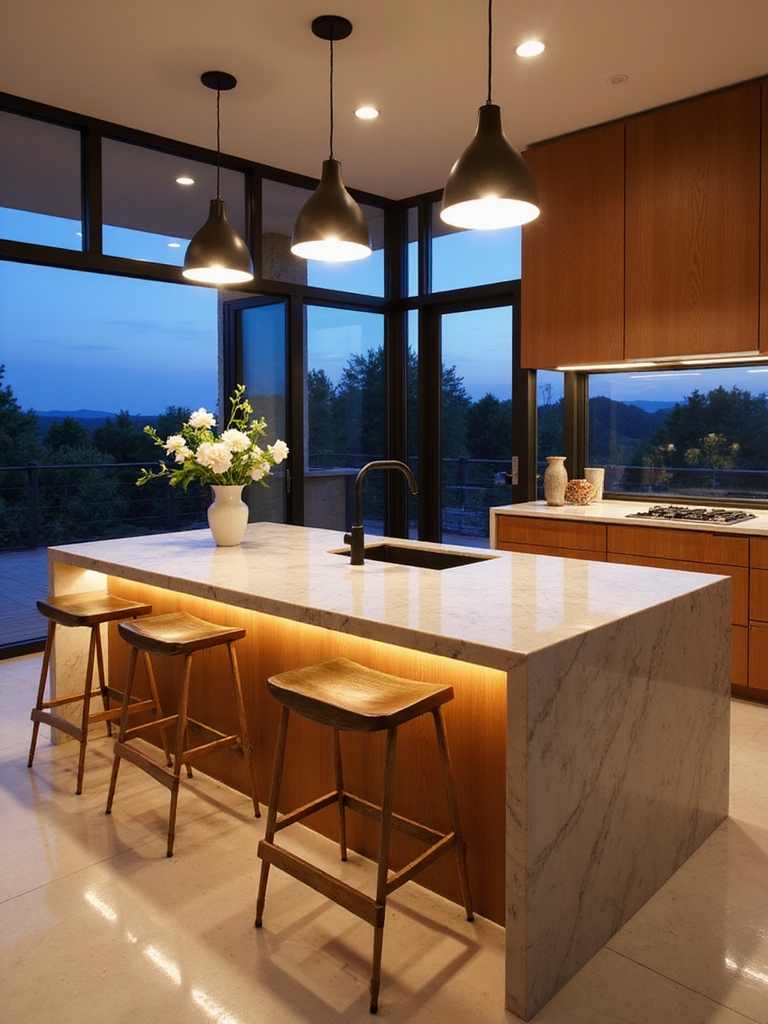
Because light shapes how we cook, eat, and gather, I always start by thinking in layers—ambient for general warmth, task for chopping and reading recipes, and accent to highlight textures and keep the space cozy.
I prefer warm bulbs, dimmers, and matte fixtures that age well. Try these simple combos:
- Pendant + recessed
- Under-cabinet + strip
- Sconces + spotlight
Flooring for Open Kitchens: Connect or Define Zones
Lighting sets the mood, but flooring really anchors how the kitchen and living areas feel and flow, so I like to think about it next.
I choose warm wood or textured tile to connect spaces, or swap materials at a subtle threshold to define zones—rugged stone by the hearth, softer planks where we linger.
It’s about rhythm, warmth, and honest materials that tell a story.
Sound, Ventilation, and Privacy Fixes
Now that we’ve talked about flooring, I want to turn to the practical bits that keep an open kitchen livable: airflow, noise, and a little privacy.
I’ll show simple ways to make ventilation work smarter and quieter, from range hoods to placement, while also sharing low-key sound treatments and screens that keep conversations from traveling.
Stick with me and we’ll make your kitchen feel bright, breathable, and comfortably private without losing its open charm.
Improve Airflow Efficiency
When I opened up my kitchen wall to create an airy, open plan, I didn’t expect the sound and airflow puzzles that came with it, so I learned a few practical tricks to keep the space comfortable and private without killing the farmhouse vibe.
I’ll share simple fixes:
- Range hood upgrade for strong exhaust.
- Ceiling fan to circulate air.
- Vented transom windows for gentle cross-breeze.
Manage Noise And Privacy
Because I wanted the kitchen to feel open without turning it into a soundstage, I learned a few practical ways to tame noise and keep privacy while still letting air flow and light in.
I added rugs, upholstered stools, and acoustic panels disguised as art, installed a quiet vent hood, and used half-glass doors and woven blinds so conversation and smells stay pleasant but contained.
Open-Kitchen Costs: Budgets and Smart Splurges
Although a great open kitchen can feel like a splurge, I’ve learned that smart choices keep costs predictable and results rewarding.
I budget around essentials, splurge where longevity matters, and reuse rustic finds to add character.
My top tips:
- Prioritize durable countertops and appliances.
- Invest in quality lighting for ambience.
- Refinish cabinets or thrift wood accents for warmth and savings.
Hiring Pros vs. DIY: Who Handles What
I’ll tell you what I’d hire out and what I’d try myself when opening up a kitchen. Call in professionals for structural work, gas or electrical changes, and anything that affects safety or permits.
Save the fun bits—painting, shelving, and installing hardware—for a DIY afternoon with a radio and a cup of coffee.
When To Hire Pros
If you’re like me, you enjoy tackling a weekend project, but an open kitchen remodel can quickly outgrow a weekend — and your skill set.
I hire pros for structural, electrical, and plumbing work; I want safety and permits handled. Consider:
- Load-bearing walls or layout changes.
- Electrical rewiring or gas lines.
- Complex cabinetry installation or custom countertops.
DIY Tasks You Can Manage
You’ll still get a lot of satisfaction and savings by taking on parts of the remodel yourself, and I’ll outline what’s realistic for a weekend warrior versus what’s worth hiring out.
I’d tackle painting, installing open shelves, swapping hardware, and simple trim work. Call pros for structural changes, plumbing, gas, and major electrical.
Start small, build confidence, and know when to pause.
Quick Styling Tips to Make It Photo-Ready
I love to toss a few simple touches around the open kitchen to get it photo-ready in minutes: a folded linen over the counter, a bowl of fresh lemons, and a wooden spoon left mid-stir.
I tidy, layer textures, and add a quick vignette.
- Declutter surfaces.
- Layer wood and linen.
- Add fresh produce or herbs.
I’ve walked you through layouts, islands, zoning, and the small fixes that make open kitchens sing — but here’s the thing: the moment you swing a hammer or call a pro, everything changes.
Imagine morning light pooling on your island, laughter drifting from the sofa, and dinner prep that feels like part of the party.
If that image hooked you, don’t wait. Start with one small change today, and watch the rest unfold.