I style kitchen islands by first choosing their main job—prep, storage, or casual dining—then I anchor the look with a grounding tray or wooden bowl and layer texture with a cutting board, linen runner, and a sprig of herbs.
I keep surfaces practical and uncluttered, group items in threes for balance, and favor worn wood, ceramics, and muted greens that photograph beautifully. Make one seasonal swap at a time, and if you keep going I’ll show you how pros finish the look.
Pro Stagers’ 3-Step Island-Styling Method
When I style a kitchen island, I follow a simple three-step routine that keeps things practical and pretty: anchor, layer, and personalize.
I start with a grounding piece—a tray or bowl—then add texture: wooden boards, a linen runner, fresh herbs.
Finally, I personalize with a small stack of cookbooks or a vintage jar. It feels lived-in, inviting, and neat. A well-composed island often includes a statement centerpiece to tie the overall design together.
Pick Your Kitchen Island’s Primary Function First
Because an island should earn its keep, I always decide its main job before I style or stock it. Is it prep, casual dining, storage, or a gathering spot? That choice guides height, seating, materials, and lighting.
I keep things purposeful—chopping-friendly surfaces for cooks, cozy stools for chats, open shelves for display—so the island feels useful, inviting, and right for the home.
Smart islands often combine multifunctional solutions to maximize utility in small kitchens.
Quick 5-Step Island Styling Checklist
I like to start with a clean surface so each item can breathe and actually be used.
Then I layer functional pieces—cutting board, bowl for fruit—with a few decorative touches like a small vase or wooden tray.
Finally I finish with one simple accent to tie the look together without cluttering the island.
High-end designs often emphasize balance with a focal point to create elevated kitchen island styling and visual harmony.
Start With A Clean Surface
Although a cluttered island can make even the nicest kitchen feel chaotic, I always start by clearing everything off and wiping the surface down so I’ve a blank slate to work with.
Then I inspect for crumbs, water rings, and sticky spots, smoothing edges and polishing wood or stone. A pristine base lets simple accents read as intentional, calm, and welcoming.
I often finish by arranging a stylish tray to corral items and maintain a tidy countertop.
Layer Functional And Decorative
Layering function with form makes your island feel lived-in and intentional—I start by thinking about how we’ll actually use the space.
I place a sturdy breadboard, a mortar and pestle, and a bowl of seasonal fruit for everyday use, then add a small vase with dried stems and a folded linen for texture.
Each piece earns its spot and purpose. I also incorporate simple accents like a sleek kitchen counter decor item to create instant style and cohesion.
Finish With A Simple Accent
When I’m ready to wrap up the look, I focus on one simple accent that ties everything together—think a single sculptural bowl, a small lamp with a warm glow, or a cluster of candles on a wooden tray.
I place it off-center, keep surrounding items minimal, and choose textures that echo the island’s tone. That finishing touch feels intentional, cozy, and utterly settled.
Modern urban kitchens benefit from elevated countertop styling that balances function and form, often emphasizing textural contrast to create visual interest.
Declutter: What to Clear and What to Keep

I usually start by clearing everything off the island and putting it on the counter so I can see what I really have; that quick sweep helps me decide what earns a permanent spot and what should go back to a drawer, the pantry, or out the door.
I keep only useful,beautiful items—a bowl of fruit, a mortar, maybe a tea towel—nothing cluttered.
Professional stagers often emphasize Stylish Counter Decor to maintain a clutter-free look and showcase a home’s best features.
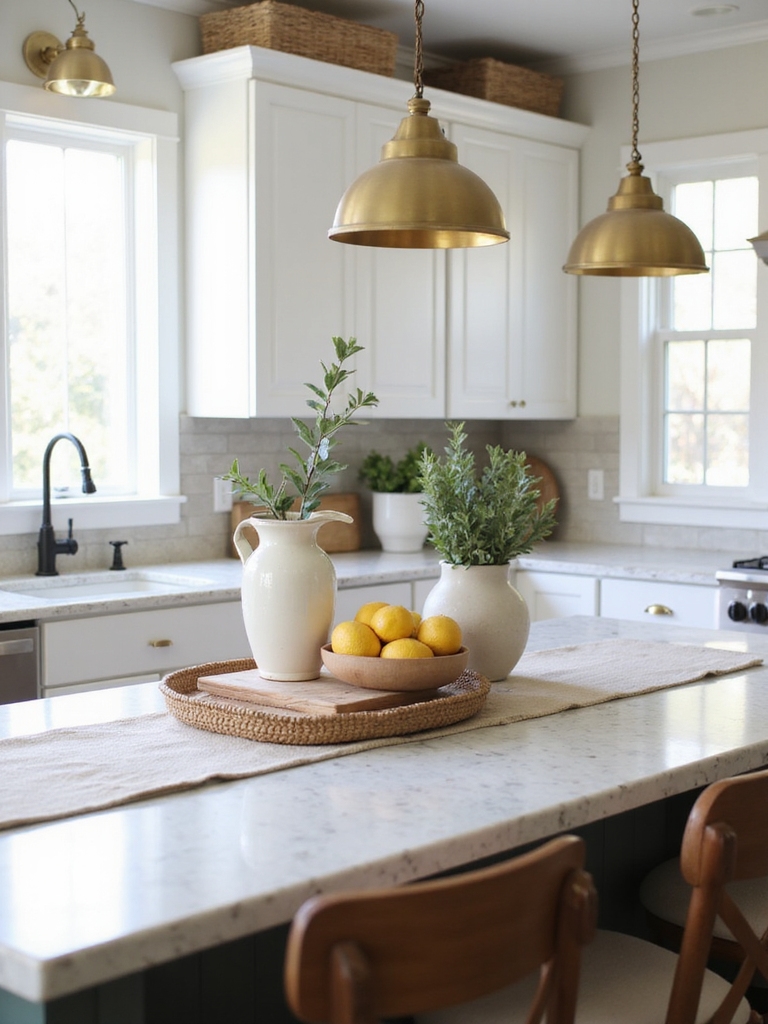
Intentional Groupings: Use Odd Numbers for Balance

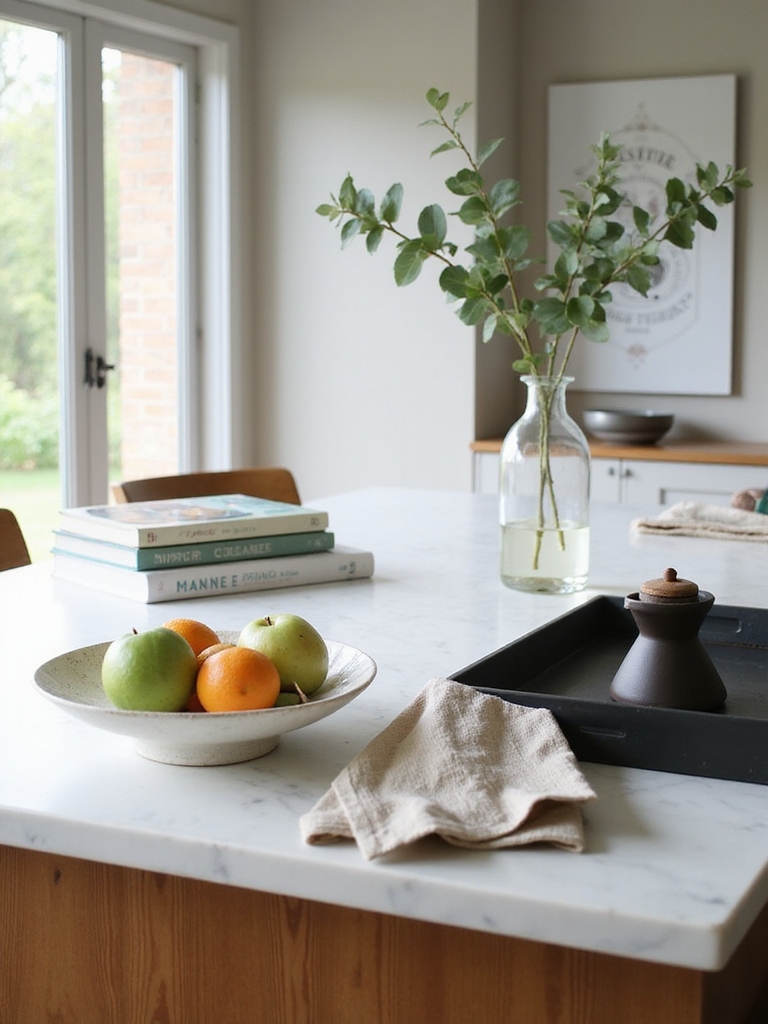
Once I’ve pared the island down to the few things I truly want to keep, I arrange them in intentional groupings and stick to odd numbers for a more natural, balanced look.
I often place three items—a small stack of books, a ceramic vessel, and a fragrant jar—so each piece breathes, the eye moves easily, and the scene feels relaxed, purposeful, and quietly homey.
I also like to add a statement centerpiece that complements the kitchen’s overall style, often using luxury kitchen island pieces for a cohesive, elevated feel.
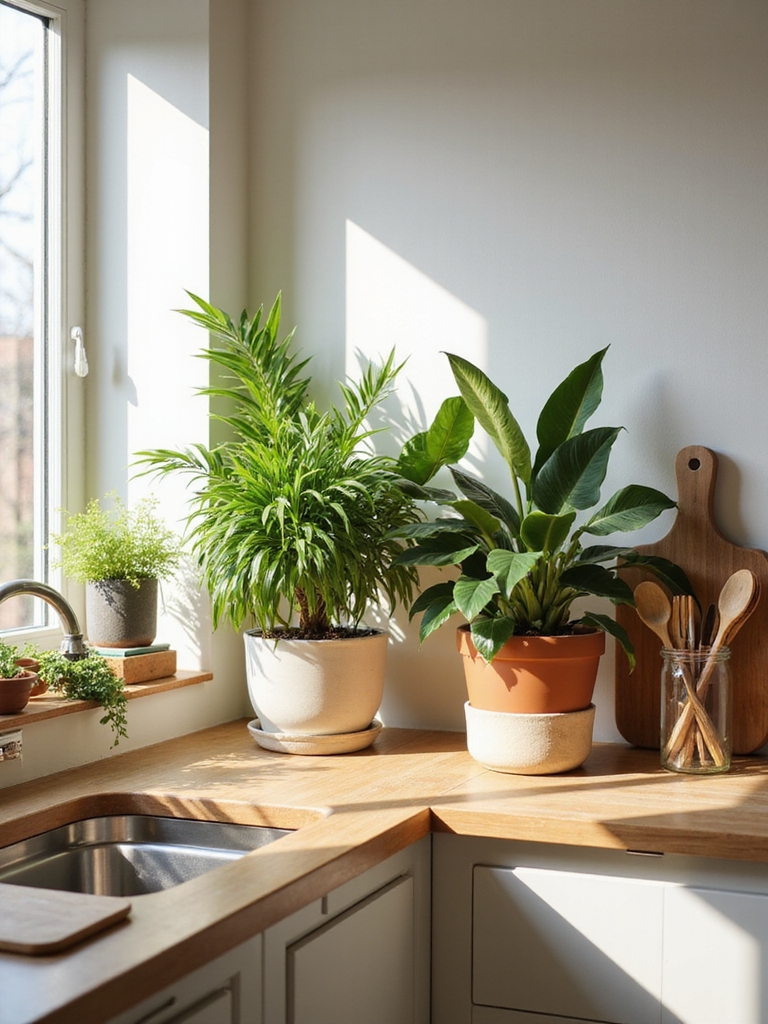
Layer Textures: Bowls, Boards, Textiles, and Greenery
Although texture might seem like a small detail, I layer bowls, cutting boards, linens, and a sprig of greenery to give the island a lived-in, rustic warmth that still feels purposeful.
I mix wood, ceramic, woven cloth, and soft leaves to add depth without clutter. Each piece has a job—practical, pretty, or both—so the island looks inviting and effortlessly styled.
Choose Focal Pieces by Island Size
When an island’s size changes the way it feels, I pick one or two focal pieces that suit its scale so the space reads intentional instead of cluttered.
For a long island I’ll anchor with a low tray and a single vase; for a compact one I choose a rustic bowl or a statement candle. Everything else stays pared back and purposeful.
Small Kitchen-Island Tricks That Look Intentional
I like making small islands feel purposeful by mixing textures—think a rough wooden tray beside a smooth marble bowl—to give the space the right scale.
I’ll layer functional items like a compact cutting board, a jar of wooden spoons, and a neat stack of napkins so everything looks used, not cluttered.
And I choose colors that guide the eye toward the kitchen’s flow, using a warm accent hue to tie island to room.
Scale With Texture
I often use texture to make a small kitchen island feel deliberate rather than squeezed-in; rough-hewn stools, a woven runner, or a matte butcher-block top can give a tiny footprint personality without crowding the room.
I balance scale with tactile contrast—coarse wood, soft linens, metal accents—so each piece reads intentional. It feels cozy, lived-in, and rightly sized for the space.
Layered Functional Decor
Because few things make a small island look purposeful like layers that work as hard as they look, I start by pairing function with form: a slim tray anchors salt and pepper mills, a stack of linen napkins softens a pair of metal stools, and a cutting board doubles as a platform for a vase of fresh herbs.
I add baskets for fruit and a folded tea towel for warmth.
Flow-Enhancing Color
Layering those practical pieces got the island feeling purposeful, and now I use color to keep the eye moving so the space reads bigger than it is.
I pick a warm accent — a faded blue bowl, terracotta pitcher, or sage linen — repeating hues in subtle doses.
That rhythm draws attention across the island, linking it to adjoining counters and creating an intentional, cozy flow.
Style for Casual Dining vs. Meal-Prep Islands
When I plan a kitchen island, I think about who’ll use it most and how—casual dining islands invite stools, soft lighting, and a few decorative touches, while meal-prep islands need clear surfaces, task lighting, and easily reached storage.
I favor worn wood, woven mats, and simple ceramics for dining islands; for prep islands I keep finishes durable, tools accessible, and clutter minimal so work flows.
Scale-Aware Lighting for the Island Zone
I always start by matching pendant size to the island so the fixtures feel right at home rather than like afterthoughts.
I also layer focused task lights over prep zones with softer ambient sources and make sure everything’s dimmable so the mood can shift from breakfast hustle to evening linger.
A few simple, well-scaled choices make the whole island both useful and welcoming.
Proportionate Pendant Size
Because proportion matters, I always start by measuring the island before picking pendants so the fixtures actually fit the space instead of overwhelming it.
I choose sizes that echo island length and ceiling height — single larger pendants for small farms or a trio of modest shades for longer counters.
It keeps sightlines clear, feels cozy, and helps the whole kitchen read as intentional, not cluttered.
Layered Task Lighting
Having sorted pendant size to suit the island, I turn to layered task lighting to make the zone truly functional.
I add focused under-cabinet strips and adjustable recessed lamps to chase shadows while keeping a cozy, farmhouse feel.
These layers let me illuminate prep areas without glare, highlight wood grain, and create a warm, lived-in work surface that feels both practical and welcoming.
Dimmable Ambient Controls
Think of dimmable ambient controls as the finishing touch that lets me tune the island’s mood from bright prep to soft linger.
I use scaled lighting levels so the island feels lively for cooking, cozy for drinks, or gently lit for conversation.
A simple rotary or smart dimmer preserves warmth, complements wood tones, and gives buyers an instant sense of versatile, lived-in charm.
Purposeful Storage That Doubles as Decor
I like to tuck practical pieces into plain sight so they pull double duty—holding utensils, cookbooks, or pantry staples while dressing up the island.
I choose woven baskets, wooden crates, and ceramic crocks that look lived-in yet tidy. They hide clutter, keep essentials handy, and add texture.
Rotate seasonal linens and a small tray for everyday tools to keep the display fresh and useful.
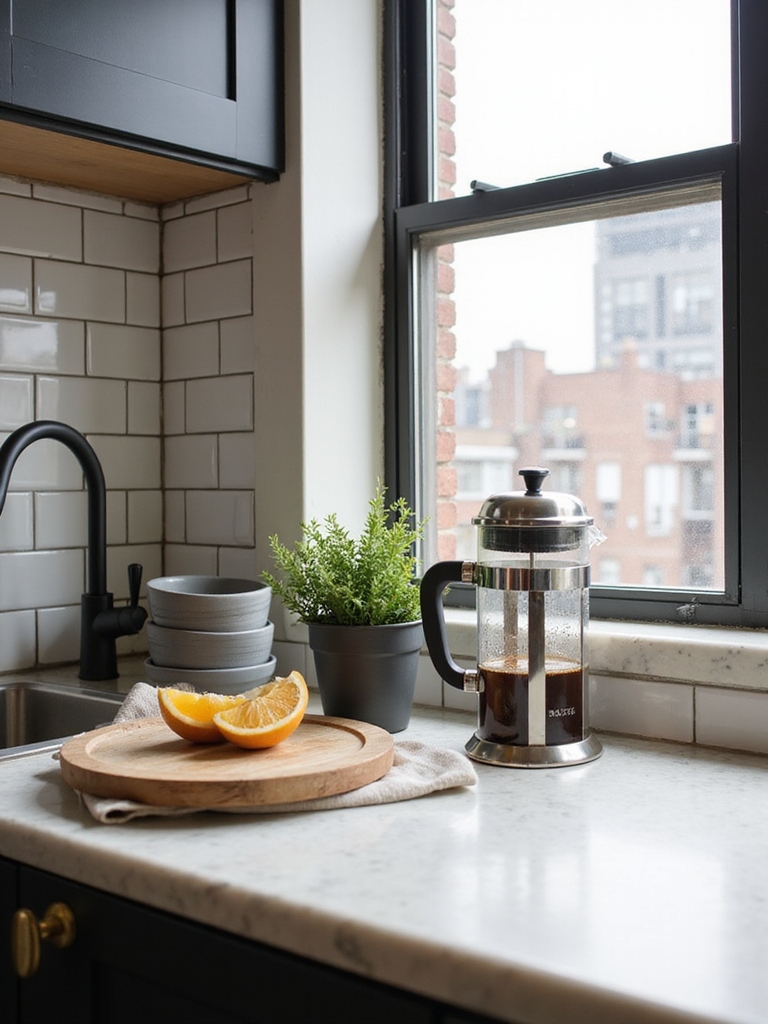
Colors and Materials That Photograph Well
When I style a kitchen island for photos, I lean into colors and materials that catch light without shouting—soft creams, warm woods, matte black accents, and muted greens photograph beautifully and feel lived-in.
I pick natural textures—linen runners, ceramic bowls, aged wood trays—that add depth.
Subtle contrast and tactile materials read well on camera, creating warmth without clutter or bold, distracting hues.
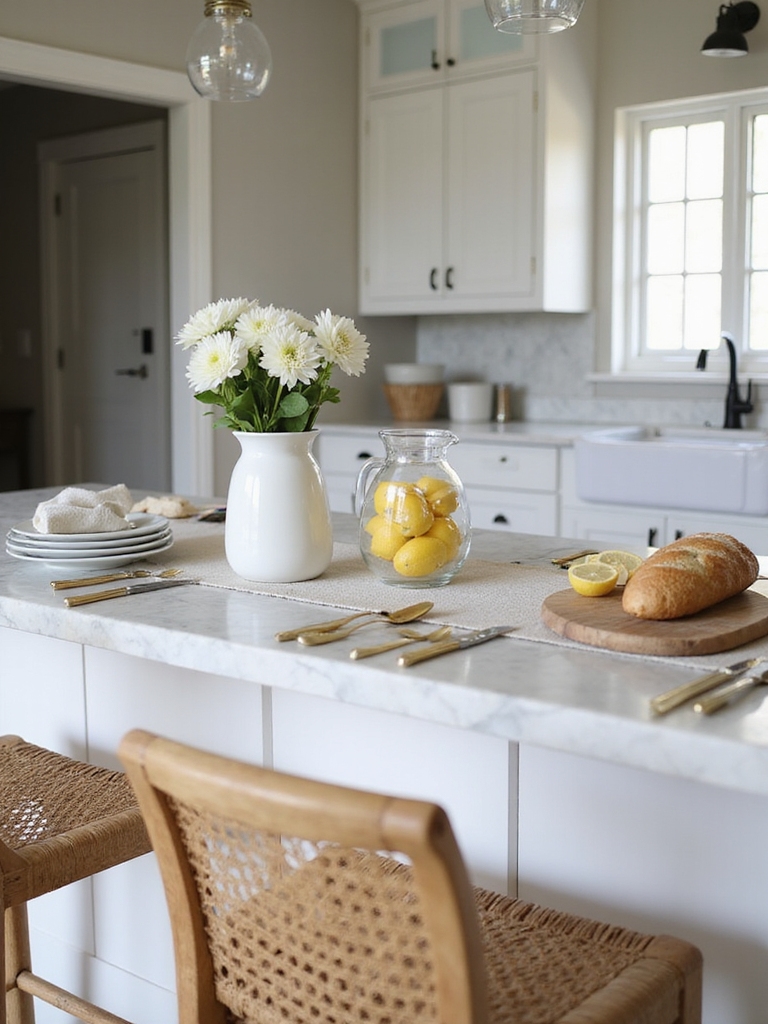
Seasonal Swaps That Update Your Island Fast
I swap a few key things on my island each season to keep the look fresh without a big overhaul.
A quick color change with linens, a seasonal centerpiece—think pumpkins in fall or a bowl of citrus in winter—and a simple texture swap like woven placemats or a linen runner make a big difference.
Try one change at a time and you’ll be surprised how tidy updates transform the whole space.
Quick Color Swaps
How about a quick color swap to make your kitchen island feel like a whole new space? I love swapping linens, bowls, and small accents to shift mood fast.
I keep a simple palette and change one anchor tone each season, so it feels fresh without fuss.
- Soft mustard for cozy warmth
- Sage green for calm comfort
- Deep navy for quiet richness
- Cream and terracotta for earthy cheer
Seasonal Centerpieces
Swap a few linens and bowls, then top the island with a seasonal centerpiece to make the change feel intentional and finished.
I like using simple vessels—a wooden bowl of pears in autumn, citrus and sprigs in winter, wildflowers in spring, or a woven tray of sunflowers in summer.
These small swaps refresh the room without fuss and invite cozy, lived-in charm.
Easy Texture Changes
Often I reach for texture first when I want the island to feel new without overhauling anything—changing a linen runner to a chunky knit, trading smooth ceramics for a matte, tactile bowl, or layering a woven placemat under a stack of cookbooks makes an immediate difference.
I swap pieces seasonally to keep comfort and charm alive.
- Cozy knits that invite touch
- Raw wood for warmth
- Matte pottery for depth
- Woven baskets for softness
Open-Plan Flow: Keep Traffic and Sightlines Clear
When I plan a kitchen island in an open layout, I keep traffic paths and sightlines front and center so the space feels roomy and welcoming.
I place the island to allow clear walkways, avoid tall obstructive decor, and choose low-profile lighting.
That keeps conversation flowing from kitchen to living areas and preserves a warm, rustic feel without clutter or blocked views.
Fast, Budget Swaps Pros Use (And Mistakes to Avoid)
I like to roll in small, affordable changes that make a big visual impact without upending the kitchen’s rhythm. I swap lighting, layered linens, a simple centerpiece, and match hardware finishes—quick wins that read as intentional.
Avoid over-accessorizing or clashing metals; those scream staged, not lived-in. Keep it warm, honest, and practical.
- Soft pendant swap
- Worn linen runner
- Wooden bowl centerpiece
- Unified metal tones
You’ve got the tools to make your island feel intentional, useful, and photo-ready without overthinking it.
Think of your island like a well-loved table at the center of a home — it should welcome, function, and tell a little story.
Pick a purpose, edit with care, group thoughtfully, and swap seasonally. Do those things, and your kitchen island will quietly pull the room together and invite people to linger.