I help you turn any room into an open, lived‑in kitchen that feels warm and easy to use. I’ll show how to pick a goal—quiet breakfasts or lively dinners—then measure and map the space in 30 minutes, set clear work zones, and choose island sizes and seating that match your home’s shape.
You’ll get traffic rules, lighting tips, and phased tweaks so the kitchen ages well and invites lingering — keep going and you’ll get the full blueprints.
What Defines an Open Kitchen?
I’ve always loved how an open kitchen pulls people together: it removes walls—literal and social—and turns cooking into conversation.
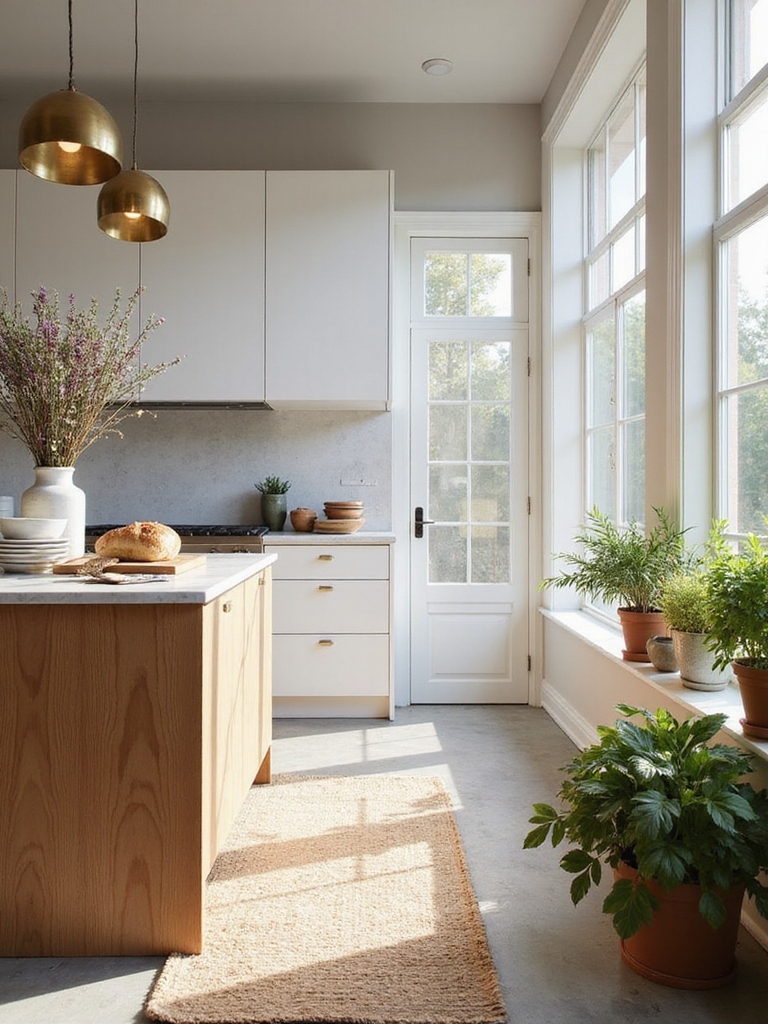
For me, an open kitchen blends sightlines, shared workspaces, and flexible seating so the cook isn’t isolated. It favors natural materials, easy flow, and purposeful storage.
The result feels welcoming, practical, and lived-in—a hub where life and meals happen together.
Open kitchens often transform living by connecting cooking, dining, and lounging into a single social space.
Choose Your Open‑Concept Goal in 3 Steps
Before we sketch anything, I want you to tell me how you’ll use the space—are you a dinner-party host, a casual family cook, or somewhere in between—so we can define your entertaining style.
Then we’ll set priorities for everyday cooking tasks and storage so the layout actually works for you.
Finally, we’ll plan traffic flow so people can move through the kitchen without tripping over each other.
Open-plan designs also require careful consideration of traffic and sightlines to keep cooking zones functional and visually cohesive.
Define Your Entertaining Style
One simple way I start planning an open kitchen is by picturing the kinds of gatherings I want to host — quiet breakfasts for two, lively weeknight dinners with friends, or big holiday feasts — because that vision shapes layout, seating, and flow.
I then choose mood and function:
- Cozy, slow mornings
- Bustling, hands-on dinners
- Casual mingling with drinks
- Formal, sit-down celebrations
Open island kitchens are especially good at turning cooking into social time because they encourage interaction while providing prep space and seating; consider configurations that emphasize open island layouts to maximize engagement.
Prioritize Daily Cooking Needs
Because how you cook every day should steer the layout, I start by listing the three things I do most in the kitchen and why they matter — meal prep, nightly dinners, or quick breakfasts — then match fixtures, storage, and traffic flow to those priorities.
I choose deep counters for chopping, an easy-reach pantry, and sturdy cookware storage so routines feel natural, cozy, and efficient.
Architects often arrange work zones to maximize kitchen flow by minimizing unnecessary steps between sink, stove, and refrigerator.
Plan Traffic Flow
When I picture our ideal open kitchen, I think about how people will move through it—where guests linger, where kids cut across on their way to the couch, and how I can keep the cook zone free of traffic; that clarity shapes every decision I make.
I set paths, anchor stations, and cozy pauses so cooking stays calm.
- Warm welcome spots
- Clear work aisles
- Kid-safe shortcuts
- Intentional gathering nook
Open layouts also invite stunning design that inspire renovation decisions.
Measure and Map Your Floor Plan (30 Minutes)

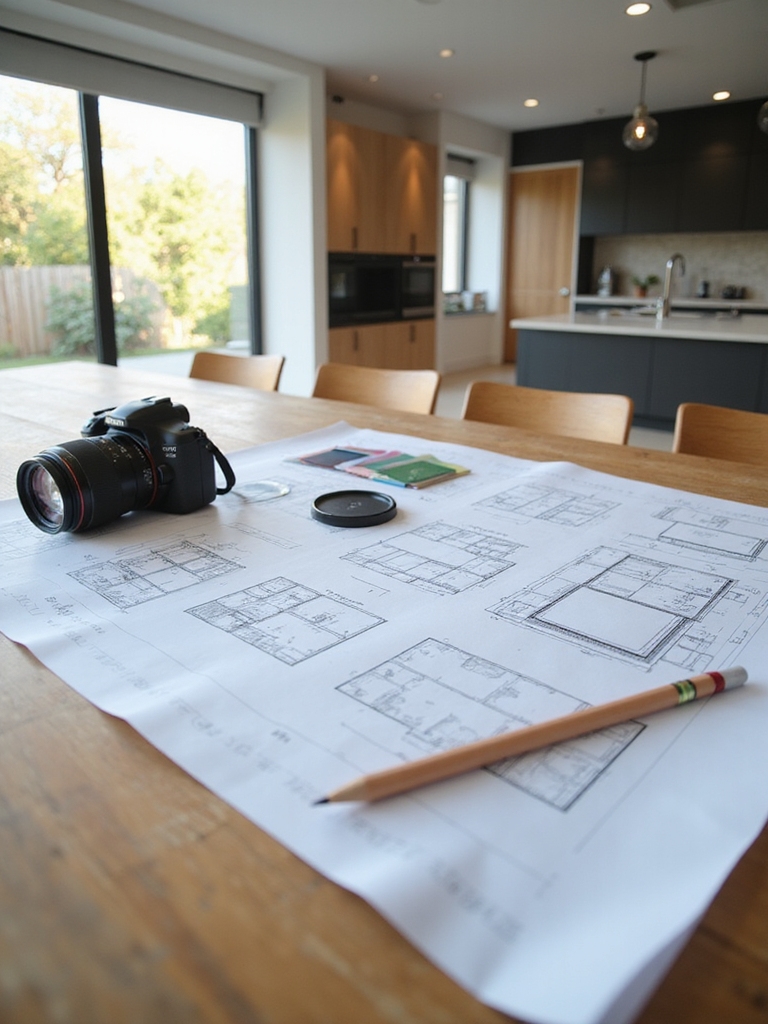
As I roll out the tape and square, I’ll walk you through mapping the room so the measurements actually mean something — not just numbers on paper but the bones of your kitchen.
I measure walls, windows, and appliance zones, noting offsets and ceiling height.
I sketch to scale, mark clearances, and label fixtures.
In thirty minutes you’ll have a faithful, rustic plan to guide choices.
Top interior magazines emphasize open kitchen layouts as a guiding trend when mapping and planning your space.
Traffic‑Flow Rules That Actually Work
If I want a kitchen that feels natural to move through, I set clear paths first and clutter second. I imagine people passing comfortably, not bumping elbows, and design around habit and heart.
I keep sightlines open, islands modest, and storage reachable.
- Warm, worn wood paths
- Hands-free zones
- Cozy conversational nooks
- Clear walkways for safety
Open layouts often pair the kitchen with the living room to create flow-friendly islands that enhance sightlines and interaction.
Open Kitchen: Narrow and Galley Solutions

I carry those traffic‑flow rules into narrow and galley kitchens by treating tight lanes like cozy country paths—planned, intentional, and surprisingly inviting.
I favor continuous work zones, slim cabinetry, and clear sightlines so movement feels natural.
Warm woods, open shelving, and soft lighting keep things airy.
I prioritize elbow room and efficient storage so small spaces work hard without feeling cramped.
Open galley kitchen makeovers can double your usable space when planned thoughtfully, emphasizing open galley kitchen principles to maximize function and flow.
L‑Shaped Open Kitchens for Corner Rooms
When you tuck a kitchen into a corner, an L‑shape becomes my favorite way to open the space without losing its cozy bones; it hugs two walls so I can create clear work zones while keeping the room feeling breathable.
- Warm wood counters that smell like home
- Soft light spilling across worn tiles
- A little breakfast nook for slow mornings
- Open shelving showing heirloom dishes
U‑Shaped and Peninsula Layouts for Mid‑Size Homes
Picture a U‑shaped kitchen that wraps around you like a well‑worn apron, or a peninsula that extends an inviting arm into the room—both layouts make mid‑size homes feel organized without feeling tight.
I love how U‑shapes cradle work zones, letting me chop, cook, and clean with clear paths. A peninsula adds casual seating and divides space without walls, keeping things cozy and practical.
Open Kitchens for Studios and Lofts
Moving from the coziness of U‑shaped and peninsula kitchens, let’s look at how open layouts work in studios and lofts.
I love how light and wood tones make small spaces breathe. I’ll keep cooking areas compact, add clever storage, and create visual flow so you feel calm.
- Warm reclaimed wood
- Soft layered lighting
- Built‑in slim storage
- Textured rugs and greenery
Convert Adjacent Rooms Into a Kitchen‑Dining Zone
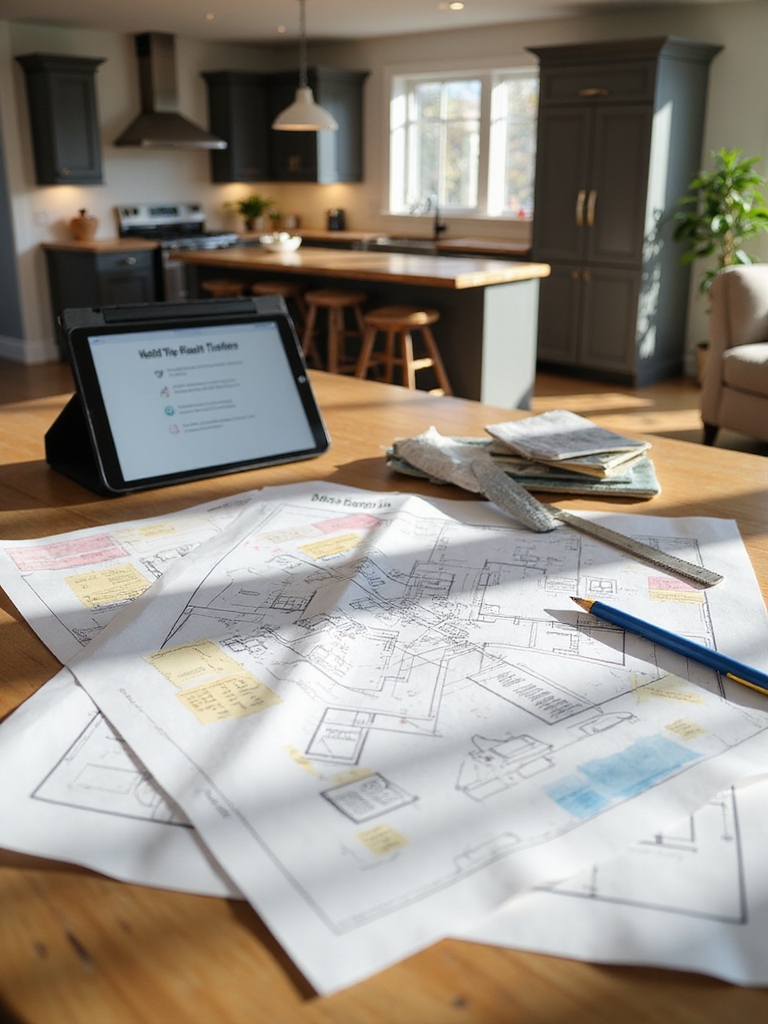
I’ll walk you through converting adjoining rooms into a cozy kitchen‑dining zone, starting with evaluating structural openings so walls and beams can handle a new flow.
We’ll check and align floor levels to keep changes safe and attractive.
Finally, I’ll help you define clear functional zones so cooking, dining, and circulation feel natural and homey.
Assess Structural Openings
Before we start knocking down walls, I’ll walk you through how to assess the structural openings between rooms so we can safely convert them into a kitchen‑dining zone. I’ll check load‑bearing walls, locate beams, inspect posts, and note utilities.
Together we’ll plan openings that feel open and sturdy, honoring the home’s soul.
- Heartfelt safety
- Measured courage
- Cozy vision
- Gentle care
Align Floor Levels
I’ll check the floor lines between rooms so your new kitchen‑dining zone feels seamless underfoot and looks intentional — not like two spaces awkwardly stitched together.
I’ll level thresholds, match finishes, and shim where needed, keeping shifts gentle and honest.
We’ll choose materials that age well together, tuck trim to hide joins, and preserve that lived‑in, rustic warmth while making movement effortless.
Define Functional Zones
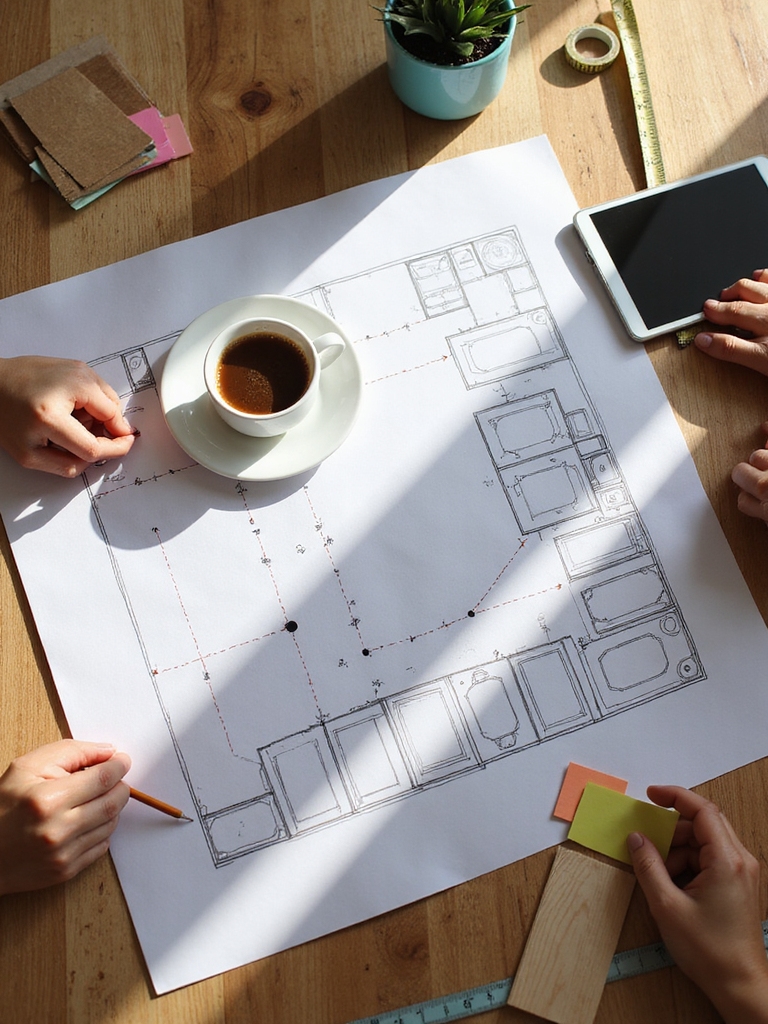
When we open up adjacent rooms into one kitchen‑dining zone, I start by sketching clear-purpose areas—cooking, prepping, dining, and socializing—so every step feels deliberate and easy.
I place island worktops between stove and table, keep sightlines open, and choose durable, warm materials that invite lingering.
- Cozy shared meals
- Mess that tells stories
- Easy flow for hosts
- Sunlit morning coffee
Sightlines: Hide Clutter While Keeping Openness
Because open sightlines make a kitchen feel honest and airy, I focus on hiding the clutter without closing off the room, so guests still see warmth and wood instead of piles and cords.
I tuck small appliances behind sliding panels, use low-profile shelving, and design eye-level views to show only jars, greenery, and wooden bowls. It feels lived-in but tidy.
Storage and Appliance Placement for Efficiency
I like to think of storage and appliances as a little farm of tasks, each with its own patch: prep, cooking, and cleaning, so everything has a home nearby.
Placing the fridge, stove, and sink in an efficient triangle keeps steps to a minimum and hands free for chopping or stirring.
Let’s look at simple zoning and appliance placement that make daily work feel natural and cozy.
Zone-Based Storage Strategy
Although open kitchens invite a free flow of activity, I like to tame that energy by arranging storage and appliances into clear, purpose-driven zones so everything’s within reach when you need it.
I group items by task—prep, cook, clean, pantry—so the room feels calm and honest.
- Prep: knives, boards, oils
- Cook: pots, spatulas, spices
- Clean: rags, dishwasher supplies
- Pantry: dry goods, jars, preserves
Appliance Work Triangle
Think of the work triangle as the kitchen’s gentle choreography: I place the fridge, stove, and sink so they form a compact triangle that keeps steps short and the rhythm smooth.
I balance reach and storage, tuck prep surfaces between heat and water, and leave clear paths. This cozy layout saves time, reduces spills, and keeps cooking calm and efficient in any open-plan home.
Island and Seating Options by Home Shape
Let’s walk through island and seating choices based on your home’s shape so you can picture what’ll actually fit and feel right.
I’ll help you choose islands and stools that match flow, scale, and soul.
- Cozy cottage: narrow island, bench seating, worn wood warmth
- Urban loft: slim bar, swivel stools, metal accents
- Farmhouse: large prep island, apron seating, communal vibe
- Compact bungalow: drop-leaf counter, foldable chairs
Lighting and Zoning Without Walls
When you can’t rely on walls to define rooms, I use light, texture, and placement to carve cozy zones that feel intentional and lived-in;
I’ll show how layers of lighting and simple visual cues guide movement, set mood, and keep the kitchen connected to the rest of the home.
I add pendants over prep, undercabinet task lights, dimmable ambient fixtures, rugs, and open shelving to anchor spaces.
Budget‑Minded Tweaks and Phased Plans
I’ll show you how small changes can make a big impact on an open kitchen without breaking the bank.
We’ll map out modest tweaks—like swapping hardware, updating lighting, or repainting—that breathe new life into the space.
Then we’ll plan remodel stages so you can spread costs and enjoy improvements as they come.
Small Changes, Big Impact
I’ve learned that you don’t need a full remodel to make an open kitchen feel fresh and functional; small, budget-minded tweaks and a phased plan can deliver big impact without disrupting your life.
I’ll share simple moves that warm the room and ease your days:
- Swap worn hardware for character
- Layer lighting for cozy tasks
- Add open shelving for charm
- Refinish surfaces for renewed soul
Stage Remodels Over Time
Often I start with one corner and let the rest evolve, because staging a remodel over time keeps stress low and progress steady.
I’ll tackle wiring, then cabinets, then finishes across months, spreading costs and chaos. You’ll see each phase pay off, living with choices before committing.
Small budgets stretch, mistakes stay manageable, and the kitchen grows into a lived, rustic heart of home.
Common Layout Mistakes : Fast Fixes
Because a kitchen should invite cooking, not trip you up, I want to point out the quick layout mistakes I see most and how to fix them fast. I’ll keep it simple, honest, and hands-on.
- Crowded work triangle — reclaim flow, shift prep sink.
- Island too small — add overhang, comfy stools.
- Poor storage — swap to deep drawers.
- Bad lighting — layer task and warm ambient light.
So you’ve survived the open‑kitchen jungle and lived to tell the tale — congratulations, you’re basically a floor‑plan whisperer now.
Take my advice: measure, imagine your chaos, and pick islands that don’t double as laundry mountains. Keep traffic flowing and light cozy, not interrogation‑bright.
If it all goes sideways, blame the trend, not your husband’s spatula collection. Now hug a blueprint and get back to cooking — or at least reheating.