I design kitchens around a tight, real‑world work triangle—fridge, sink, stove—so you take fewer steps and don’t cross traffic, and I zone prep, cook, clean and store areas so everything sits where you use it.
I size aisles and island clearances for one or two cooks, give landing space beside appliances, and keep heavy items low and drawers handy for safety. Follow my layout checks and you’ll find smarter flow and fewer surprises ahead.
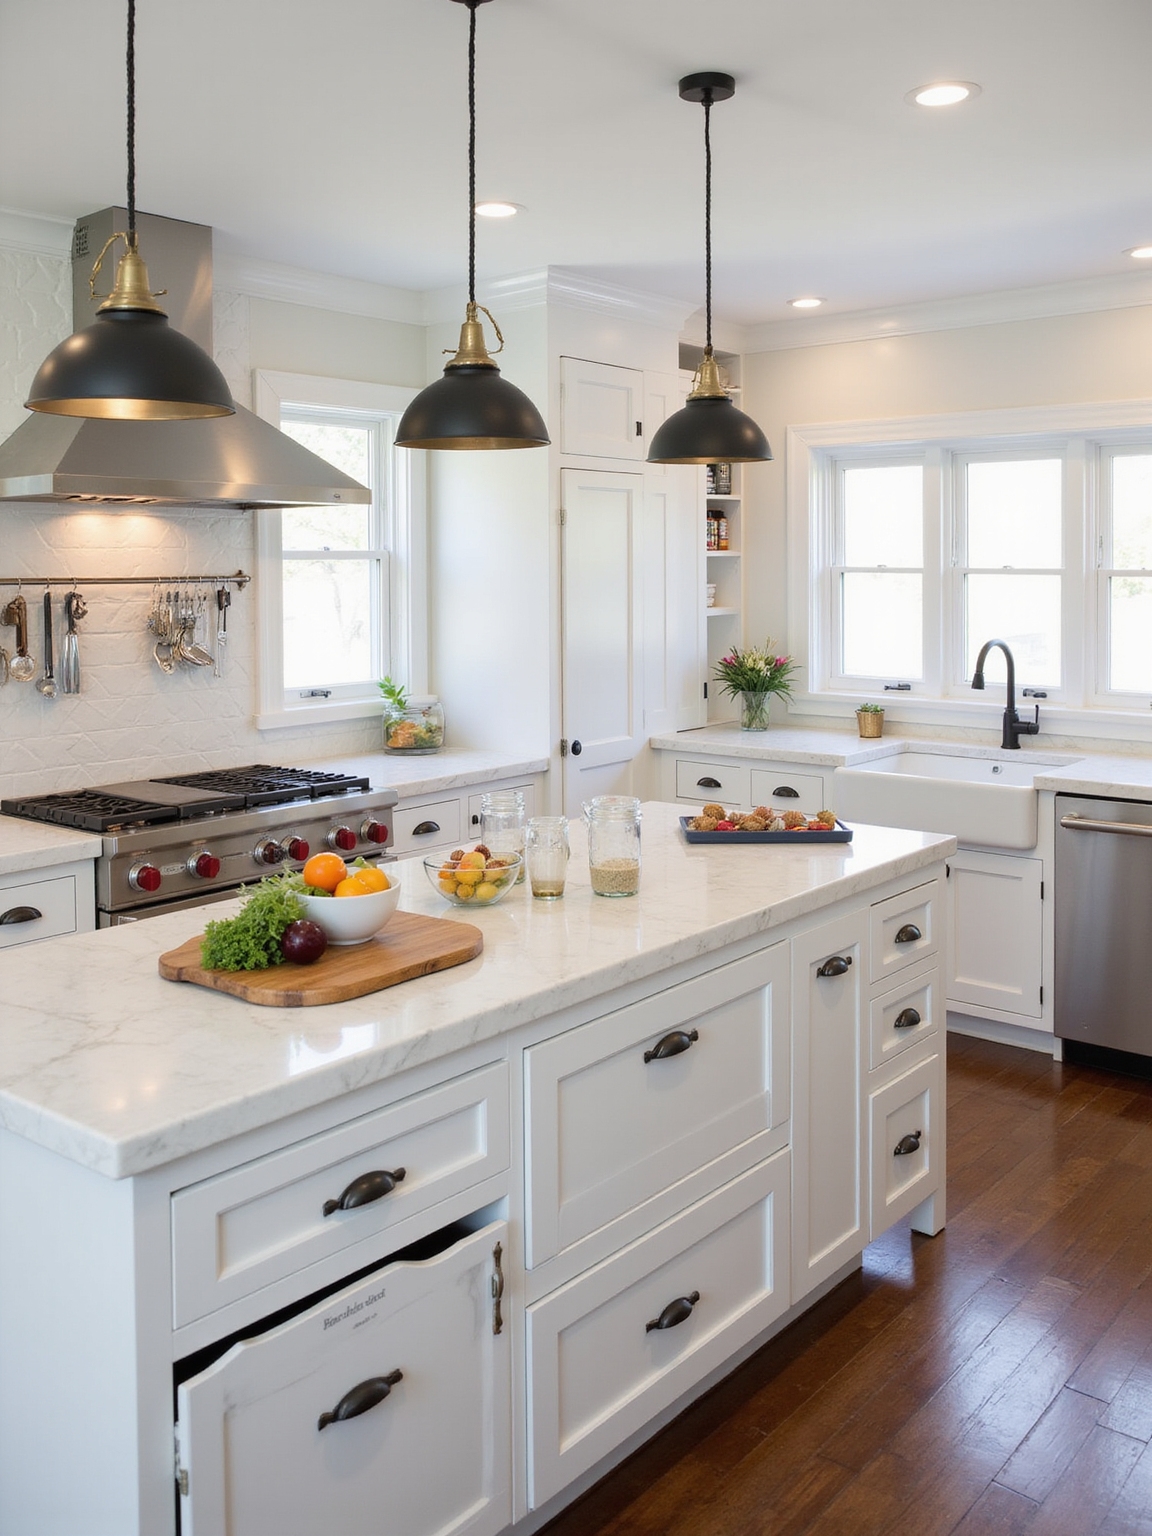
Design the Work Triangle for Real‑World Kitchen Flow

When I plan a kitchen, I start with the work triangle—stove, sink, and fridge—and think about how you’ll really move between them, not just how they look on paper.
I picture you chopping, rinsing, and hauling groceries, then place counters and lighting to shorten steps.
Keep paths simple, sightlines open, and storage near tasks so cooking feels easy and warm.
Before any demo, avoid costly layout mistakes by verifying that the planned triangle supports efficient movement and storage, especially to prevent unexpected issues during demolition like rework or wasted space costly layout mistakes.
Set Aisle Widths and Clearance Rules That Work Daily

I want to talk about the clearances that let a kitchen actually work, not just look pretty. Keep the work triangle free of tight corners so you can move between sink, stove and fridge without bumping into someone, and aim for at least a comfortable clearance there.
For islands, plan minimum aisle widths so drawers and appliances can open while people pass—think practical, everyday spacing.
Designing a peninsula-style layout also means paying attention to how the peninsula affects flow and aisle widths so movement remains efficient.
Work Triangle Clearance
Think of the work triangle as the kitchen’s heartbeat — I want it to beat steady and unhurried, not cramped or chaotic. I measure clearances so cooking feels easy and inviting.
- Keep paths between sink, stove, fridge uncluttered and about 36–48 inches.
- Allow 42 inches for two cooks.
- Respect 15 inches of landing space beside appliances.
- Architects often rely on space-saving layout tricks to keep kitchens efficient and comfortable.
Island Aisle Minimum
If you want daily kitchen life to feel easy and roomy, I make the island aisles long enough to move, work, and chat without bumping elbows.
I aim for 42–48 inches between island and counters for single cooks, 48–54 inches for two, and at least 60 inches where appliances swing.
Those clearances keep traffic flowing, prep practical, and gatherings feeling cozy.
High-end designs often include unique island designs that serve multiple functions and elevate both form and function.
Size and Position an Island Without Blocking Traffic
When I plan an island I always start by measuring clearances so people can move freely around it without bumping elbows.
I also think about where the stove, sink and fridge sit so the island supports the work triangle instead of interrupting it.
Let’s look at practical spacing and placement choices that keep traffic flowing and chores easy.
Consider incorporating multifunctional features like seating or storage to make the most of limited square footage and enhance space efficiency.
Clearance Around The Island
Because kitchens are the heart of a home, I always pay close attention to spacing around an island so movement feels natural instead of cramped; aim for at least 42–48 inches of clear walkway on the main traffic side and 36 inches on secondary sides so drawers, appliances, and two people can operate without bumping into each other.
- Keep circulation clear for cooks and guests.
- Allow appliance door swing.
- Preserve seating comfort and legroom.
Integrated Dining Zones help combine eating space with prep areas, creating more usable square footage and improving overall kitchen flow.
Island Placement Relative To Workstations
Place the island where it supports the work triangle instead of interrupting it. I set islands so prep, cook, and sink stay connected — usually 36–42 inches clearance each side.
I size islands to let two people pass and open appliances. Think of the island as a toolbench: close enough to reach, far enough to flow.
It anchors space without creating bottlenecks. Consider chic partition ideas to define the kitchen without closing it off.
Place Major Appliances to Minimize Cross‑Traffic
Standing at the heart of the kitchen, I like to think of the stove, fridge, and sink as an old trio that needs its own quiet dance floor, so I arrange them to keep traffic flowing and chores from bumping into one another.
I place appliances to reduce crossings:
- Fridge near entry for quick access.
- Stove centered for cook space.
- Sink between prep and cleanup.
Clever layout strategies can open sightlines and make a tiny kitchen feel much larger by emphasizing smart space planning and minimizing visual clutter.
Zone the Kitchen by Task: Prep, Cook, Clean, Store
When I plan a kitchen, I think in tasks rather than appliances, so I divide the space into clear zones for prepping, cooking, cleaning, and storing — each with its own work surface and tools so everything feels natural and within reach.
I keep traffic paths simple, place related tools nearby, and use lighting and textures to signal each zone, making the kitchen cozy, efficient, and welcoming.
Arrange Countertop Workspaces for Common Sequences
I like to arrange my countertops so the prep, cook, and serve zones flow in a clear sequence that matches how I actually work.
That means placing cutting and mixing space near storage and the sink, cooking space by the stove, and a tidy serving spot where plates and finishing touches happen.
Keeping obvious progression workpaths between them reduces trips and keeps the rhythm smooth and practical.
Prep, Cook, Serve Zones
Picture your kitchen as a small production line: I set out ingredients on one stretch of counter, move to the stove to transform them, then plate on another clear surface for serving. I organize zones so tasks flow naturally.
- Prep: chopping, bowls, trash nearby.
- Cook: stove, pans, spice reach.
- Serve: clearing, plates, garnish space.
Sequence-Based Counter Placement
Because I move through the kitchen in predictable patterns, I arrange countertops to match those rhythms so each task drops into the next without fuss.
I place chopping, mixing, and plating surfaces in a gentle sequence—near the fridge, beside the stove, then toward the dining pass—so tools and bowls travel minimally.
It feels homey, efficient, and oddly calming.
Clear Transition Workpaths
When I plan countertop zones, I think in motion—how a bowl moves from fridge to sink to stove, or how a knife slides from prep board to plate— so I set tapered workpaths that feel natural and unobstructed.
- Keep fridge, prep, sink aligned for straight, short trips.
- Reserve clear landing space beside appliances for quick transfers.
- Use consistent counter heights and unobstructed corners to speed flow.
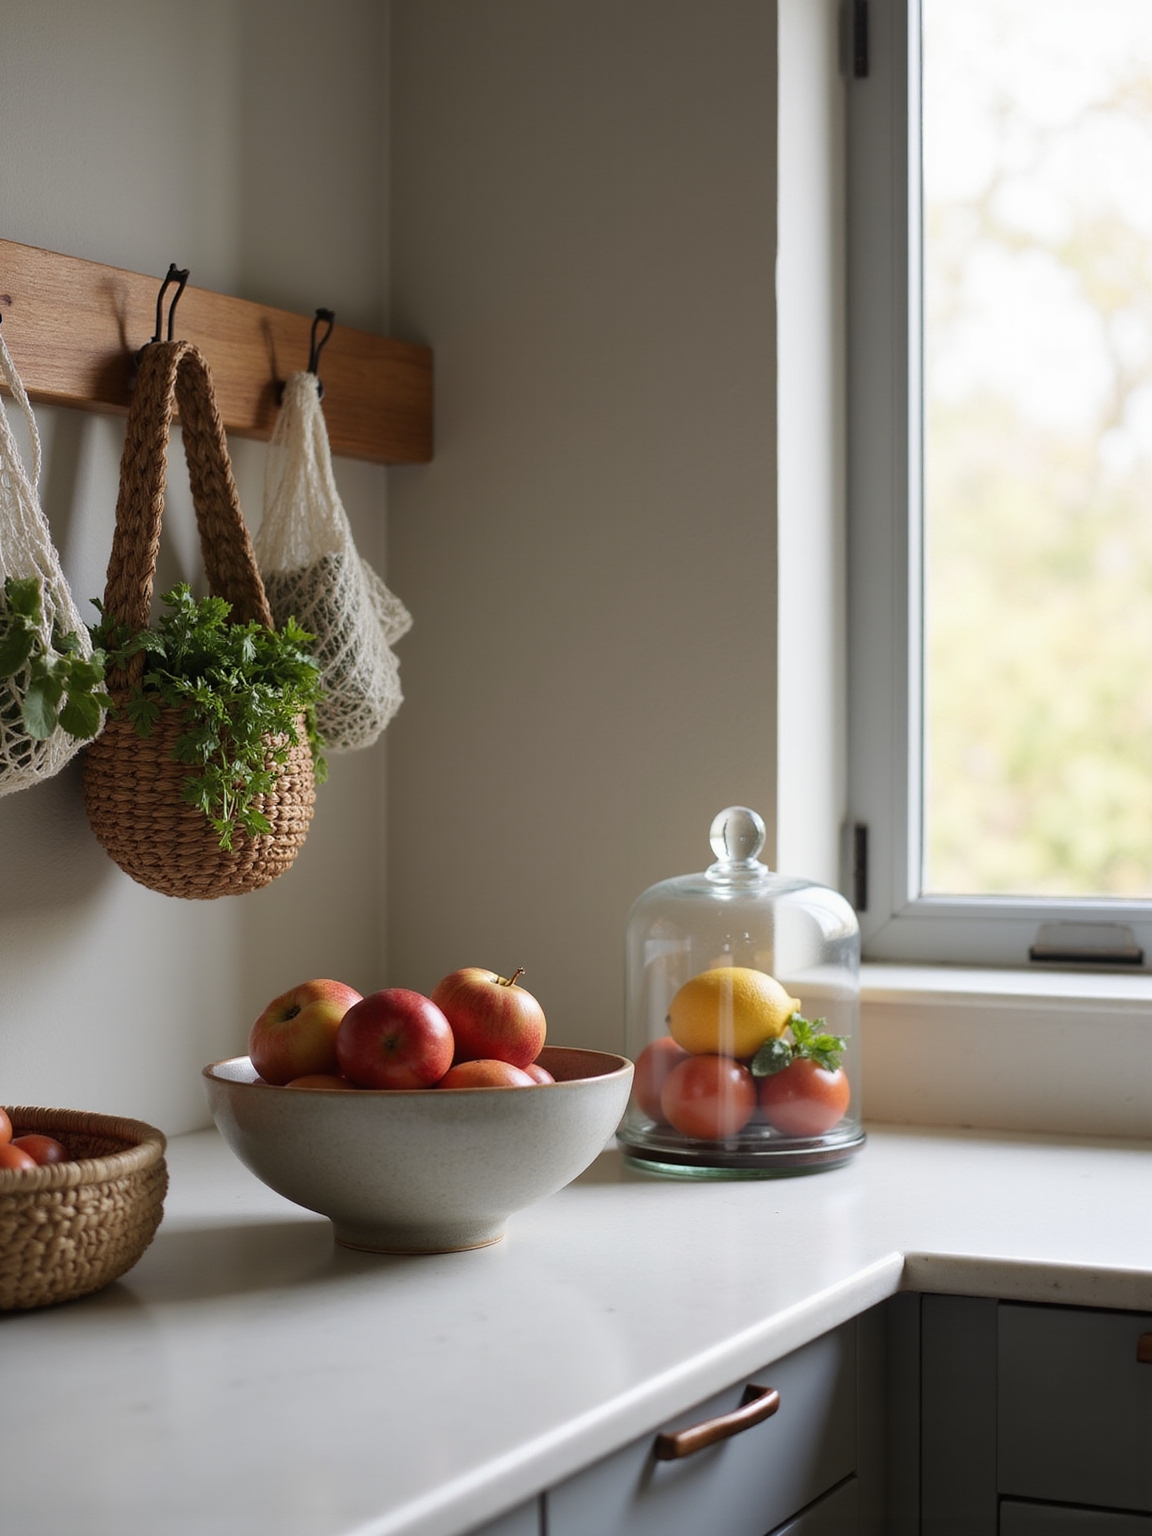
Group Pots, Pantry, and Dishware Where You Use Them
I like to keep pots, pantry staples, and dishware where I actually use them—pots near the stove, everyday plates by the dishwasher, and frequently grabbed ingredients at eye level—so cooking and cleanup feel natural instead of chore-like.
I tuck spices by the range, store baking basics beside prep zones, and keep mugs next to the kettle. It’s cozy, efficient, and honestly a little freeing.
Balance Storage for Daily Use and Bulky Items
I like to keep everyday dishes and frequently used gadgets within easy reach so cooking feels effortless.
For bulk or seasonal items I reserve deeper cabinets or a pantry corner, grouped by zone so they don’t interrupt daily flow.
Let’s talk about simple ways to separate those two needs without wasting space.
Everyday vs. Occasional Storage
Usually I keep the things I use every day within arm’s reach and tuck bulky, occasional items out of sight, because that simple split keeps the kitchen feeling calm and functional.
I arrange shelves and drawers so habit guides reachability, with cozy, practical choices that age well.
- Everyday: mugs, knives, prep bowls.
- Near-daily: pots, pans, cutting boards.
- Occasional: party platters, seasonal appliances.
Zoned Bulk Item Placement
When I plan where bulky items live, I think in zones—so daily tools stay handy while oversized pieces get tucked nearby but out of the way.
I place heavy pots low by the range, store small appliances in pull-out cubbies, and reserve deep cabinets for bulk pantry bins.
That way cooking stays smooth, clutter’s controlled, and everything feels comfortably within reach.
Choose Doors and Drawers to Avoid Congestion
Start by picturing how you move: I open doors, pull drawers, reach for pots — and I plan those motions so they don’t collide.
I choose bi-folds, drawers, or pocket doors where paths cross, so kettles and kids don’t get tangled.
- Use drawers for heavy items.
- Swap swinging doors near walkways.
- Stagger openings to clear traffic.
Plan Sightlines and Visual Anchors for Safety and Focus
After thinking about how doors and drawers swing, I pay the same attention to sightlines and visual anchors so the kitchen feels safe and calm.
I align clear sight paths between stove, sink and exits, place a sturdy island or a rustic pendant as a focal anchor, and keep clutter low.
These choices guide movement, reduce surprises, and help you stay centered while cooking.
Integrate Seating Without Blocking Work Zones
Beside the prep counter I like to tuck seating that invites people to linger without getting in the way of the work triangle.
I choose stools that slide under overhangs, low benches off to the side, and clear sightlines so cooks and guests share warmth without bumping elbows.
- Under-counter stools
- Side bench with backrest
- Slim, movable stools
Design for Multiple Cooks: Parallel and Galley Options
If people linger on the bench while I’m chopping, I plan the rest of the kitchen so two cooks can move without bumping into guests.
I favor generous parallel runs or a snug galley with clear work aisles, matching counters, mirrored storage, and separate prep and cooking zones.
It feels cozy, efficient, and lets us collaborate without stepping on each other’s toes.
Account for Traffic Flows to Adjacent Rooms and Entries
When I plan a kitchen, I map how people move between rooms and doors so cooking never becomes a game of bumper carts; clear sightlines to entries, a straight path from pantry to prep, and a calm route for guests make all the difference.
I keep traffic predictable and separate from work zones:
- Route guests along the periphery.
- Place trash near exits.
- Create a clear pantry corridor.
Adapt the Layout for Accessibility and Aging in Place
Because I want kitchens to be useful for decades, I design with aging and accessibility in mind, keeping controls, storage, and work surfaces within easy reach and sight.
I choose lever handles, pull-out shelves, and adjustable-height counters so tasks feel effortless.
Wider paths, good lighting, and clear sightlines make the space welcoming, safe, and steady for every season of life.
Common Layout Mistakes, Measurement Checks, and Fixes
Though I love a good open-plan kitchen, I’ve seen plenty of layouts that trip people up—too-narrow walkways, mismatched work triangle distances, and appliances crowding prep zones—and I want to help you spot and fix those issues before they become daily frustrations.
- Measure clearances: 42–48″ main aisles, 36″ secondary.
- Check triangle: 12–26 feet total.
- Zone fixes: relocate appliances, add prep counter, adjust cabinet depth.
I’ve learned kitchens live by rules and by feel — like the old farmhouse where my grandmother could glide between stove and sink without thinking.
Studies show a properly planned work triangle can cut steps by 20%, and that ease becomes joy.
Think of layout choices as pathways she already knew: set the aisles, place the island, zone the tasks, and you’ll build a kitchen that hums, welcomes helpers, and keeps everyday life moving gently.