I’ll help you craft a quietly luxe island centerpiece that’s both beautiful and useful for big gatherings. Start with a clear focal idea and scale pieces to about two‑thirds of the island’s shortest side so sightlines stay open.
I favor warm wood, marble accents, mixed metals and layered textiles—low floral clusters, a taller single stem, candles on a tray—and edible boards for grazing. Keep traffic lanes clear and stems fresh, and I’ll show simple looks and care tips next.
What “Luxury” Means for Kitchen Island Centerpieces
When I say “luxury” for a kitchen island centerpiece, I don’t mean flashy or fussy — I mean thoughtful pieces that feel lived-in and finely made: a hand-carved wooden bowl, a stack of linen-covered cookbooks, or a simple brass candlestick with a slightly worn patina.
I favor textures, functional beauty, and items that invite touch—fresh herbs, folded linen, a single artisanal vase—subtle, enduring luxury.
Consider investing in curated groups from Luxury Kitchen Decor Collections to create cohesive, splurge-worthy arrangements that elevate the whole space.
Decide Focal Concept, Budget, and Use Before You Shop
Before you buy a single bowl or bouquet, I pick a clear focal idea, set a realistic budget, and decide how you’ll actually use the island—because beauty that doesn’t fit your life quickly becomes clutter.
I choose one guiding theme, allocate funds for statement pieces and practical accents, and plan for daily use and entertaining.
That way the centerpiece feels lived-in, warm, and intentional. I also layer textures and finishes to achieve an elevated professional look that reads luxe without feeling fussy.
Kitchen-Island Centerpiece Size Guide (Match Scale to Island)
I always start by measuring the island surface so the centerpiece doesn’t overwhelm the space.
I’ll choose a height that feels proportionate—low and layered for a long counter, slightly taller for a square island—so sightlines stay open.
And I pay attention to seating, keeping the arrangement balanced with stools and clear pathways.
Professional stagers often recommend using layering techniques to combine textures, heights, and focal pieces for a polished look.
Measure Island Surface Area
Measuring your island’s surface area is the best place to start, so I can help you choose a centerpiece that feels balanced and lived-in.
I walk you through simple length-by-width math, note usable space around prep zones, and recommend leaving a comfortable margin.
With rustic confidence, I help you pick a centerpiece size that complements wood grain, traffic flow, and everyday warmth without crowding.
Consider how your island proportions relate to overall kitchen scale and style to maintain visual balance with luxury island styling.
Proportionate Centerpiece Height
Now that we’ve figured out the island’s footprint, let’s talk height so your centerpiece sits in the room instead of shouting at it.
I aim for two-thirds the island’s shortest dimension for eye-friendly arrangements, keeping taller elements centered and lower accents toward edges.
Use layered heights—a single tall vase with clustered low bowls—to keep a cozy, rustic rhythm without overwhelming the space.
Elegant kitchen islands benefit from curated accents that reinforce the overall design language, like balanced groupings and proportionate scale.
Balance With Seating
When you pull up a stool or stand at the counter, the centerpiece should feel like it belongs—so I size things to leave clear space for people and plates.
I keep arrangements low and narrow where stools cluster, or choose a longer, shallow runner display for many seats.
That way guests move, set plates, and chat without knocking flowers or feeling cramped.
Modern urban kitchens often favor streamlined, elevated countertop styling for a cohesive look, so consider designs that echo that sleek aesthetic.
Starter Styling Recipes: 3 Easy Luxe Looks to Copy
I’ll show you three easy luxe looks you can recreate on your island: a monochrome marble elegance for a calm, polished feel, a fresh floral trio that brings in seasonal color, and a layered metallic tray setup for warm, reflective shine.
I’ll walk through simple pieces and placement so each look reads intentional, not fussy. Grab a few basics and we’ll style one together.
Stylish countertop decor can help maintain both form and function with thoughtful layout choices, like grouping items by use and scale to keep traffic flow clear and surfaces usable; consider a countertop layout approach to balance beauty and practicality.
Monochrome Marble Elegance
Though marble can feel formal, I love how a monochrome palette softens its edge and makes the island look lived-in and luxe at once.
I layer matte white trays, a single veined marble slab, and warm wooden bowls for contrast. I keep metals brushed, linens neutral, and let texture — not color — bring the cozy, slightly rustic elegance that welcomes guests.
High-quality pieces like tray accents and bowl sets can elevate everyday use and create a sense of daily luxury when arranged thoughtfully with countertop decor.
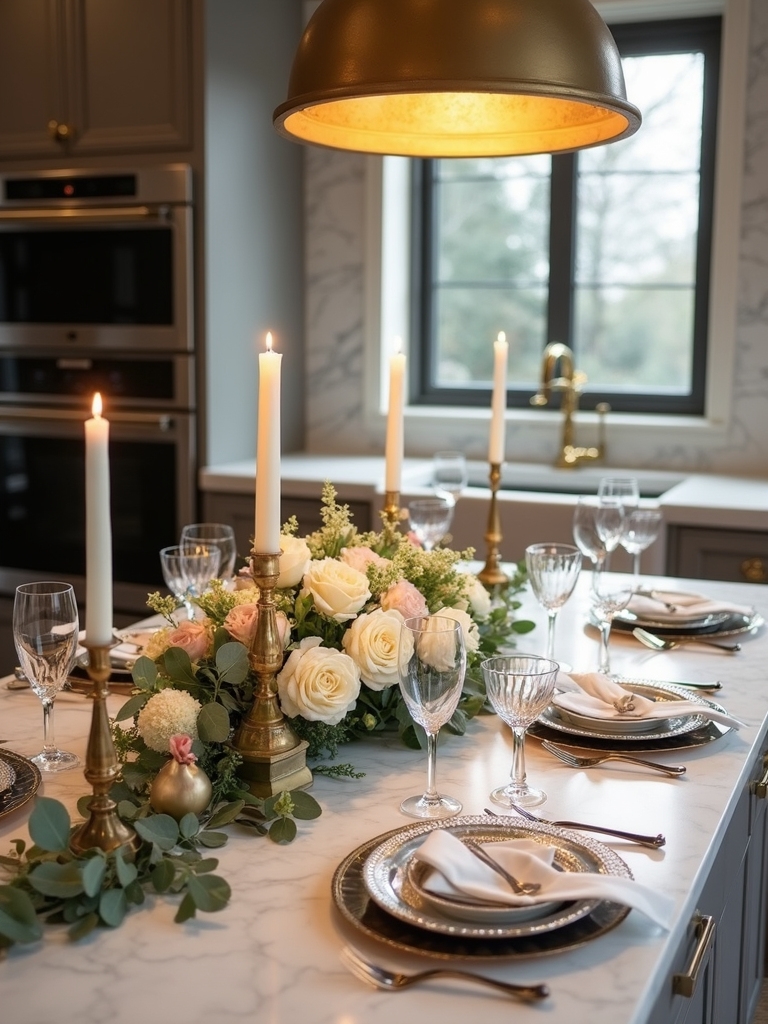
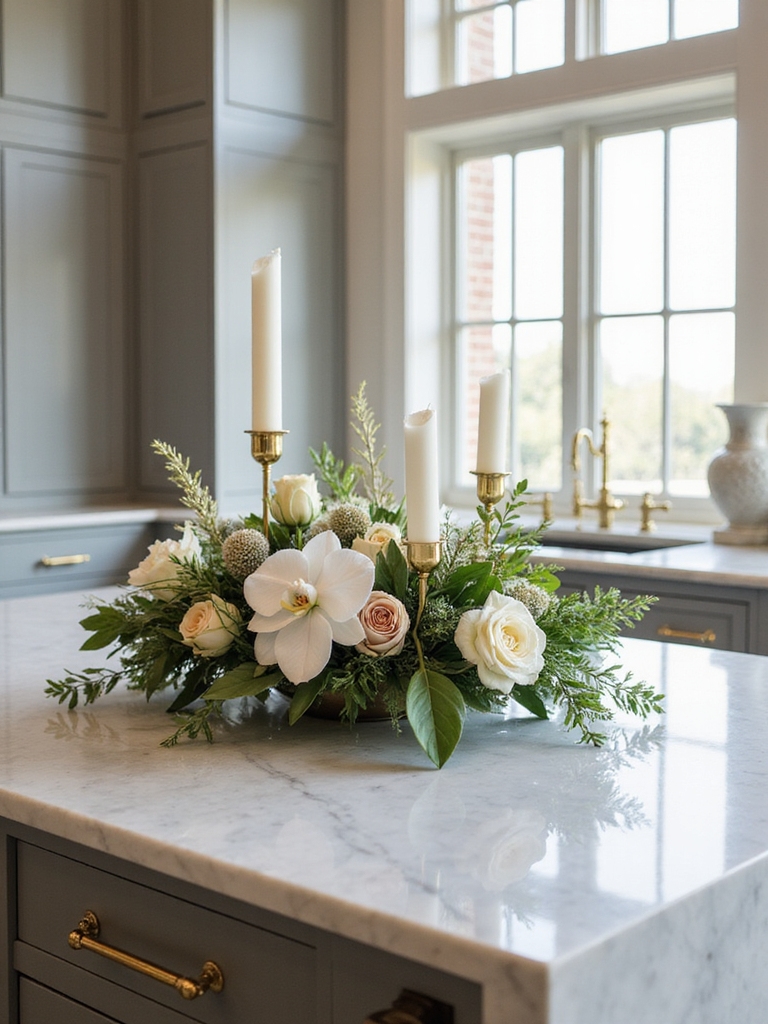
Fresh Floral Trio
I like to pull together three simple floral arrangements that read luxe without fuss: a low, gardeny cluster in a shallow bowl, a taller single-stem statement in a slim vase, and a wild-but-tidy posy in a mason jar.
I mix herbs, ranunculus, and spray roses, keep stems natural, and tuck in eucalyptus for scent—each piece feels rustic, intentional, and easy to refresh.
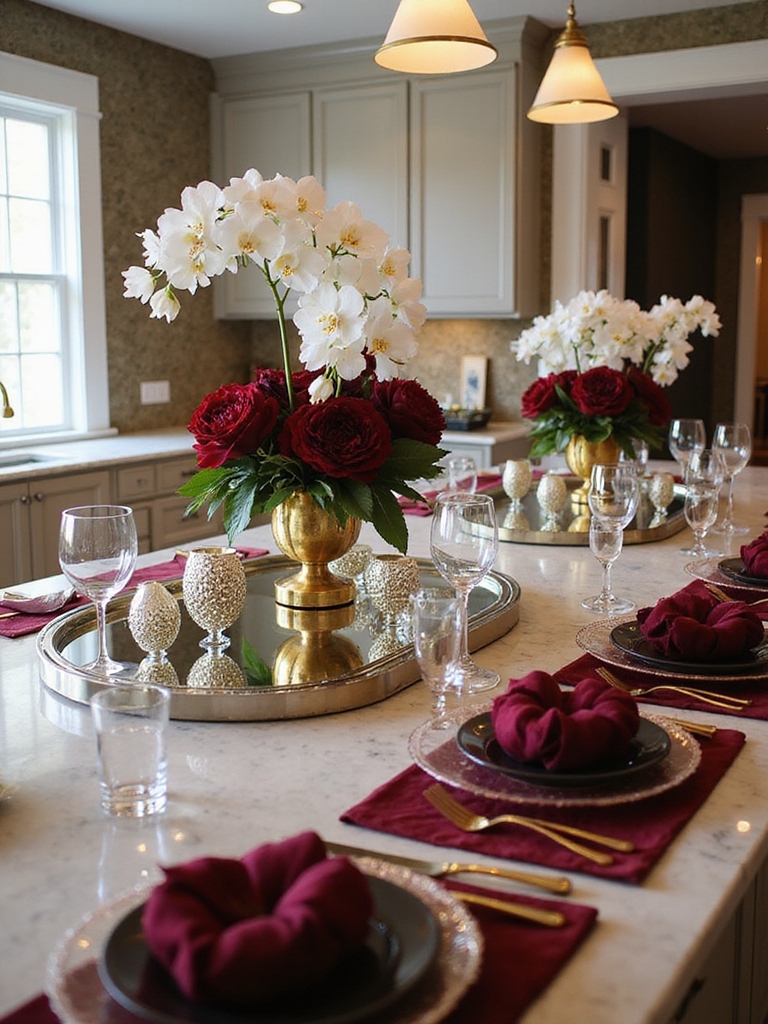
Metallic Tray Layering
After you’ve enjoyed the soft, gardeny feel of a floral trio, I like to bring in metallic trays to give the island a grounded, polished anchor.
I layer mixed metals—brass with aged silver—then cluster candles, a small potted herb, and a folded linen napkin. The contrast feels cozy and refined, adding weight and warmth without fuss.
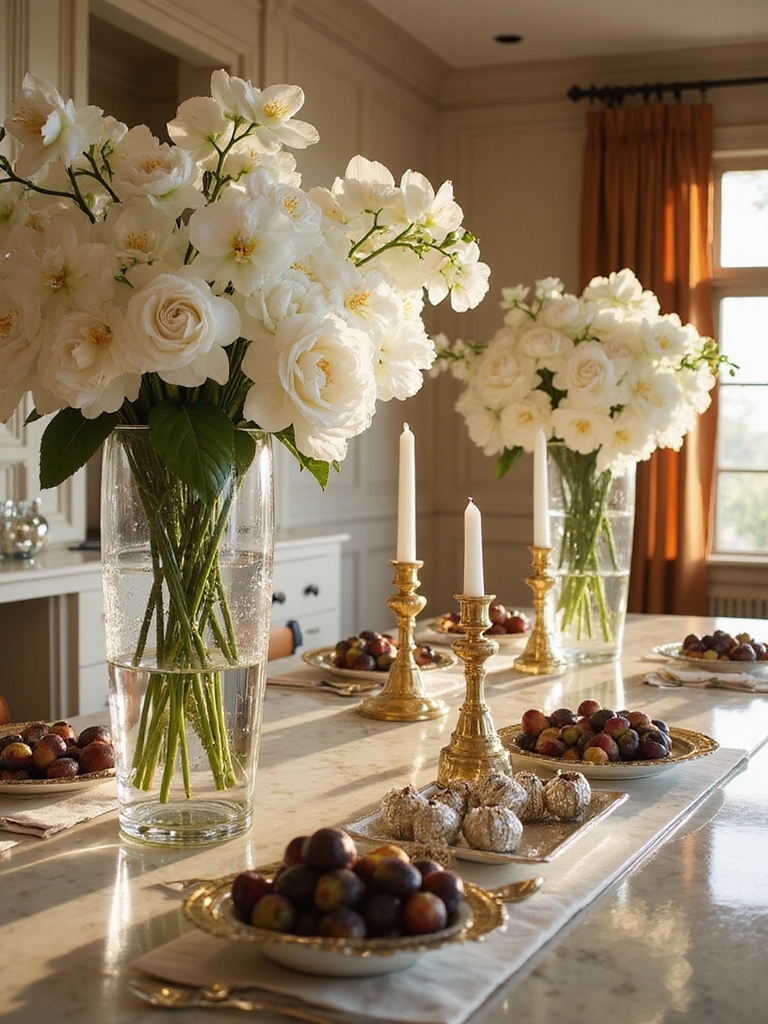
Dramatic Florals That Read Luxe From Every Angle
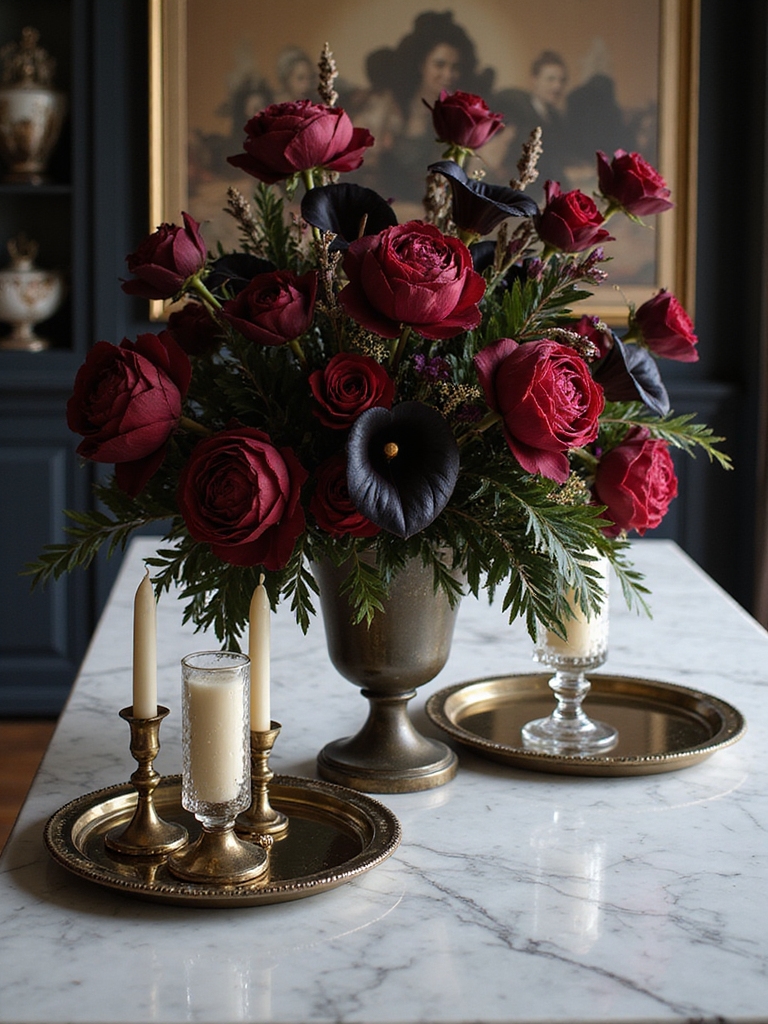
When I want a kitchen island to feel like the heart of the home, I bring in dramatic florals that look luxe from every angle.
I choose big blooms, textured greenery, and low vessels so every seat sees charm.
Natural stems, muted tones, and a few wild twigs give rustic elegance without fuss. They anchor gatherings and invite conversation, quietly grand.
Sculptural Candles: Mood, Height, and Safety Tips
I love how a sculptural candle can set a cozy mood and add varying heights to a kitchen island without much fuss.
I place them so they balance other elements and keep wicks away from flammable decor, and I always use sturdy holders or trays.
For safety, I never leave candles unattended, trim wicks, and keep them out of reach of pets and drafts.
Sculptural Candle Placement
Picture sculptural candles as silent storytellers on your island—I place them to shape mood, define sightlines, and keep things safe.
I group odd numbers, vary heights, and anchor pieces on wood trays or stone slabs.
I leave clear sightlines for serving and conversation, balance scale with low greenery, and tuck votives near heavier sculptures for a relaxed, rustic tableau that feels intentional.
Candle Safety Essentials
Because sculptural candles set the mood, I handle them with care—mindful of flame size, placement, and how their heights affect sightlines.
I trim wicks, use sturdy holders, and keep flames away from linens and overhangs.
I stagger heights for charm and visibility, never leave candles unattended, and keep a snuffer and water nearby so cozy gatherings stay safe and serene.
Mixing Metals and Mirrors Without Looking Fussy
When I mix metals and mirrors on my kitchen island, I aim for a lived-in, intentional look rather than a collection of competing pieces.
I balance warm brass with aged iron, using a single mirrored tray to reflect light and tie finishes together.
I keep shapes simple, let patina sing, and add a sprig of eucalyptus for soft, rustic contrast—never overworked, always welcoming.
Layering Materials: Wood, Marble, Glass, and Textiles
If I want a kitchen island that feels layered and lived-in, I start by letting each material play its role: warm wood grounds the space, marble adds quiet luxury, glass brings light, and textiles soften edges.
I arrange a reclaimed board, a small marble slab, a glass vase, and a linen runner—simple, textured layers that feel cozy, balanced, and ready for gathering.
Edible Centerpiece Ideas: Platters and Tiered Displays
I love arranging edible centerpieces on the kitchen island because they’re beautiful and inviting.
I’ll show how seasonal fruit platters, elegant cheese boards, and stacked dessert towers each bring color, texture, and rustic charm to your space.
Let’s talk practical tips for assembling and styling them so they’re as delightful to look at as they’re to eat.
Seasonal Fruit Platters
I often reach for a simple, seasonal fruit platter when I want a centerpiece that looks effortless but invites everyone to linger.
I arrange ripe peaches, figs, grapes, and citrus on a worn wooden board, tuck sprigs of rosemary and lemon thyme between fruit, and let colors and textures do the work.
Guests nibble, chat, and the island feels warm and welcoming.
Elegant Cheese Boards
Start by laying out a few different cheeses—creamy brie, a tangy goat, a nutty aged cheddar—and watch how a simple arrangement turns your island into a conversation piece.
I add clusters of grapes, crunchy nuts, thinly sliced baguette and a drizzle of honey.
Rustic boards, small knives and handwritten labels make guests feel welcome while keeping the display elegant and unfussy.
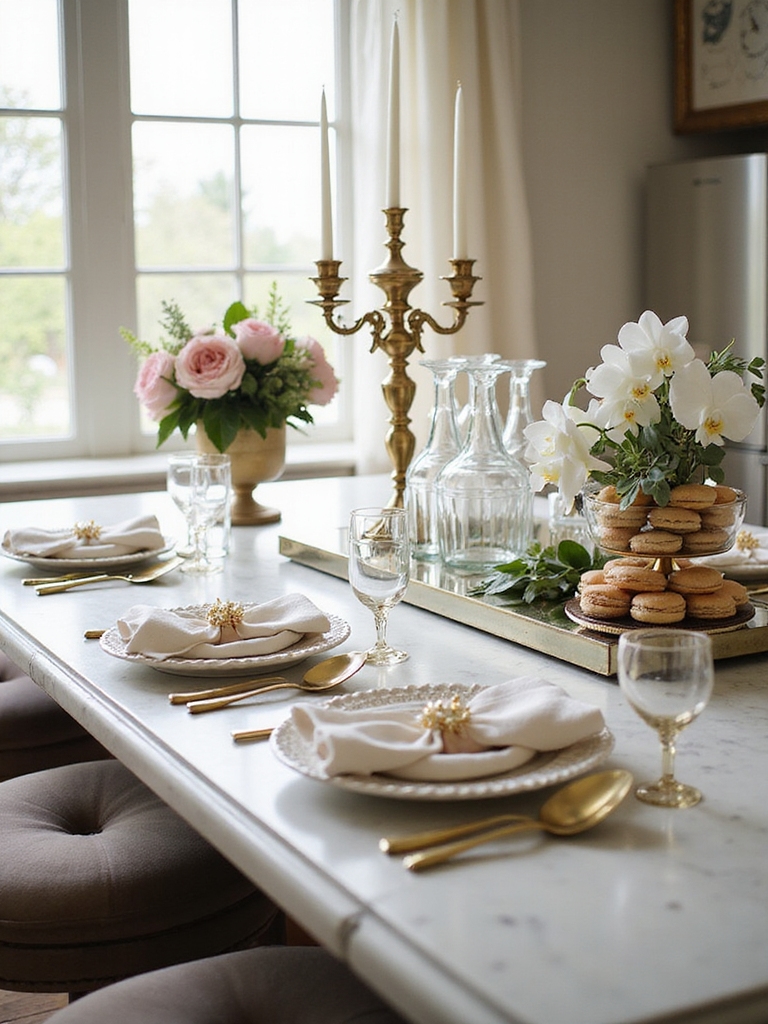
Stacked Dessert Towers
Pull together a few simple tiers and you’ve got an instant centerpiece that’s as practical as it’s pretty.
I love stacking petite tarts, macarons, and sugared fruit on wooden or galvanized stands for texture and height. Guests can graze effortlessly, and the display feels homey yet elevated.
I often add sprigs of rosemary or dried lavender for scent and rustic charm.
Functional Servingware and Trays That Stay Beautiful
Choose servingware and trays that work as hard as they look: I pick pieces that are sturdy, easy to clean, and still carry that worn-in, rustic charm.
I want beauty that survives spills and handling, so I favor materials and finishes that age gracefully.
- Olive wood boards — durable, knife-friendly.
- Galvanized trays — sturdy, low-maintenance.
- Slate platters — elegant, simple to wipe.
Symmetry or Asymmetry? Layouts for Sightlines and Traffic
How do you balance beauty with movement around the island? I favor gentle asymmetry—a low vase offset by a stack of wooden bowls—so sightlines stay open and guests can circulate.
Symmetry works for formal gatherings, but I prefer rustic mixes that guide traffic naturally.
Keep centerpieces low, anchors steady, and leave clear lanes for passing platters without sacrificing charm.
Lighting Tricks: Lamps, Fairy Lights, and Under-Island Glow
I love using layered lighting on an island because it makes the space feel lived-in and welcoming without getting fussy; a small lamp at one end, a string of warm fairy lights woven through a low centerpiece, and a soft under-island glow can work together to guide sightlines and keep traffic flowing while still highlighting your decor.
- Soft lamp for task warmth.
- Fairy lights for texture.
- Under-island glow for depth.
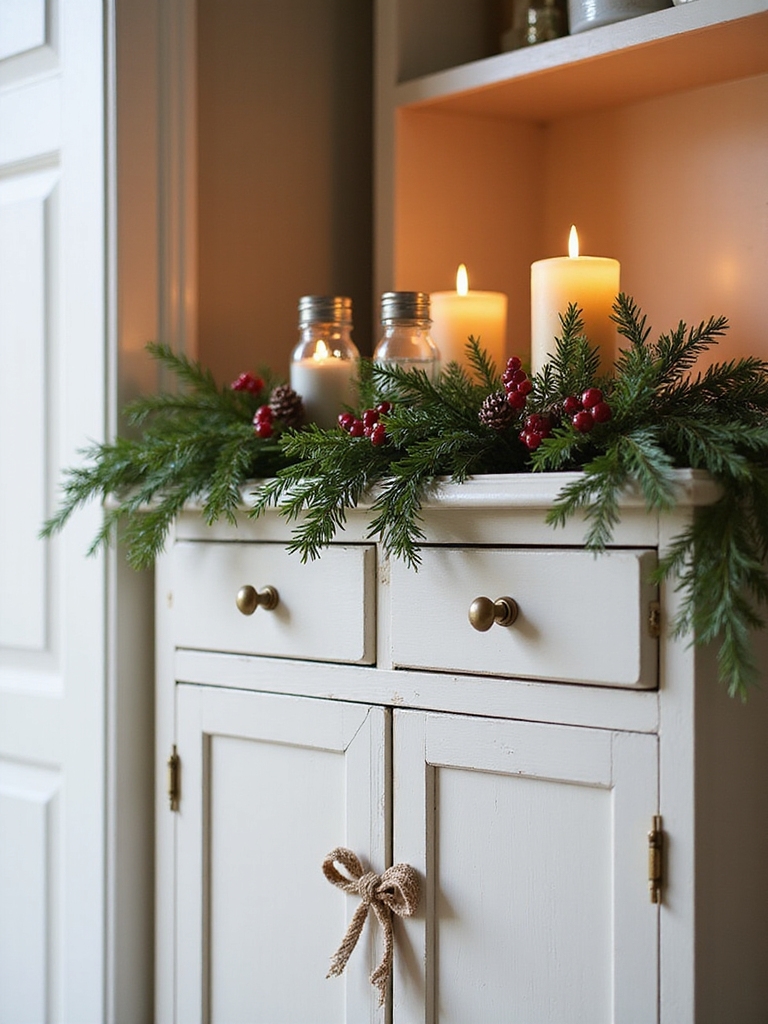
Seasonal Island Looks: Weddings, Holidays, and Cocktail Parties
Lighting sets the tone, but seasonal styling gives an island personality for any occasion. I pair soft linen runners and wildflower posies for rustic weddings, evergreen swags and candle clusters for holidays, and low glass carafes with citrus and sprigs for cocktail nights.
I keep textures natural, colors rooted in season, and arrangements low so conversations flow around the island.
Care and Longevity: Keeping Florals and Finishes Pristine
Preserving a centerpiece’s fresh look takes a little routine care, and I’ll walk you through the simple steps that keep florals vibrant and surfaces unmarred.
I tend to refresh water daily, blot spills immediately, and use gentle cleaners for wood and metal to protect patina. Follow these simple habits:
- Trim stems and change water daily.
- Wipe spills with a soft cloth.
- Use pH-neutral cleaners.
Budget Tiers and Troubleshooting: Fixes for Crowding & Spills
When budgets are tight or a spill happens, I’ve learned practical fixes that keep a centerpiece looking intentional instead of accidental;
I’ll walk you through tiered options so you can pick what fits your wallet and schedule.
I offer three tiers: thrifted charm, DIY upgrades, and rental luxe. For crowding, trim and stagger heights; for spills, blot, swap linens, and tuck in fresh foliage for instant recovery.
I’ve loved guiding you through creating a luxe kitchen island centerpiece that feels lived-in, warm, and a little bit cinematic.
Pick one clear idea, keep scale in mind, and don’t overfill—less really is more, but a touch of personality goes a long way.
Treat pieces with gentle care so they last, and when you entertain, let the centerpiece do the heavy lifting while you enjoy the company; after all, it’s the heart of the home.