I’ll help you pick an island that actually fits how you live and cook. Waterfall islands feel luxe and solid—great for hosting and clean lines—while cantilevered or floating islands keep sightlines open and let stools tuck neatly underneath.
Hybrids mix a sculptural slab with a generous overhang for comfort. Adding a sink or cooktop changes plumbing, ventilation and storage needs. Choose durable materials, plan seating and flow, and test the footprint; keep going and I’ll share specifics.
How to Choose the Right Kitchen Island Style

When I help homeowners pick an island style, I start by listening to how they cook and move through the kitchen—because style should follow use, not trends.
I ask about meal prep, seating needs, storage and traffic flow, then match form to function: sturdy farmhouse for gatherings, sleek floating for openness, or mixed materials for warmth. Practicality guides the final choice.
I also recommend considering several unique island designs to ensure the island complements both the layout and the home’s overall aesthetic.
Who Should Pick a Waterfall Island?
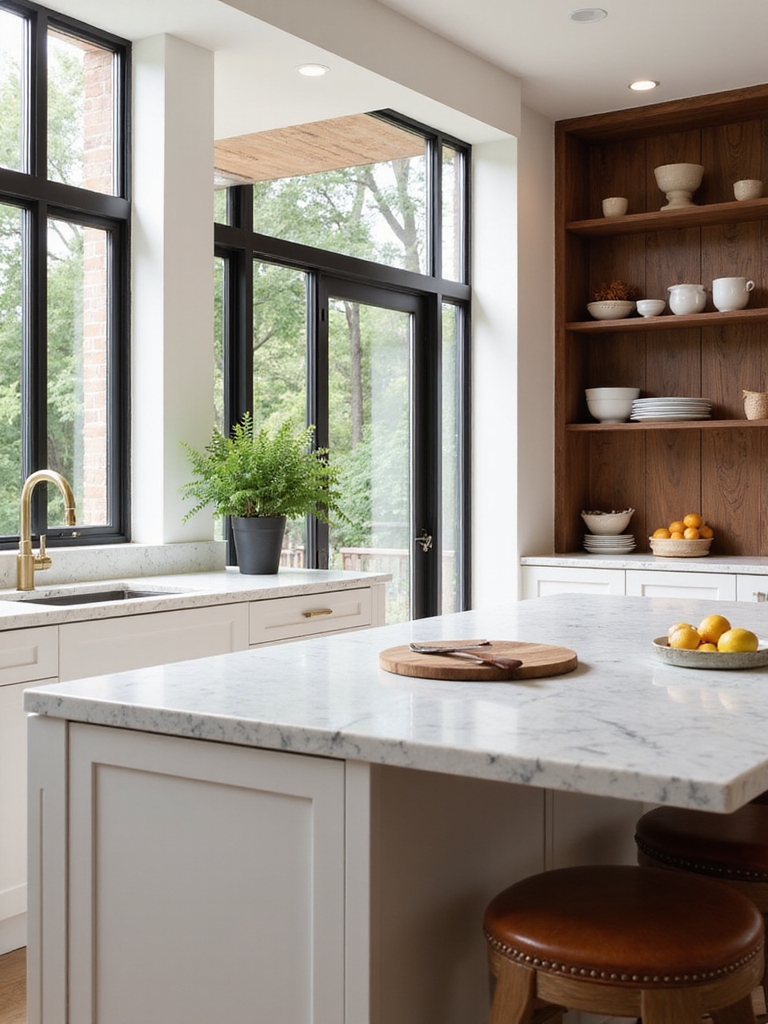
If you love hosting, I’d steer you toward a waterfall island because its uninterrupted surface makes serving guests easy and elegant.
I also find the clean, continuous lines help a kitchen feel calm and collected, which suits a rustic-meets-modern home.
Let’s look at who benefits most from that layout and why it might be the right choice for your space.
Modern kitchen designs often let islands steal the show, acting as the room’s focal point and combining function with high-end style.
Ideal For Entertaining Hosts
I’ve always loved how a waterfall island draws people in, flowing seamlessly from countertop to side like a quiet invitation to gather.
If you host often, it gives spots for guests to lean, nibble, and chat while you cook. It feels welcoming, sturdy, and a little elegant—perfect for casual evenings, cocktail nights, or family celebrations where conversation matters as much as the food.
A spacious extension can enhance that experience with entertaining kitchen ideas that make room for mingling and serving.
Best For Clean Lines
Because I love simple, honest shapes, a waterfall island feels like the right choice for anyone who wants clean lines without fuss.
I’d recommend it if you crave minimal clutter, seamless surfaces, and a grounded, tactile centerpiece.
It suits homes leaning rustic-modern, cooks who value easy maintenance, and anyone who prefers a calm, orderly kitchen where form and function meet quietly.
A waterfall island can also serve as the heart of the home, often becoming the central gathering spot for family and guests.
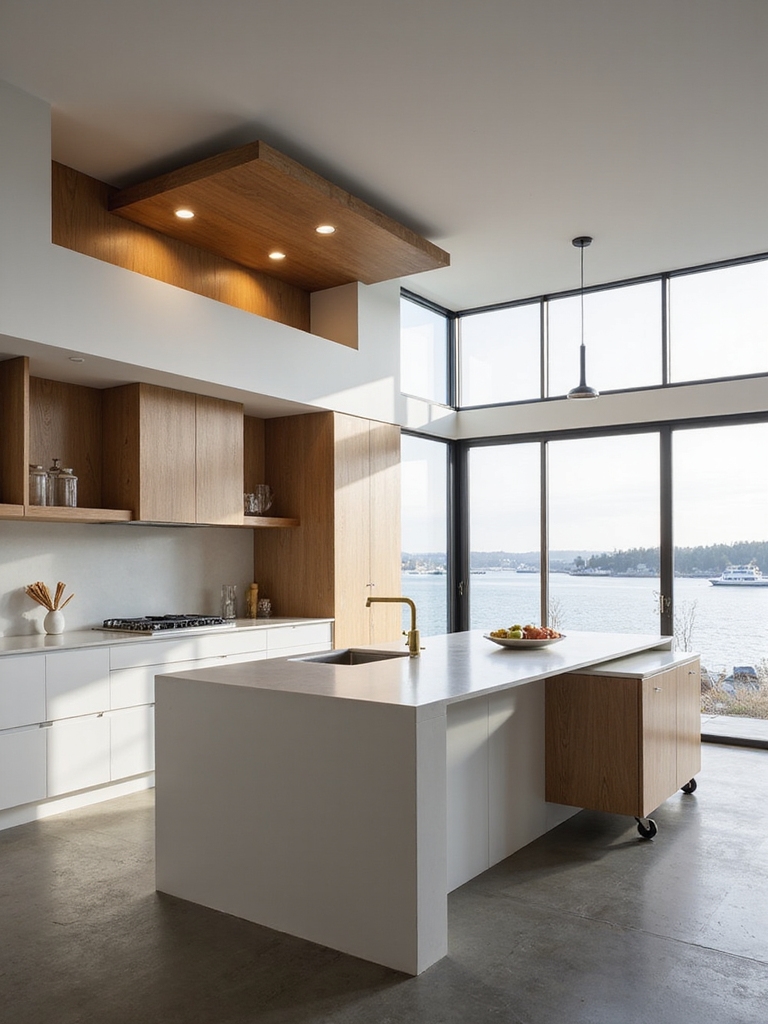
How Floating (Cantilevered) Islands Feel Airy
With a cantilevered island, I like how the room breathes around the counter—no bulky base to block sightlines, just a clean overhang that makes the kitchen feel open and light.
I love the airy rhythm it creates, letting rustic beams and worn floors sing. Guests drift around freely, stools tuck neatly beneath, and the space feels inviting without feeling crowded or fussy.
A cantilevered design can also serve as a multifunctional island by combining seating with prep and storage solutions.
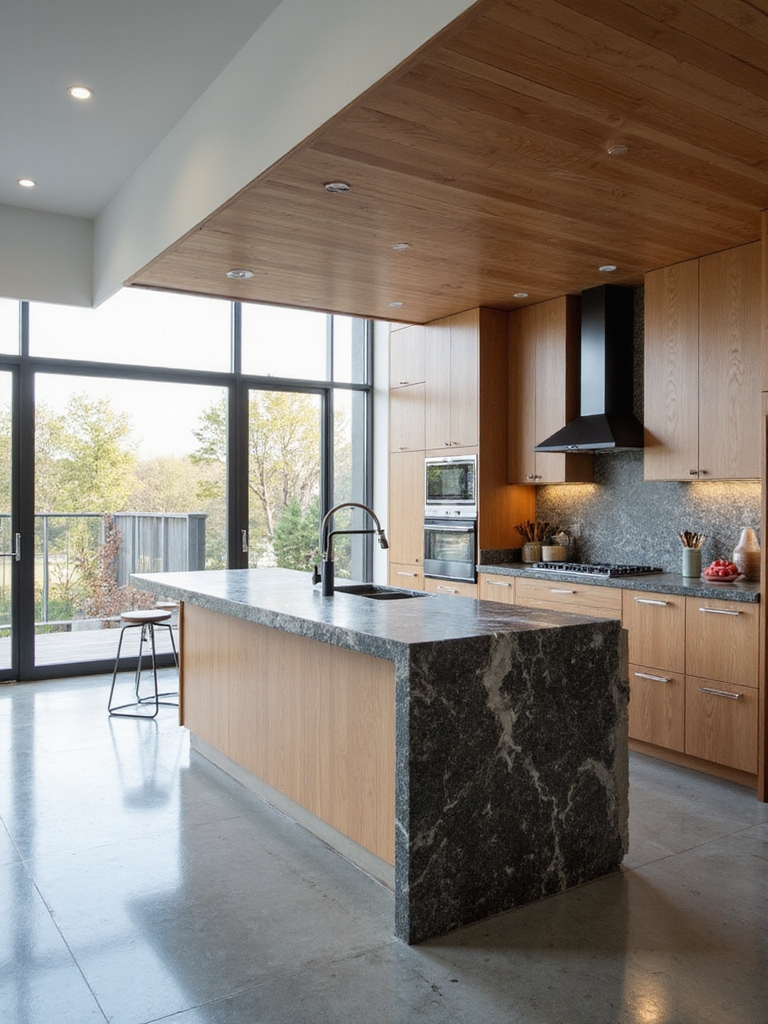
Hybrid Islands: Waterfall Panels Plus Overhangs
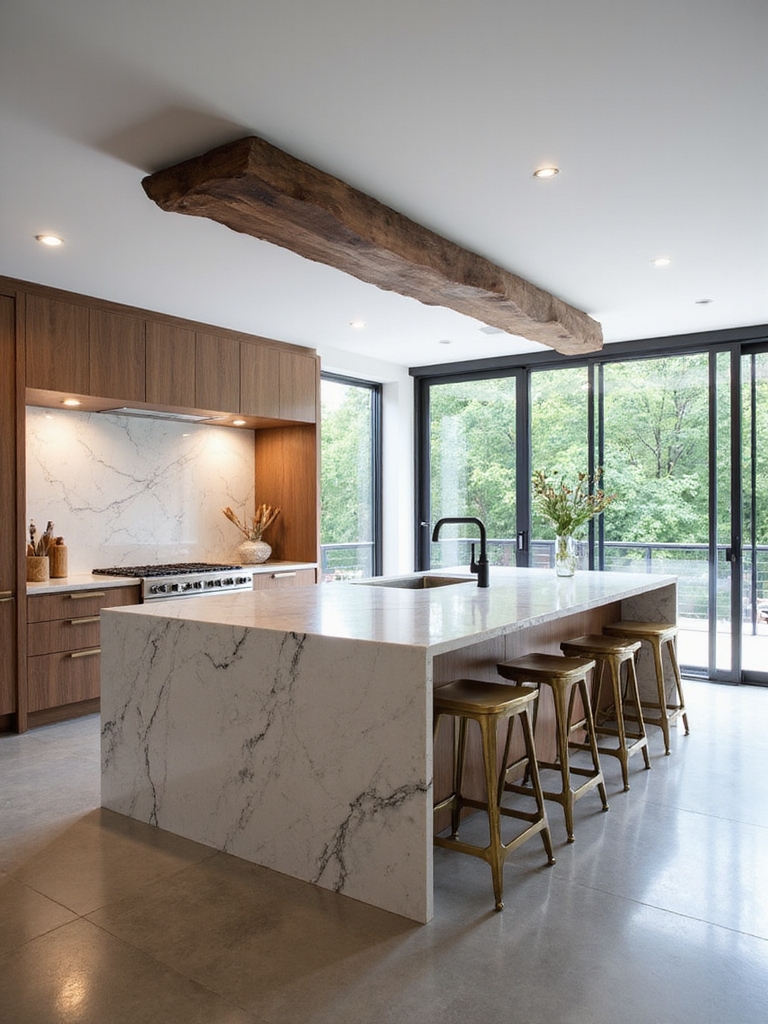
For a kitchen that wants the best of both worlds, I like hybrid islands that pair bold waterfall panels on the sides with a generous overhang for seating.
I picture reclaimed wood or honed stone meeting a cozy breakfast bar where friends gather.
It feels sturdy yet inviting, blending sculptural edge with everyday comfort—practical, warm, and playful without fuss.
Many contemporary layouts make room for islands by prioritizing open plans and efficient traffic flow to accommodate seating and work zones.
Islands With Sinks or Cooktops: Benefits and Trade-Offs
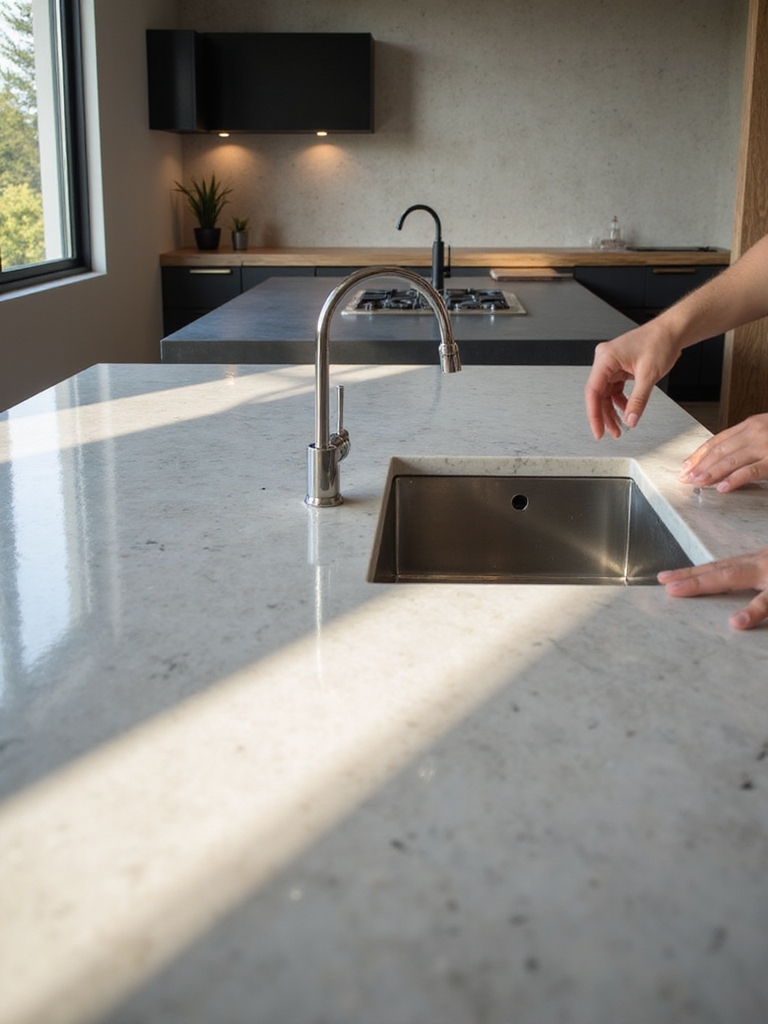
If you like the hybrid island idea—bold waterfall sides that tuck into a friendly overhang—you’ll also want to think about placing a sink or cooktop on the island itself.
I love the social flow—cooking or rinsing while chatting—but you trade extra plumbing, ventilation and splash management.
Plan clear work zones, durable surfaces, and seating placement so function and warmth coexist without clutter.
Professional stagers often recommend adding layered lighting and simple styling to keep the island looking intentional rather than cluttered, emphasizing stylish kitchen island decorating as a finishing touch.
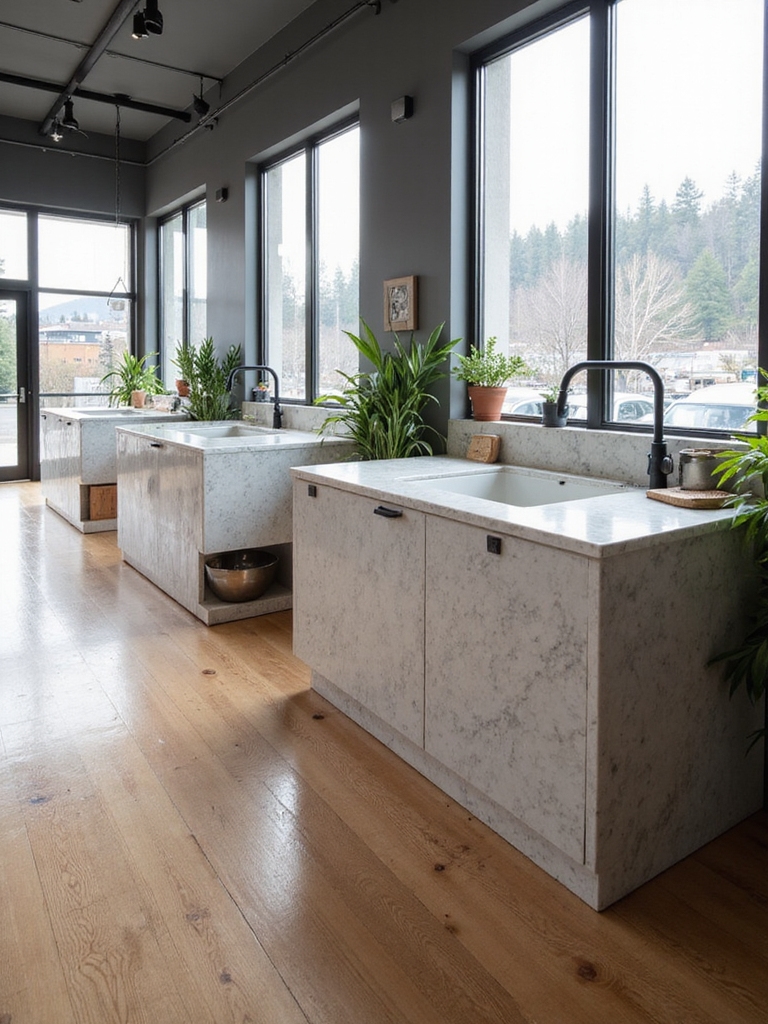
Storage-First Islands: Drawers, Pantries, and Pullouts That Work
Because I love a kitchen that works as hard as it looks, I start island planning by thinking storage first—deep drawers for pots, narrow pullouts for trays and baking sheets, and a pantry bank for bulk staples—so everything you reach for lives where you cook and serve.
I favor dovetailed drawers, adjustable shelves, and soft-close hardware; rustic baskets and labeled jars keep essentials tidy and charming.
Smart pull-outs and organizers maximize storage and make lower cabinets far more accessible.
Seating-Focused Islands: Depth, Knee Room, and Placement
I usually start seating-focused island planning by thinking about how people will actually sit, eat, and linger—depth, knee clearance, and placement matter more than pretty overhangs.
I focus on comfort, traffic flow, and conversation, preferring generous depth, clear knee recesses, and thoughtful sit-down zones that invite lingering without blocking work areas.
- Depth: 15–18″ seating surface
- Knee room: 10–12″ clearance
- Placement: 36–42″ walkways
- Stool spacing: 24″ centers
Island Materials: Stone, Wood, Metal, and Composites
Once you’ve settled on how people will sit and move around the island, the next big choice becomes what the island’s made of — and that decision shapes both how the space feels and how it performs.
I prefer mixing materials: honed stone for durability, warm reclaimed wood for touch, brushed metal for industrial grit, and engineered composites where practicality matters — each choice tells the room’s story.
Edge Profiles and Slab-Join Details That Shape Style
I like to think of edge profiles as the trim that gives an island its personality, whether a soft eased edge for a cozy farmhouse feel or a sharp miter for modern crispness.
I’ll show how exposed slab joints can be a deliberate design feature or something to hide, and why seam alignment matters for both strength and the eye’s travel across the surface.
Stick with me and we’ll pick edge and joint choices that fit your kitchen’s mood and use.
Edge Profile Choices
Let’s talk edges—those small decisions that quietly set the tone for the whole island.
I pick profiles to match mood: soft, crisp, or rugged.
Each edge changes light, feel, and how guests linger.
Here are four choices I suggest:
- eased
- bullnose
- beveled
- chamfered
Exposed Slab Joints
After picking an edge profile, I start thinking about how the slabs meet—those exposed joints add character the same way a rounded bullnose or crisp bevel does.
I like visible joins that feel handcrafted: tightened seams, subtle grout tones, or recessed reveals that catch light.
They give islands a lived-in, rustic warmth while still keeping a modern, intentional look that invites touch and use.
Seam Alignment Strategies
Think about how the seams line up as if you were stitching fabric; I pay close attention to alignment because those tiny decisions turn individual slabs into a coherent, intentional surface.
I guide edge profiles and join details to feel natural, rustic, and deliberate.
- Match vein direction for flow
- Conceal joints with eased edges
- Offset seams for visual interest
- Use thin, contrasting grout for definition
Lighting for Waterfall and Floating Islands
When I light a waterfall or floating island, I aim for a glow that feels like candlelight at dusk—soft, layered, and a little magical—so the island reads as both sculptural and welcoming.
I use warm LED strips under edges, dimmable pendants above, and subtle toe-kick lighting. This balance highlights texture, creates depth, and keeps the kitchen cozy without glaring or harsh shadows.
Cantilever Basics: Structural and Engineering Needs
I’ll start by saying a cantilevered island feels like kitchen magic—floating, open, and a little daring—but it needs honest structure behind the trick.
I’ll walk you through core needs, keeping it cozy and practical.
- Load calculations matched to usage.
- Steel beams or laminated supports.
- Secure anchoring to wall or floor.
- Professional inspection and permits.
Island Finishes and Colors That Make It a Focal Point
With a bold finish and the right color, your island becomes the room’s heart—I often begin by picking a tone that ties the kitchen’s personality together.
I favor warm woods, matte charcoal, or muted sage for a cozy, lived-in feel.
Contrasting base and countertop or crisp painted panels can anchor the space, drawing eyes without shouting, blending function and rustic charm.
Budget Ranges: Cost Drivers for Waterfall vs. Floating Islands
Because the design you choose changes more than just looks, I always start budgeting by comparing waterfall and floating islands side by side.
I tell clients costs hinge on materials, engineering, edge details, and seating. Rustic warmth meets practical math: stone slabs cost more; engineered cantilevers need reinforcement.
- Material choices
- Structural requirements
- Edge and finish details
- Seating and hardware
Installation Timeline, Trade Coordination, and Pitfalls
When I map out an island install, I start by laying a clear timeline that shows who does what and when, because sequencing makes or breaks a project.
I coordinate plumbers, electricians, carpenters and countertop fabricators tightly, build in buffer days, and flag inspection checkpoints.
Expect surprises—late deliveries, hidden wiring—and plan contingencies so you stay calm and on budget.
How to Test Your Island Design Before You Finalize Plans
Before you ink the final drawings, I always mock up the island to see how it lives — I’ll tape out the footprint on the floor, set up temporary stools, and carry in the appliances or a heavy box to mimic the sink and range. I move around it, chat with family, and tweak heights.
- Walk paths
- Seating comfort
- Appliance reach
- Lighting test
They say “measure twice, cut once,” and I couldn’t agree more when picking an island style.
I’ll admit I fell for a waterfall’s drama but also love the lightness of a floating cantilever—each has its place depending on how you cook, gather, and live.
Think about traffic, tasks, and budget, then mock it up before you commit. Do that, and your island will become the warm, functional heart of your kitchen.