I’ve learned the hard way that measuring twice and walking every wall before demolition saves big money and headaches. I check for load-bearing walls, hidden posts, and all plumbing and gas runs so we don’t cut live lines or ruin venting.
I map electrical circuits, lock appliance centers, and plan clear cooking, prep, and cleanup zones. I always get quotes for reroutes, permit inspections, and a 15% contingency. Keep going and I’ll share the exact checklist that prevents the worst surprises.
Confirm Measurements and Wall Locations Before Demolition

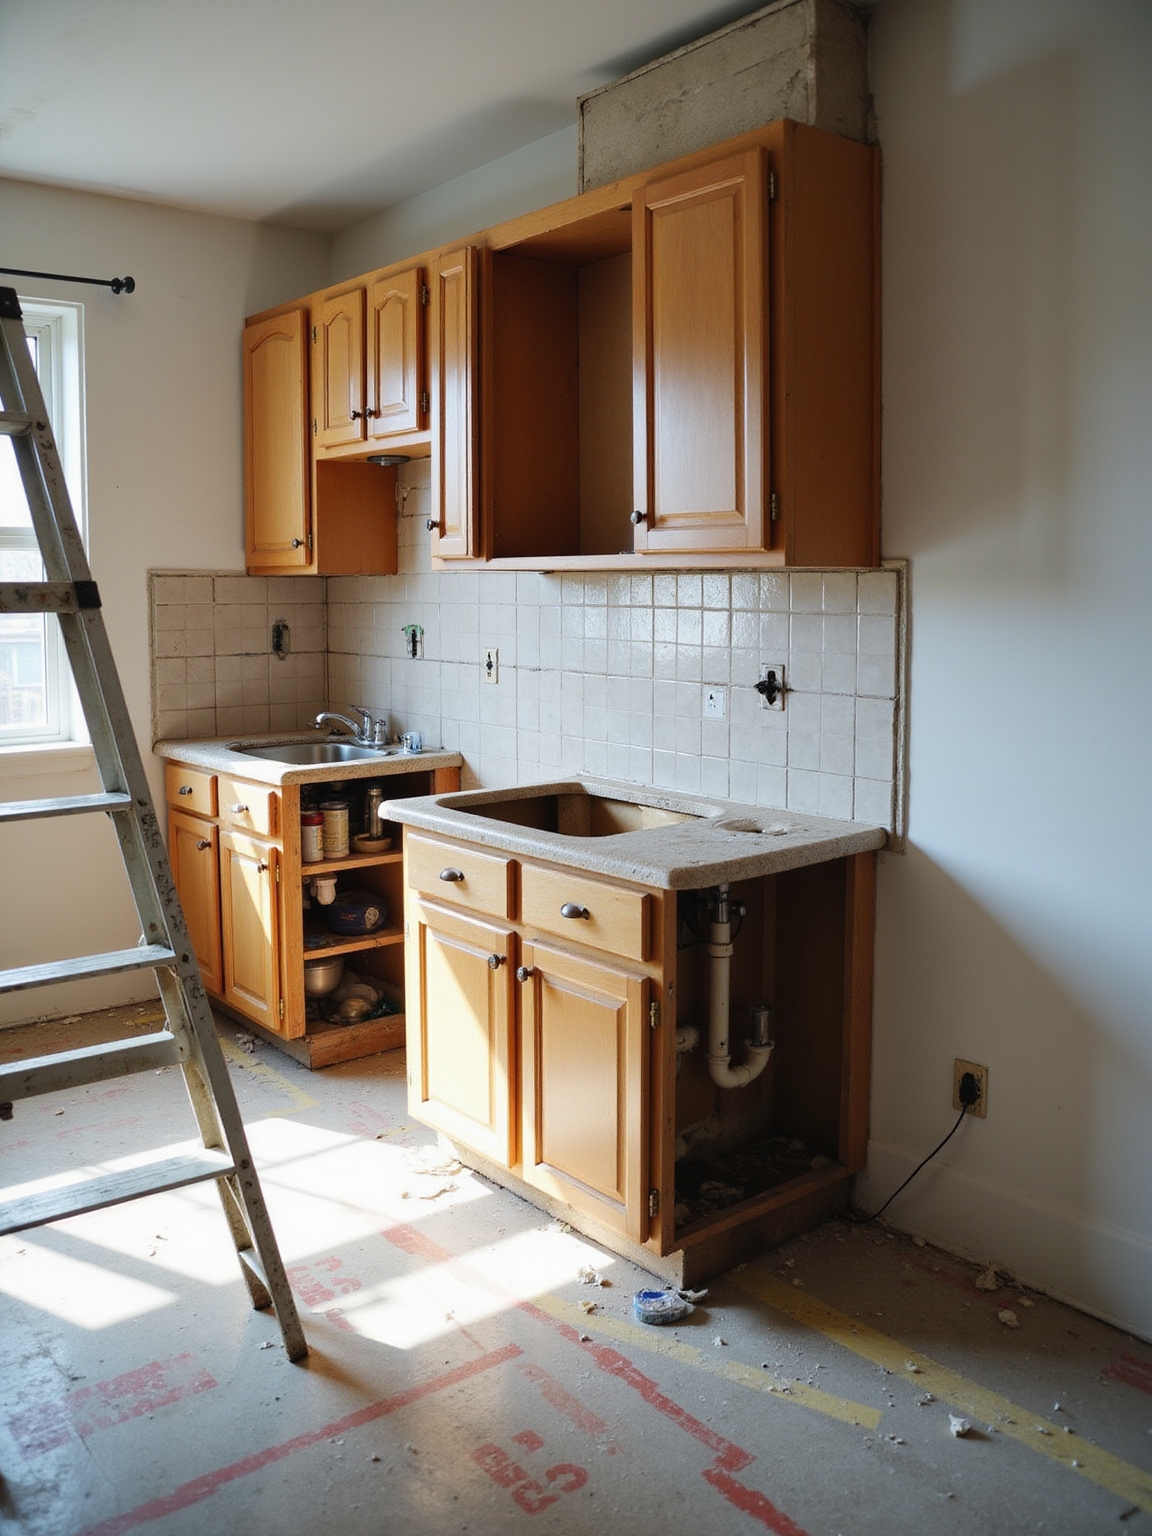
Before you swing a sledgehammer, I always double- and triple-check the measurements and wall locations — you don’t want to find out after demolition that a hidden post or utility chase ruined your plan.
I walk rooms with a tape and stud finder, mark load-bearing walls, note clearances, and photograph everything.
That careful, old-school approach saves time, money, and headaches down the road.
Architects also often use work triangle principles to optimize kitchen workflow and movement patterns.
Locate Plumbing Before Demolition: Map Waste and Supply Lines

Before you swing a sledge, I’ll walk the room with you to spot every visible fixture and note where the sink, dishwasher, and any wall outlets sit.
Then we’ll trace likely hidden supply lines behind cabinets and mark the waste line routes so nothing gets cut by surprise.
It’s a quick, hands-on map that saves time, money, and a lot of headaches down the road.
I’ll also suggest cabinet reconfiguration options to improve flow and storage based on professional organization systems.
Locate All Visible Fixtures
I like to walk the kitchen and point out every faucet, drain and visible pipe so we grasp exactly what’s coming out of the walls and where it goes; locate the plumbing now so you won’t uncover surprises once demolition starts.
I jot locations, snap photos, and mark shutoffs. This simple, hands-on step saves time, prevents damage, and keeps the project cozy and controlled.
I also organize small tools and supplies in labeled containers to keep the work area tidy and efficient, reinforcing the practice of clear, accessible storage.
Trace Hidden Supply Lines
Next we dig a little deeper and trace the hidden supply lines that live behind your walls and under the floor so we don’t get blind-sided during demo.
I walk rooms with blueprints, a stud finder, and a moisture meter, listening for pipes and shutoffs.
I sketch their paths, note valve locations, and flag anything brittle or corroded so demolition won’t turn into an expensive surprise.
Durable backsplash materials can also protect exposed areas during renovation and add long-term value to your home, so consider long-lasting backsplash options when planning.
Mark Waste Line Routes
Let’s pull back the floorboards on paper for a minute and map the waste lines so we don’t rip into drywall only to find a surprise sewer run;
I walk the space with a tape, camera, and the blueprints, tracing vents, drains, and the main stack from fixtures to the soil pipe.
I mark routes on plans, note cleanouts, and flag where reroutes or protections will save time, money, and heartache.
A well-planned pantry layout can save space and improve functionality by incorporating walk-in pantry systems that optimize storage and flow.
Map Electrical Circuits and Required Appliance Circuits

Before you swing a hammer, I map out every electrical run so I know which circuits are tied to heavy appliances and which ones I can repurpose.
I label the dedicated appliance circuits—oven, dishwasher, fridge, microwave—so electricians won’t be guessing on install day.
Then I sketch where new outlets and GFCIs need to go so the layout works for real cooking, not just how it looks on paper.
I also plan locations for smart appliances to ensure power and network access are available where the gadgets will sit.
Identify Dedicated Appliance Circuits
When I rewired my kitchen, I learned the hard way that every major appliance usually needs its own dedicated circuit, so mapping your electrical layout early will save you headaches and tripped breakers down the line.
I checked ranges, ovens, microwaves and dishwashers, noting amperage and outlet type. Call an electrician for load calculations and plan circuit locations to match appliance positions before demolition.
Premium appliances often require specific power and ventilation considerations, so plan placement and circuits accordingly with premium appliance essentials.
Label Existing Electrical Runs
Now that you’ve got appliance locations and amperage noted, I start tracing each wire back to its source and labeling every run I find.
I jot circuit numbers on tape, note breaker positions, and mark shared loads.
That tidy map saves headaches during demolition and prevents accidentally cutting power to essentials.
It’s simple, practical, and keeps electricians grateful.
I also consider installing organized shelving and storage with commercial-grade pantry thinking to streamline the rebuilt kitchen.
Plan New Outlet Locations
With a clear map of existing runs in hand, I start sketching where every new outlet and appliance circuit will live so nothing gets tacked on as an afterthought.
I note dedicated lines for ovens, cooktops, and refrigerators, spacing GFCI-protected counters and island outlets to code.
Thinking ahead saves rewiring headaches, keeps the farmhouse charm intact, and lets the kitchen work like a well-loved tool.
Verify Gas Lines and Lock Appliance Placement

Before you start tucking appliances into place, I double-check gas lines and lock down appliance spots so everything’s safe and fits right.
I walk the layout, mark clear hookups, and measure appliance clearances. Don’t guess—secure lines and mounting before cabinets go in.
- Confirm shutoff accessibility
- Measure stove and fridge clearances
- Use certified gas fittings
- Anchor heavy units
Design Clear Work Zones for Cooking, Prep, and Cleanup

I like to keep my kitchen honest and simple by carving out clear zones for cooking, prep, and cleanup so everything flows.
I pay attention to the work triangle between stove, sink, and fridge, carve a dedicated prep surface with room for chopping and bowls, and make the cleanup station easy to access with a nearby trash and drying area.
When those three areas are distinct, cooking feels calmer and chores get done quicker.
Work Triangle Efficiency
If I were setting up my kitchen, I’d start by thinking about the work triangle—stove, sink, and refrigerator—and how each zone connects so cooking, prep, and cleanup flow without wasted steps.
I keep paths short, avoid crossings, and place storage near tasks for comfort.
Simple checks:
- Measure clear walkways
- Minimize overlap
- Keep traffic out
- Balance distances
Dedicated Prep Surfaces
Carving out dedicated prep surfaces makes cooking feel smoother and keeps messes from spreading into cleanup or dining zones.
I like a low, wide counter near the stove for chopping and a separate spot for assembling plates. Rustic butcher block or stone withstands knives and spills.
Keep tools and cutting boards nearby so I don’t trek crumbs across the kitchen while preparing meals.
Clear Cleanup Station
When I’m done with prep, I like the cleanup zone to be obvious and organized so mess never bleeds into dining or storage areas.
I design a sink-first triangle, stash dish tools nearby, and keep trash accessible. That way cooking stays cozy, not chaotic.
- Sink central
- Counter for drying
- Hidden trash pull-out
- Accessible storage for cleaners
Check Appliance Clearances and Door Swing Paths
Because I’ve learned the hard way, I always check appliance clearances and door swing paths early in a layout — cabinets, ovens, dishwashers, and fridges need room to open without bumping each other or blocking walkways.
I measure swings, imagine traffic patterns, and tweak placements so drawers and doors don’t collide. It keeps the kitchen cozy, functional, and free of annoying surprises.
Plan Realistic Countertop Prep Space and Landing Areas
Think about how you actually cook: I need clear stretches of counter where I can set groceries, chop, assemble, and rest hot pans without juggling items across the room.
I plan landing zones near stove, fridge, sink, and oven so tasks flow.
- Prep next to fridge
- Chop by sink light
- Landing at stove
- Cooling/serving area
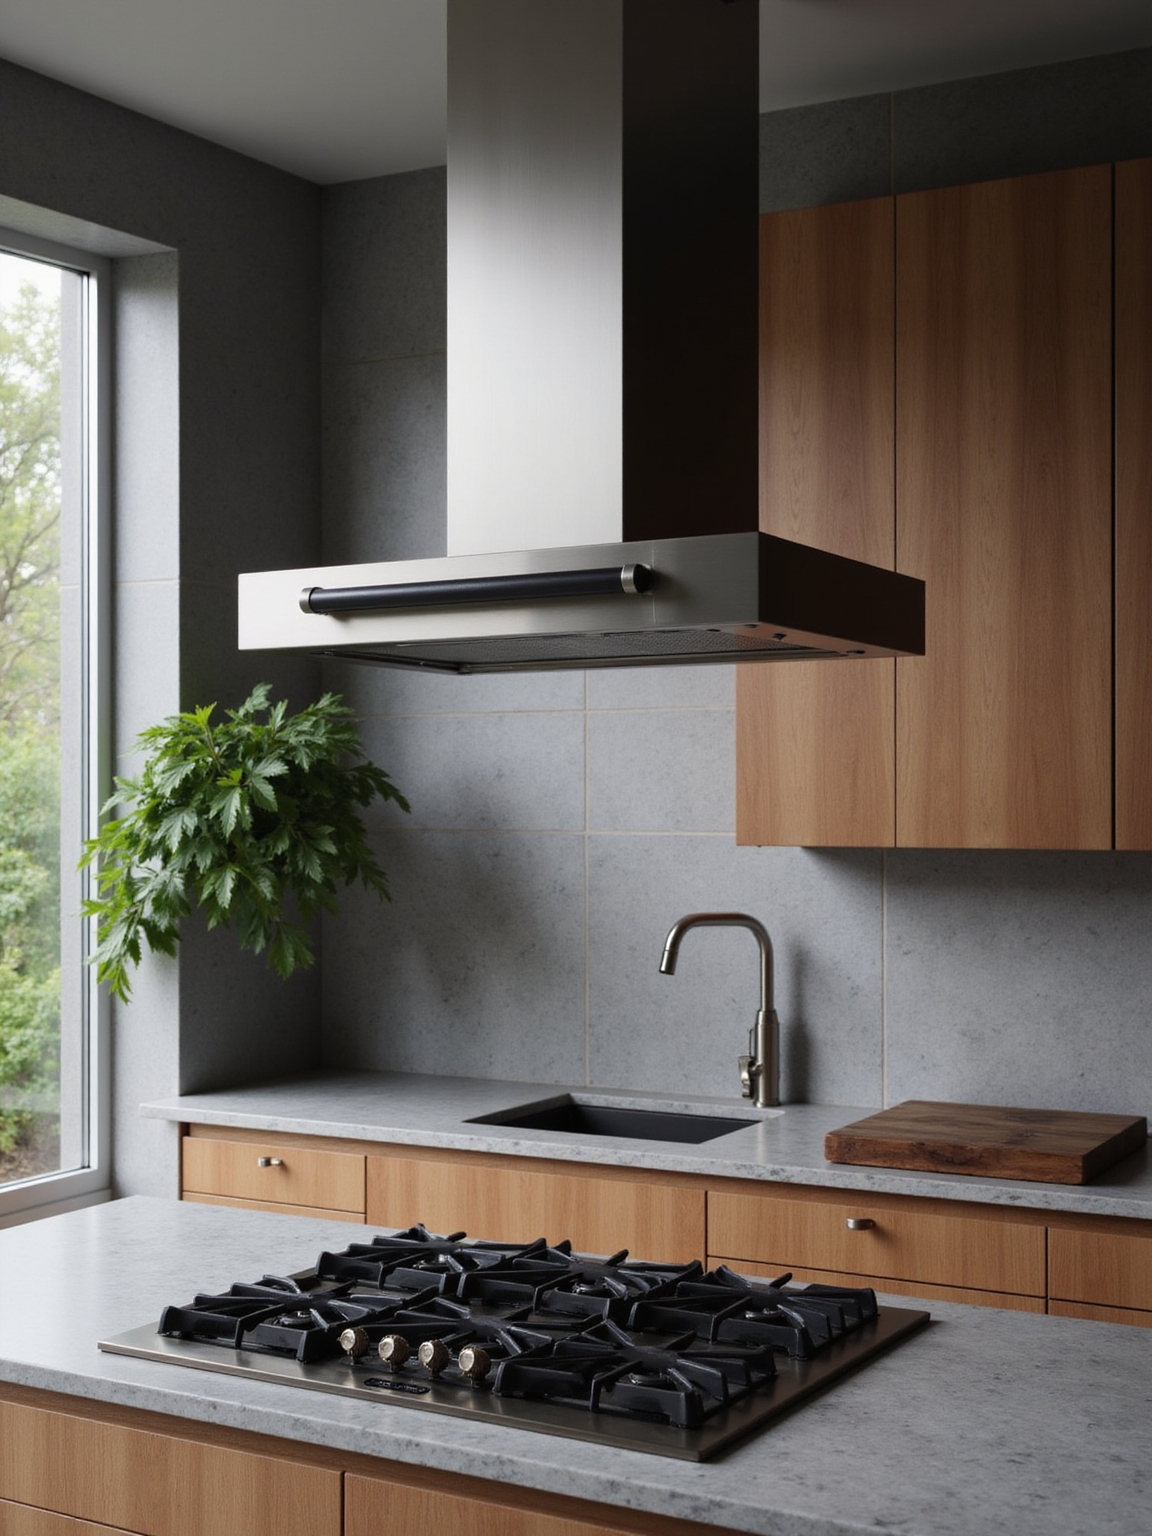
Account for Ventilation and Hood Placement Needs
Before you pin down appliances, I make sure the hood’s location lines up with the cooktop and the natural flow of the room so fumes don’t wander into living spaces.
I also check ductwork clearance and routing early on — cramped paths or tight turns can kill performance and drive up costs. Trust me, planning this now keeps the kitchen smelling fresh and the installation simple later.
Hood Location Planning
When I set out to plan a kitchen, I always start with the hood—its placement governs how well your cooking smells, smoke, and steam get hauled away and how the whole space feels.
I pick a spot that centers the stove, keeps sightlines open, and suits cabinets. Consider:
- Stove alignment
- Sightline balance
- Nearby cabinetry
- Lighting integration
Ductwork Clearance Requirements
Because ducts need room to breathe, I always map their clearances early so the hood can actually do its job without a fight. I check straight runs, minimize turns, and allow space for insulation and service access.
That keeps noise down, airflow efficient, and installers happy. Don’t tuck ducts into impossible cavities — plan clear, reachable paths for lasting ventilation performance.
Measure Cabinet Depth, Shelving, and Usable Storage
If I want my kitchen to actually work, I start by measuring cabinet depth and shelving so I know what I can realistically store, not what looks good on paper. I picture everyday use and adjust.
Think through pots, plates, small appliances and pantry needs.
- Measure interior depth.
- Check shelf adjustability.
- Account for door swing.
- Plan accessible heights.
Don’t Force an Island Into a Too-Small Footprint
Although a kitchen island can feel like the heart of the room, I don’t squeeze one into a space that can’t breathe—doing so kills flow and turns cooking into an obstacle course.
I favor clear walkways, comfy work zones, and scaled pieces that invite gathering. If the footprint’s tight, I choose a slim cart or butcher block instead of forcing a bulky island that crowds everything.
Plan Layered Lighting: Task, Ambient, and Accent Early
A cramped island can suck the life out of a kitchen, and lighting will do the same if you bolt fixtures on at the end of a remodel.
I plan layered lighting early so cooking feels cozy and functional. Consider:
- Bright task lights over prep areas
- Soft ambient ceiling glow
- Accent lights for shelves or art
- Dimmers for mood control
Confirm Load-Bearing Walls Before Removing Structure
Because walls carry more than paint and plaster, I always confirm which ones are load-bearing before anyone swings a sledgehammer, and I want you to do the same.
I walk the plans, tap studs, and call an engineer when unsure.
Removing the wrong wall can ruin beams, schedules, and wallets.
Take a breath, verify structure, and protect the house’s soul.
Get Contractor Quotes for Plumbing and Electrical Reroutes
When plumbing or wiring needs to move, I get multiple contractor quotes so I know what I’m signing up for — and you should too.
I compare bids, timelines, and materials, and I trust gut feel on professionalism. Don’t assume low price means competence.
- Scope clarity
- Written estimates
- Timeline realism
- References checked
Secure Permits and Schedule Required Inspections
If you want the job to pass inspection and avoid costly rework, I get my permits lined up before demo starts and schedule any required inspections into the contractor timelines.
I call the local building office, confirm required paperwork, and hang permits visibly. I keep inspection dates pinned on the calendar, coordinate crews around them, and treat approvals as nonnegotiable checkpoints.
Build a Contingency Budget and Timeline for Surprises
Although I plan every detail, I always build a contingency into the budget and timeline because kitchens hide surprises—from a rotten joist behind the backsplash to an electrical mess under the floor—and those surprises will blow a schedule and spiral costs if you let them.
I set aside funds and days, communicate openly, and stay flexible.
- Extra 15% budget
- Two-week cushion
- Emergency contacts
- Regular check-ins
Before you swing the sledge, remember that 60% of renovation hiccups happen because measurements or utilities weren’t double-checked — that’s more than half.
I’ve learned the hard way: confirm walls, plumbing, gas, and circuits, lock appliance locations, and get permits and quotes.
Plan clear work zones, vet load-bearing walls, and build a contingency budget and timeline. Do this, and you’ll save money, time, and a whole lot of heartache.