
I’m here to brighten every dark corner with island lighting that’s practical, inviting, and a touch indulgent. Think 30–36 inch above the island, balanced spacing, and 2–3 focal tasks like prep, chopping, and serving. Layer task, ambient, and accent light for glare-free prep and mood that shifts from cooking to dining. Go LED, dimmers on, and mix warm 2700–3000K with a dash of cool for true color. Stick with me and you’ll uncover more smart, stylish options.
What Makes Island Lighting Functional and Inviting: Criteria for Comfort, Task Ease, and Mood
Island lighting should feel like a warm handshake you can see from across the room: inviting, practical, and a touch indulgent.
I’m here to guide you: functional density, glare control, and task ease aren’t afterthoughts. I balance mood with color temperature, guarantee even spill, and prevent shadows. Kitchen island lighting options can dramatically enhance your space and elevate the overall aesthetic.
You’ll enjoy clear visibility, comfort, and a vibe that invites quick, confident cooking sessions.
Quick-Start Base Layout for Every Island: Spacing, Height, and Focal Tasks

When you’re mapping out any island, a solid base starts with smart spacing, comfortable height, and a few focal tasks that guide the flow.
I keep things practical: space under 36 inches on the counter, aim for 28–32 inches seating, and pick 2–3 focal tasks—prep, quick chop, and casual serving. Incorporating stylish kitchen island lighting can significantly enhance both functionality and ambiance.
Balance keeps traffic smooth and mood bright.
Layered Lighting for Islands: Task, Ambient, and Accent in Harmony
I’m about to map out how Task, Ambient, and Accent layers work together so your island isn’t just a pretty face.
We’ll balance Task Layer expertise with Ambient mood and Accent pops to keep eyes and meals in harmony. If we tune these layers right, every prep, chat, and garnish moment shines with purpose and personality. Incorporating stunning pendant lighting can elevate the overall aesthetic of your kitchen, making it an inviting space for both cooking and entertaining.
Task Layer Balance
Task Layer Balance: getting the lighting to actually help you work at the island requires a careful mix of task, ambient, and accent layers—not just a single glare over the counters. I tune brightness so task surfaces stay clear, shadows retreat, and glare is kept at bay. The goal? efficient, comfortable prep without drama, eye strain, or dim corners. Incorporating layered lighting schemes can enhance the overall kitchen ambience and functionality.
Ambient Layer Integration
Ambient lighting isn’t an afterthought; it’s the soft undercurrent that makes task lights actually work. I blend glow with purpose, ensuring warmth, depth, and rhythm.
You’ll feel balanced brightness without glare, guiding hands smoothly.
- Layered harmony over cluttered corners
- Dimmable warmth for mood and focus
- Even distribution across island surface
- Seamless shift to accent accents later
Incorporating layered lighting can transform your kitchen into a functional and inviting space.
Accent Layer Spotlighting
Accent Layer Spotlighting: this is where color, contrast, and a little drama join the party.
I spotlight dishware, herbs, and textures with focused lamps, guiding the eye and highlighting personality. I mix warm and cool tones for balance, avoiding glare while preserving depth. You’ll notice focal points sharpen, mood elevates, and the island feels alive, intentional, and welcoming. Incorporating stunning kitchen pendant lights can further enhance the visual appeal and functionality of your space.
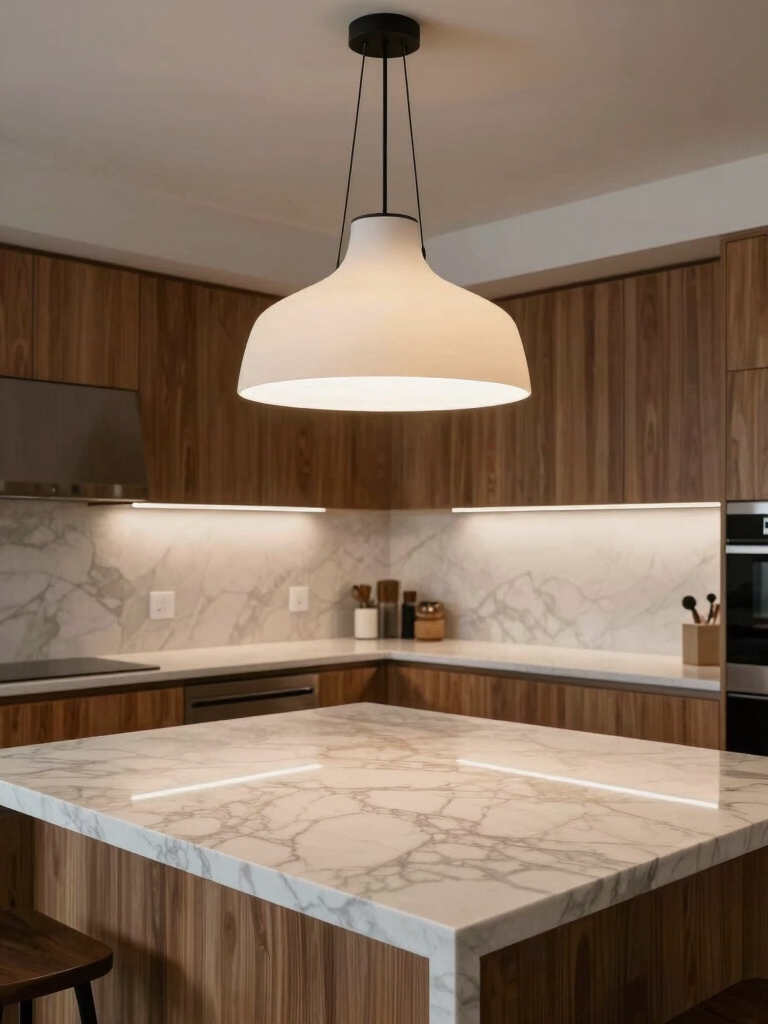
Pendant Styles for Modern, Rustic, and Industrial Islands

When you’re picking pendant styles for a modern, rustic, or industrial kitchen island, the right fixtures do more than light the space—they set the tone.
I love mixing metal, glass, and wood to tell your story, without shouting.
- Modern minimal cones
- Rustic glass orbs
- Industrial cage lights
- Mixed-height clusters
Investing in splurge-worthy pendant lights can elevate your kitchen’s aesthetic while providing functional illumination.
Under-Cabinet LEDs: Brightness Without Glare on Your Prep Zone

I’m obsessed with glare-free prep time, so I’m sharing how under-cabinet LEDs can keep your counter bright without harsh shadows.
When light is evenly distributed, you see more of your ingredients and fewer reflections in the knife block.
Let’s chat about how these fixtures deliver glare-free brightness across every inch of your prep zone. Additionally, proper task lighting placement can significantly enhance your cooking experience by illuminating all areas effectively.
Glare-Free Prep Zone
Under-cabinet LEDs don’t just brighten your workspace; they do it without stealing the show from your ingredients.
I’m obsessed with glare-free prep zones: crisp shadows, true colors, zero dazzle. I keep the focus where it belongs—on the knife, the herbs, the recipe.
- Even, edge-to-edge illumination
- Low glare, high clarity
- Consistent temperature output
- Minimal eye strain for long choppings
Even Light Distribution
Even light distribution is the name of the game, and under-cabinet LEDs nail it without stealing the show from your ingredients.
I keep edges bright and shadows at bay, so chopping and reading recipes feels smooth, not dramatic.
You get consistent glow across countertops, no hot spots, just practical, friendly illumination that stays out of the spotlight while doing the heavy lifting. Small kitchen lighting ideas are essential for maximizing every inch of your prep space.
Rail and Linear Fixtures for Continuous Island Glow
Rail and linear fixtures are the secret sauce for a seamless island glow, letting light sweep evenly across every inch without harsh hotspots.
I track placement like a chef, keeping symmetry and task lighting aligned.
- Even distribution across length
- Minimal glare, smooth shadows
- Easy upgrades and spacing
- Clean, modern look that matches any counter
Try rails for flexible, bright vibes. Additionally, these fixtures can transform your kitchen into a stylish and functional space, enhancing both aesthetics and practicality.
Recessed vs. Surface Lights on an Island: Pros, Cons, and Best-Use Cases
Recessed lights hug the ceiling for a clean, unobtrusive look, but surface fixtures bring instant personality and task-ready brightness to an island.
I’ll weigh pros and cons, sharing best-use cases I actually rely on: recessed for minimalism and ceiling clearance, surface for styling and focused work areas.
In practice, mix smartly, balance glow, and avoid harsh shadows.
Dimming Strategies to Set Mood for Cooking, Dining, and Coffee
I like to think about mood first: tune the lighting so cooking feels sharp, dining feels intimate, and coffee breaks feel cozy.
I’ll layer light—bright task blasts, softer ambient glows, and a spot for a little spotlight drama—to cover every moment.
Let’s chat about which tweaks map to your cadence, so your island works as your mood board, not a single-note bulb.
Mood-Setting Dimming Tricks
Soft lighting can turn a simple cookspace into a hygge-worthy nook, and dimming is the secret sauce—not just for dinner but for those coffee-fueled mornings too.
I guide you with quick tricks to shape mood, not glare.
- Use warm, 2700K-3000K bulbs
- Dim in stages for shifts
- Pair with task and ambient layers
- Save presets for meals and mornings
Layered Light for Moments
Layered lighting makes every moment in the kitchen feel intentional, not accidental.
I mix warm, focused task lights with ambient fills and a dash of accent glow to sculpt mood as I move from chopping to chatting.
Dim gradually for coffee rituals, brighten for diners, and keep a subtle backlight for late-night reads—simple, smart timing that never steals the scene.
Color Temperature Guide for Island Lighting: Warm, Neutral, and Cool Choices
Choosing the right color temperature for island lighting is easier than you’d think: warm, neutral, or cool, each mood shaping how your countertop tasks and mood come to life.
- Warm: cozy, inviting, flattering skin tones
- Neutral: true colors, versatile for daily prep
- Cool: crisp, energizing, modern vibes
- Tip: mix temps for depth and function.
Energy-Saving Tips to Keep Bills in Check on an Island
If you’ve moved from picking the right color temperature to lighting for daily tasks, you already know the vibe a good island light sets.
I’m here to help you cut costs without dimming the mood. Use LEDs, dimmers, and timers; unplug unused electronics; batch tasks; and choose smart bulbs with schedules.
Efficiency feels bright, not bland.
Placement Rules of Thumb: Height, Spacing, and Symmetry
I’ll start with the basics: height, spacing, and symmetry shape how your island feels and functions.
Think proportionate hang height, even gaps, and a balanced look that won’t scream “operator error.”
Stay with me as we tighten these rules of thumb for a cleaner, smarter glow.
Height Considerations
When it comes to height, a well-placed kitchen island light should feel like it’s floating just where you need it—not shouting, not grazing heads.
- Aim about 30–36 inches above the island surface
- Center above prep zones for balance
- Consider ceiling height for proportionality
- Adjust after seating to maintain clean sightlines
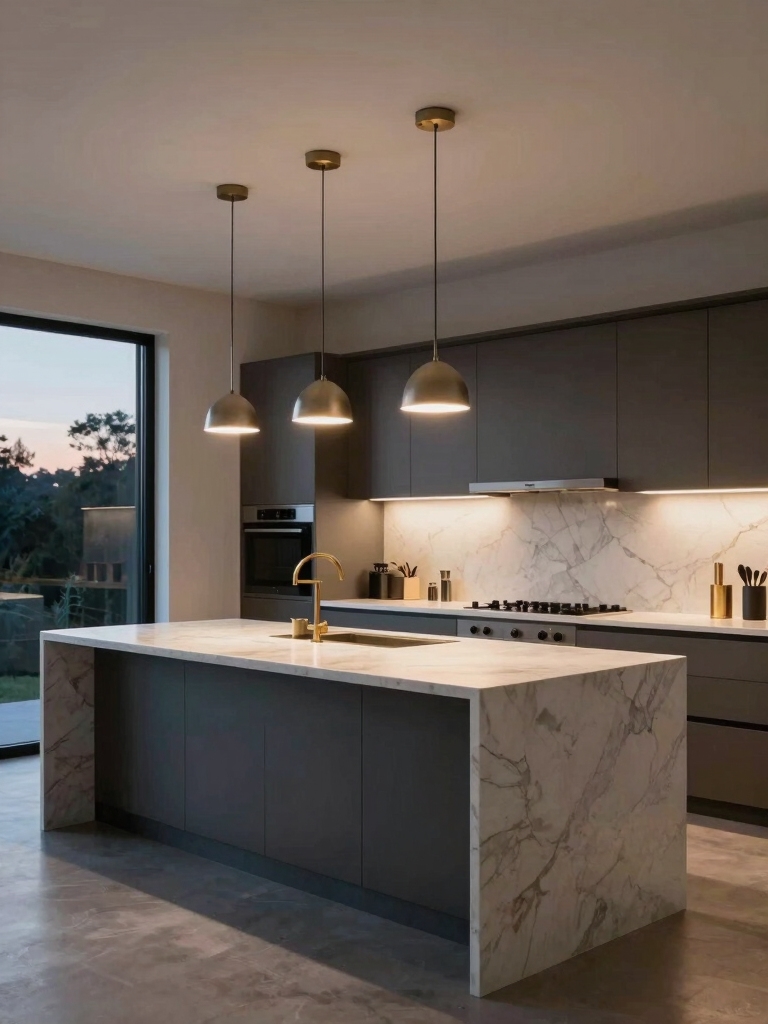
Spacing Guidelines
Spacing isn’t just about looks—it’s about rhythm.
I shape spacing to feel natural, not cramped, guiding the eye along the island’s length and toward work zones.
I avoid clutter by aligning fixtures with counter edges, leaving breathing room for stools and prep.
Measure consistently, aim evenly spaced clusters, and trust your sense—comfort and flow will follow, naturally.
Symmetry Tips
Symmetry isn’t about mirror-imaging every fixture; it’s about a natural balance that feels deliberate.
I’ll guide height, spacing, and pairing with practical ease, so you feel clever, not calculations.
- Hang fixtures level and at eye height for comfy look
- Space evenly to avoid crowding or gaps
- Pair sizes for visual rhythm, not sameness
- Adjust symmetry with islands and accessories for cohesion
Smart Island Lighting Options That Adapt to Routines
Smart island lighting that adapts to your routines feels like magic you actually use.
I’ve got motion, timers, and scene presets learning when you cook, chat, or stream.
You’ll love gentle wakeups before you enter, bright prep lighting, and dimming blues for late-night chats.
It’s not witchcraft—just smart design that keeps pace with your day.
Maintenance and Longevity: Cleaning, Replacements, and Safety
Maintenance and longevity matter more than you’d think: clean, replace, and test your island lights regularly so they stay as reliable as that extra counter space.
I’m sharing practical care that fits real life.
- Clean fixtures with dry cloth
- Replace bulbs before dimming
- Check wiring safely
- Test switches and GFCI protection
Budget-First Planning: From Find-It-Now to Dream-Look
We start with a hard truth: great kitchen island lighting doesn’t have to break the bank.
I’ll map a budget-first plan, from find-it-now deals to a dream-look, with clever scoring and smart timing.
I’ll compare finishes, weigh energy savings, and skip impulse buys.
You’ll get a practical path, a polished result, and a few tricks to keep costs light and style strong.
Conclusion
I’ll be honest: island lighting is my favorite kind of home upgrade—small changes, big mood shifts. Imagine this: your kitchen becomes the stage, with every task lit like a spotlight and every nook cozy as a campfire. From pendant flair to under-cabinet glow, you’ve got the power to tune brightness, drama, and rhythm. So go ahead—layer it, place it, love it. Your island isn’t just functional; it’s a bright centerpiece, a beacon, a yes-man to your chef’s dreams.


