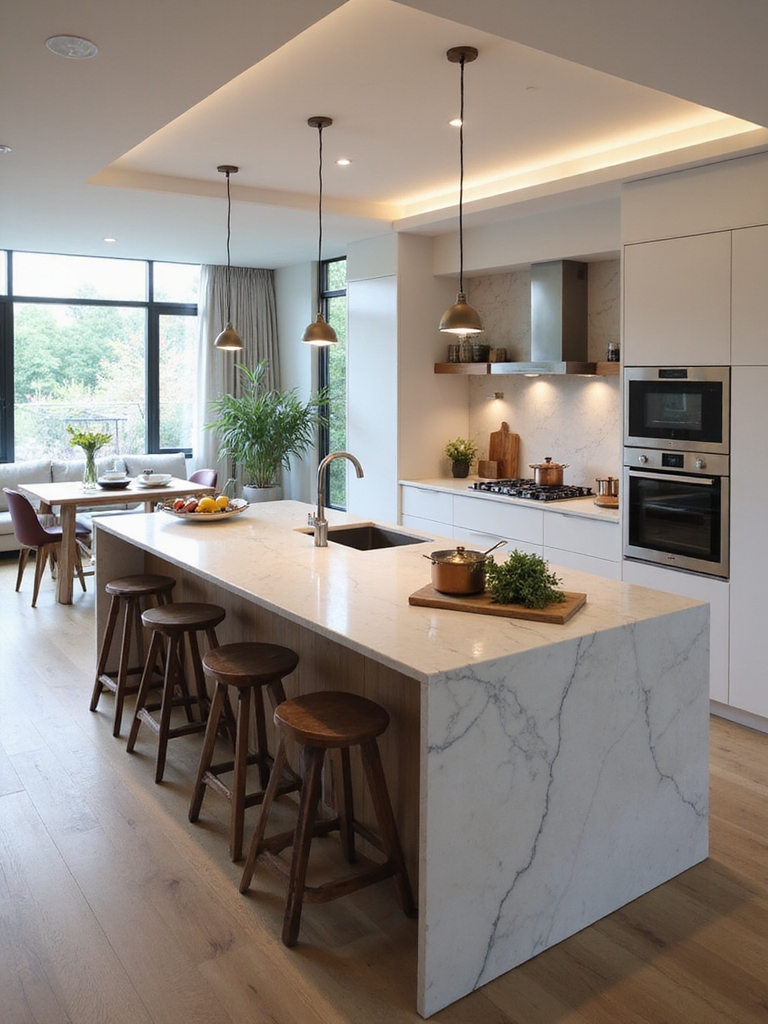
I love how an island pulls everyone into the heart of an open kitchen—it’s where we chop, chat, homework happens, and wine glasses linger. I favor shapes and clearances that let people move freely, with seating that invites staying a while.
Sink or cooktop on the island needs thought for plumbing and vents, and layered lighting makes evenings cozy. I’ll show practical layout choices, sizes, materials and kid-friendly tweaks so your island truly anchors daily life.
Why Kitchen Islands Make Open Kitchens the Home’s Focal Point
I love how a kitchen island naturally pulls people into the heart of an open home—it’s where meals get prepped, kids do homework, and guests linger with a drink in hand.
I’m drawn to how islands anchor conversation, offer practical workspace and storage, and create a cozy crossroads.
They blend function with charm, making the kitchen both useful and inviting without feeling formal.
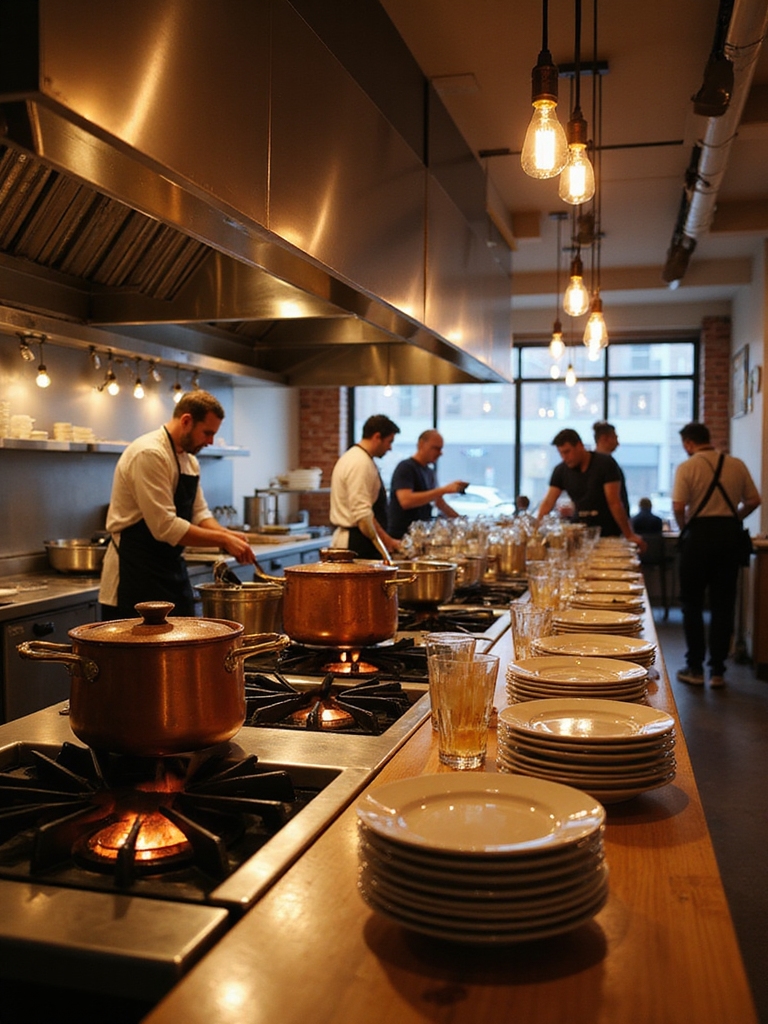
Open island kitchens make cooking social by providing layouts that encourage interaction and shared tasks.
Which Island Layout Works for Your Floor Plan?
How do you pick an island layout that actually fits your floor plan and how you live? I walk through rooms with you, noting sightlines, circulation and gathering spots.
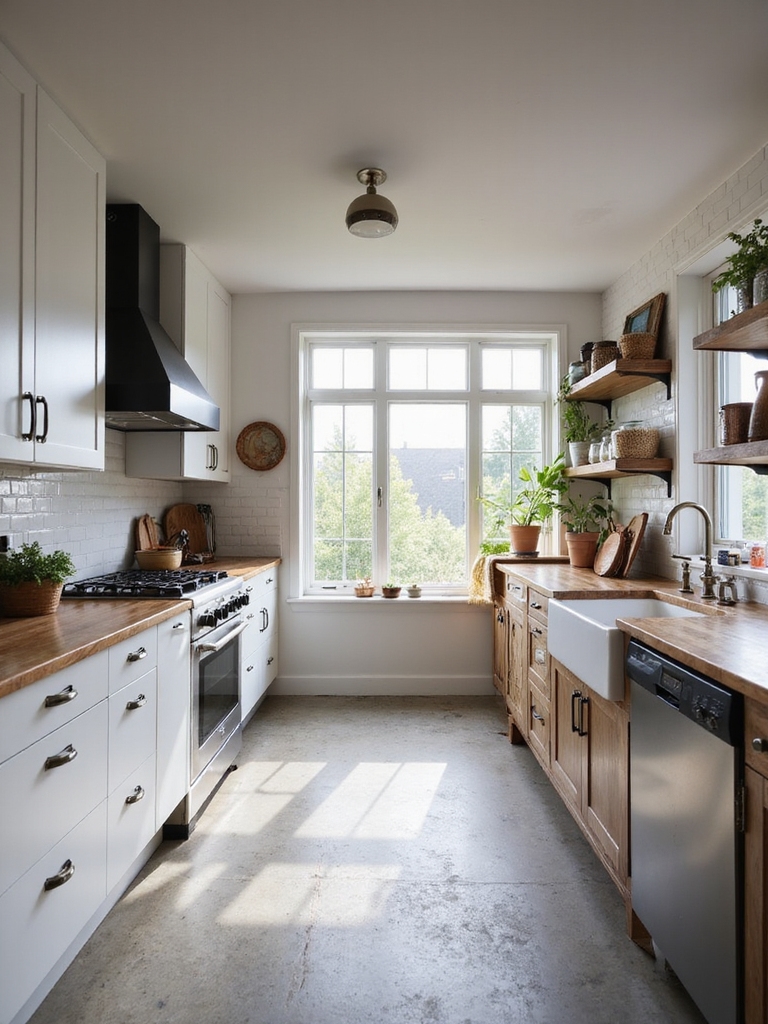
A linear island suits narrow kitchens; L-shaped islands cradle corners; freestanding pieces float in open plans.
I favor practical, cozy choices that invite conversation and echo the home’s rustic warmth without crowding movement. Consider also incorporating unique island designs to elevate both form and function.
Sizing a Kitchen Island: Cooking, Seating, and Traffic Flow
I’ll help you pick island dimensions that fit your kitchen without crowding the room. We’ll cover how much counter length and knee room you need for comfortable seating and what clearances keep traffic flowing smoothly.
With a few simple measurements, we can make sure your island works for cooking, chatting, and moving through the space.
Multifunctional islands can combine prep, storage, and seating to maximize function in compact layouts with space-saving solutions.
Ideal Island Dimensions
One simple rule I follow when sizing an island is to balance cooking space, seating comfort, and traffic flow so the kitchen feels roomy but lived-in.
I measure clearances: 36–48 inches for main walkways, 42–48 inches behind cooktops, and allow generous prep counters.
I favor a modest footprint that accommodates appliances and movement, keeping the island proportional to the room’s scale.
Open kitchen and dining layouts often prioritize flow for ease of entertaining, making seamless entertaining a key design goal.
Seating Space Requirements
When I size an island, getting seating right matters as much as leaving room to work and move—people should be able to pull up a stool without crowding the cook or tripping over a drawer.
I aim for 24–30 inches per seat, 12–15 inches knee clearance, and a comfortable overhang. That keeps conversations cozy, plates steady, and the kitchen feeling inviting.
Open Kitchen Layouts to Fit Any Home Shape adds design flexibility for different floor plans and family needs, emphasizing how an island can anchor both function and flow with open kitchen layouts.
Maintain Traffic Clearance
In a busy kitchen, I keep traffic clearance front and center so people can move without bumping into the cook or an open oven.
I plan at least 42–48 inches around islands used for cooking, a bit less for simple prep, and clear paths to appliances.
That simple spacing keeps gatherings cozy, safe, and pleasantly uncramped.
Top architects often recommend prioritizing sightlines and open-concept flow to make the island the social and functional heart of the home.
Choose the Right Island Shape: Rectangular, L, Peninsula, or Curve

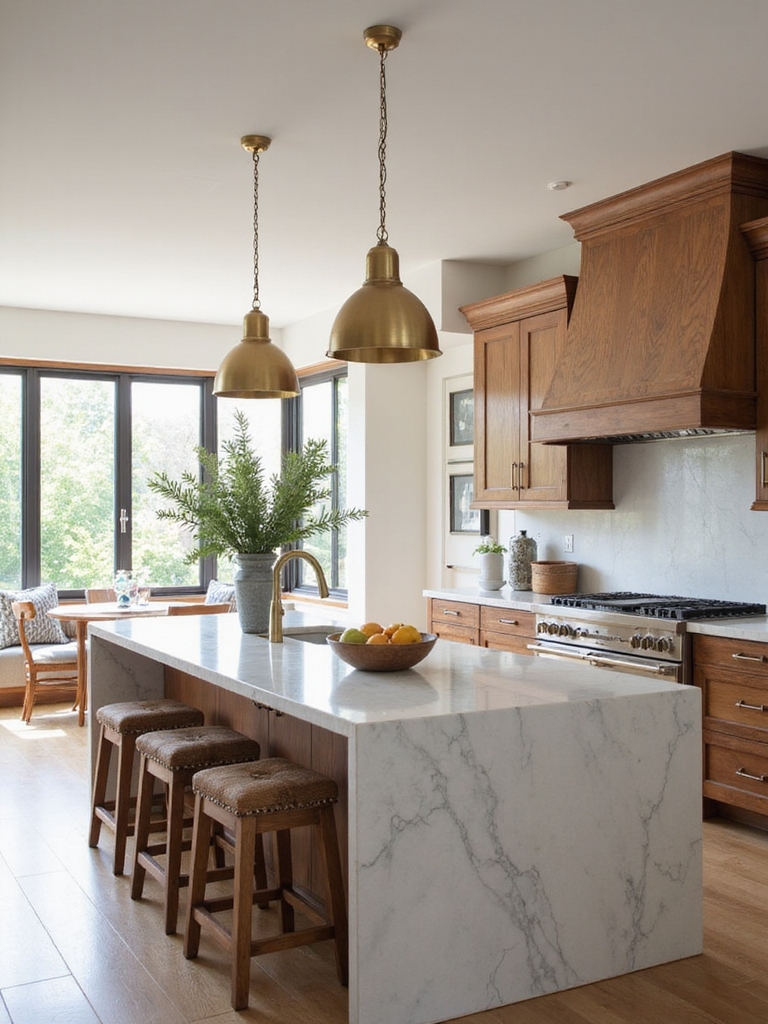
I like to start by matching island shape to how we actually use the kitchen: a rectangular island keeps workflow tidy and efficient.
An L-shaped island makes smart use of corners for prep and storage, while a peninsula or gently curved island helps traffic flow and creates a softer, more social edge.
Think about movement and tasks first, and the right shape will feel like it was made for your home.
Stagers often recommend considering storage and staging when choosing finishes and accessories to ensure the island looks polished and purposeful.
Rectangular For Efficient Workflow
Picture a long, clean rectangle anchoring the room—I’ve found it’s the simplest shape for keeping traffic flowing and prep efficient.
I love how it creates clear zones: chopping, cooking, serving.
It feels honest and rustic, welcoming guests to linger without blocking paths.
- Streamlined work triangle
- Generous prep surface
- Easy to line up appliances
- Seats without crowding
- Simple, timeless silhouette
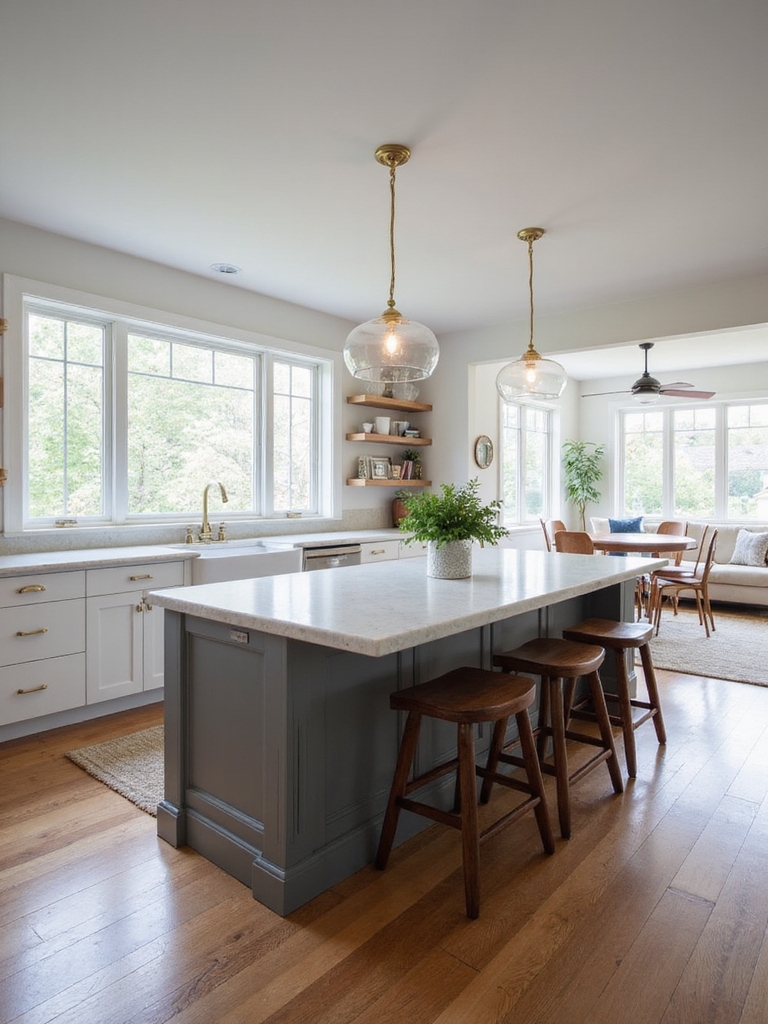
Open plan kitchen living room designs often place the island as the focal point to connect both spaces, creating seamless interaction and centralized gathering.
L-Shaped For Corner Utilization
When you tuck an L-shaped island into a corner, you get a cozy hub that makes the most of awkward space and keeps everything within arm’s reach.
I love how it frames the kitchen, creating nooks for prep, seating, and storage without intruding.
It feels rustic and practical—perfect for family mornings and slow evenings, turning corners into warm, useful places.
Curved Or Peninsula Flow
Moving from that cozy L-shaped corner, I want to talk about how a curved island or peninsula can change the whole feel of the room.
I love how gentle lines invite conversation, guide movement, and soften hard edges while keeping utility.
- Easier traffic flow
- Natural gathering spot
- Safer for kids
- Organic aesthetics
- Versatile seating options
Placing Sinks and Appliances in Your Island: Plumbing and Ventilation
With the sink or cooktop on your island, I’ll help you balance practicality and charm so plumbing and ventilation don’t spoil the look or function.
I’ll guide routing pipes and vents discreetly, choose under-island access panels, and plan hood ducting that respects sightlines.
We’ll consider noise, maintenance access, and local codes so your island works beautifully without clashing with its rustic warmth.
Kitchen Island Surfaces: Countertops That Balance Durability and Style
I like to weigh practicality and personality when choosing an island surface, whether that’s a rugged slab of natural stone, an engineered countertop that wipes clean, or a solid, heat-resistant material for heavy use.
Each option brings its own look and care needs, so I’ll walk you through the pros and where they’d fit best in an open kitchen.
Let’s figure out which balance of durability and style suits your routine and aesthetic.
Durable Natural Stones
I’ve always trusted natural stone when I want a kitchen island that looks lived-in but stands up to daily life—granite, soapstone, and honed marble each bring a different mix of toughness, texture, and character that only gets better with wear.
I pair warmth and practicality, choosing surfaces that age gracefully and accept patina.
- Granite: heat and scratch resistant
- Soapstone: silky, stain-tolerant
- Honed marble: soft patina
- Local quarried options
- Sealing rhythm, not fuss
Low-Maintenance Engineered Surfaces
Usually I turn to engineered surfaces when I want the look of stone without the fuss—quartz, porcelain, and solid-surface tops give me consistent color, scratch and stain resistance, and predictable upkeep.
I love how they pair with worn wood, matte metals, and open shelves.
They feel cozy yet practical, so I spend more time enjoying meals and less time worrying about spills or tedious care.
Heat-Resistant Solid Options
After leaning on engineered surfaces for low-fuss living, I’m looking at tops that can take heat without flinching—think islands that handle hot pans, morning kettles, and the occasional baking sheet straight from the oven.
I favor sturdy, honest materials that age beautifully and let me cook freely.
- Granite: durable, rustic charm
- Soapstone: patinas nicely
- Concrete: customizable, tough
- Stainless steel: professional, sanitary
- Porcelain: heatproof, low-maintenance
Seating for Kitchen Islands: Stool Count, Clearances, and Styles
One of the first things I think about when planning island seating is how many people I want it to really fit—too many stools and the space feels crowded, too few and it’s underused.
I aim for 24–30 inches per seat, three feet clearance behind, and mix backs and backless stools for a cozy, farmhouse-meets-modern look that invites lingering conversations.
Storage Solutions Built Into Kitchen Islands (Drawers, Racks, Appliance Garages)
I like to think of an island as a hardworking centerpiece that keeps clutter out of sight and the kitchen running smoothly.
I hide essentials in clever drawers, racks, and appliance garages so the room feels cozy and organized.
- Deep drawers for pots and pans
- Pull-out spice racks
- Built-in knife drawers
- Appliance garage with lift door
- Tray and baking sheet dividers
Lighting an Island for Tasks and Atmosphere
I like to layer lighting over an island so task lights, ambient sources, and accents work together without fuss.
I’ll talk about pendant placement for even coverage and glare-free work areas, plus why spacing and height matter.
And I always recommend dimmable controls so you can shift from bright prep light to a cozy evening glow.
Layered Lighting Approach
When I plan lighting for a kitchen island, I think in layers—ambient light to fill the room, task light for chopping and reading recipes, and accent light to set the mood when dinner’s ready.
I balance brightness and warmth so the island works all day and feels cozy by night.
- Soft overhead for general warmth
- Focused task fixtures
- Dimmer controls
- Accent washes for texture
- Warm color temperature
Pendant Placement Tips
After balancing ambient, task, and accent layers, I look next at pendant placement to make sure the island works for both chopping and chilling—pendants should light work zones without stealing the room’s cozy feel.
I center fixtures over prep areas, space them evenly, hang at 28–34 inches above the countertop, and choose warm finishes that echo wood and wrought iron for a lived-in, inviting kitchen.
Dimmable Mood Control
I often dial the lights down to shift an island from a prep station to a place where we linger over coffee, and dimmable controls make that quick switch feel effortless.
I use warm tones and layered fixtures to balance tasks and mood. Simple switches let evenings feel cozy while brightening for chopping.
- Soft amber for late nights
- Brighter for mise en place
- Zoned control by side
- Memory presets
- Gentle evolutions
Mix Island Materials and Finishes to Complement Your Kitchen
I’ll tell you straight: mixing materials and finishes on your kitchen island can make the whole space feel intentional and lived-in.
I often pair a warm reclaimed-wood base with a honed stone top, then add matte black hardware for contrast. It’s about balance—soft textures, durable surfaces, and finishes that echo cabinetry and floors so the island feels rooted, not flashy.
Design Islands for Multitasking: Cooking, Work, and Entertaining
Pairing materials taught me how an island can look grounded; now I want you to think about how it can work.
I design islands that handle cooking, laptop hours, and casual gatherings with practical charm.
I choose durable tops, comfy seating, smart outlets, hidden storage, and lighting that sets a cozy, useful tone.
- Durable countertop
- Comfortable seating
- Integrated power
- Concealed storage
- Layered lighting
Safety and Accessibility: Islands for Families and Mobility Needs
Because kitchen islands often become the heart of daily life, I think about safety and accessibility from the start, especially when little ones or mobility needs are in the picture.
I favor rounded corners, slip‑resistant flooring, reachable storage, and knee space for wheelchairs.
Thoughtful lighting, clear sightlines, and sturdy grab points keep the island welcoming and practical for every family member.
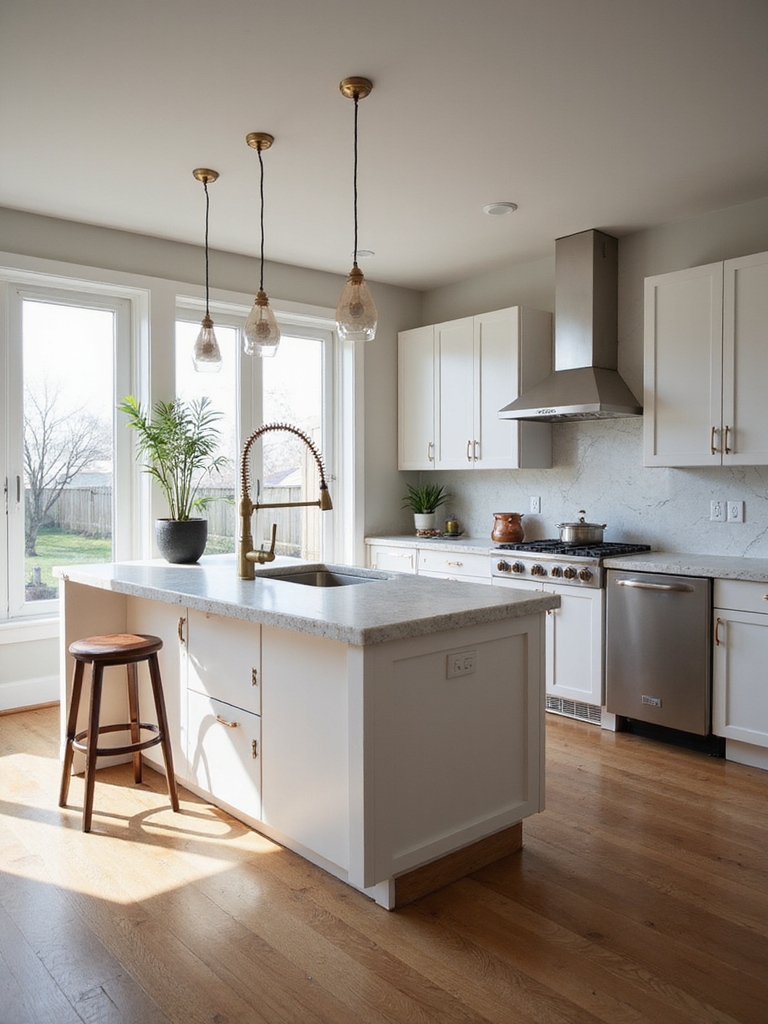
Small-Space Island Ideas That Maximize Impact and Function
A small island can change how your kitchen feels and works, and I’ve found a few simple moves that make a big difference: think narrow profiles with overhangs for stools, open shelving to keep things light, and multiuse tops that switch from prep to dining in seconds.
I love cozy, practical islands that pull a room together.
- Narrow, long butcher block top
- Fold-down leaf for extra seating
- Open cubbies for baskets
- Casters for mobility
- Integrated cutting board/storage
Budgeting for a Kitchen Island: Where to Splurge and Where to Save
When I plan an island on a budget, I focus on one rule: spend where you’ll notice day-to-day and save where you won’t.
I splurge on durable countertops and comfortable seating because they’re lived-in.
I save on open shelving, simple cabinet boxes, and hardware—fresh paint and reclaimed wood give charm without cost. Small labor-savvy tweaks stretch your dollars further.
Trend-Forward Kitchen Island Features to Future-Proof Your Design
If I want an island that still feels fresh in five years, I choose features that balance today’s trends with lasting usefulness.
I favor natural materials, smart storage, mixed textures, and adaptable tech that age gracefully while feeling cozy and practical in my kitchen.
- Reclaimed wood countertop accents
- Integrated charging stations
- Modular shelving
- Matte, easy-care surfaces
- Pull-out prep stations
Think of a kitchen island as the hearth of your home—solid, warm, and inviting. I’ve shown how layout, size, shape, and plumbing turn that slab of wood or stone into a gathering place that cooks, chats, and nourishes.
Whether you need accessible design for little ones or tight-space tricks that feel generous, your island can be both practical and soulful.
Trust your rhythm, choose wisely, and let that island anchor everyday life.