I keep open kitchen shelves calm by editing ruthlessly, grouping items by use, and repeating a simple palette—think warm wood, white ceramics, and clear glass. I tuck messy bits into woven baskets, place daily mugs and oils at eye level, and reserve higher shelves for rare pieces.
I layer stacks, vary heights, and leave breathing room so each piece feels intentional. Follow these steps and you’ll see how functional, cozy shelving comes together—stick around and I’ll share specifics.
Quick Plan: Arrange Open Kitchen Shelves in 5 Steps
Start by clearing everything off the shelves so I can see the space and what I’m working with; this helps me decide which items belong on display, which should be stored elsewhere, and which need replacing.
I sketch a simple plan: group like items, balance heights, alternate open and closed pieces, add a few baskets, and leave breathing room so the shelf feels collected, not crowded.
Open shelving can be styled across a range of budgets, from budget-friendly arrangements to total luxe looks that use higher-end materials and curated pieces.
Choose Full, Partial, or Mixed Shelving

I usually weigh the choice between full shelves for maximum storage and mixed shelves for a balanced look.
Full shelving gives me plenty of room for dishes and pantry staples, while mixing open and closed spaces keeps things tidy and visually interesting.
Let me walk you through which option fits your kitchen and habits.
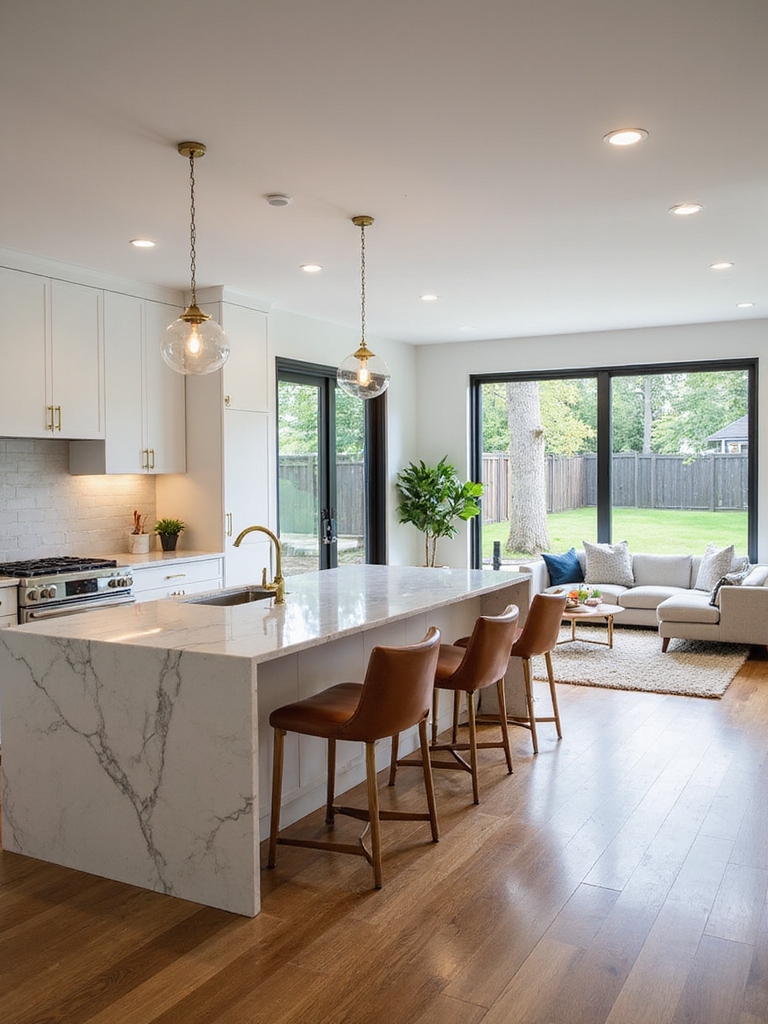
Open shelf kitchen setups can look effortlessly chic when styled with intentional groupings and consistent materials, making them a great option for displaying everyday essentials while keeping the space airy.
Full Shelving Pros
Choosing full shelving means I can showcase my dishes and keep everything within easy reach, and it gives the kitchen a cohesive, open feel that suits a farmhouse look.
I love the simple rhythm it creates, easy cleanup, and constant visual inventory. With matching plates, mason jars, and warm wood, full shelves feel orderly yet lived-in, making daily routines smoother and welcoming guests effortlessly.
A popular option is to use open shelves to showcase your beautiful dishware open shelves for a charming, accessible display.
Mixed Shelving Balance
When I weigh the options of full, partial, or mixed shelving, I look for a balance that keeps the kitchen lived-in but not cluttered.
I favor mixed shelves: closed cabinets for messy stuff, open shelves for pretty dishes and daily cups.
I arrange groupings, leave breathing room, and rotate seasonal pieces so the space feels cozy, tidy, and genuinely used.
Open shelving proves that less is more when thoughtfully arranged.
Assess What You Use Most and Keep It Handy

I’ll start by placing the dishes and tools I reach for every morning—mugs, plates, and the coffee scoop—right at eye level so they’re effortless to grab.
Then I group items by meal type, keeping breakfast things together and dinner tools on a lower shelf for easy prep.
That little bit of zoning saves time and keeps the open shelves feeling calm and useful.
Open shelving also benefits from strategic zoning to maintain both function and visual appeal.
Prioritize Daily Essentials
Usually I keep the mugs, cutting board, and oil within arm’s reach because I cook most evenings and don’t want to hunt for basics.
I arrange daily essentials where I reach naturally: coffee, salt, knives, and a favorite bowl.
That tiny, lived-in cluster saves time, feels cozy, and keeps the open shelves useful instead of decorative-only.
Zone By Meal Type
After keeping my go-to mugs and cutting board within reach, I group open shelves by the meals I make most so everything’s within an easy reach during prep and cleanup.
Breakfast shelf holds cereal, bowls, and jam jars; lunch gets salad bowls and wraps; dinner stores pots, frequently used spices, and a baking dish.
It saves time and keeps the kitchen calm. I also style shelves with a mix of functional items and decorative pieces to make organization beautiful and inviting, like alternating dish stacks with small decor accents and visible storage for open shelf styling.
Group Displayed Items by Function, Not Just Type

When I arrange open shelves, I think about what I actually do in the kitchen—baking, morning coffee, or quick weeknight meals—and group items by those functions instead of just tossing all plates together or stacking every mug in one spot.
I place tools where I use them, keeping life simple and cozy.
- Coffee station: mugs, scoop, French press
- Baking nook: measuring cups, mixing bowls
- Dinner prep: cutting board, oil, frequently used spices
Open shelving looks best when items are arranged by use, creating a clutter-free display that still feels intentional and lived-in.
Pick a Simple Color and Material Palette

I keep my open shelves calm by sticking to just two tones—usually a warm white and a soft wood—to keep the eye from bouncing around.
I also match materials consistently, so ceramics, glass, and metal each get their own little zone to prevent a cluttered look.
That simple rule makes styling feel effortless and cozy. Open shelving is versatile across styles from Boho to Scandinavian, so you can adapt the look while maintaining cohesion by focusing on a limited palette and consistent materials, especially when emphasizing Scandinavian design elements.
Limit To Two Tones
Because open shelves already show everything, I keep the palette simple—two tones only—to give the space calm and cohesion.
I pair warm wood with white or soft sage with matte black, letting shapes and textures breathe. It feels intentional, not fussy.
- Keeps visual noise low
- Highlights favorite pieces
- Makes styling faster and steadier
Match Materials Consistently
Keep the two-tone rule in mind as you choose materials, and aim for a simple palette that ties everything together.
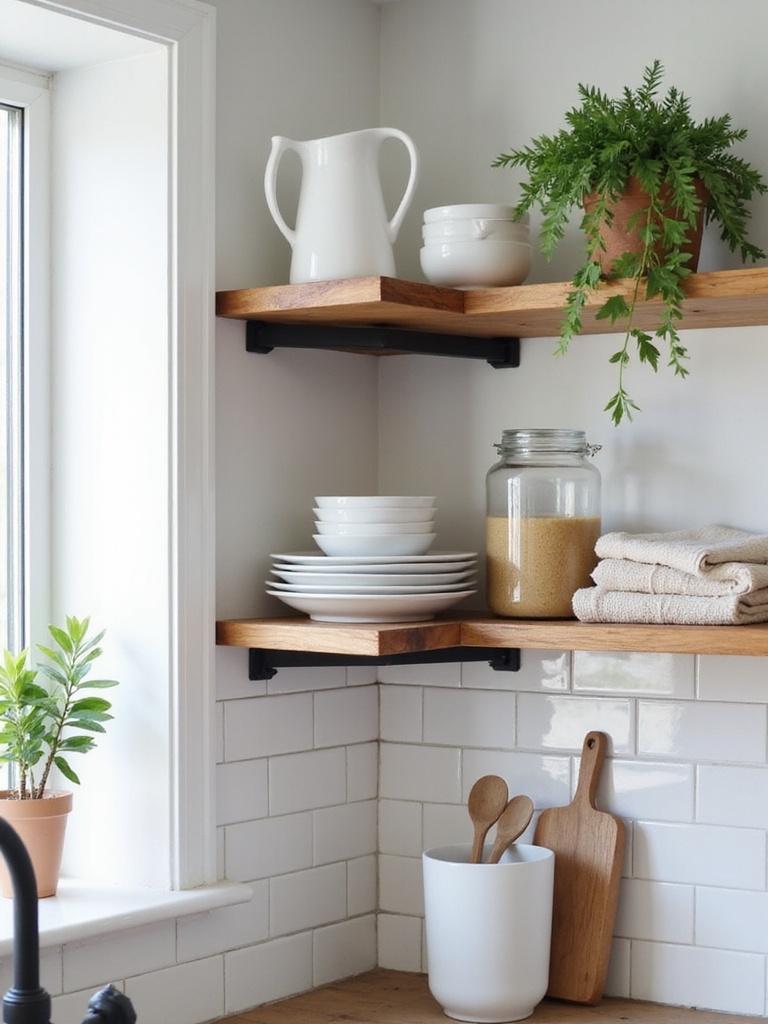
I pick warm woods, white ceramics, and a single metal finish so shelves read as a cohesive vignette.
When I repeat materials—wood bowls, white mugs, brass hooks—the look feels calm and intentional, not cluttered. Consistency makes styling effortless and welcoming.
Use Matching Containers and Dishware for Cohesion
Start by choosing a few matching containers and dishes, and you’ll see how quickly the shelves feel intentional and homey.
I pick neutral ceramics and clear jars so everything reads calm and simple. Matching pieces cut visual noise and make everyday items feel curated.
- Consistent color palette
- Uniform shapes for balance
- Functional pieces that look tidy
Styling Order: How to Arrange a Shelf Step‑by‑Step
Now that you’ve gathered matching containers and dishes, I’ll walk you through arranging a shelf step by step so it looks lived‑in but tidy.
I start by anchoring a heavy item at one end, balance with a stack of folded linens, tuck frequently used cups nearby, and intersperse jars for rhythm.
I finish with a small plant or cutting board to soften the display.
Layer Plates, Bowls, Glasses, Then Décor
I layer plates, then bowls, then glasses, and finish with a few well-placed decorative pieces to create a calm, functional look on open kitchen shelves.
I tuck everyday items forward, stack sturdy pieces for balance, and add a single vintage find to feel lived-in without clutter.
- Practical items close at hand
- Stacked shapes for stability
- One small accent for warmth
Create Rhythm With Repetition and Empty Space
With a few repeated shapes and plenty of breathing room, I make the shelves feel steady and intentional.
I group similar mugs, jars, and plates in small clusters, leaving gaps so each piece can be seen.
Repetition comforts the eye; empty space lets each item breathe.
It’s a simple rhythm—cozy, calm, and quietly curated—that keeps the kitchen feeling lived-in, not cluttered.
Balance Scale With Stacks, Risers, and Heights
I like to balance a shelf by playing with stack heights and grouping similar pieces so your eye can move easily across the display.
I’ll often add a small riser behind a lower stack to create pleasing levels without cluttering the space.
Let’s talk about simple combinations that keep things tidy and charming.
Stack Heights And Grouping
Let’s talk about how I stack and group things so your open shelves feel balanced, not chaotic.
I pair tall with short, repeat heights across shelves, and keep clusters of three to anchor the eye.
I avoid overcrowding so each piece breathes and the kitchen feels warm and lived-in.
- Tall, medium, short trio
- Repeat shapes lightly
- Space between clusters
Use Risers For Levels
Often I reach for small risers to give open shelves that layered, lived-in look that keeps things balanced and easy to see.
I tuck wooden and metal risers between stacks, lifting bowls, mugs, and jars to varied heights.
That little change creates rhythm, prevents visual clutter, and makes everyday items approachable—practical charm that feels both tidy and welcoming in a farmhouse kitchen.
Hide Small Clutter With Baskets and Lidded Jars
Tuck away the little things that make shelves look messy by grouping them in woven baskets and lidded jars—I reach for these first when I want a tidy, lived-in look.
They hide mismatched bits while keeping essentials handy. I prefer natural textures and clear glass so contents feel intentional, not cluttered.
- Keep daily items accessible
- Label jars for quick finds
- Mix baskets for warmth and order
Style One Shelf as a Decorative Vignette
When I style a single shelf as a vignette, I aim for a mix of function and charm that feels curated but effortless.
I group a small stack of vintage plates, a mason jar of dried lavender, and one favorite mug to add warmth.
Varying heights and textures keep it interesting, while leaving breathing room prevents clutter and preserves that cozy farmhouse feel.
Keep Frequently Used Items Within Easy Reach
I always keep the things I use every day—coffee mugs, olive oil, a jar of wooden spoons—on the lower eye-level shelves so I can grab them without fuss.
It feels practical and cozy, like a lived-in farmhouse kitchen where useful things are also part of the decor.
- Keep everyday items visible
- Group by function for quick access
- Reserve higher shelves for less-used pieces
Rotate Seasonal Items and Edit What Stays Out
Occasionally I swap out my open shelves to reflect the season—bright pitchers and woven baskets for summer, enamelware and warm linens for fall—so the space feels fresh without getting cluttered.
I edit ruthlessly: only essentials and a few decorative pieces stay. If something hasn’t been used by month three, it gets boxed or donated. That keeps the shelves useful, cozy, and intentional.
Open Kitchen Shelves: Troubleshoot Dust, Overcrowding, and Scale
Because open shelves invite air and life into a kitchen, they also invite dust, visual clutter, and pieces that throw off scale—so I tackle those issues with a few practical habits.
I dust weekly, pare down daily-use items, and balance heights for a calm display. Small rituals keep it cozy, useful, and tidy.
- Dust weekly in short bursts
- Edit to essentials
- Mix heights for balance
I’ve found that open shelves can make a kitchen feel twice as cozy and lived-in — and research shows 72% of people say visible, everyday items make a space feel more welcoming.
Keep things simple: group by use, stick to a soft palette, and reserve one shelf for a little vignette. Edit often and keep daily dishes within reach.
Do this, and your shelves will feel intentional, not chaotic — warm, practical, and friendly.