
Here are 15 DIY kitchen projects you can tackle this weekend, all under $200 and with quick steps. I’ll kick off with a Weekend Kickoff of budget upgrades, then show a one-day paint refresh for cabinets and walls, plus a hardware makeover that instantly changes the vibe. Peel-and-stick backsplashes and floor tiles keep mess minimal, while smart organizing and better task lighting finish the space. Keep going and you’ll uncover more tips to transform your kitchen fast.
Weekend Kickoff: Quick, Budget-Friendly Upgrades Under $200
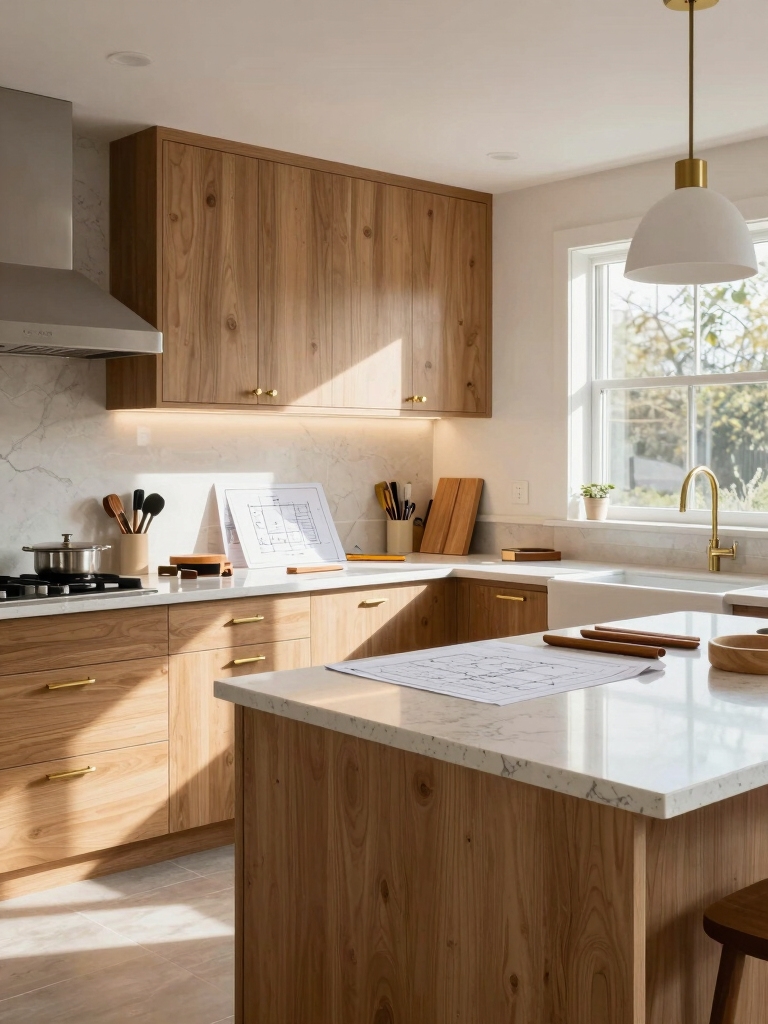
Kicking off a weekend remodel doesn’t have to break the bank.
I’ll show you quick, budget-friendly upgrades under $200 that make a noticeable impact.
Swap cabinet hardware, add under-cabinet lighting, and refresh with peel-and-stick backsplash tiles.
Use painter’s tape for crisp edges, measure twice, cut once, and keep receipts.
You’ll gain momentum, pride, and a brighter kitchen—without blowing your weekend budget.
Incorporating budget-friendly genius kitchen remodel ideas can inspire even more creative changes that enhance your space.
Paint Refresh: Cabinets and Walls in a Day
I’ll walk you through a one-day refresh by prepping the space, picking a cohesive palette, and adding quick finishing touches.
We’ll start with practical prep to keep dust and drips away, then choose colors that brighten the room without overhauling it. To achieve a professional finish, consider proper cabinet painting techniques that can elevate your DIY project.
When we wrap up, you’ll have a fresh look that’s simple, fast, and ready to enjoy.
Prep The Space
Ready to transform your kitchen in a single day? I start by clearing the area, laying drop cloths, and taping trim to protect surfaces.
I’ll move appliances, unplug electronics, and drape magnets for quick cleanup. I prep walls with a light skim of dust, degrease spots, and fluff brushes.
Then I organize tools for a smooth, efficient painting session. Adding hardware swaps can instantly elevate the look of your cabinets and enhance your kitchen’s overall aesthetic.
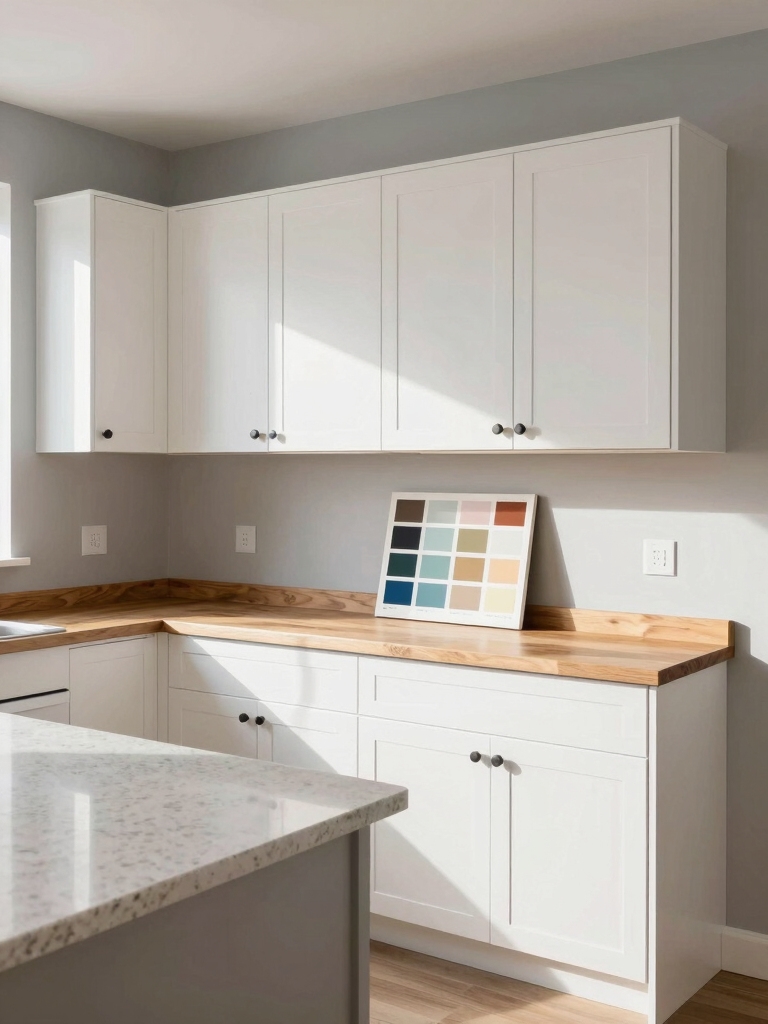
Pick The Palette
Choosing the right palette is the spark that ties cabinets and walls together, so I start by picking a confident base color and two supporting shades that work in natural light. I test swatches on a wall and cabinet edge, observe at different times of day, and mix finishes for cohesion. Additionally, incorporating vibrant color ideas can really elevate the overall aesthetic of the space. The result feels fresh, doable, and perfectly balanced for a weekend refresh.
Finishing Touches Quickly
After picking the right palette, I head into finishes that refresh the whole space in a single day.
I wipe surfaces, tape edges, and scuff-sand cabinets for adhesion. A fresh coats-of-pinish walls brighten the room, while subtle hardware changes magnify impact. Quick paint refreshes can significantly modernize your kitchen and are achievable in just a weekend.
Quick-dry products keep downtime minimal, and cleanup is swift. You’ll see a brighter, cohesive kitchen before sunset without chaos.
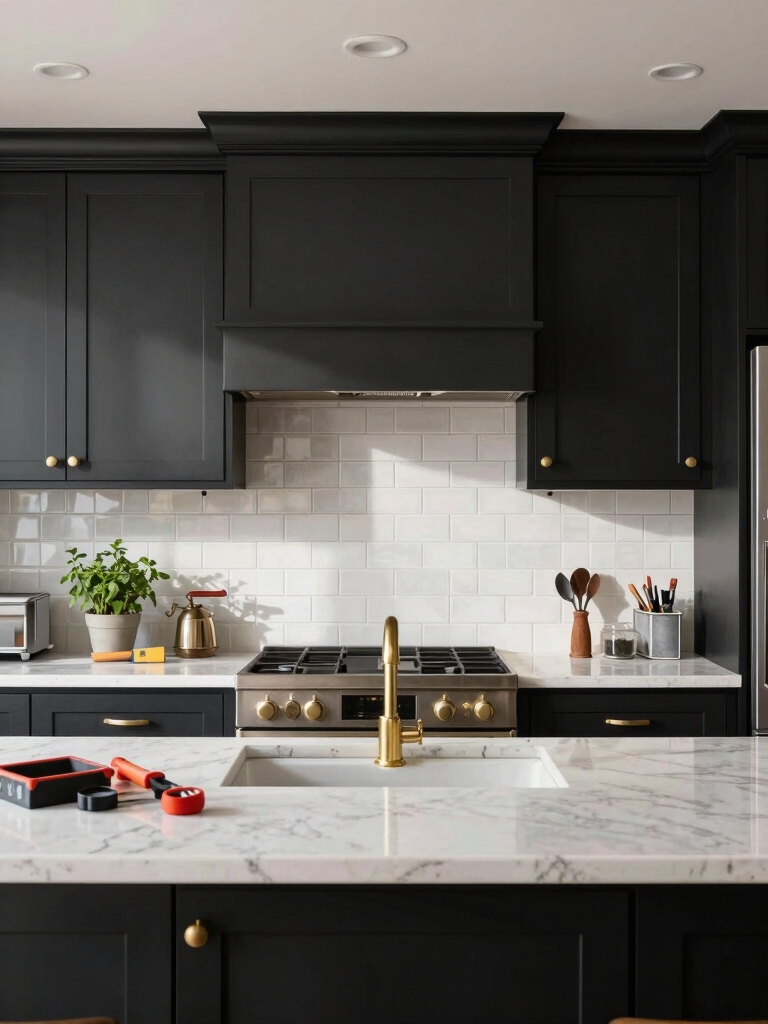
Hardware Makeover: Swap Handles for Instant Style
Swapping cabinet hardware is one of the quickest, most affordable ways to give your kitchen a fresh feel.
I pick handles that echo your style, sizes that fit, and finishes that blend or pop. It’s quick to install, with minimal tools, and the impact is surprising. You’ll enjoy smoother drawers and a brighter vibe—no demolition required, just a confident swap. Consider how a hardware makeover can completely transform your space, much like stunning kitchen cabinet makeovers.
Peel-and-Stick Backsplash: Mess-Free Flair
Peel-and-stick backsplashes are a game changer when you want a fresh kitchen look without the mess.
I love how quick this is, no glue fumes or grout chaos. You measure, cut, and press tiles onto a clean surface, then trim edges for precision.
It’s affordable, reversible, and beginner-friendly—ideal for weekend refreshes without complicating your space. Easy, stylish, practical. Plus, they can beautifully complement stunning backsplash ideas for a cohesive design.
Brighten With Task Lighting and Ambience
I’ll start with task lighting basics to make work zones clear and efficient. Additionally, proper task lighting placement can significantly enhance your kitchen’s functionality and aesthetics. Then I’ll show how ambience layering—think under-cabinet, pendant, and dimmable options—brings warmth without glare. Let’s mix practical tips with quick setups you can try this weekend.
Task Lighting Basics
Task lighting isn’t just about brightening a space—it’s about lighting spots where you work, cook, and clean most of the time.
I’ll keep this practical: aim focused task lamps under cabinets, place bright, crisp bulbs, and avoid harsh glare.
Use dimmers for flexibility, and test angles by cooking a simple routine.
Efficiency, visibility, and comfort—all within reach this weekend.
Ambience Layering Tips
Now that you’ve nailed the task basics, it’s time to layer in ambience that feels warm and inviting without sacrificing function.
I’ll show you how to mix task lighting with soft accents, using dimmers and warm bulbs. Highlight key zones, avoid glare, and balance brightness.
Choose under-cabinet strips, pendant highlights, and cozy corner lamps for a practical, welcoming kitchen.
Open Up Storage: Simple Cabinet Organizers and Racks
Open up your cabinets with simple organizers and racks that fit your space and your stuff.
I’ll share quick, practical tweaks I use: adjustable shelves, hanging baskets, and slim dividers to separate lids, spices, and snacks.
I prefer clear containers for quick visibility, labeling when needed, and smart corners to maximize every inch.
You’ll notice faster access and calmer countertops.
Countertop Cleanups: Budget-Friendly DIY Solutions
Countertop cleanup doesn’t have to cost a fortune.
I’ll share quick, budget-friendly tips you can trust to refresh spaces fast. You’ll feel empowered with simple, practical moves that work tonight.
- Use a baking-soda paste for stains, then wipe clean.
- Dish soap + warm water daily to deter grime buildup.
- Microfiber cloths for streak-free, scratch-free shine.
Floating Shelves: Add Character and Storage
Floating shelves are a simple, stylish way to gain storage without crowding your counters or cabinets.
I love how they pin up recipe cards, small plants, or mugs, keeping essentials within reach.
Measure wall studs, choose sturdy brackets, and seal the wood for clean look.
Install level, then group odd sizes for personality, not clutter.
You’ll gain space and charm fast.
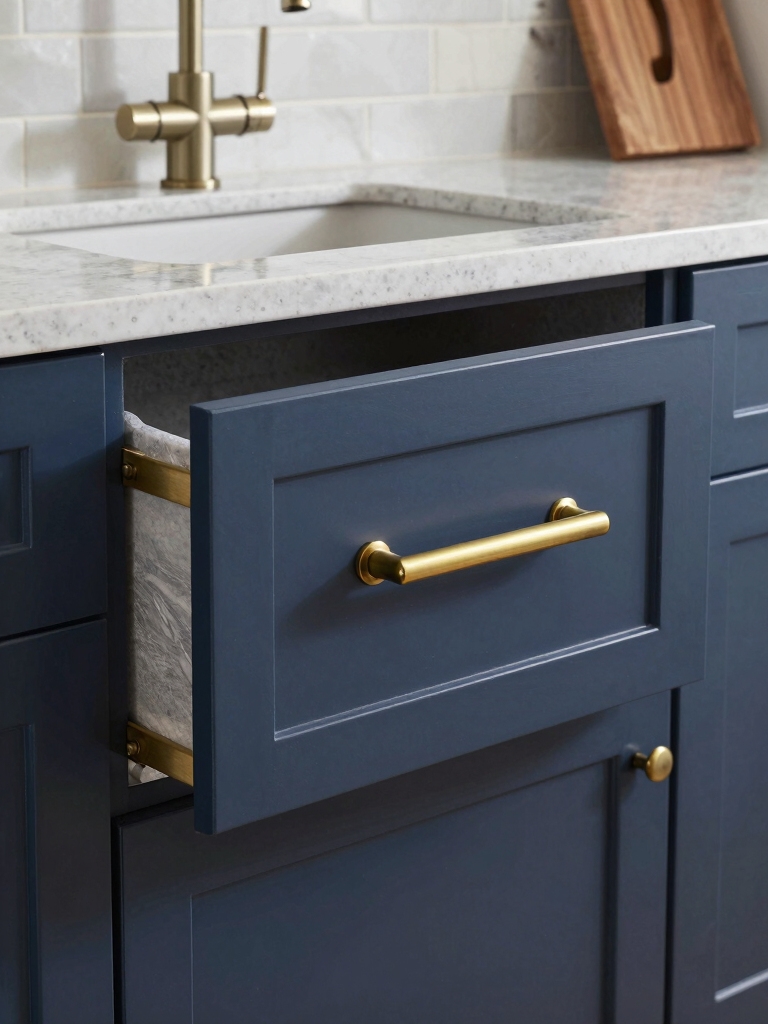
Fresh Fixtures: Upgraded Faucets and Sink Accessories
Upgrading your faucet is a quick win I’m excited to share, from choosing a style that fits your kitchen to understanding durable finishes for real-life use.
I’ll walk you through faucet upgrade essentials, simple sink accessory makesovers, and how to install quick-connect lines without the guesswork.
Let’s get practical, pick smart options, and handle the install confidently together.
Faucet Upgrade Essentials
When you’re upgrading your faucet, you’ll want to start with the basics: a sturdy valve, a faucet style you actually like, and the right height to avoid splashes.
- Choose a durable finish that hides fingerprints.
- Pick a flow rate that matches your sink usage.
- Install a quick-connect hose for simple maintenance.
Sink Accessory Makeover
Now that you’ve picked a sturdy valve, let’s turn to Sink Accessory Makeover—fresh fixtures that pair nicely with upgraded faucets and boost everyday convenience.
I’ll choose practical add-ons like a matching soap dispenser, a stylish but durable dish rack, and a magnetic spray nozzle holder.
Together, these touches streamline workflows, reduce clutter, and keep your sink’s aesthetics cohesive and functional all weekend.
Installing Quick-Connect Lines
With quick-connect lines, you can snap your fresh faucet and sink accessories into place in minutes.
I guide you through a tight, tidy install that feels effortless, keeps leaks away, and looks sharp.
Trust the fit, not the fuss.
- Snug, single-turn connections
- Color-coded lines for clarity
- Tested pressure, no-drip performance
Floor Refresh: Peel-and-Stick Tile or Durable Vinyl
If you’re updating your kitchen on a budget, peel-and-stick tile or durable vinyl is a smart, simple refresh that you can tackle in a weekend.
I’d choose a cohesive color, measure precisely, and prep the floor well for lasting results.
Peel slowly, align clean edges, press firmly, and seal where needed.
Quick, clean, and surprisingly durable—you’ll love the fresh vibe.
Create a Magnetic Knife and Tool Zone
I’m excited to show you how a magnetic knife storage makes prep a breeze and keeps counters clear.
We’ll map out a simple tool zone setup that fits your kitchen workflow and keeps essentials at hand.
Let’s design a clean, efficient system you can customize as you cook.
Magnetic Knife Storage
A magnetic knife storage zone keeps blades within easy reach and your counters clutter-free, so I start by choosing a strong steel or magnetic bar that’s securely mounted at knife-height.
1) Quick access when prepping meals
2) Safer handling with fewer loose blades
3) Clean, streamlined counter space that sparks confidence
Tool Zone Setup
With the right setup, a magnetic knife and tool zone becomes a natural extension of your prep space, keeping essentials within arm’s reach and your counters clean.
I’ll mount a slim rail, add labeled magnetic strips, and group common tools nearby.
It’s quick, secure, and customizable, so you’ll glide through prep with confidence, reducing clutter while staying organized.
Corner Nook Makeover: Small Space, Big Impact
The corner nook may be small, but with a few smart tweaks it becomes a cozy, functional scoot of space you’ll actually use.
I’ll show you how I maximize light, add a slim seating drawer, and keep everything within reach.
- I install a compact bench with hidden storage
- I paint walls a bright, reflective color
- I add a slim shelf and clip-on hooks
Green Touch: Simple Herb Garden or Kitchen Plants
Growing an herb garden right in the kitchen is a small change that pays big dividends.
I keep thyme, basil, and parsley near the prep zone for instant flavor boosts. Use sunny shelves, or a compact window box, and water with a daily, quick pulse.
Clip as you cook, and watch others ask for tips—this green touch sparks creativity without clutter.
Smart Organization: Drawer Dividers and Pull-Out Solutions
Smart organization starts with smart details, so I love drawer dividers that keep every utensil in its place and every drawer easy to navigate.
I also add slim pull-outs for spices and small gadgets, so counter clutter vanishes.
- Feel the clarity as utensils snap into tidy slots
- Enjoy effortless reach with labeled, flexible dividers
- Revel in faster prep and clean, calm drawers
Final Plan: Budget, Timeline, and Maintenance Map
We’ll map out a tight budget, a realistic timeline, and a simple maintenance routine so this kitchen remodel stays on track and easy to manage, from day one.
I’ll break costs into essentials and surprises, set milestones with buffers, and lock in recurring checks.
You’ll know what to buy, when to schedule tasks, and how to keep upkeep simple and predictable.
Ready? Let’s begin.
Conclusion
Imagine your kitchen as a blank canvas waiting for a fresh breath of you. These weekend upgrades—under $200, no-fuss, big payoff—are your starting line. I’ll be right there with you, step by step, from paint swatches to drawer dividers. It’s not about perfection, but momentum. Think of each small tweak as a brushstroke shaping a brighter, more organized space. Ready to jump in? Let’s turn your kitchen into a welcoming, usable home you’ll love to cook in.


